How to sew a wrap skirt – free DIY wrap skirt pattern
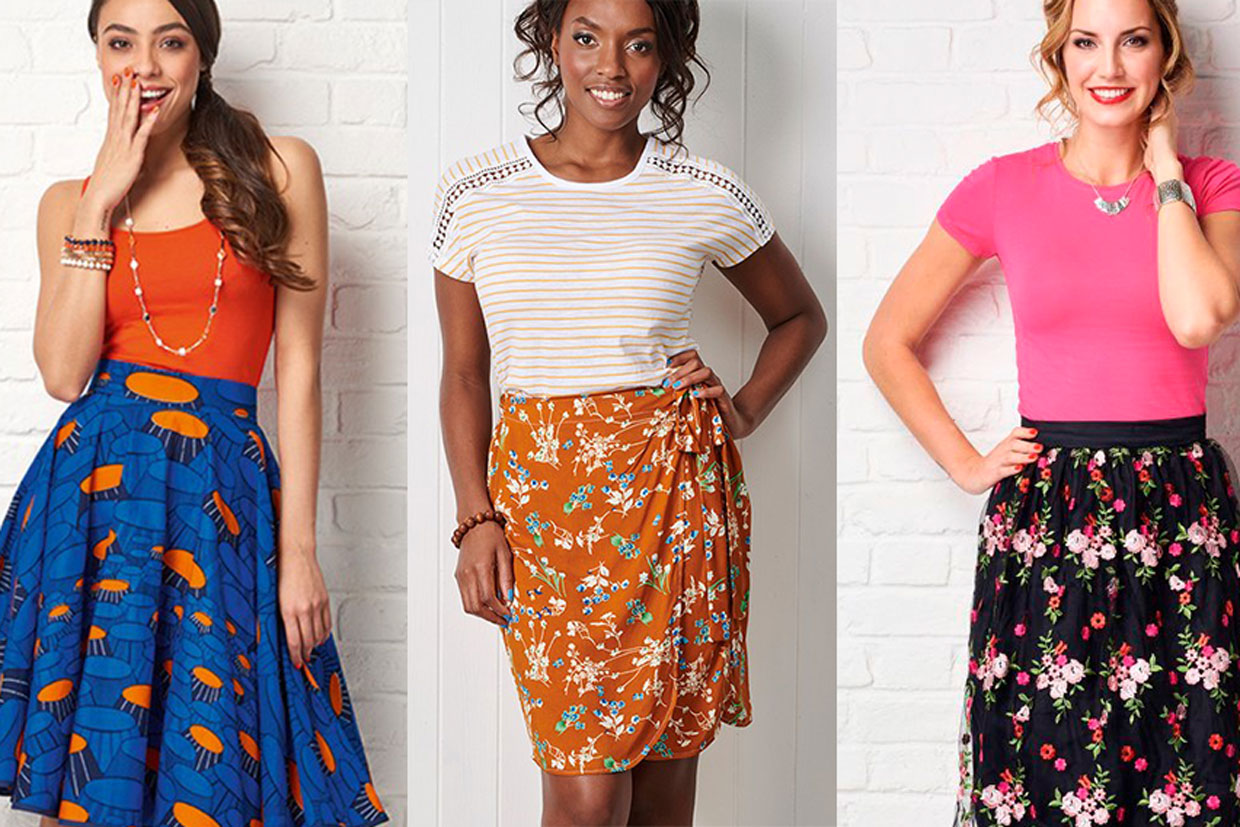
Got a ditsy floral print in your stash? Bows and blooms make a perfect match with Debbie Wainhouse's wrap around skirt pattern for how to make a tie-detail, wrap around skirt

Published:
Learn how to make your own simple wrap skirt and you’ll have an instant summer wardrobe staple to layer up on summer nights or wear over swimwear on the beach. We’ll show you how to make a DIY wrap skirt with this step by step and video guide.
If you’re new to making clothes, a wrap skirt is the perfect place to start. The beauty of this easy project is you don’t need any paper pattern cutting skills to try making your own clothes, and it’s free of fiddly dressmaking techniques too. So reach for your sewing machine and practise your dressmaking skills with this beginner-friendly wrap skirt pattern. A lightweight, drapey crepe or viscose fabric would work well for this skirt.
New to sewing? Take a look at our guides to how to measure yourself, how to use a sewing machine guide and beginner’s guide to sewing.
If you’ve got some fabric left over, you could complete the look with a matching hair accessory. Learn how to make a scrunchie with our easy guide.
Notes
- We used a rust floral print viscose fabric. Shop more beautiful rust floral print fabrics on Etsy.
- 1.5m (1¾yd) of 115cm (45in) width fabric will make a skirt up to approx a UK size 16. For sizes larger than this you may need to purchase 140cm (55in) width fabric.
- The elastic requirement will depend on your waist measurement.
This project was first featured in Simply Sewing magazine
You Will Need
- Fabric (1.5m x 115cm – 1¾yd x 45in)
- Elastic (Wide elastic: 1m – 11⁄8 yd), See notes for details
- Snap fastener
- Thread
- Basic sewing kit
- Sewing machine
Total time:
Measuring up
Step 1
Measure your waist and divide by two – this will be the width for each of the two front pieces of the skirt that wrap over each other. We wanted to make a mini skirt so we chose a length of 60cm (24in) including seam allowance.
Step 2
For the back piece, take half of your waist measurement and add 15cm (6in) as the back will be gathered with elastic. The length is the desired length of your skirt – 60cm (24in) in our case.
Cutting out
Step 1
From the main fabric cut:
- Skirt front: cut two.
- Skirt back: cut one.
- Ties: cut two strips 7.5x75cm (3x30in).
From the elastic cut:
- Waist elastic: half of your waist measurement plus 5cm (2in) for seam allowance.
The best way to get elastic to fit perfectly is to cut a longer piece and then pin it to fit in a position that feels comfortable for you.

Making the skirt
Step 1
Sew a channel into the top back of the skirt (wide enough for your elastic to thread through). Thread the elastic through the channel. Stitch a channel in the front pieces so they visually match the back, minus the elastic, and press.

Step 2
Sew the skirt fronts to the back with right sides (RS) together. Neaten the seams using an overlocker or a zigzag stitch.

Step 3
Curve the lower front edges of the wrap front, using a guide such as a plate for an even curve. Hem both front pieces.

Step 4
To make the ties, fold the fabric RS together and stitch all the way down the long edge and one short edge, turn RS out and press. Repeat to make the other tie.

Step 5
Stitch the ties in place with a box of stitching for security. Sew one of the ties to the outside of the skirt at the waist and one on the side where the seam is.

Sew a press snap to the other side of the skirt on the inside.
Caught the bug for making your own wardrobe? Check out our guides to the best sewing patterns for beginners and best skirt sewing patterns.