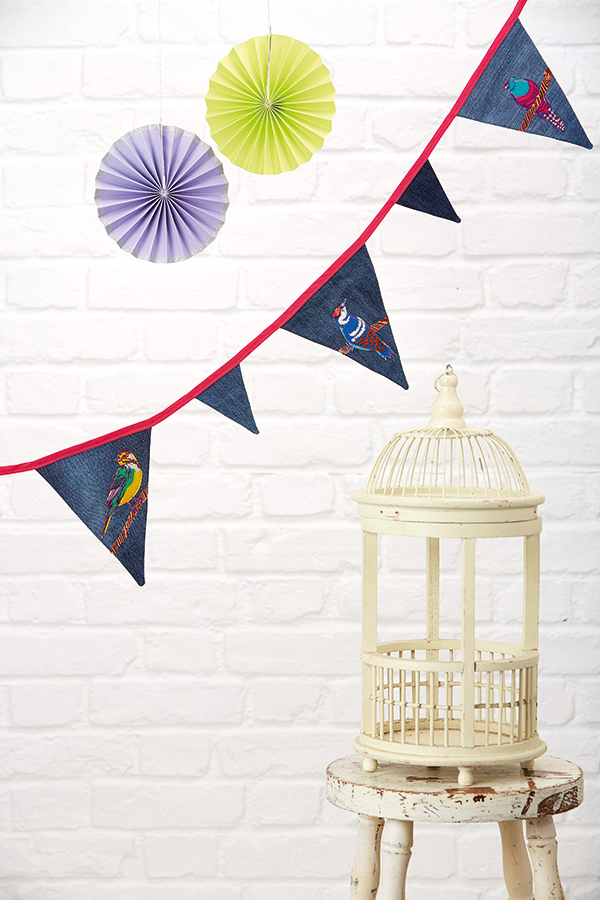
How to make beautiful bunting from old jeans
Step 1
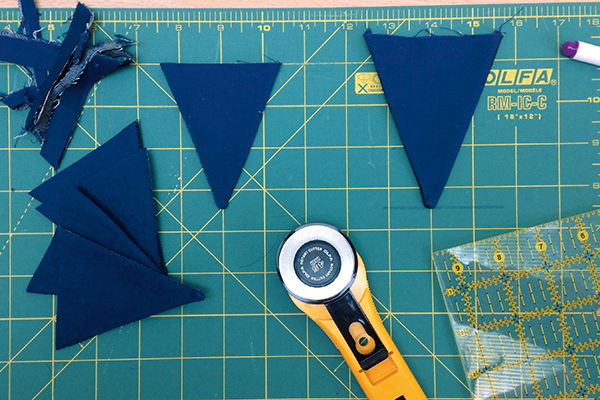
Download and trace both of the bunting templates onto paper and cut them out. Iron your denim scraps and decide on your colour layout, then draw around the templates onto the wrong side (WS) of your denim fabric, so you have five large triangles and six small ones. Cut out with a 1cm (3/8in) seam allowance around each side of the triangles.
Step 2
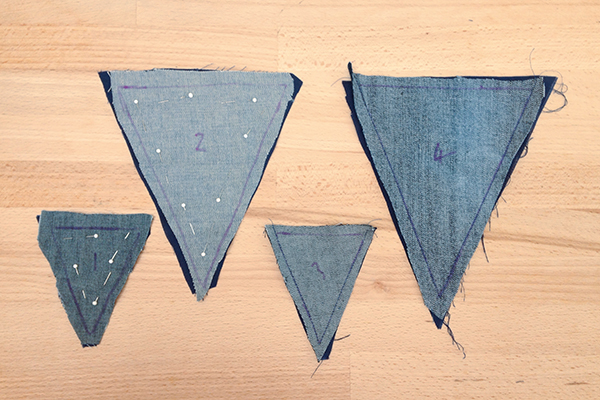
Press your dark blue cotton fabric and again cut six small triangles and five large ones to the same size as your denim triangles – these are for the backs of the flags. Take one of your larger denim triangles and one of the larger blue triangles, pin them right sides (RS) facing. Stitch them together down each long side of the triangle, making sure you leave the top unsewn.
Step 3
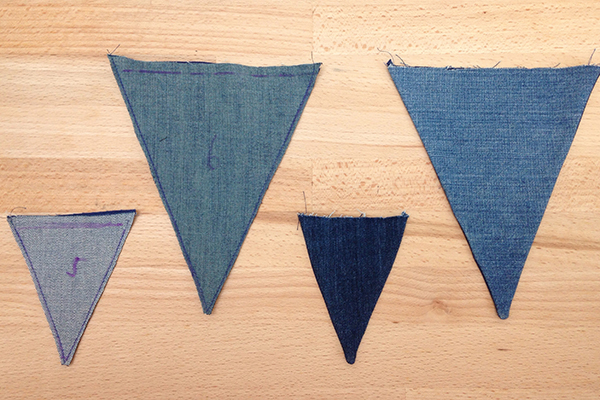
Trim the seam allowance and turn the sewn triangle RS out, making sure you push out the points carefully – a knitting needle is ideal for this. Repeat for all triangles and press them flat.
Step 4
You need to neaten the tops of your sewn triangles so they are easier to join up. Trim off any excess fabric with scissors or using a rotary cutter and mat if you have one.
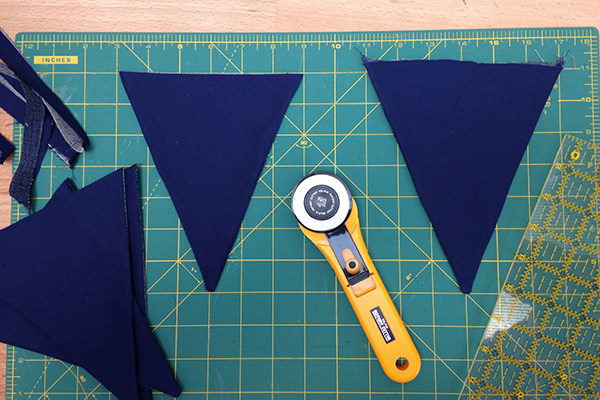
Repeat this step with the six smaller triangles. You now have eleven bunting flags ready for appliqué.
Step 5
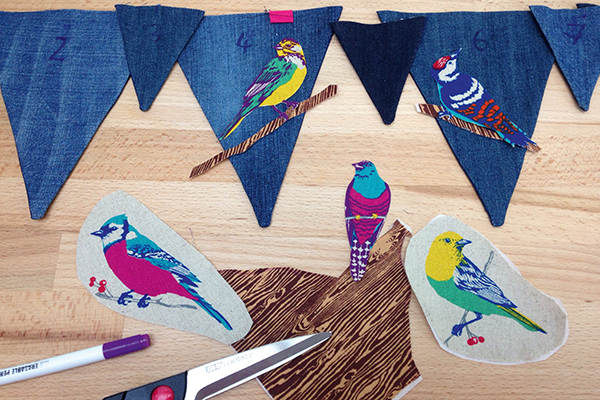
This is the fun part! Take your bird fabric and work out which birds you’d like to put on your flags then cut them out roughly outside the actual motif. Cut out a piece of Bondaweb to the same size and iron onto the back of the fabric to cover the motif. Turn the fabric over to the RS and cut carefully round each bird. The Bondaweb will fix the edges and help stop it fraying
Iron some Bondaweb onto the back of your woodgrain fabric and free-cut out some ‘branches’ for your birds. Ours are 1cm (3/8in) wide but you can vary the width.
Step 6
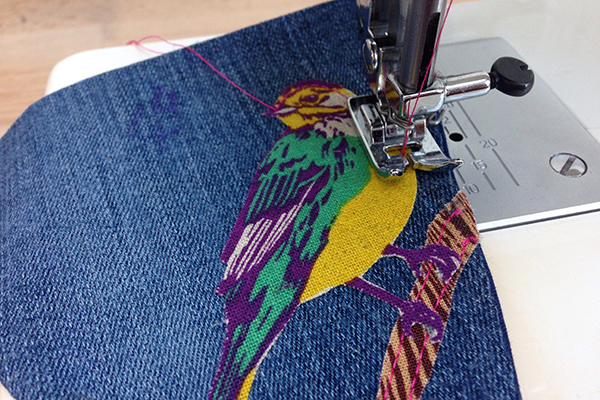
Taking one of your large flags, peel off the backing paper from the Bondaweb and iron your branch onto the flag. Cut off any overhanging fabric from the edge of your flag. The branch is now bonded to the fabric, but to give extra security to the appliqué (and to add interest) thread your machine with pink thread and sew your branch onto the flag, sewing along each long edge. Trim off the loose threads to neaten. Peel off the backing paper and iron your bird on top of your branch and sew this in place.
Step 7
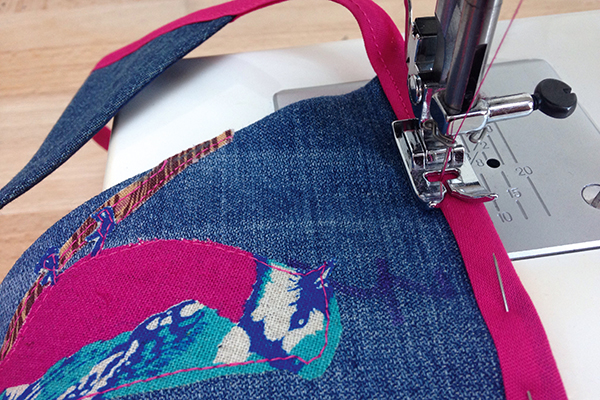
Take your bias binding and fold the binding in half lengthways and press. Take your first small flag and pin it into the folded bias binding 20cm (8in) in from one end. Leave a 5cm (2in) gap and pin in your first large flag, and then leave another 5cm (2in)gap and pin in your second small flag. Continue for all the other flags, leaving a 20cm (8in) long strip of bias binding at the other end. Sew the bias binding closed.
Step 8
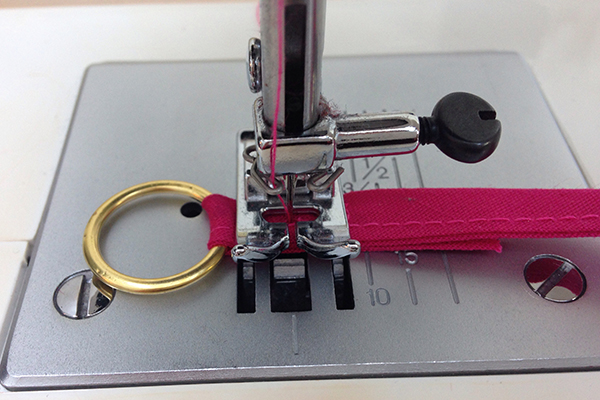
I prefer to finish off bunting with a brass ring sewn into each end of the binding – this makes it easier to hang it up. Take a brass curtain ring and thread it onto the end of your sewn bias binding. Fold the bias binding over the ring by 3cm (1¼in) and sew it together.
Step 9
Repeat by attaching a curtain ring at the other end of the strip. Now hang up and wait fro the compliments!
