Taking you from beach to bar, this kimono cover-up by Coats Crafts is a holiday essential and is so easy to sew up - no pattern required!
Wear yours as a beach cover-up on your next summer holiday, or with jeans and a tee at the weekend. Here's how to make it...
You will need:
- Fabric, 150x137cm (60x54in)
- Trim, 6m (optional)
- Basic sewing kit
Fabrics used:
Feathers from Zandra Rhodes' Flower Garden collection.
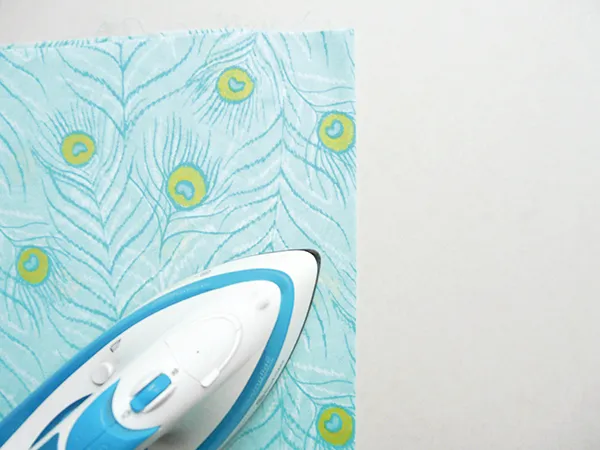
Step 1
Fold your fabric in half lengthways with wrong sides together, matching the two selvedges. Your fabric will now measure 150x68cm (59x2oin). Fold it in half again but in the other direction so the selvedges remain together and press to create a centre fold. Your fabric will now measure 75x68cm (29.5x27in).
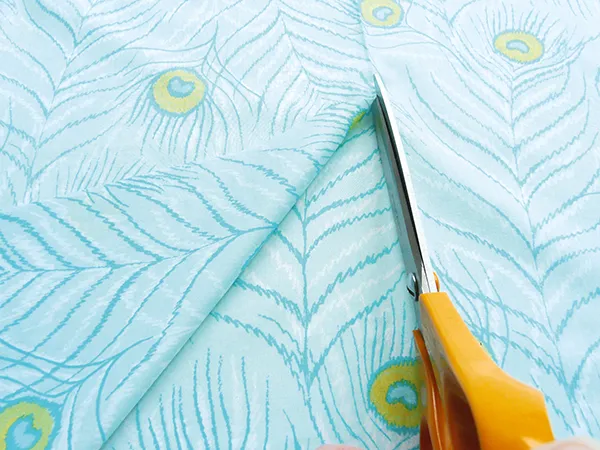
Step 2
Open out the whole fabric piece and place it so the selvedges run vertically. Cut along the pressed centre line.
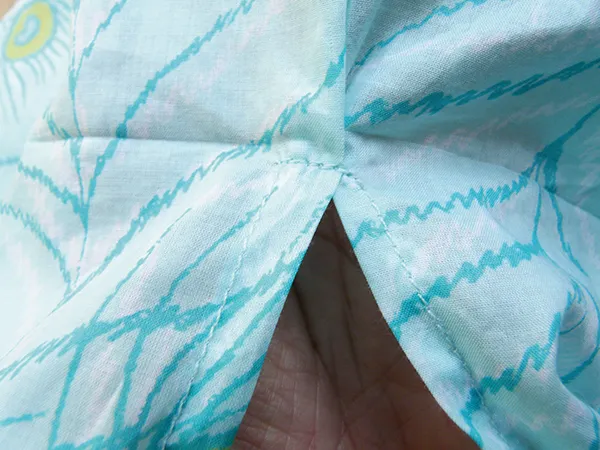
Step 3
Create a double-folded hem along this cut centre line and stitch. Work an additional line of stitching at the centre.
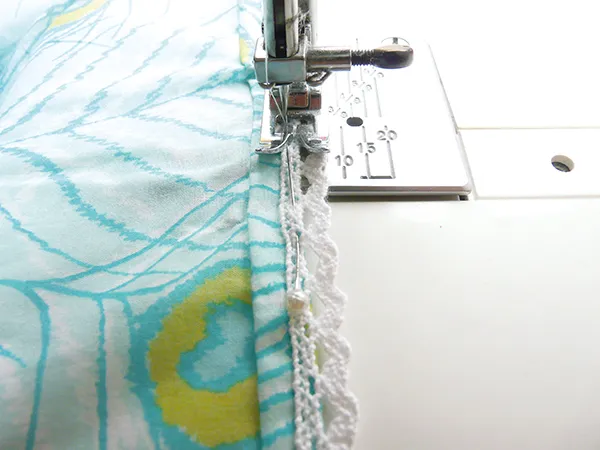
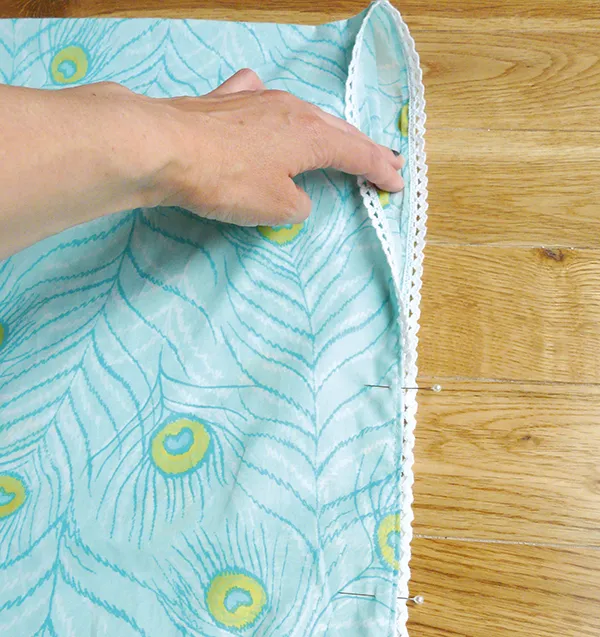
Step 4
Continue to work a double-folded hem along the remaining raw edges. Pin the sew a trim in place if desired.
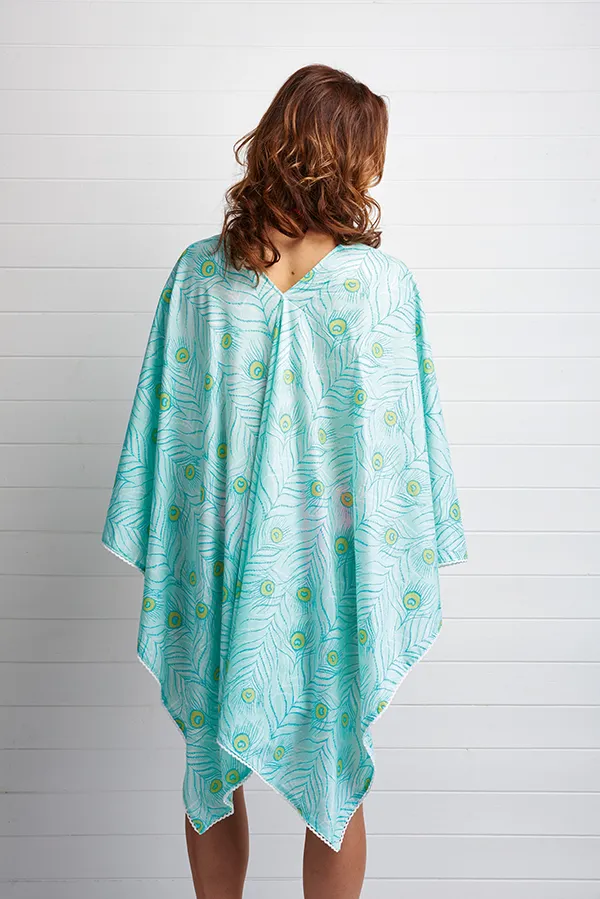
Step 5
You will now have a shawl, so you just need to sew up the sides to close them, leaving a gap of around 20cm (8in) each side for your arms. Now your kimono is ready for the beach!
Method 2
Get set for sun, sea and sand with Jennie Jones’ speedy tee-to-dress refashion. Don’t jet off without this cover-up in your suitcase!

You will need:
- Fabric: 1 extra large T-shirt
- Elastic: 2cm (¾in) wide, see instructions for details
- Basic sewing kit
Cutting out
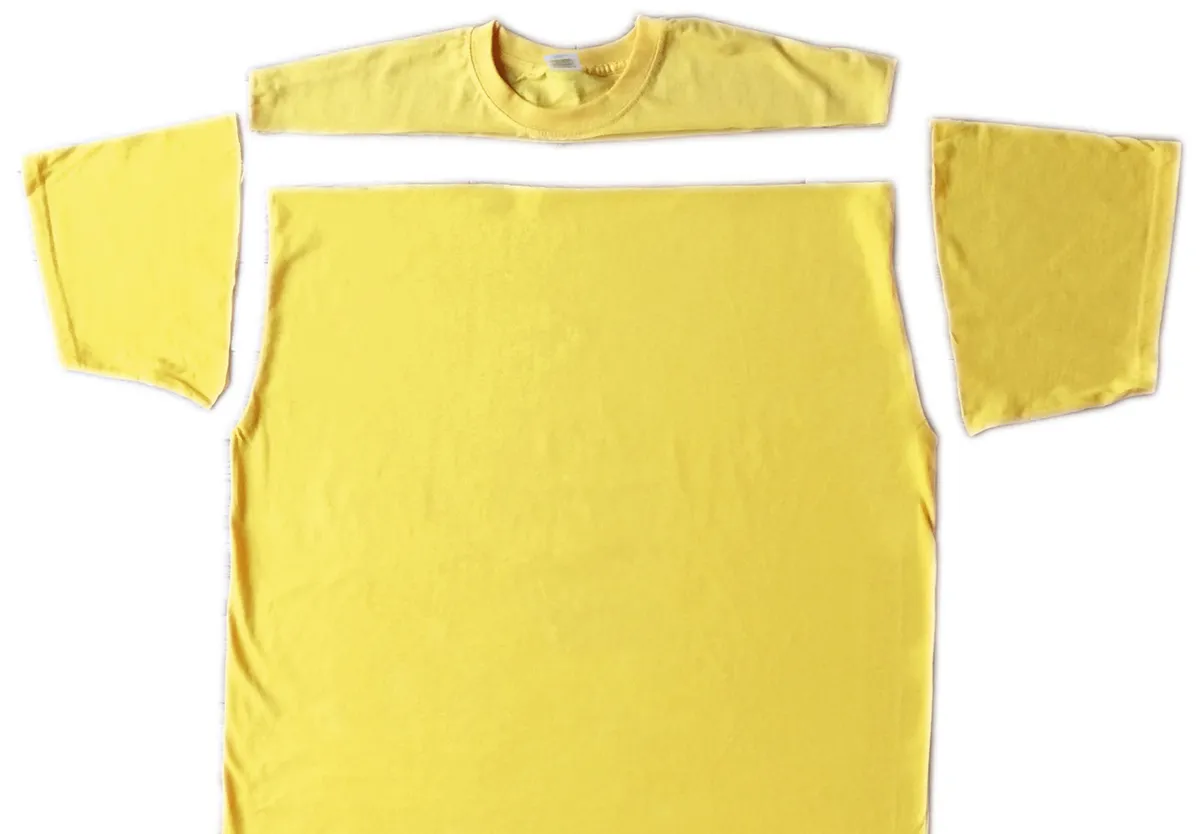
Step 1
Cut the sleeves and neck from the main body of the T-shirt. The sleeves will become the front and back of the top of your dress and the large part will be the body.
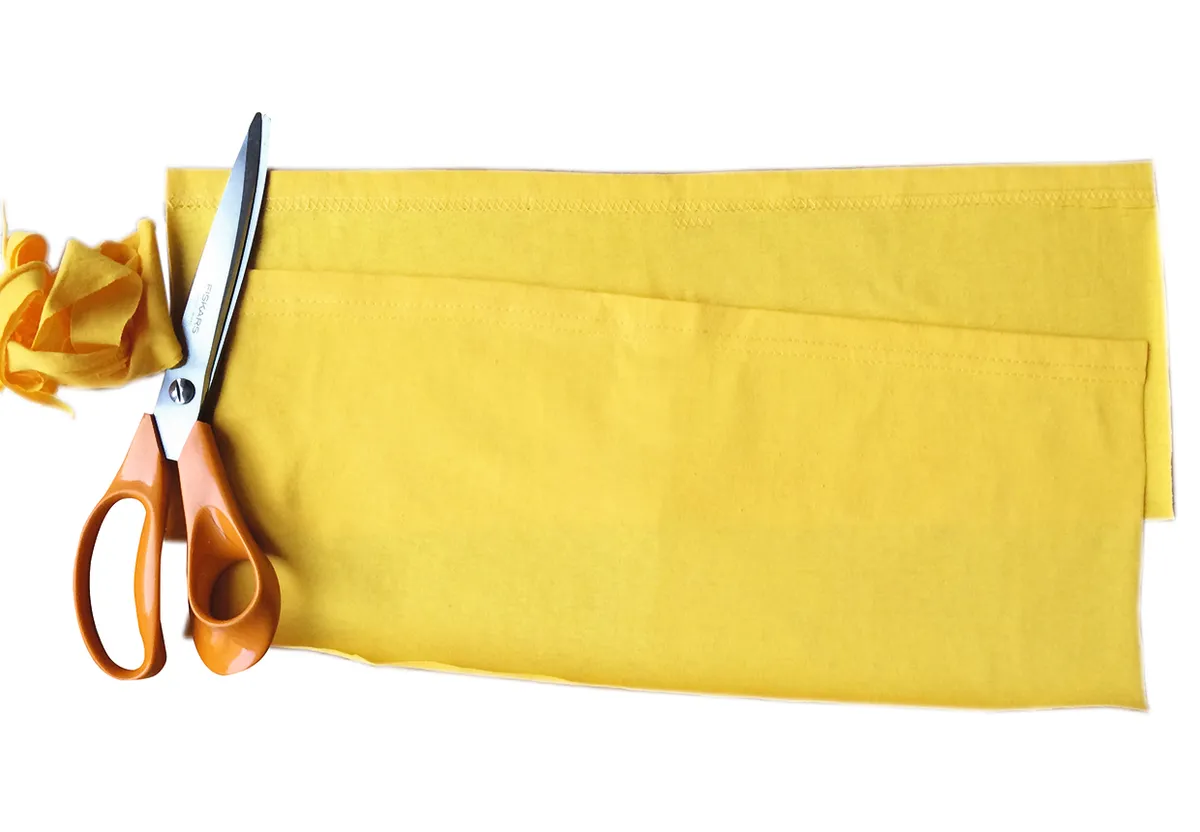
Step 2
Cut along the bottom seam of one sleeve. Open it out and trim off the excess to make a rectangle. Keep the finished hem intact as this will be used for the dress top.
Step 3
Repeat with the other sleeve.
Attaching the tube top
Step 1
Measure and mark the centre point of one side of the main body with a pin. Measure and mark the centre point of the long raw edge of one sleeve.
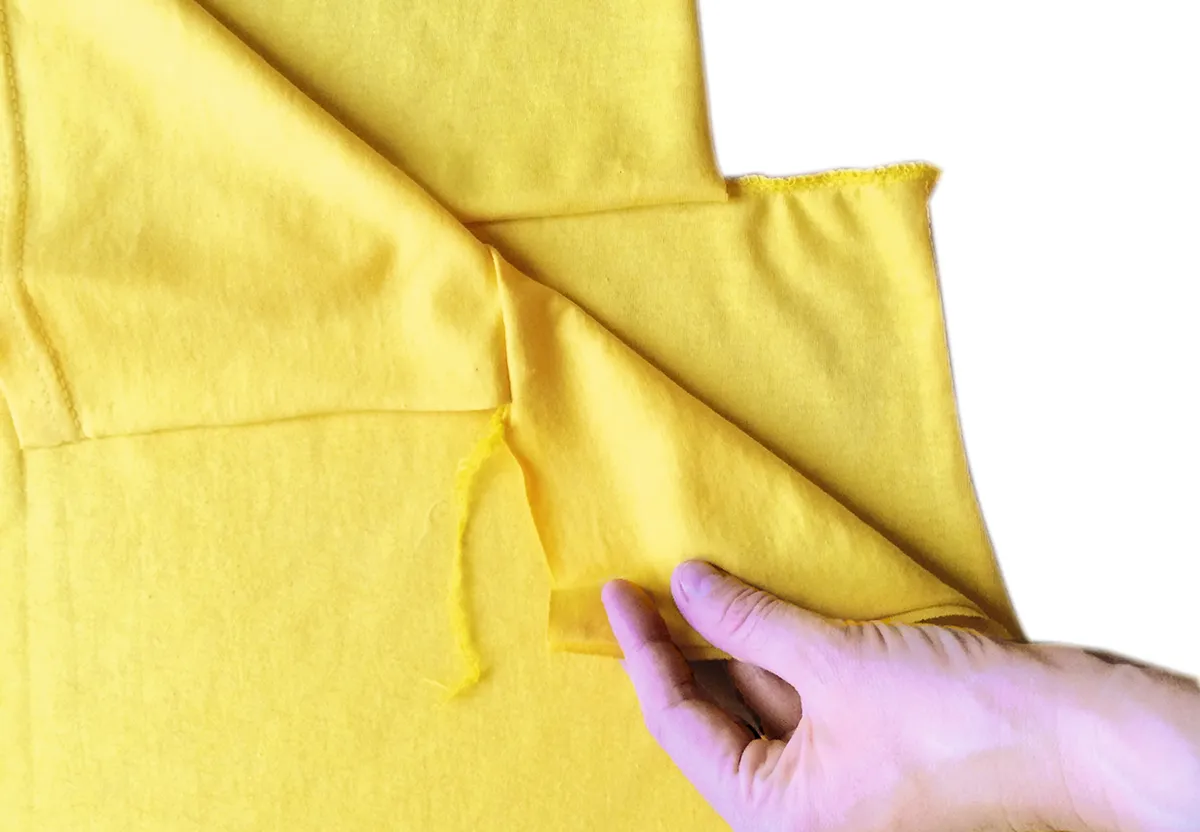
Step 2
Place the main body and sleeve right sides (RS) together, matching the centre pins and raw edges. Stitch together along the length of the sleeve.
Step 3
Repeat this with the other side of the T-shirt main body and the other sleeve. You’ll now have an L shape on the front and back part.
Stitching the side seams
Step 1
Pin the sides of the two sleeves together down both sides then try it on, inside out, to see how it fits.
Step 2
Pin down the open sides of the T-shirt following a line you’re happy with then sew the sides closed.
Attaching the elastic
Step 1
Cut a length of elastic to fit under your bust with 2cm (¾in) extra for overlap.
Step 2
Measure to divide the elastic into quarters and mark these points with pins.
Step 3
Measure to divide the seams between the main T-shirt and sleeves on the inside of the dress into quarters and mark.
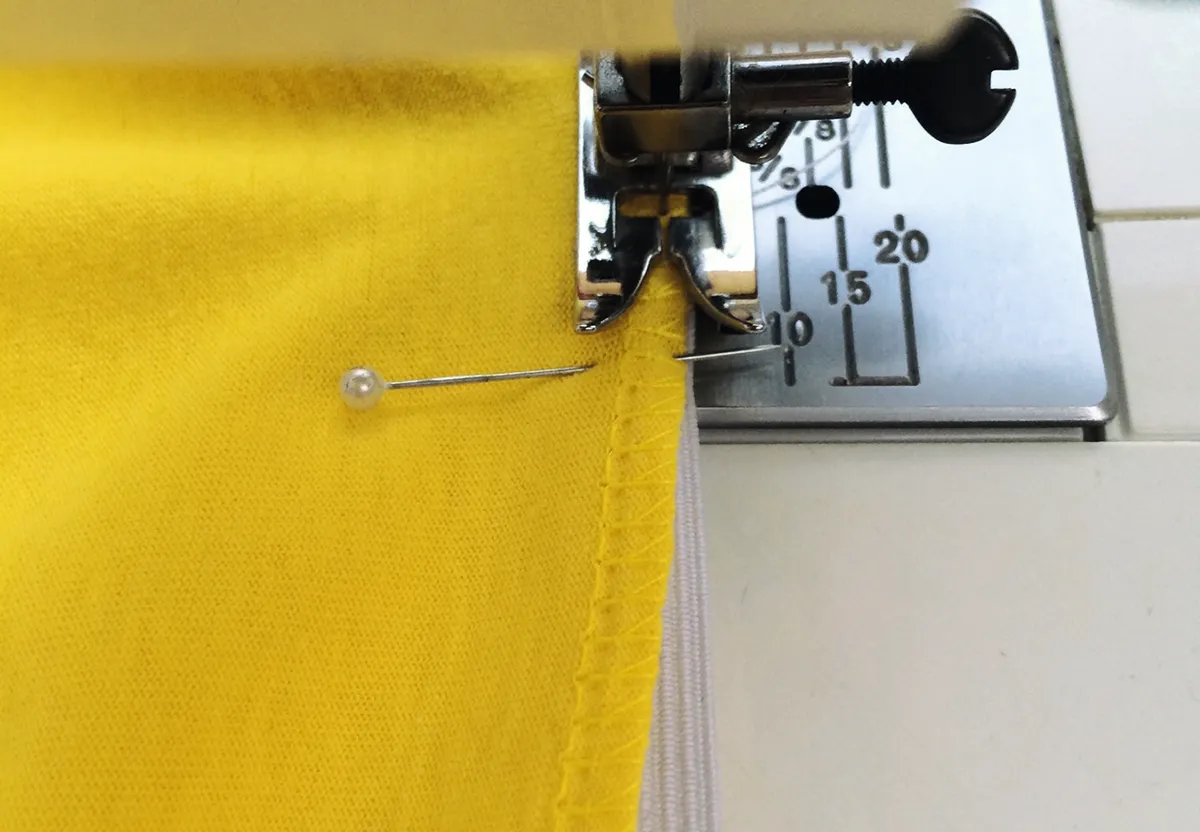
Step 4
Starting at one side seam, pin the elastic to the seam, matching the quarter mark pins of the elastic and the seam.
Step 5
Use a zigzag stitch to stitch the elastic in place, stretching it from one pin to the next as you go.
Step 6
Overlap the ends of the elastic and finish securely, and you’re ready for the beach!