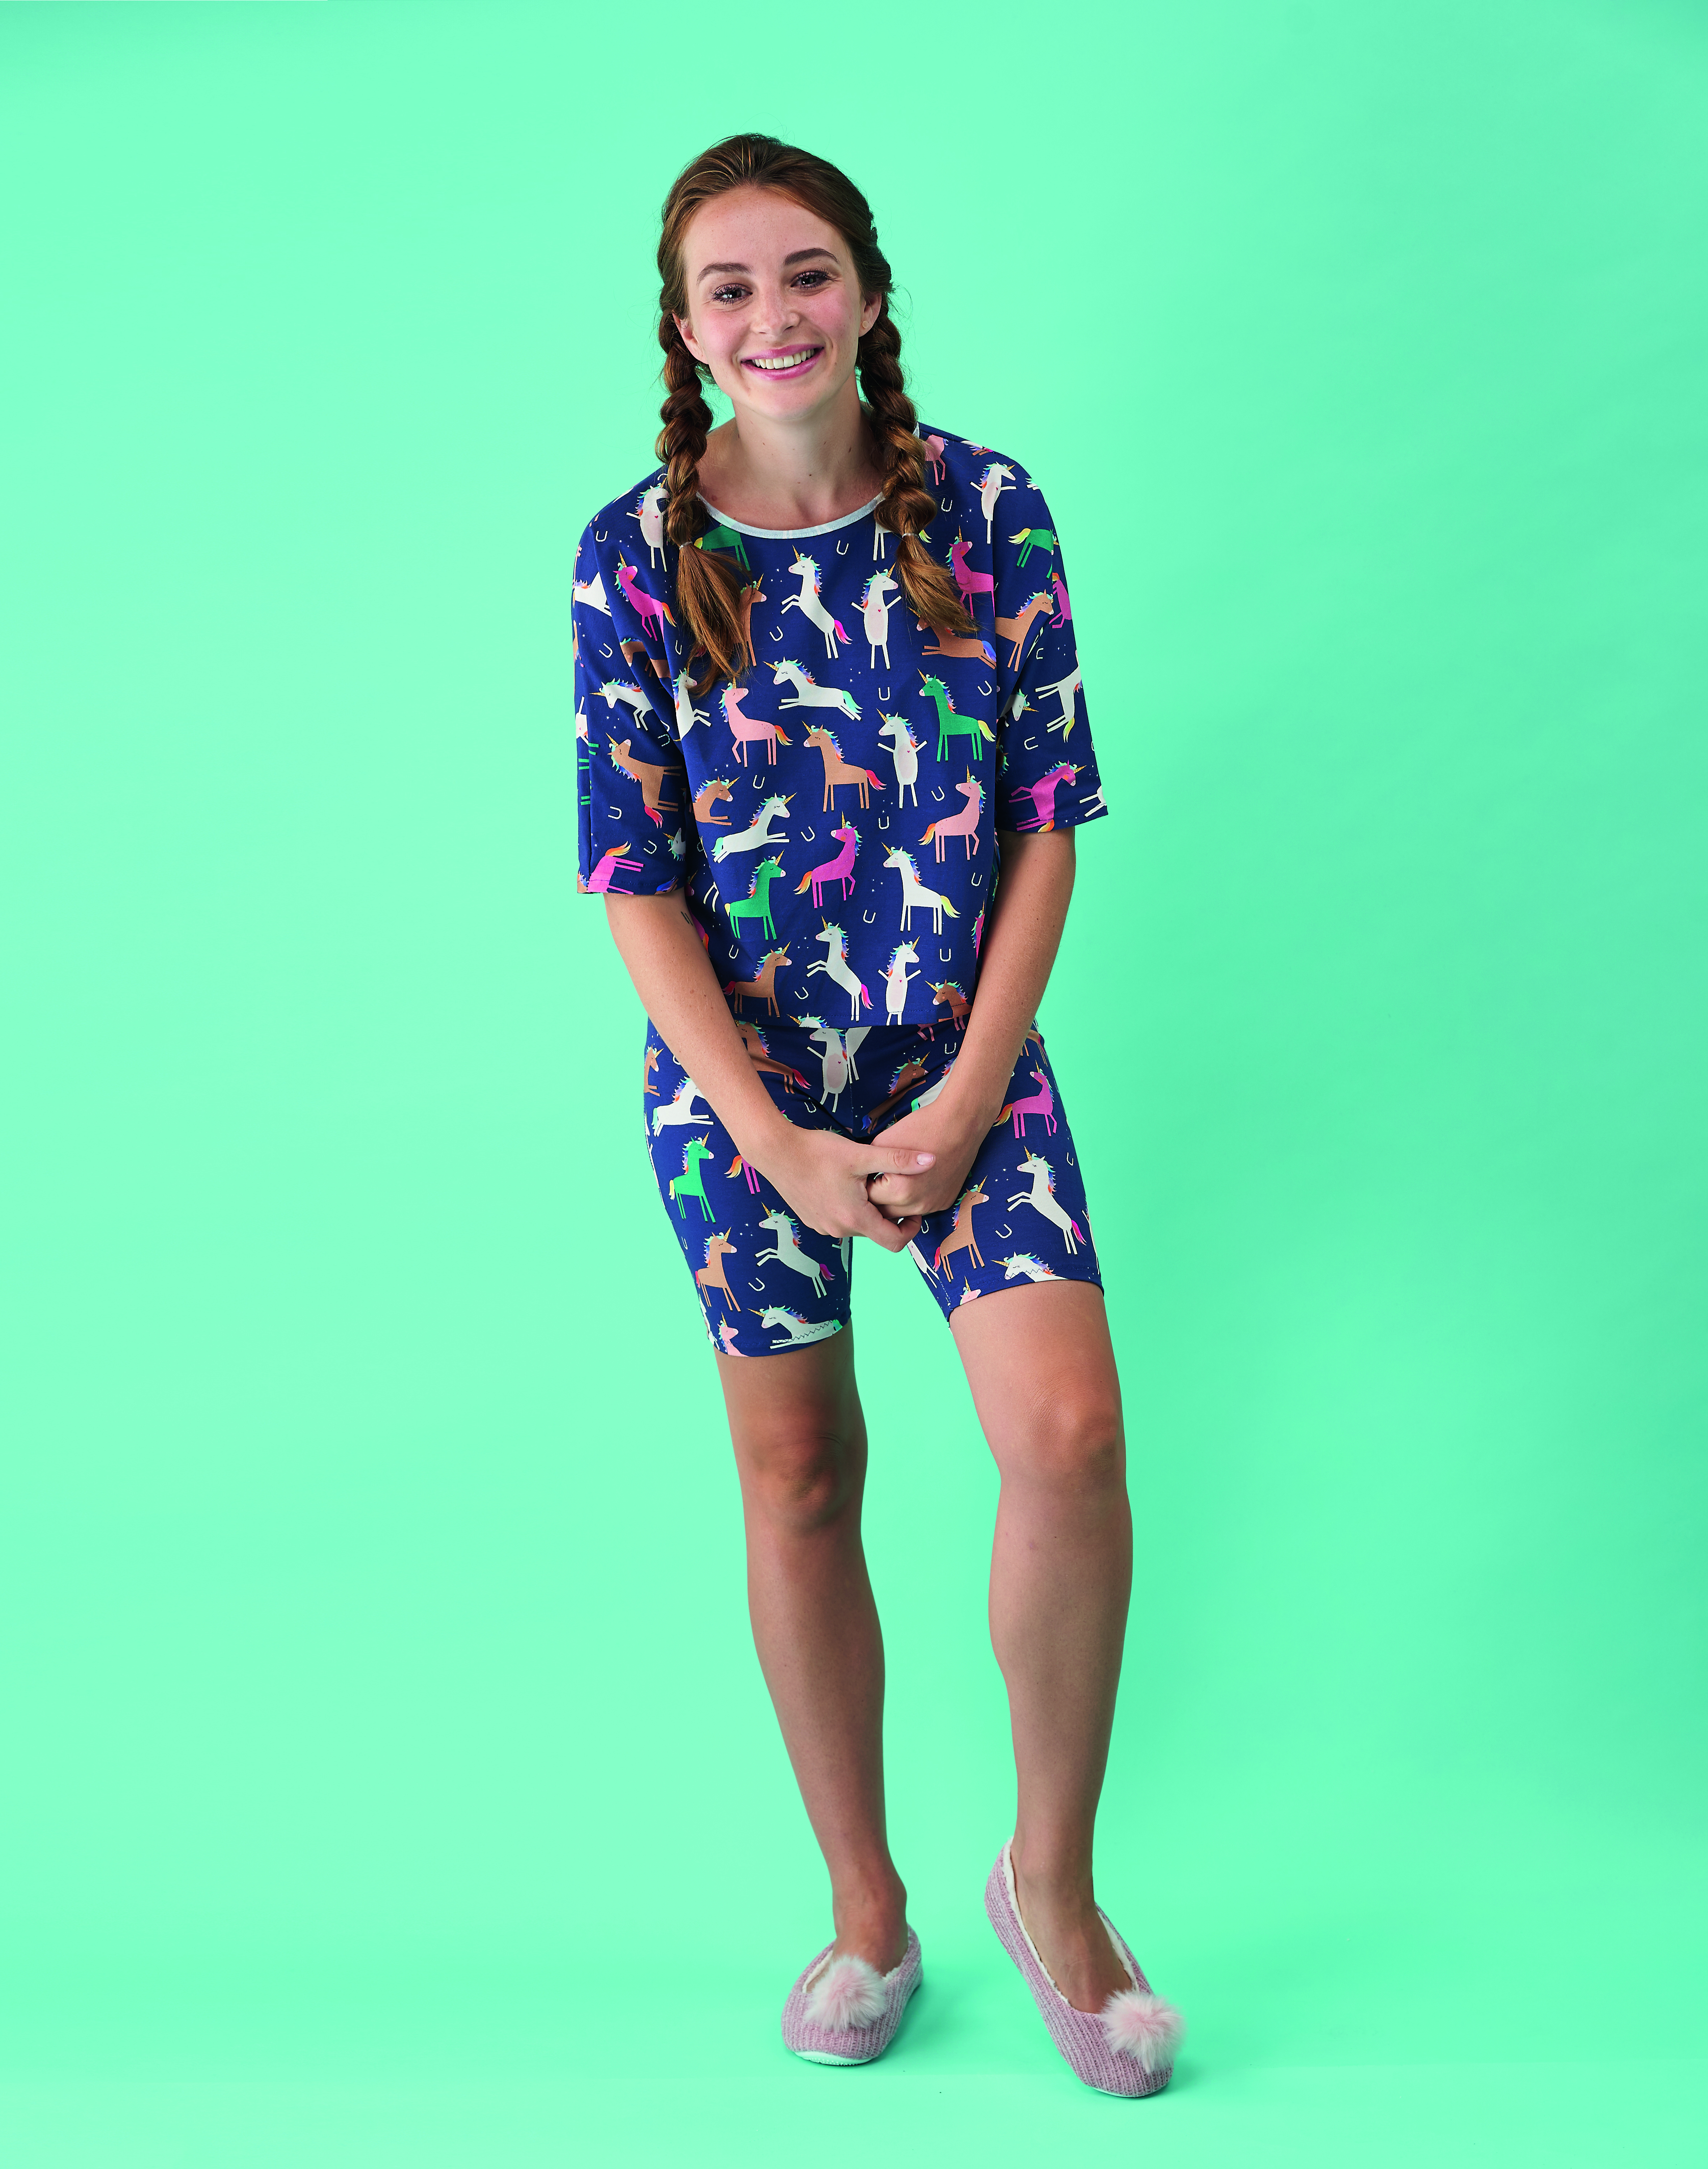
To make the top - making the pattern
Step 1
Fold the top in half vertically and place it on top of the paper. Use a few pattern weights to hold the top in place.
Step 2
Use a pencil to trace around the back neckline and then across the shoulder seam. At the end of the shoulder seam line, continue the line until the entire shoulder seam measures approx 40cm (16in) or your desired shoulder seam and sleeve length combined.
Step 3
Measure around your elbow to find your elbow width. Half this amount and add 5cm (2in) for ease plus 2cm (3/4in) seam allowance (1cm for each side). Draw a straight line downwards at a 90-degree angle at the end of the shoulder/sleeve seam. This will be the sleeve opening.
Step 4
Draw a smooth curve from the end of the sleeve opening down to the hem using the image as a guide. The curve needs to be shallow and smooth or sewing it will be difficult. We made our seam a few centimetres larger than the original top for an oversized fit.
Step 5
Calculate how long you would like the top to be and then mark this on the paper at the centre front. Square off the hemline at your desired length and join this to the end of the side seam curve.
Step 6
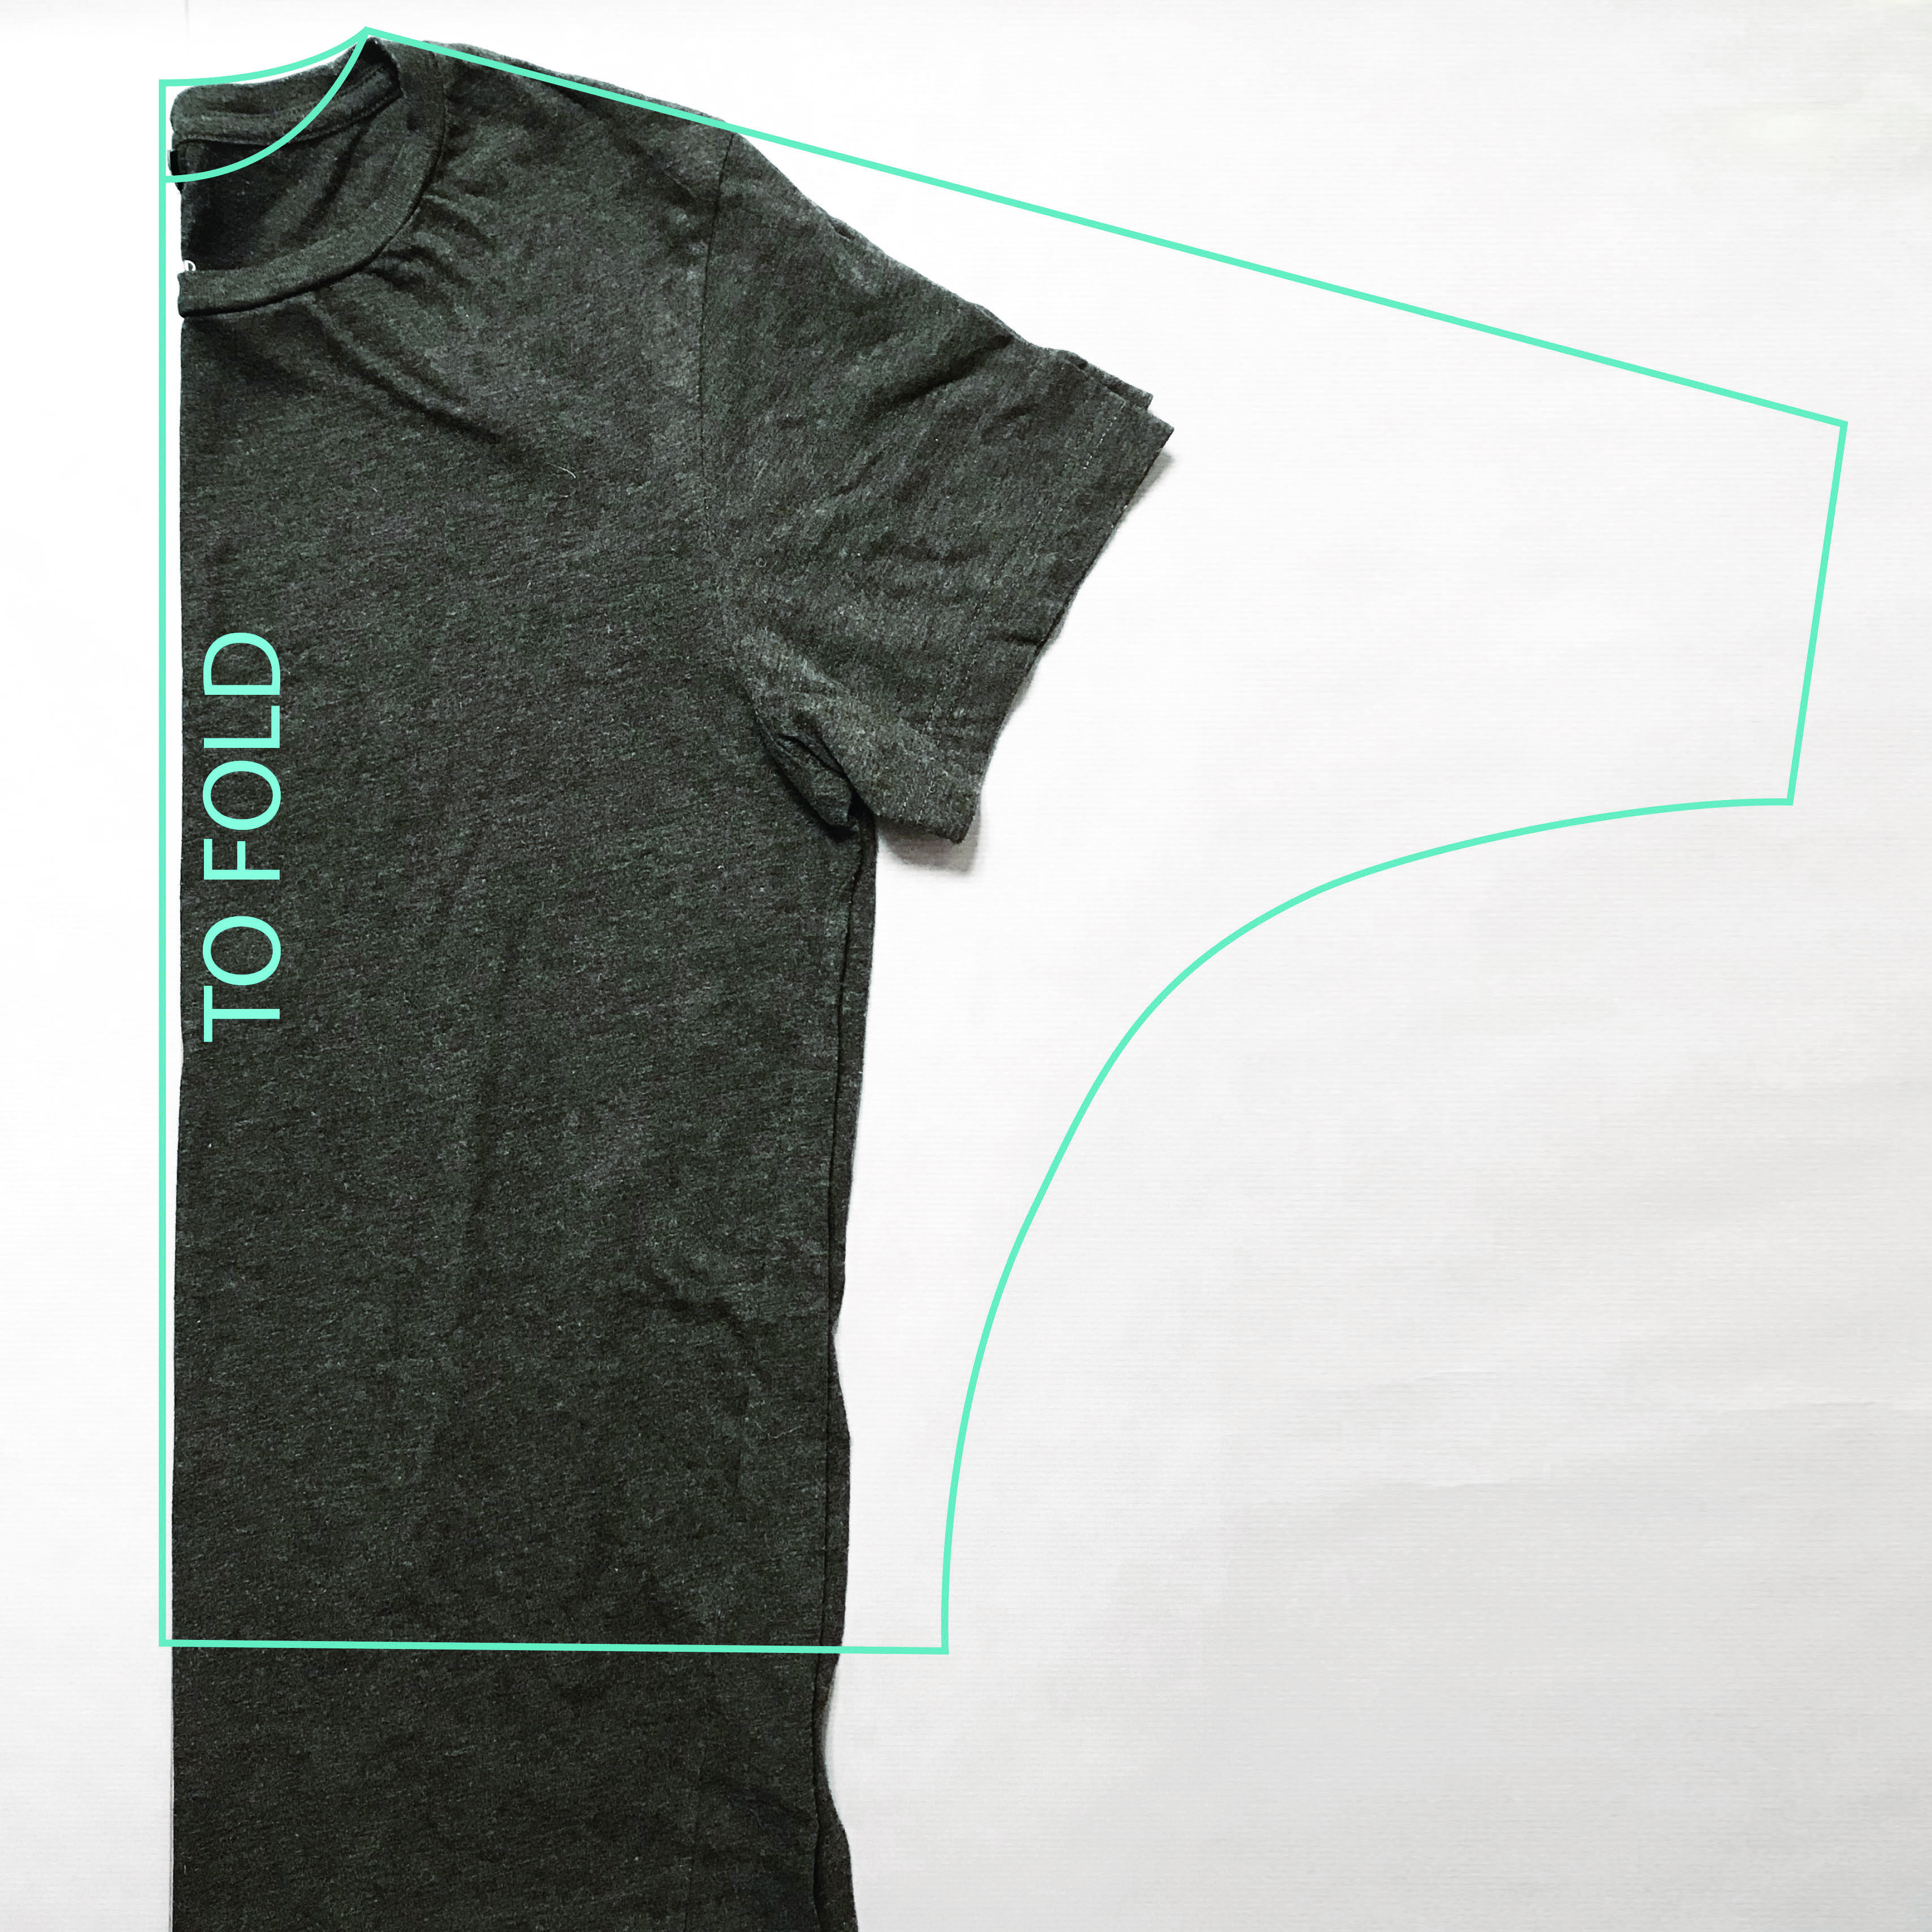
Once you have completed the back pattern piece, draw a lower neckline for the front pattern, draw a lower neckline for the front pattern pieces approx 3-5cm (11/2-2in) down from the first neckline marking. The shoulder seam, armhole, side seam and hem will remain the same for the front piece.
Step 7
Trace off the front pattern piece with the lower neckline. You will now have two pattern pieces – one with a higher neckline for the back and one with a lower neckline for the front. Add 1cm (3/8in) seam allowance to both pieces all the way around except for the centre front line, as this will be cut on the fold.
Cutting out
Step 1
From the jersey fabric cut: Top front: cut one using the template. Top back: cut one using the template.
Making the top
Step 1
Place the front and back pieces right side (RS) together. Pin along the long shoulder/sleeve seam and then stitch. Sew slowly and avoid stretching the fabric.
Step 2
Finish the raw edges with a zigzag stitch or overlocker.
Step 3
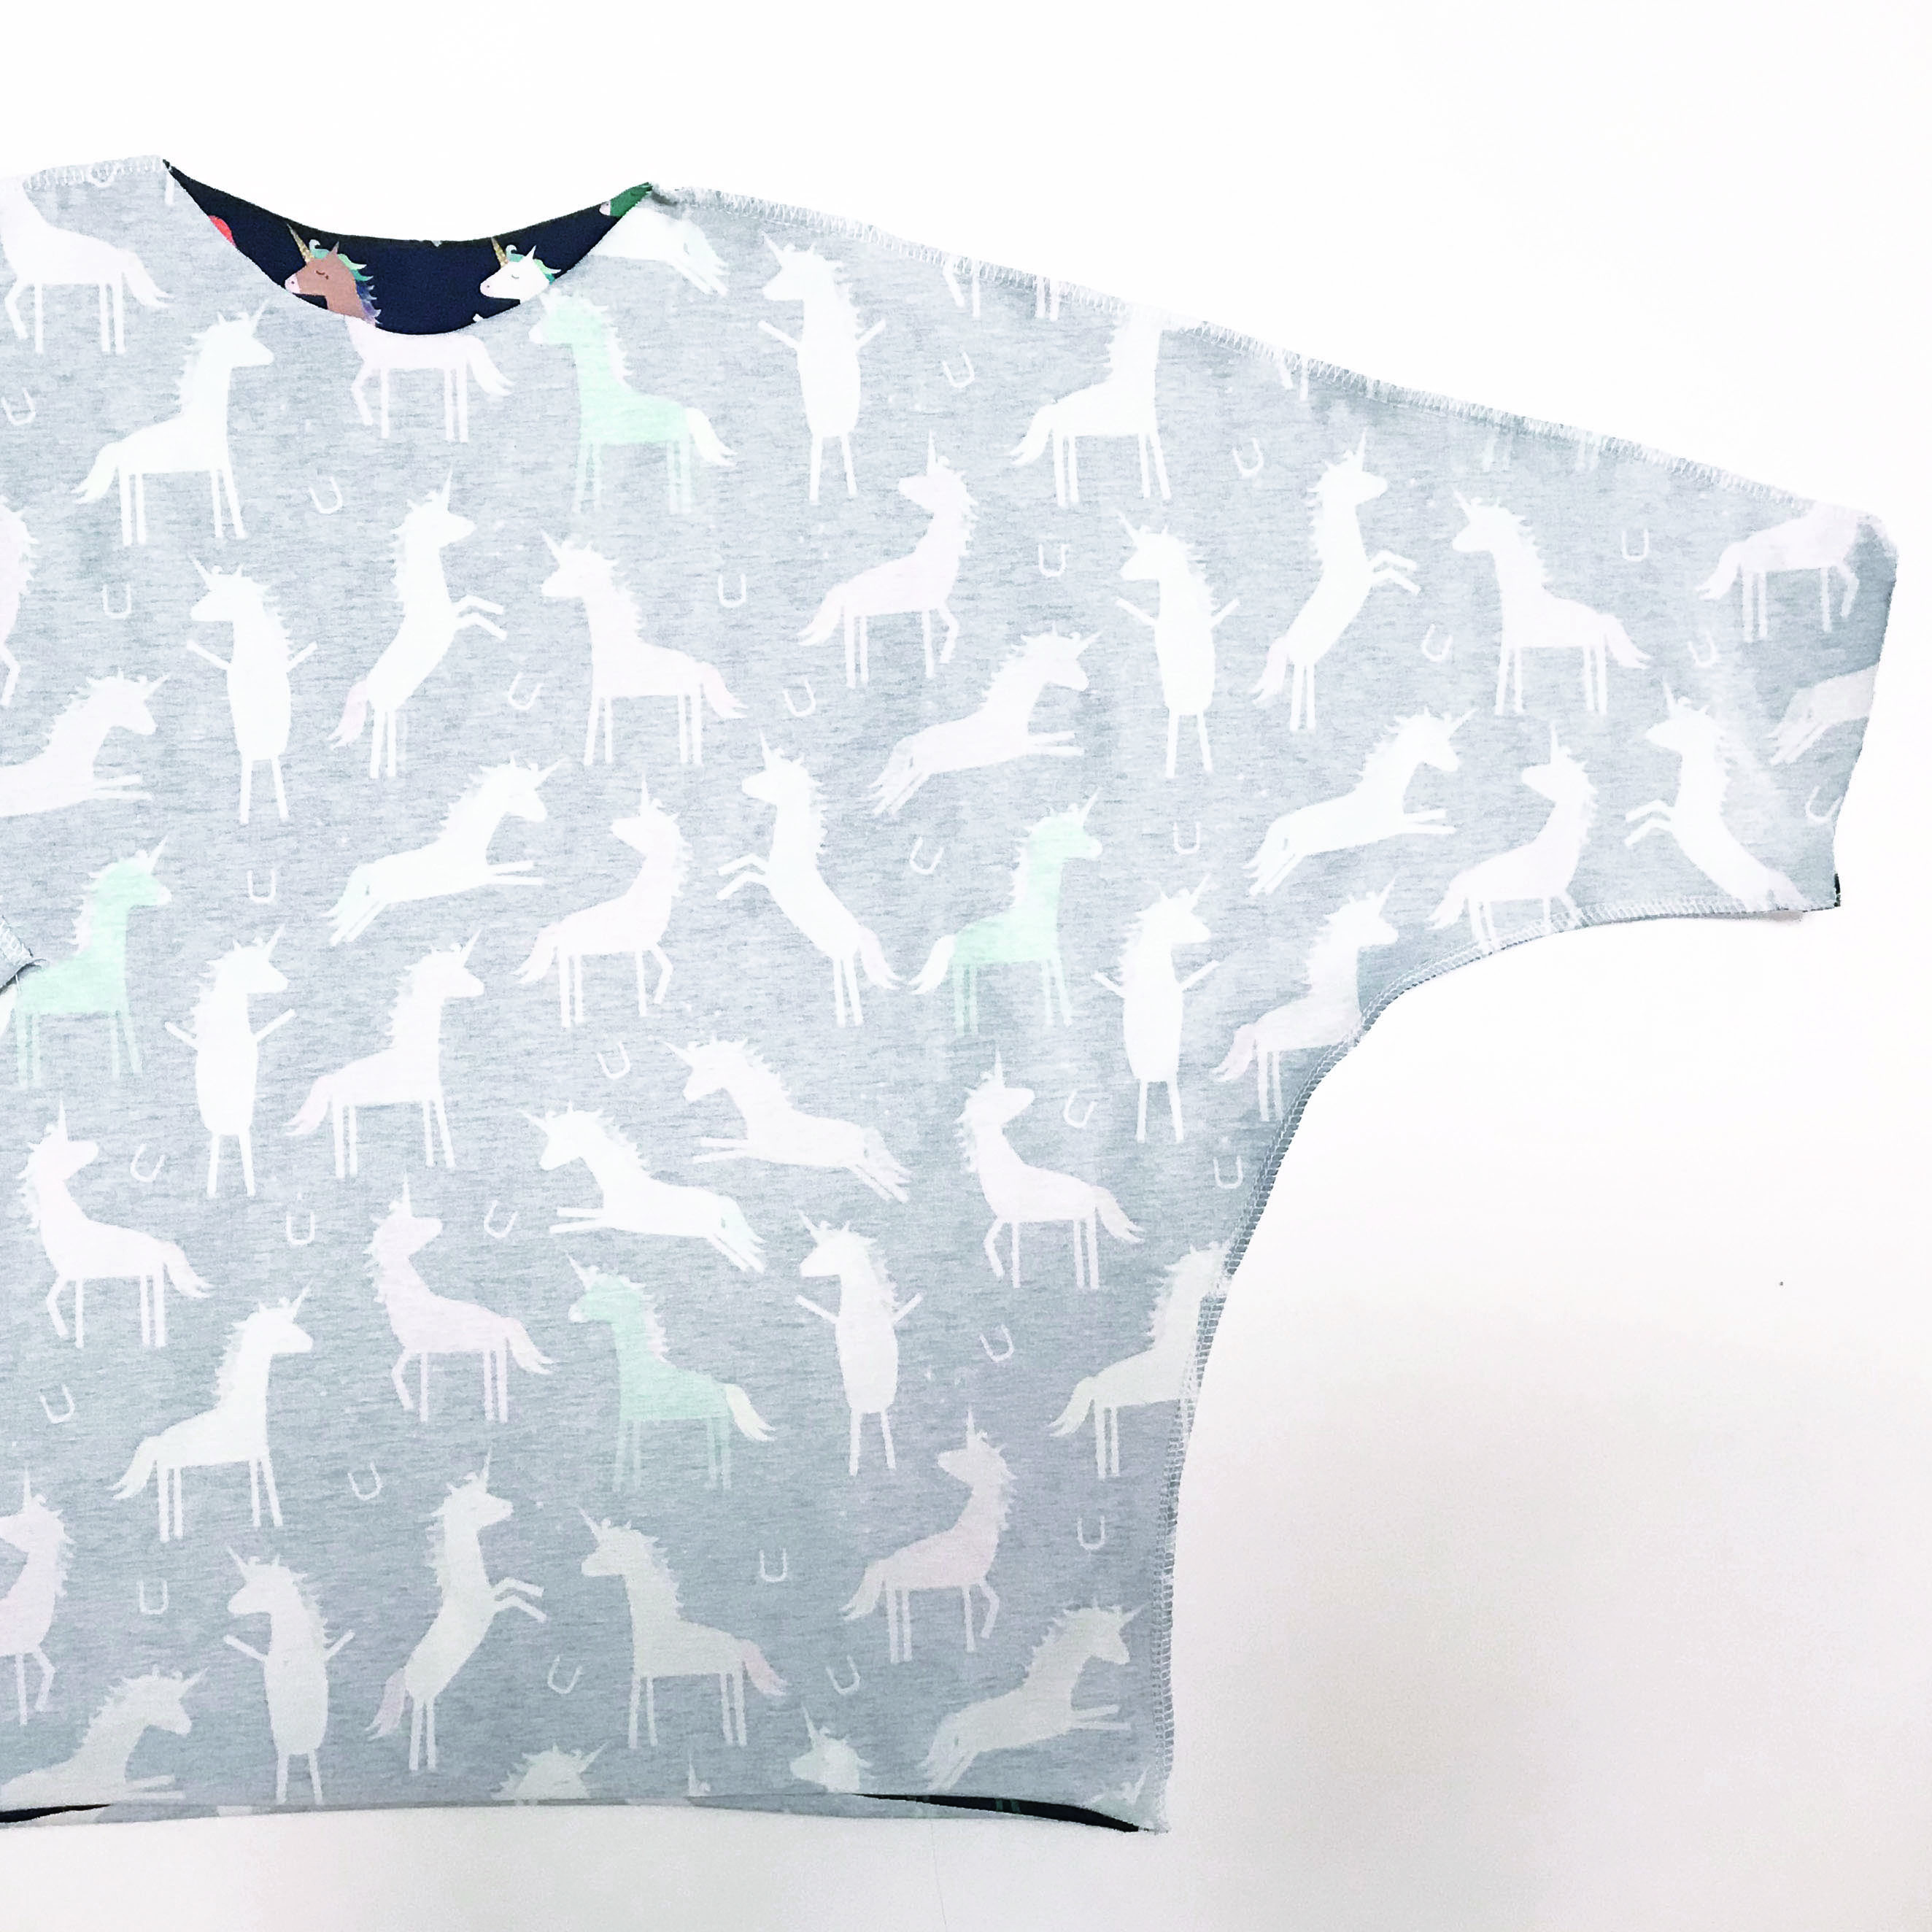
Stitch the underarm seam all the way from the armhole opening to the hem. Finish the seams as before.
Step 4
Try on the top to check the fit and the neck opening. If you would prefer a wider neck opening, trim an even amount away at this point, remembering that there is 1cm (3/8in) seam allowance around the neck.
Step 5
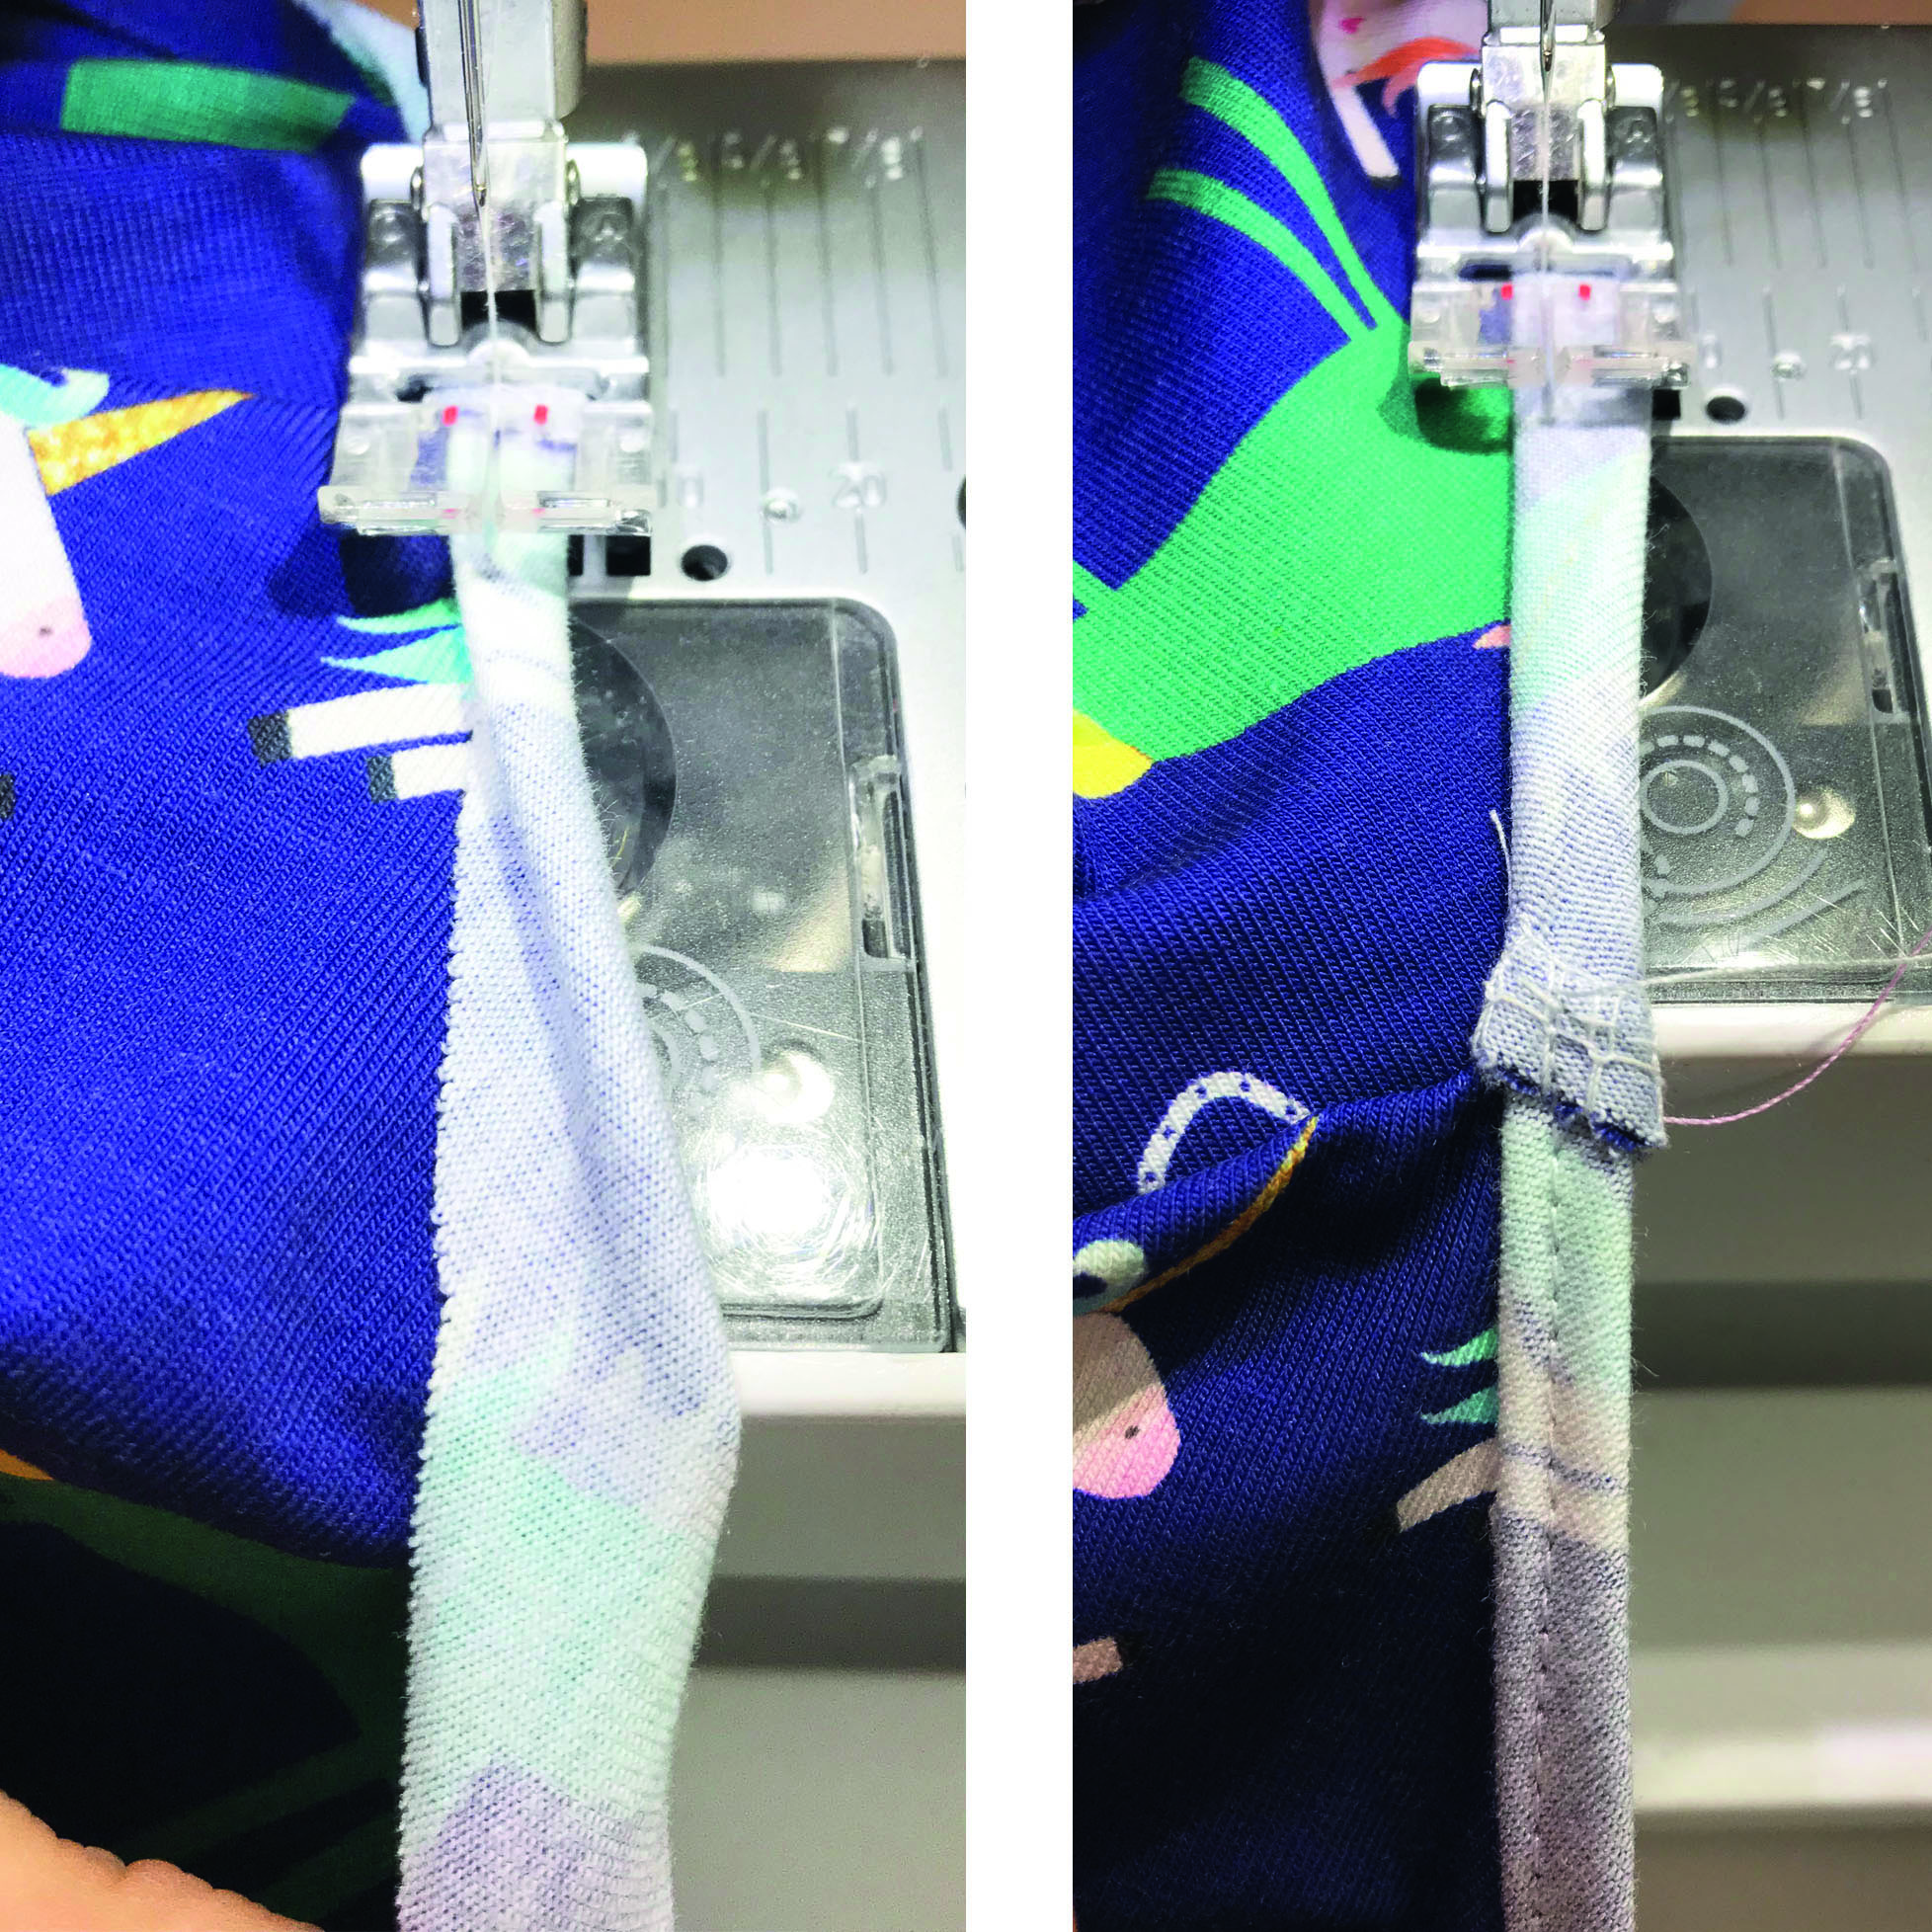
The neck opening is finished with a mock binding. Turn the top RS out and fold the fabric at the neck opening over by 5mm (1/4in) RS to RS, so that the wrong side (WS) of the fabric is visible on the front of the garment. Fold again in the same way with another 5mm (1/4in) fold. Pin in place.
Step 6

Topstitch close to the fold. Sew slowly and avoid stretching the fabric.
Step 7
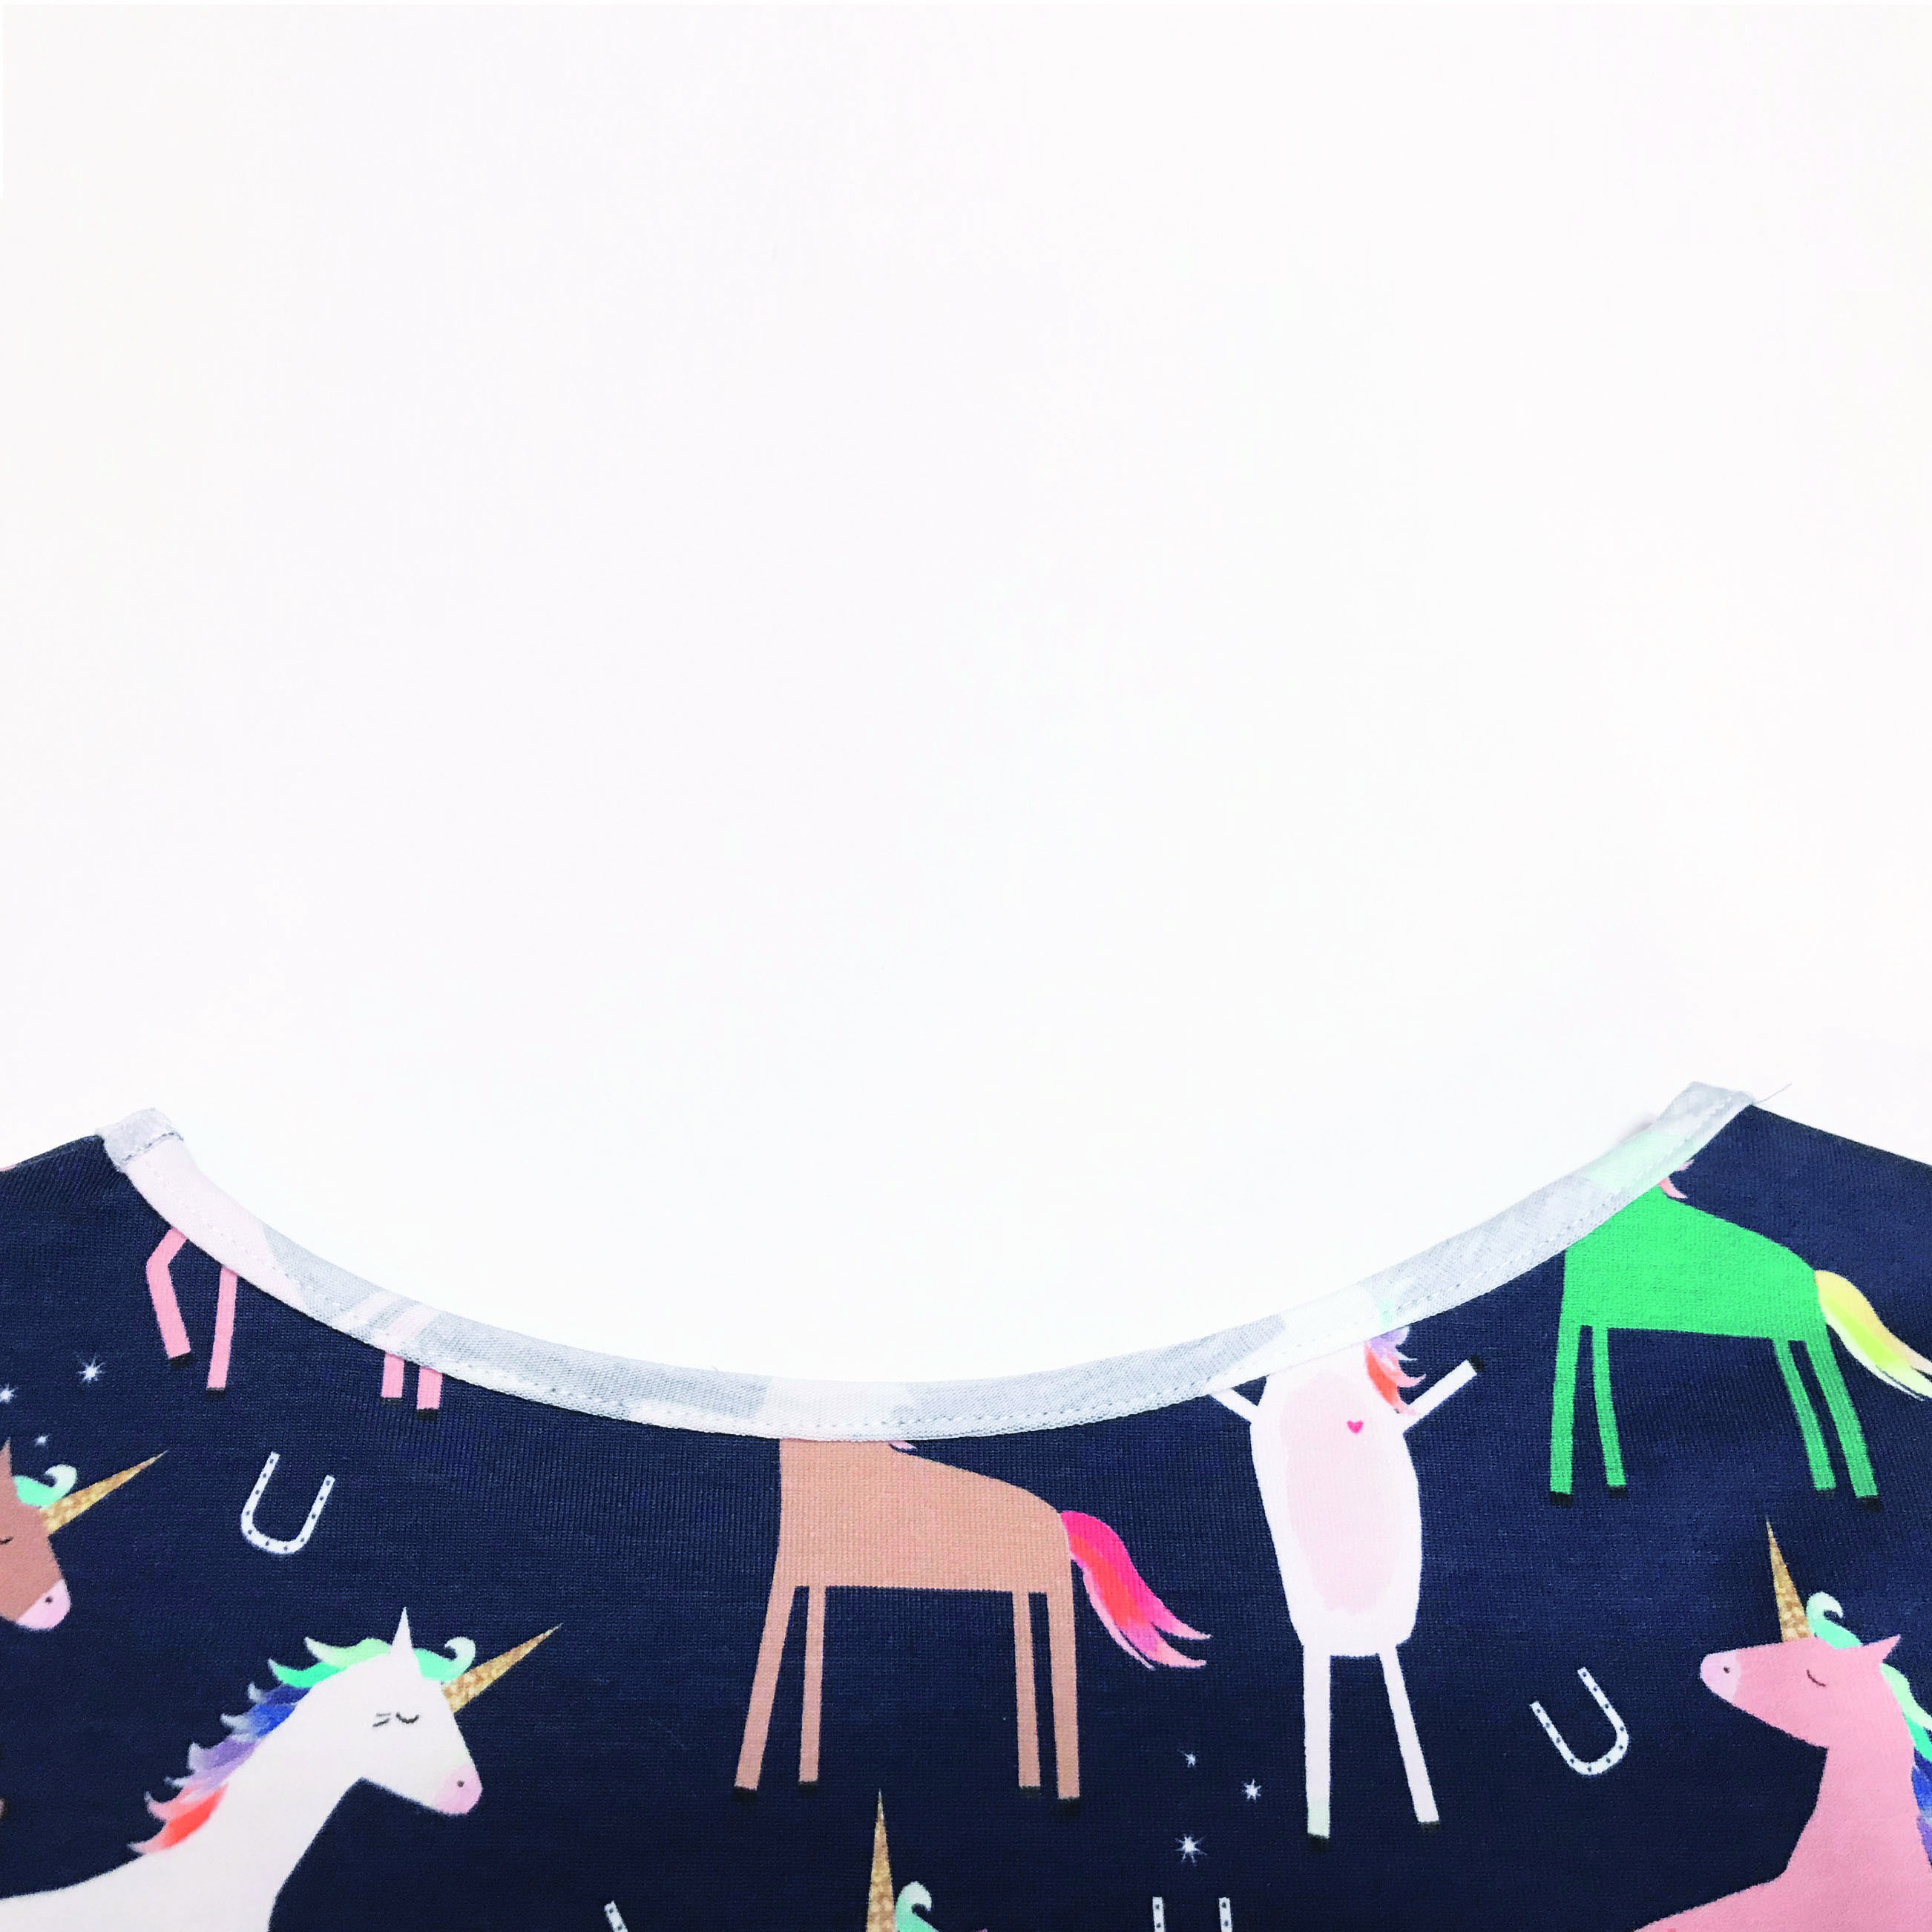
When complete, the neckline should sit flat and all of the raw edges should be enclosed by the mock binding.
Step 8
Finish the armhole raw edges.
Step 9
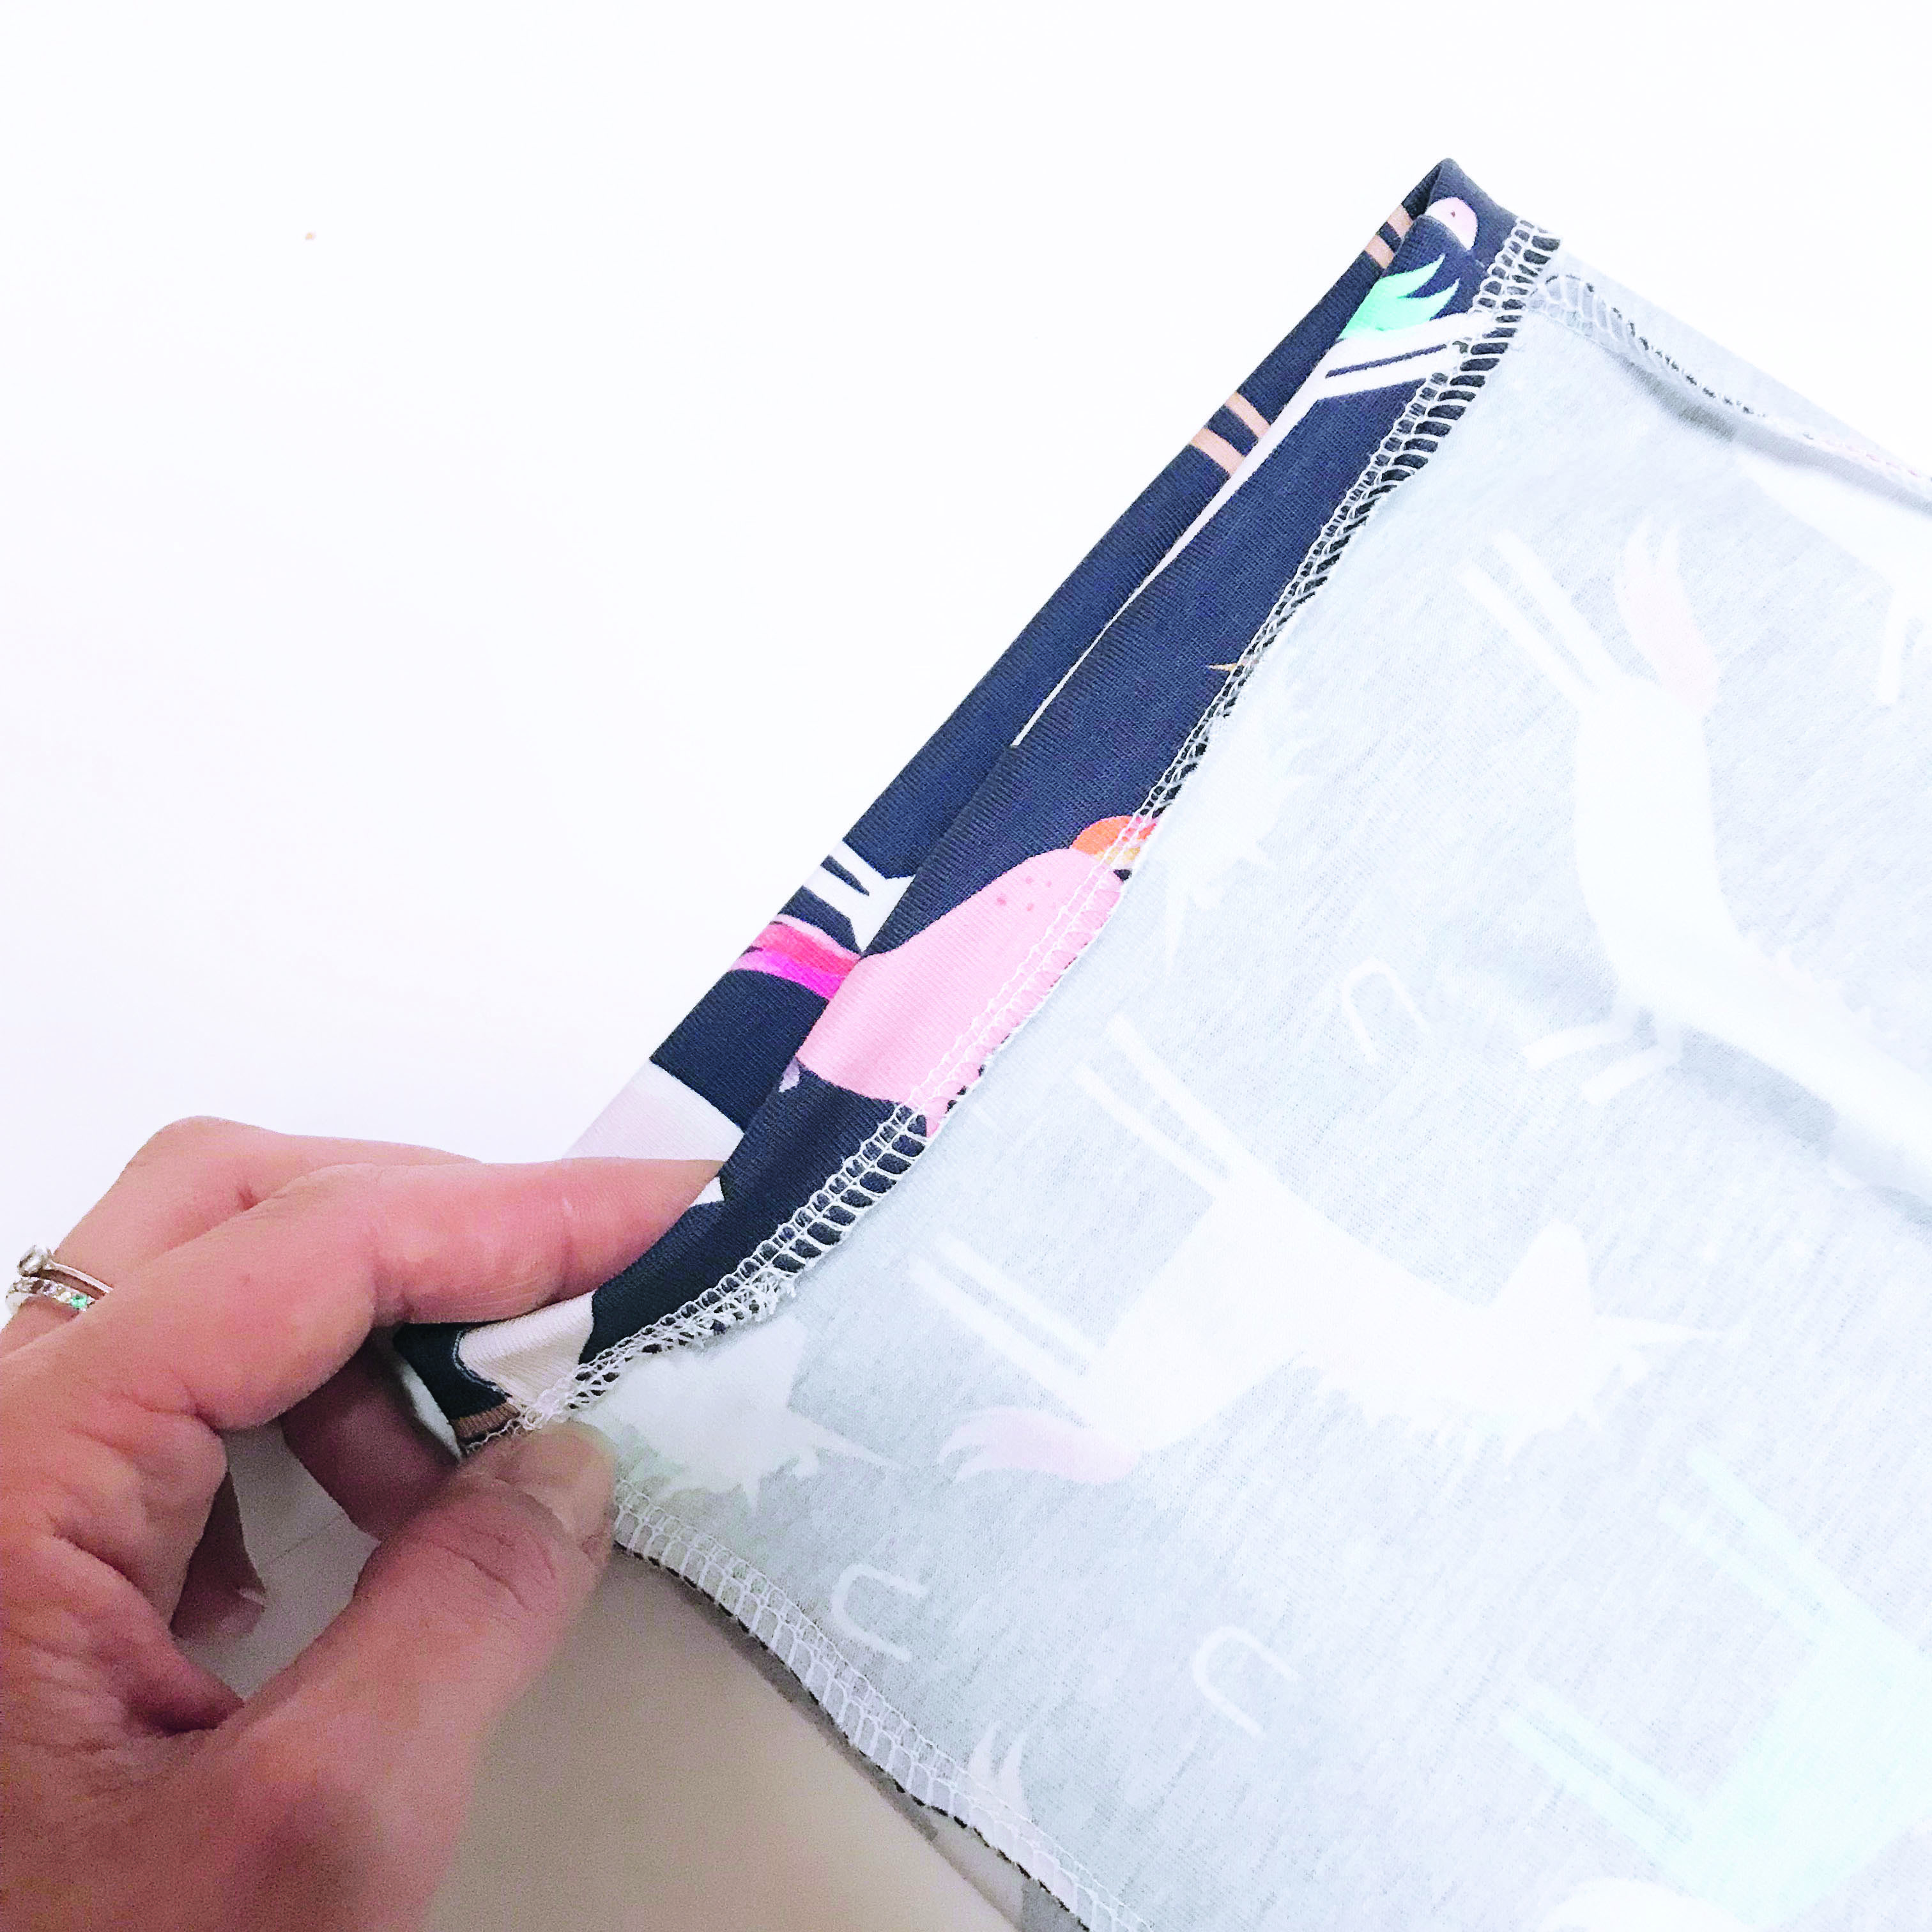
Fold the sleeve hems to the WS by 1cm (3/8in). Pin in place and then stitch close to the finished edge.
Step 10
Repeat to hem the top.
Making the shorts - making the pattern
Step 1
Lay the paper flat with your trousers or shorts folded in half vertically, so that one side of the front of your trousers/shorts is showing.
Step 2
Draw around the existing garment, adding 2.5-5cm (1-2in) to the side seams if your current garment is tight fitting. If you are using trousers as the template, mark the point on your paper where you would like the shorts hem to be – ours measure 22cm (83/4in) from the crotch seam to the hem.
Step 3
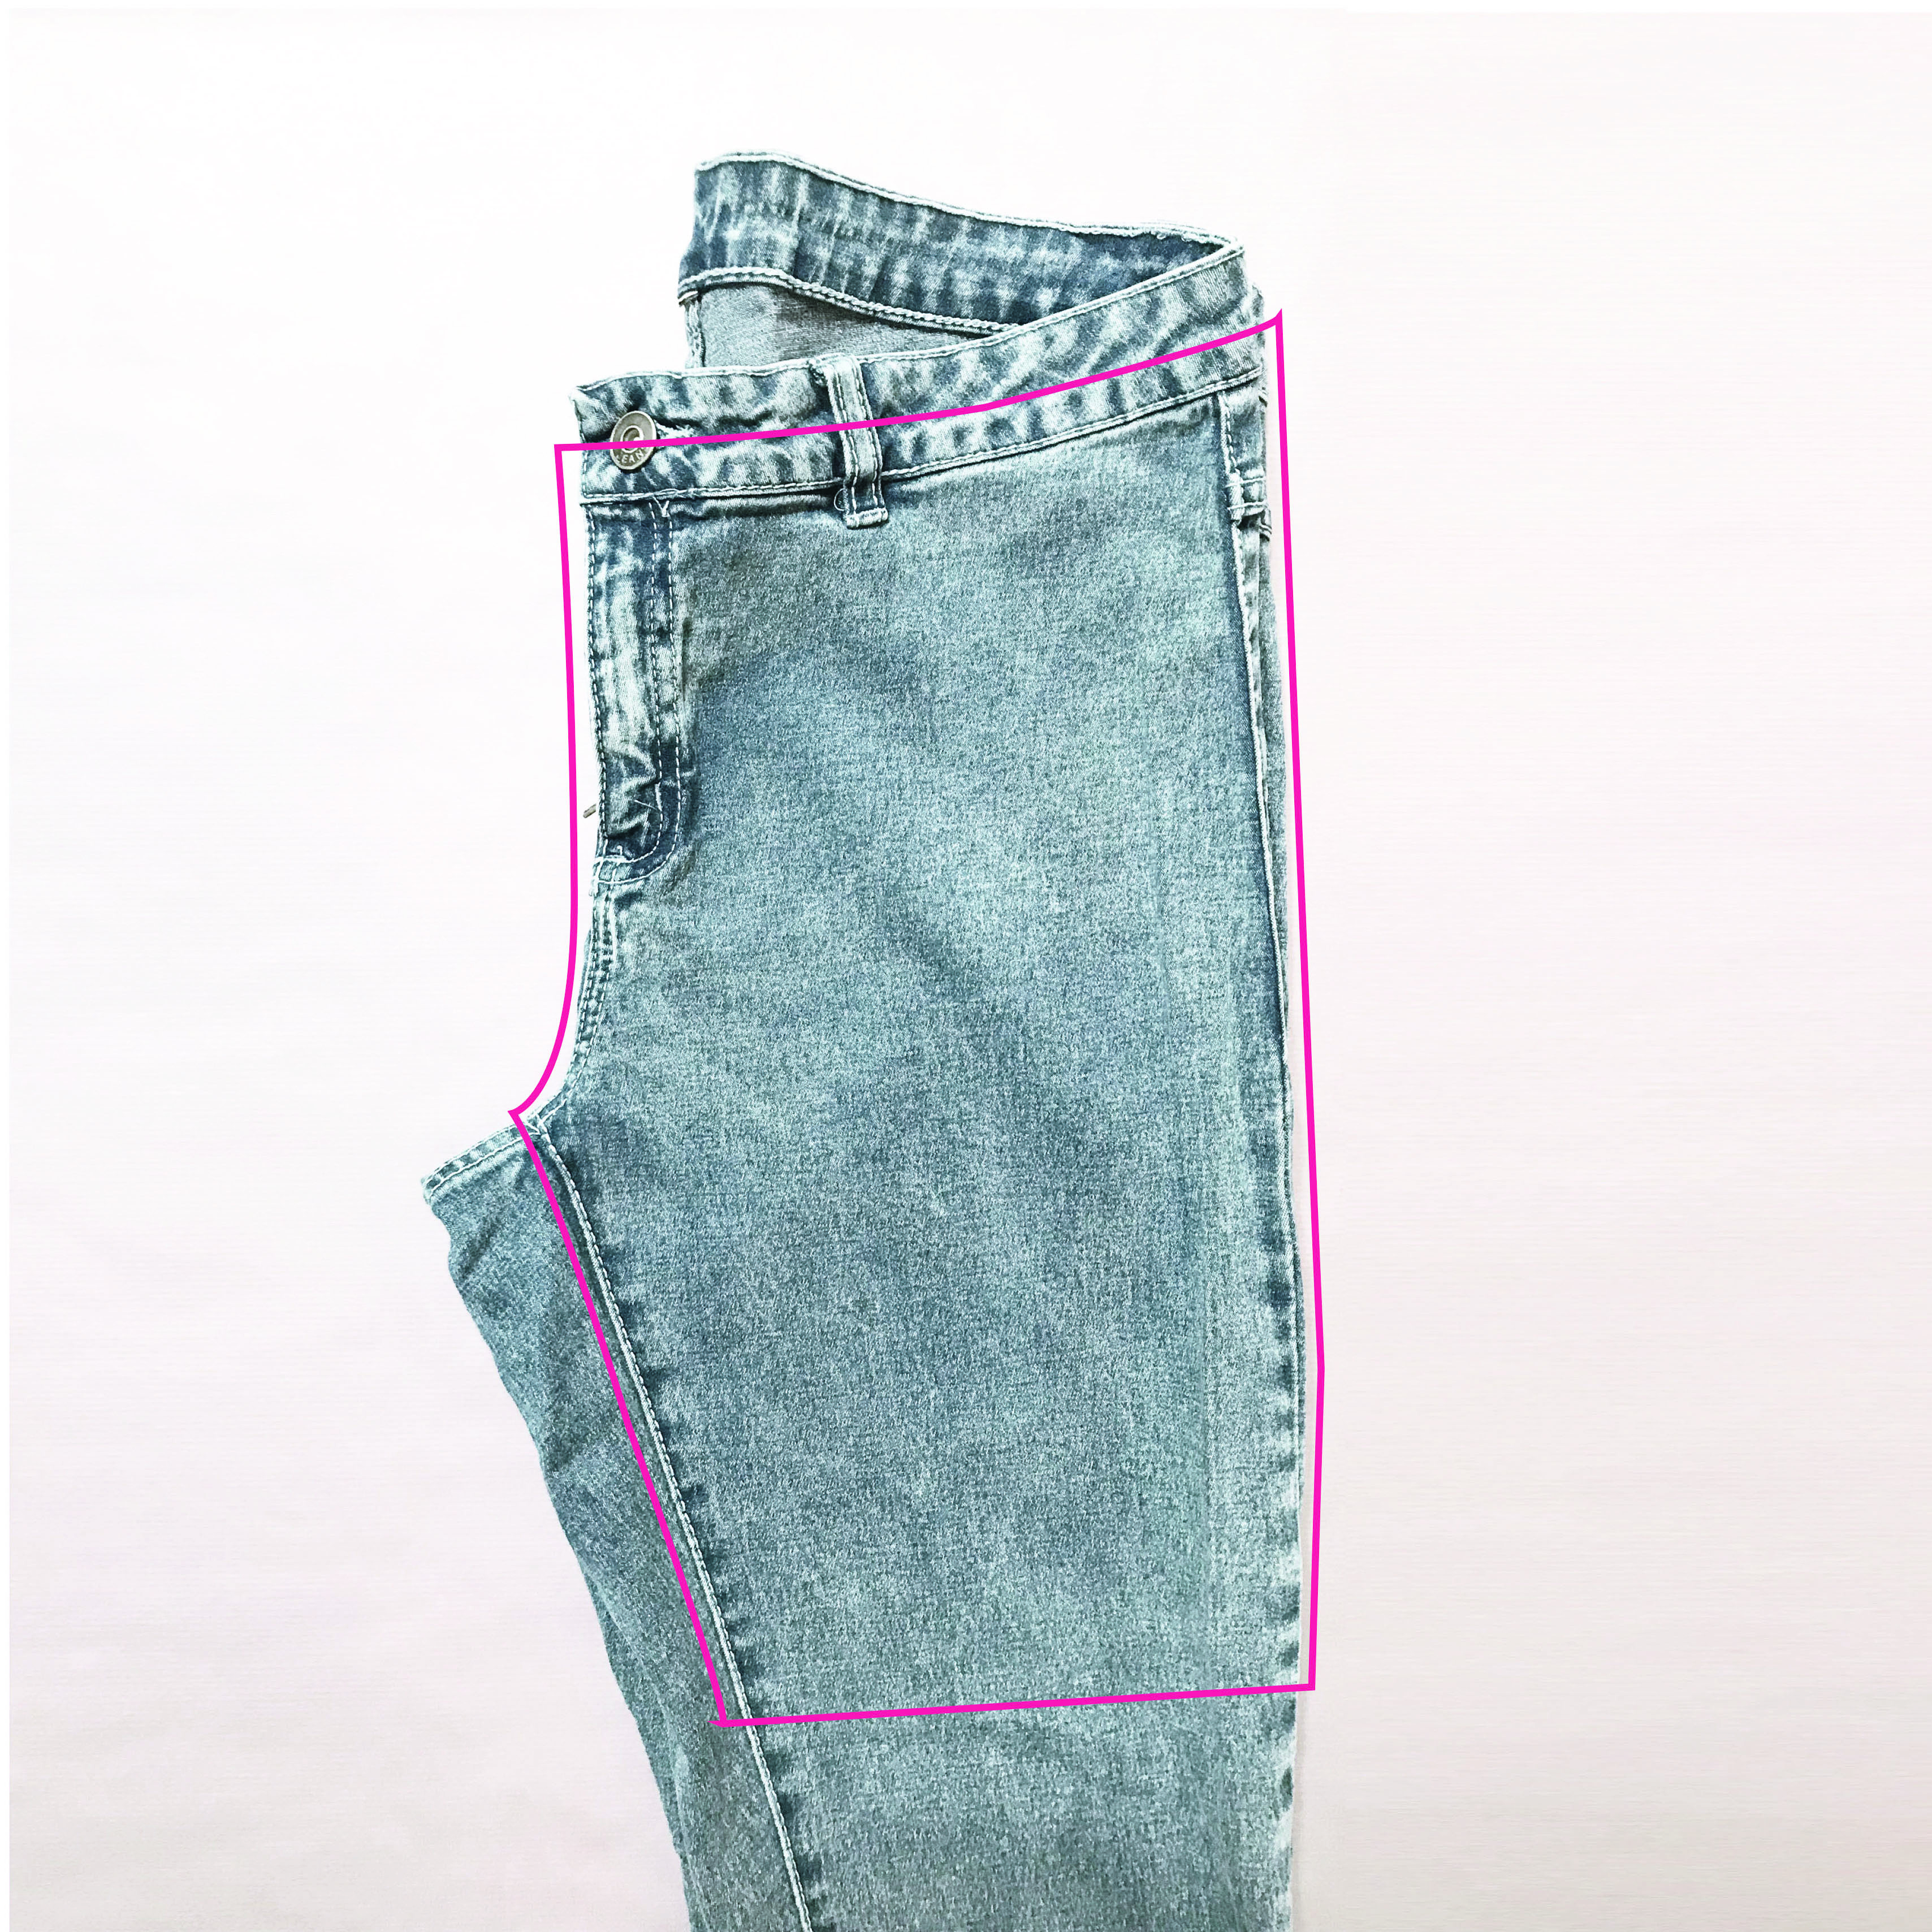
The elastic channel is grown-on, so decide where you would like this to sit on your shorts and mark this on the pattern – we wanted ours to sit slightly lower than the top of the trousers we used as a template.
Step 4
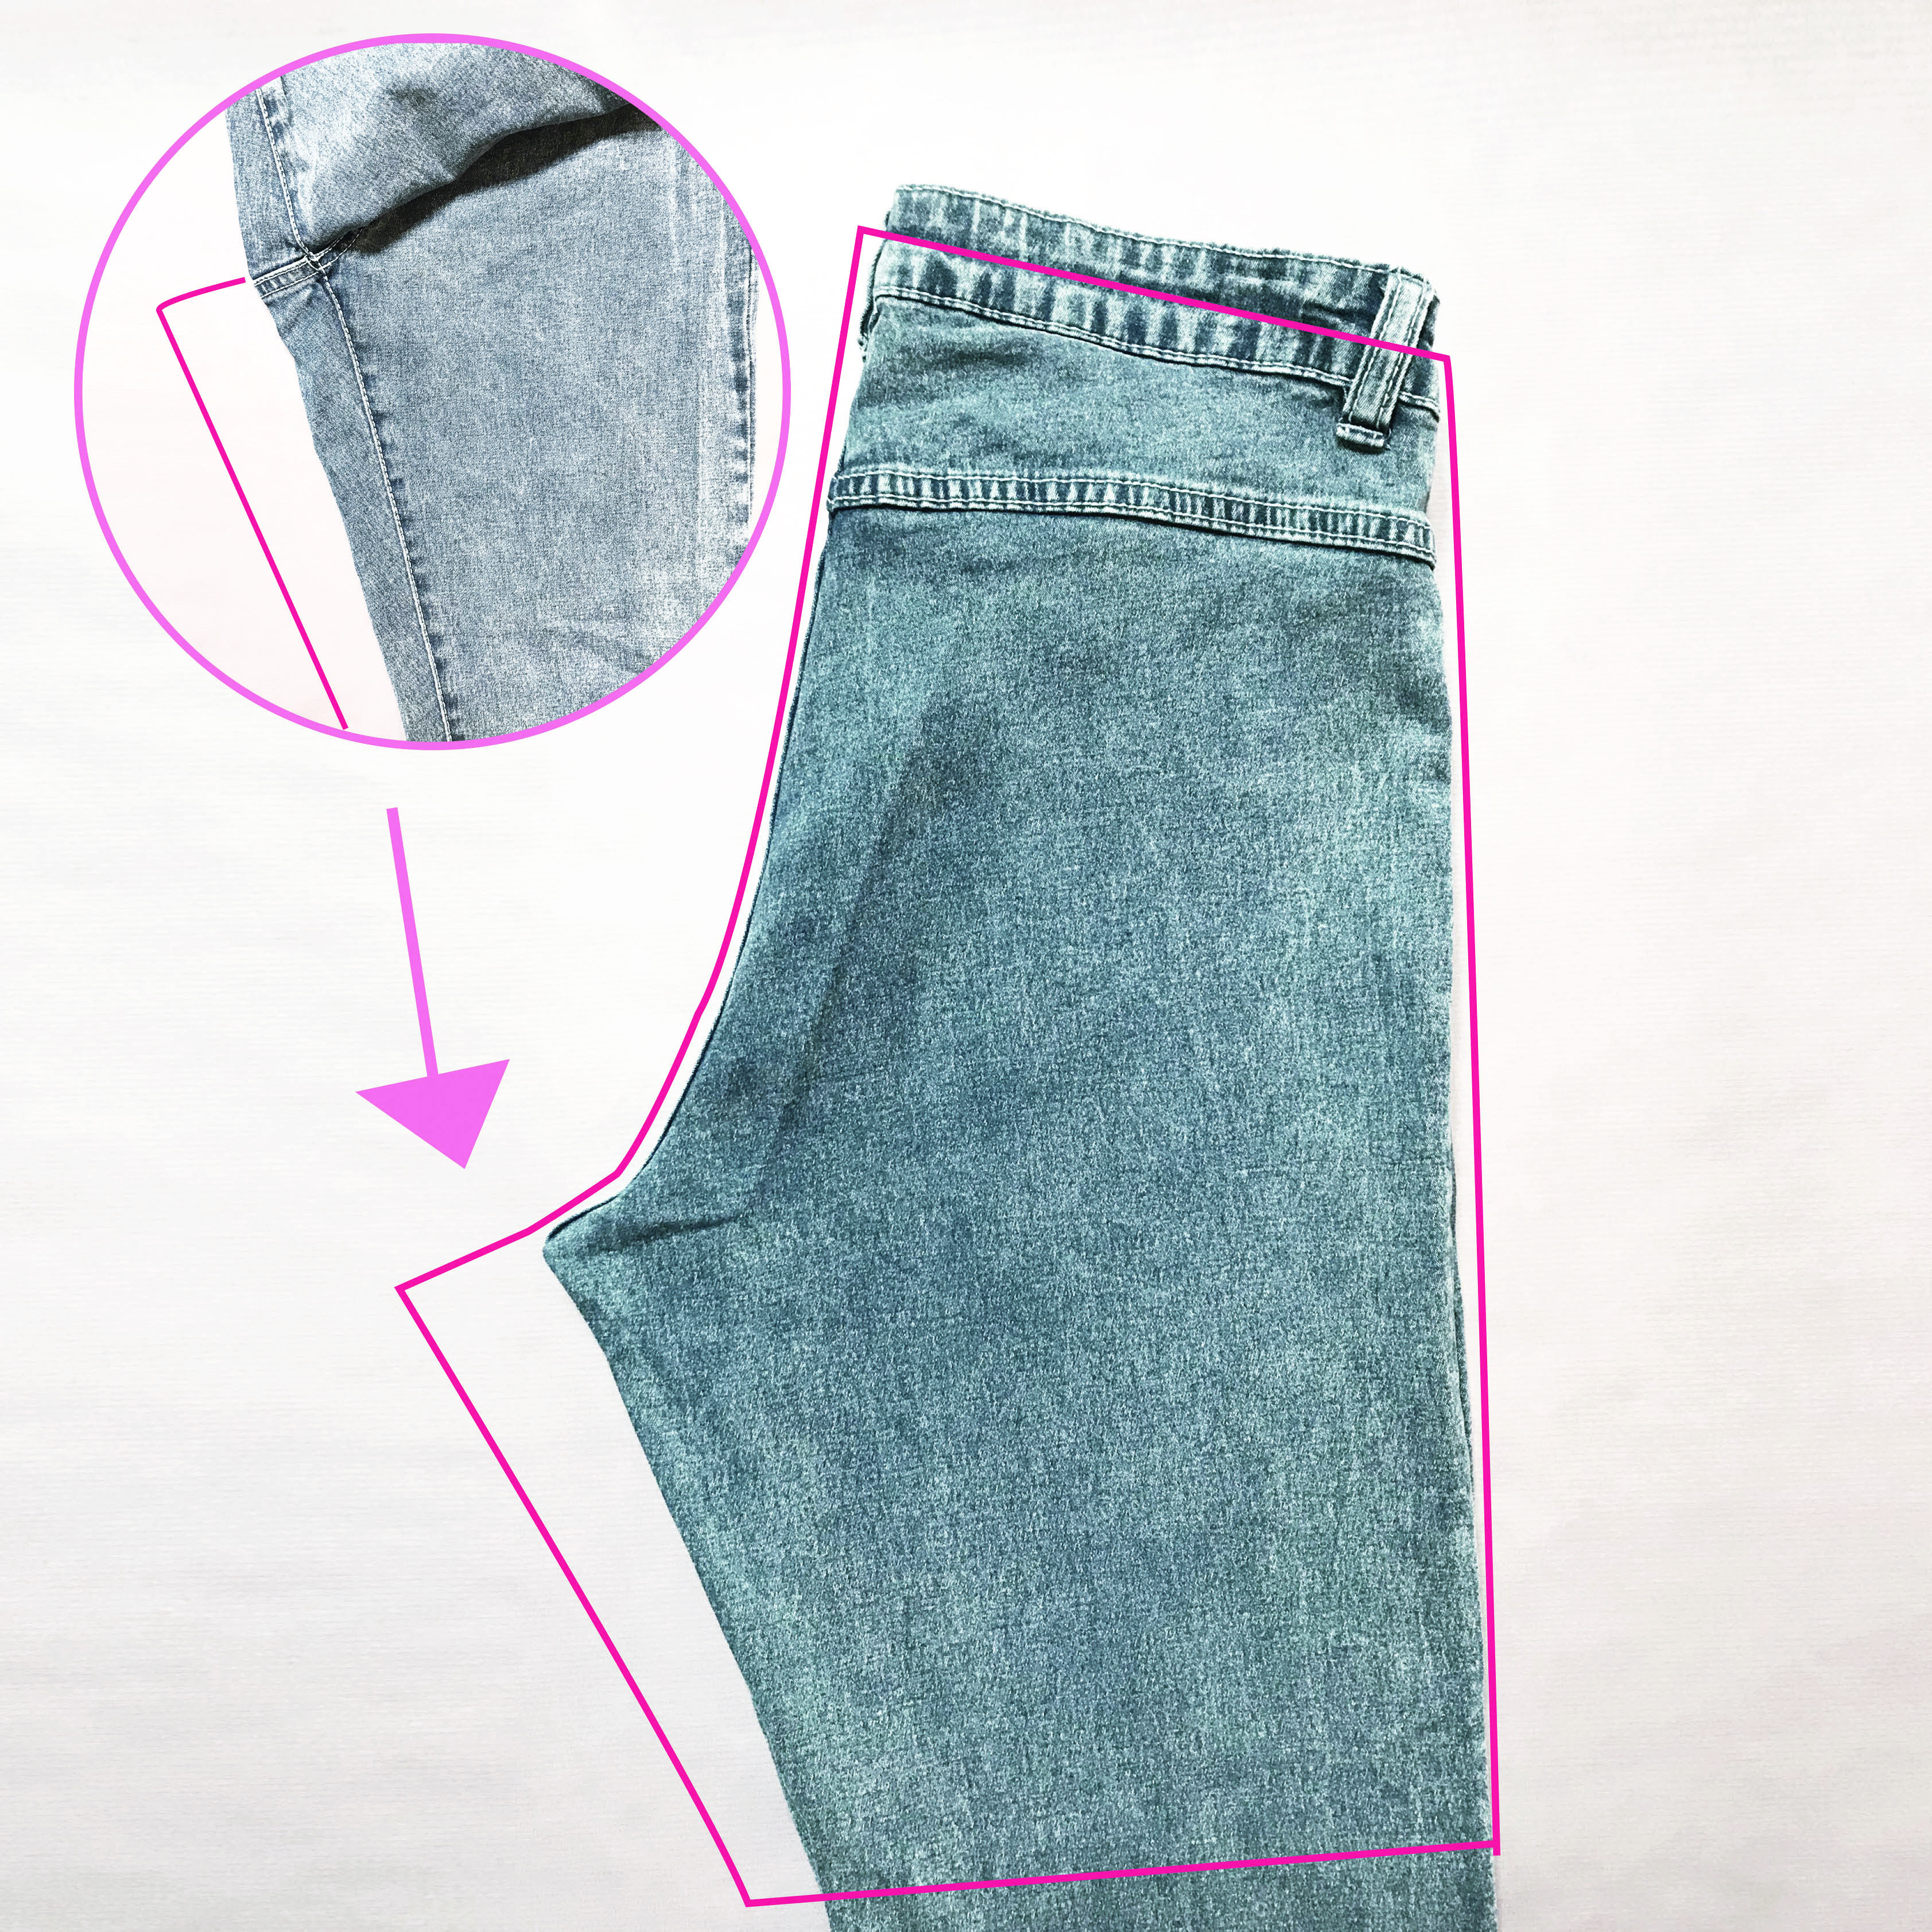
Repeat to make a pattern for the back of the shorts. Note that the crotch seam is likely to be longer at the back.
Step 5
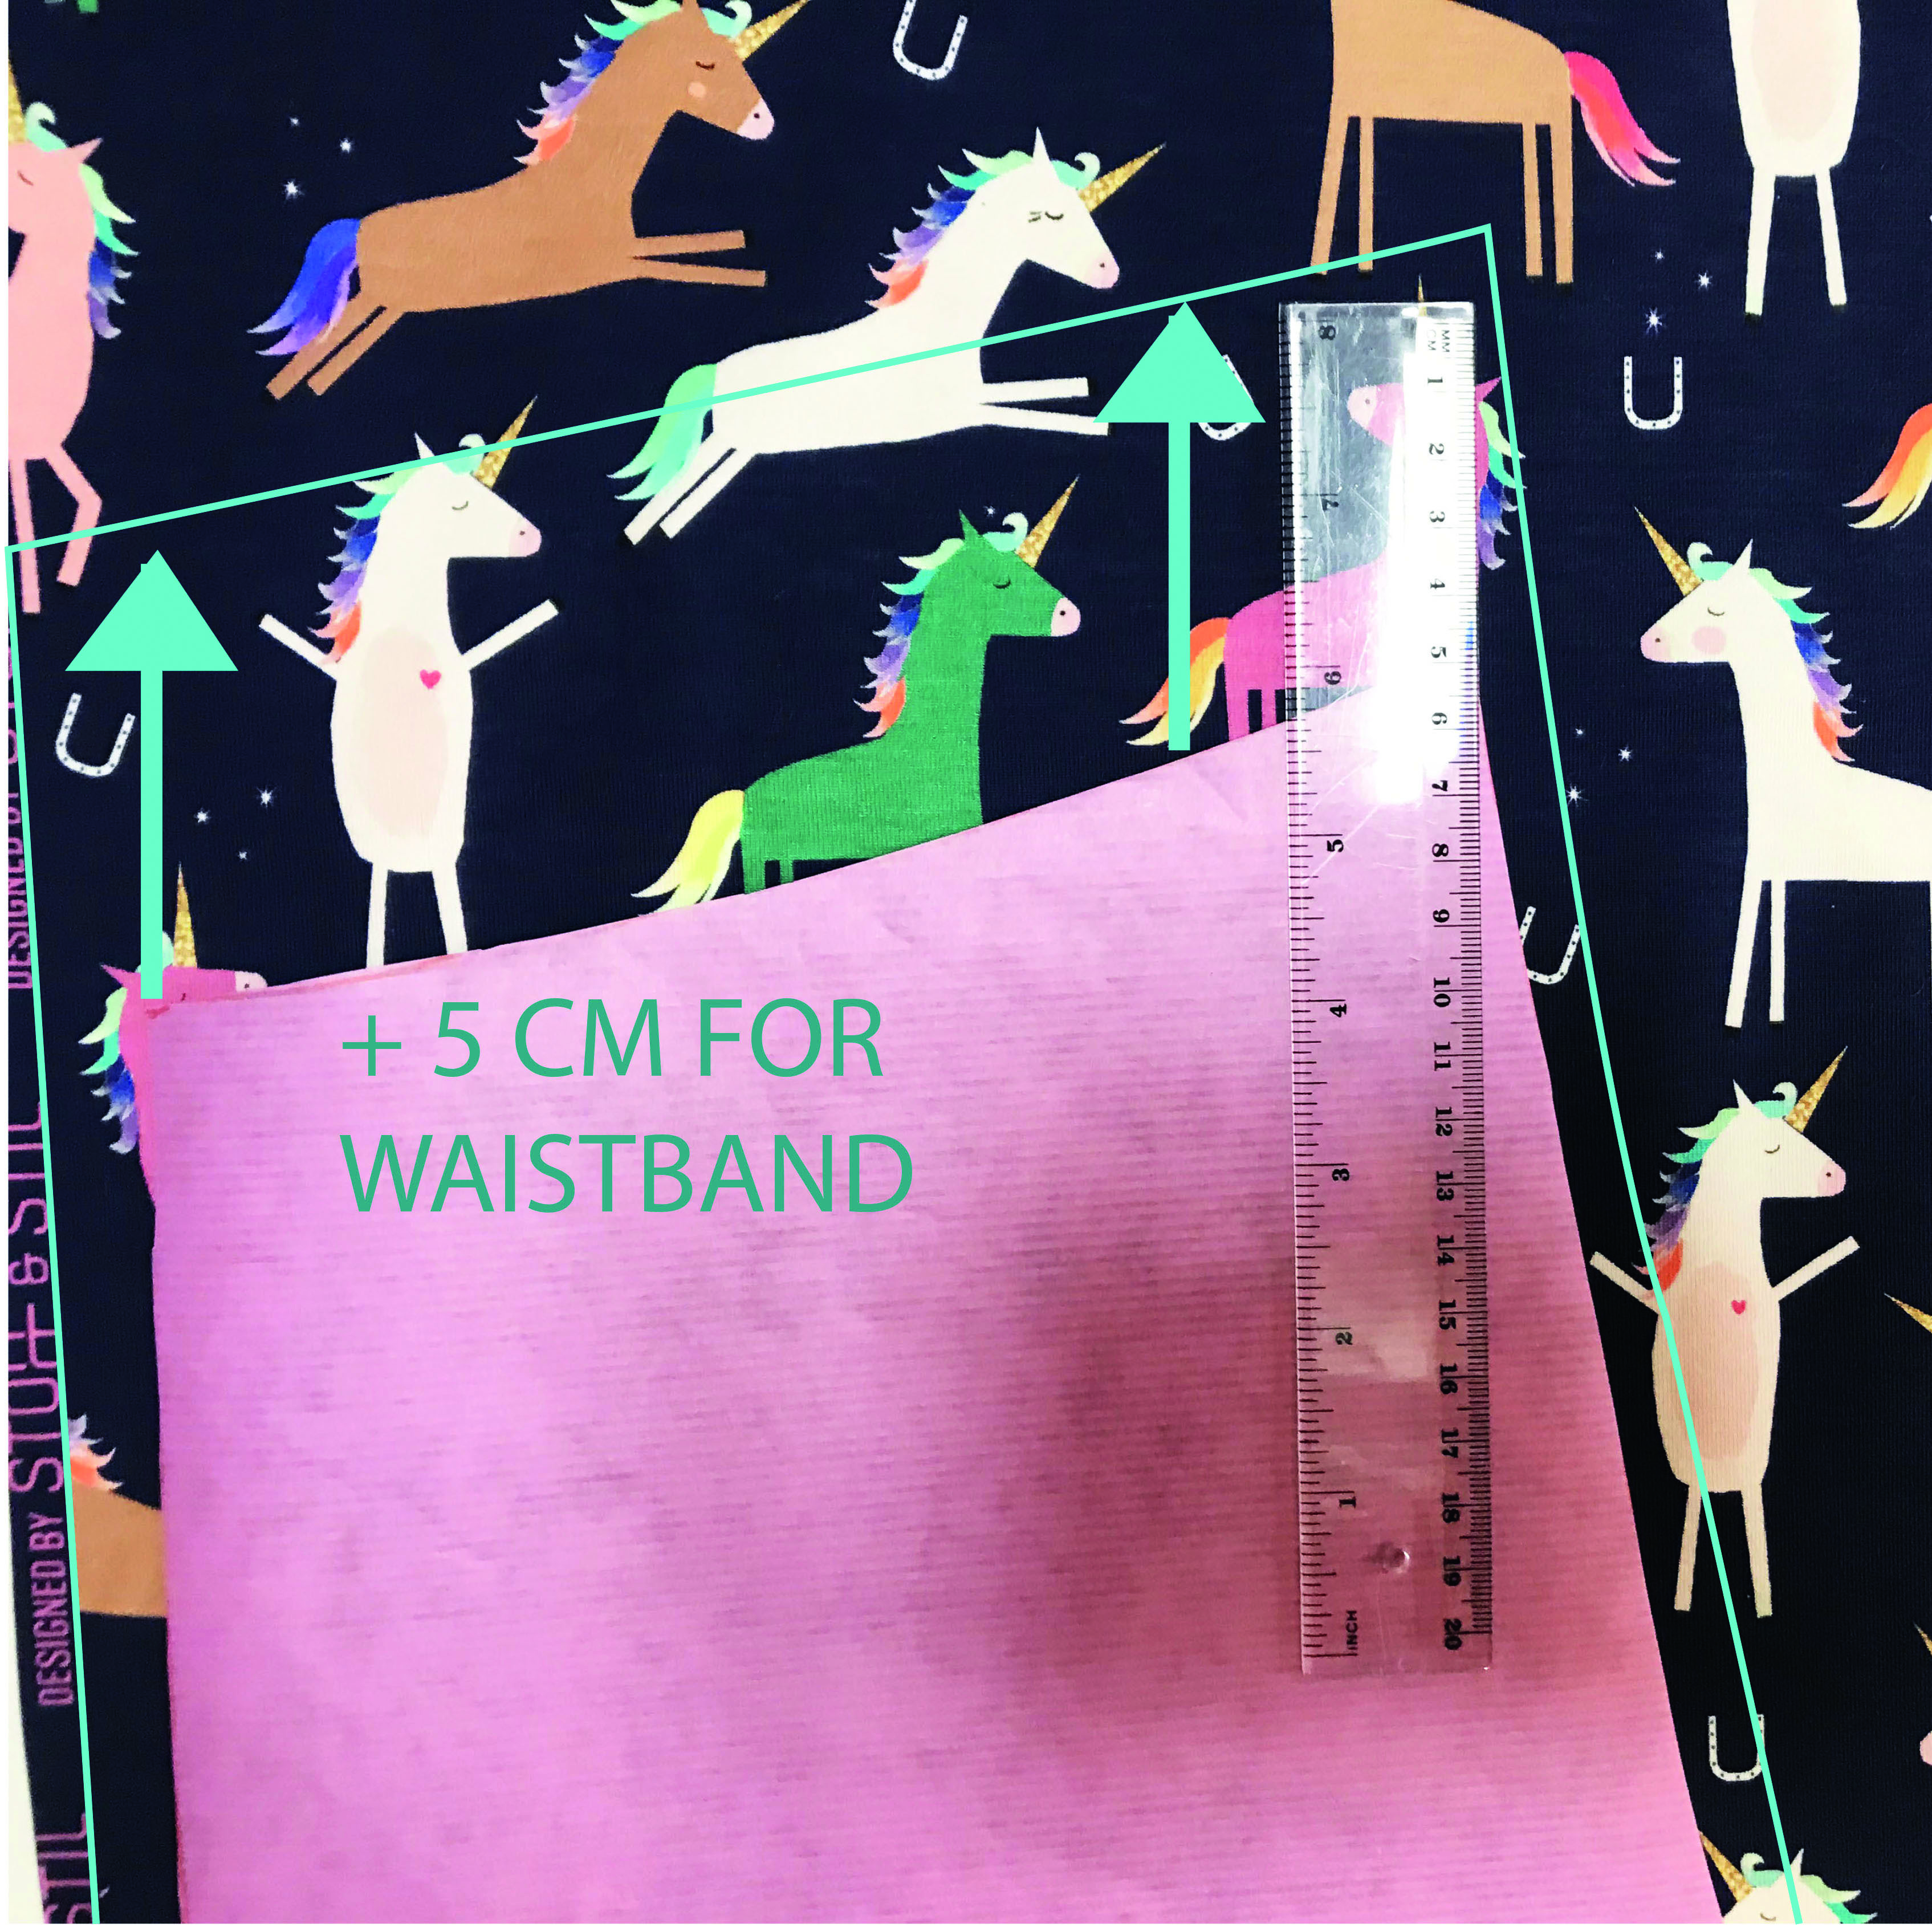
For both the front and back, add 5cm (31/8in) seam allowance to the top seam and 2cm (3/4in) to the bottom seam, as well as 1cm (3/8in) to both the side seams and the crotch seams.
Step 6
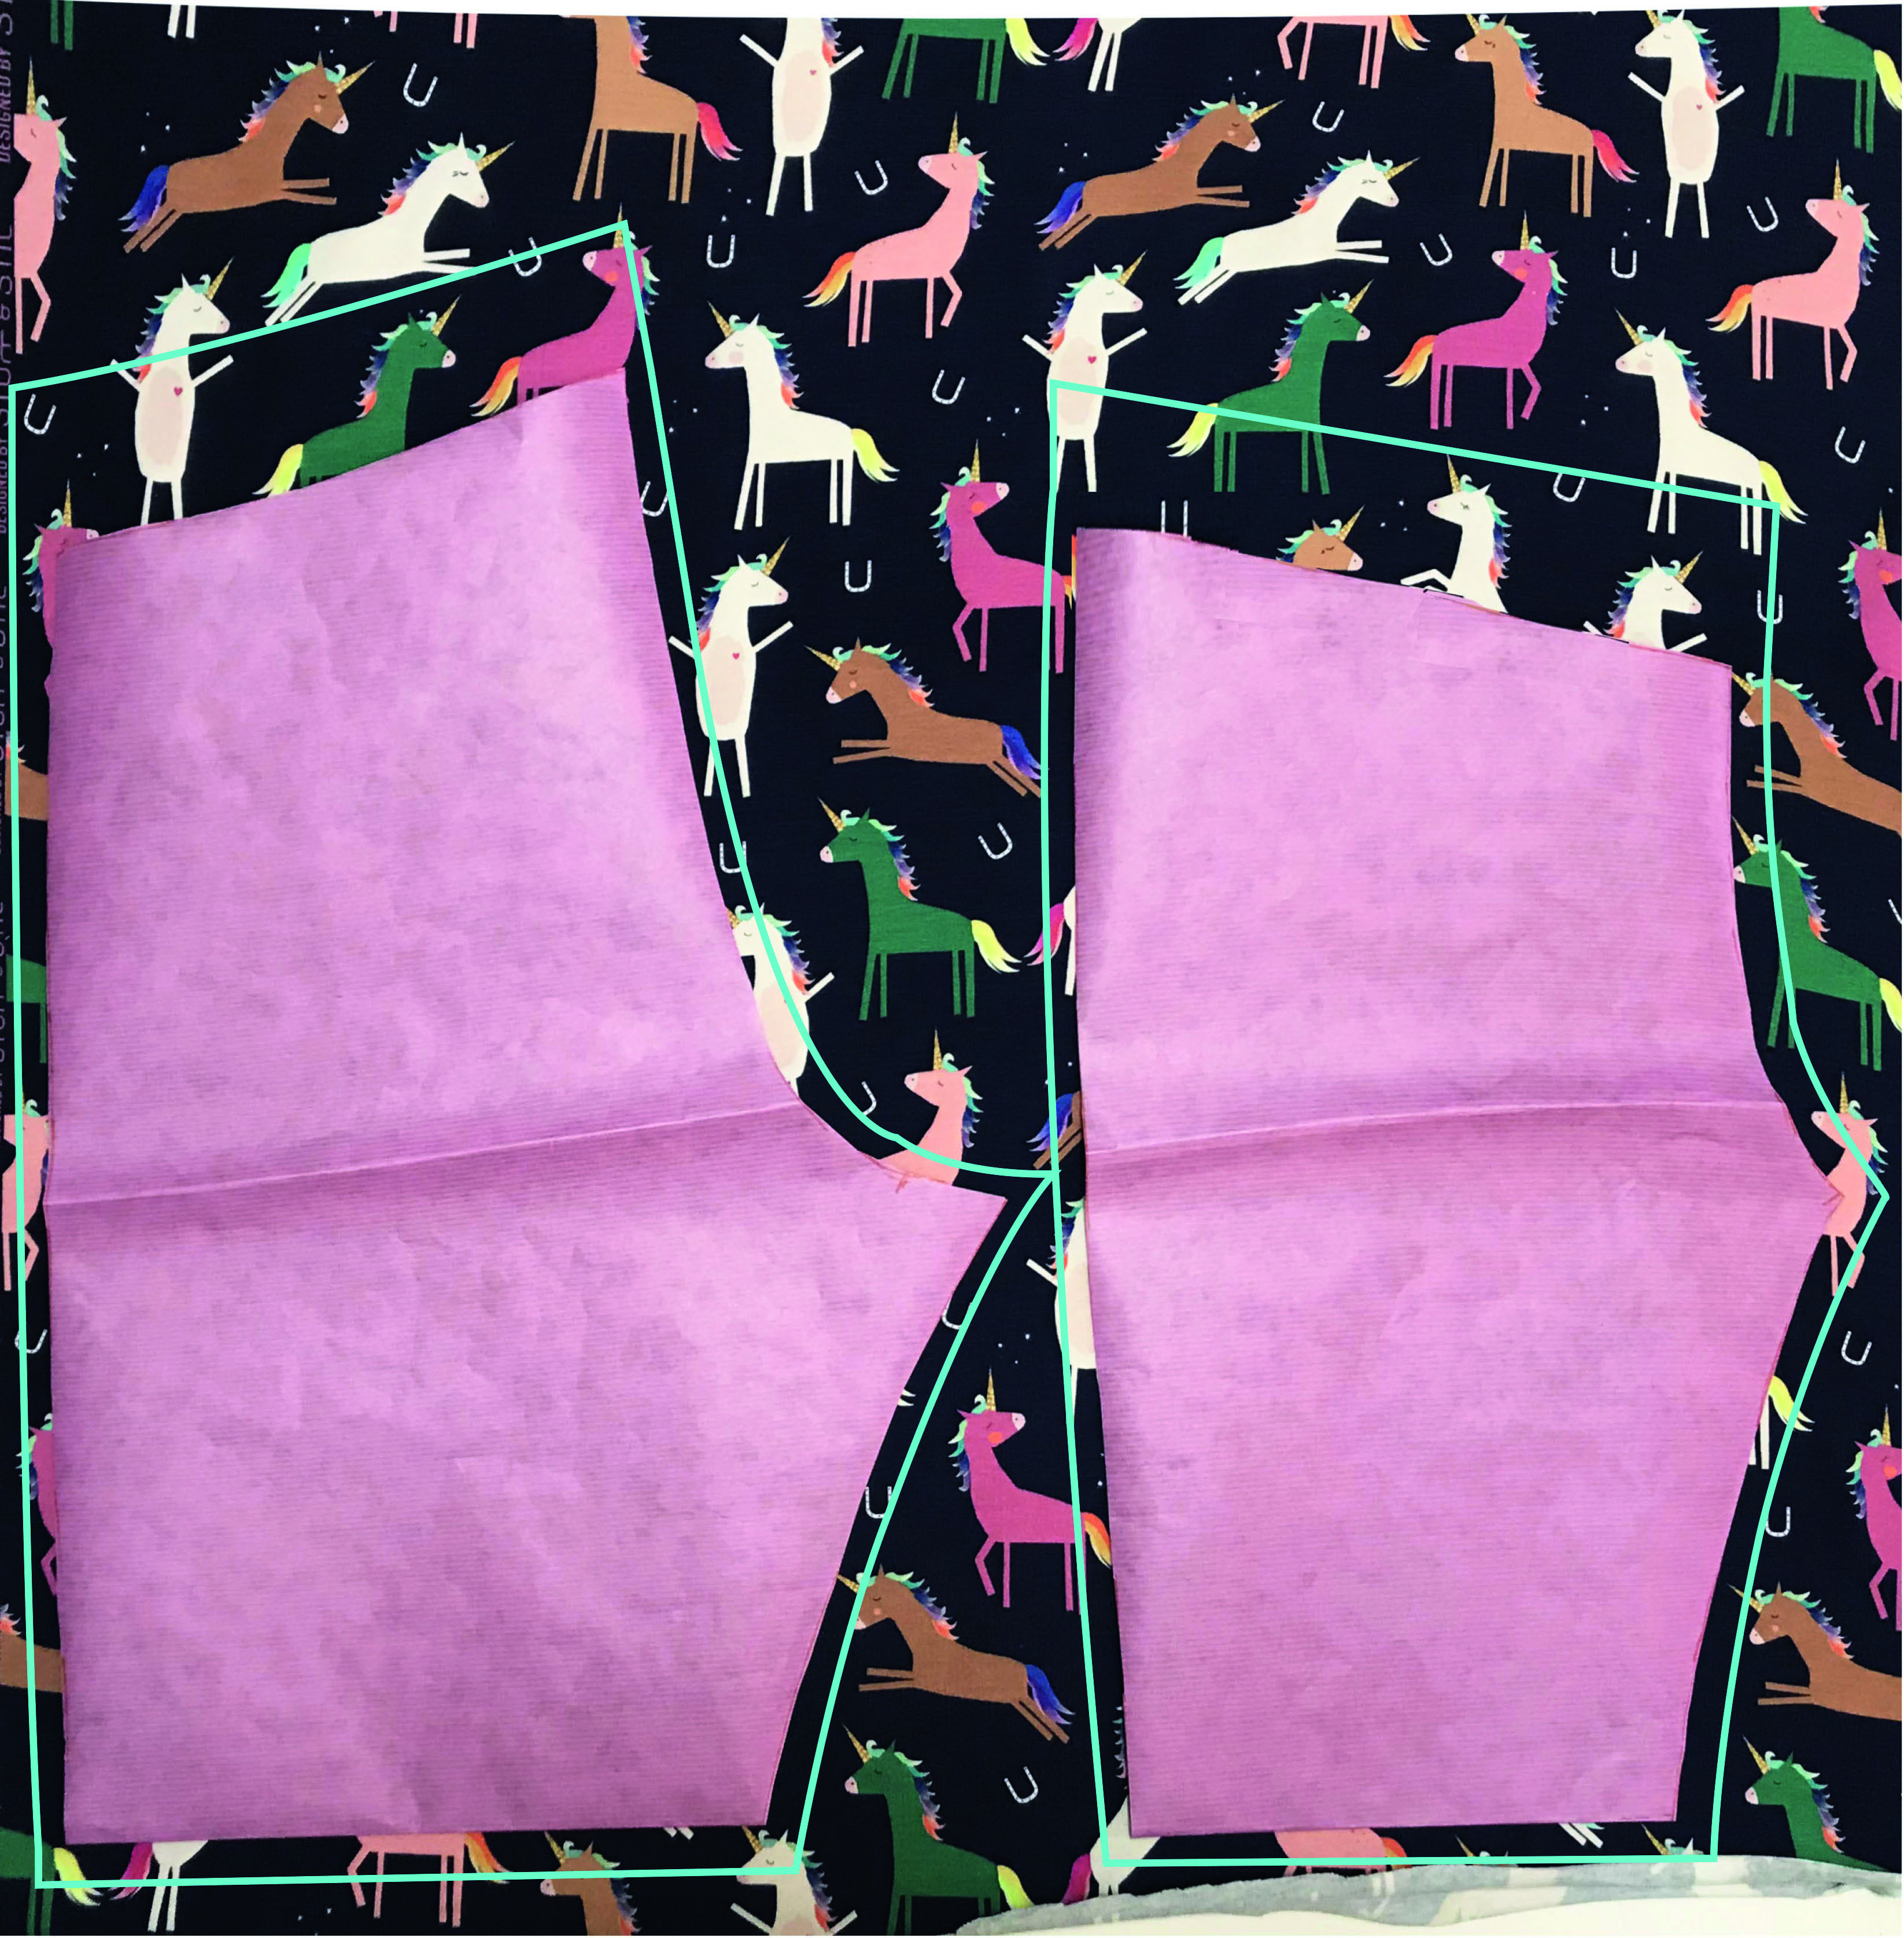
Cut out your paper patterns and use them to cut a mirror pair for both the front and back pieces from the fabric.
Sewing the back and the front
Step 1
Pin the two front pieces right sides (RS) together along the curved crotch seam.
Step 2
Sew the crotch seam from top to bottom. Finish the raw edges.
Step 3
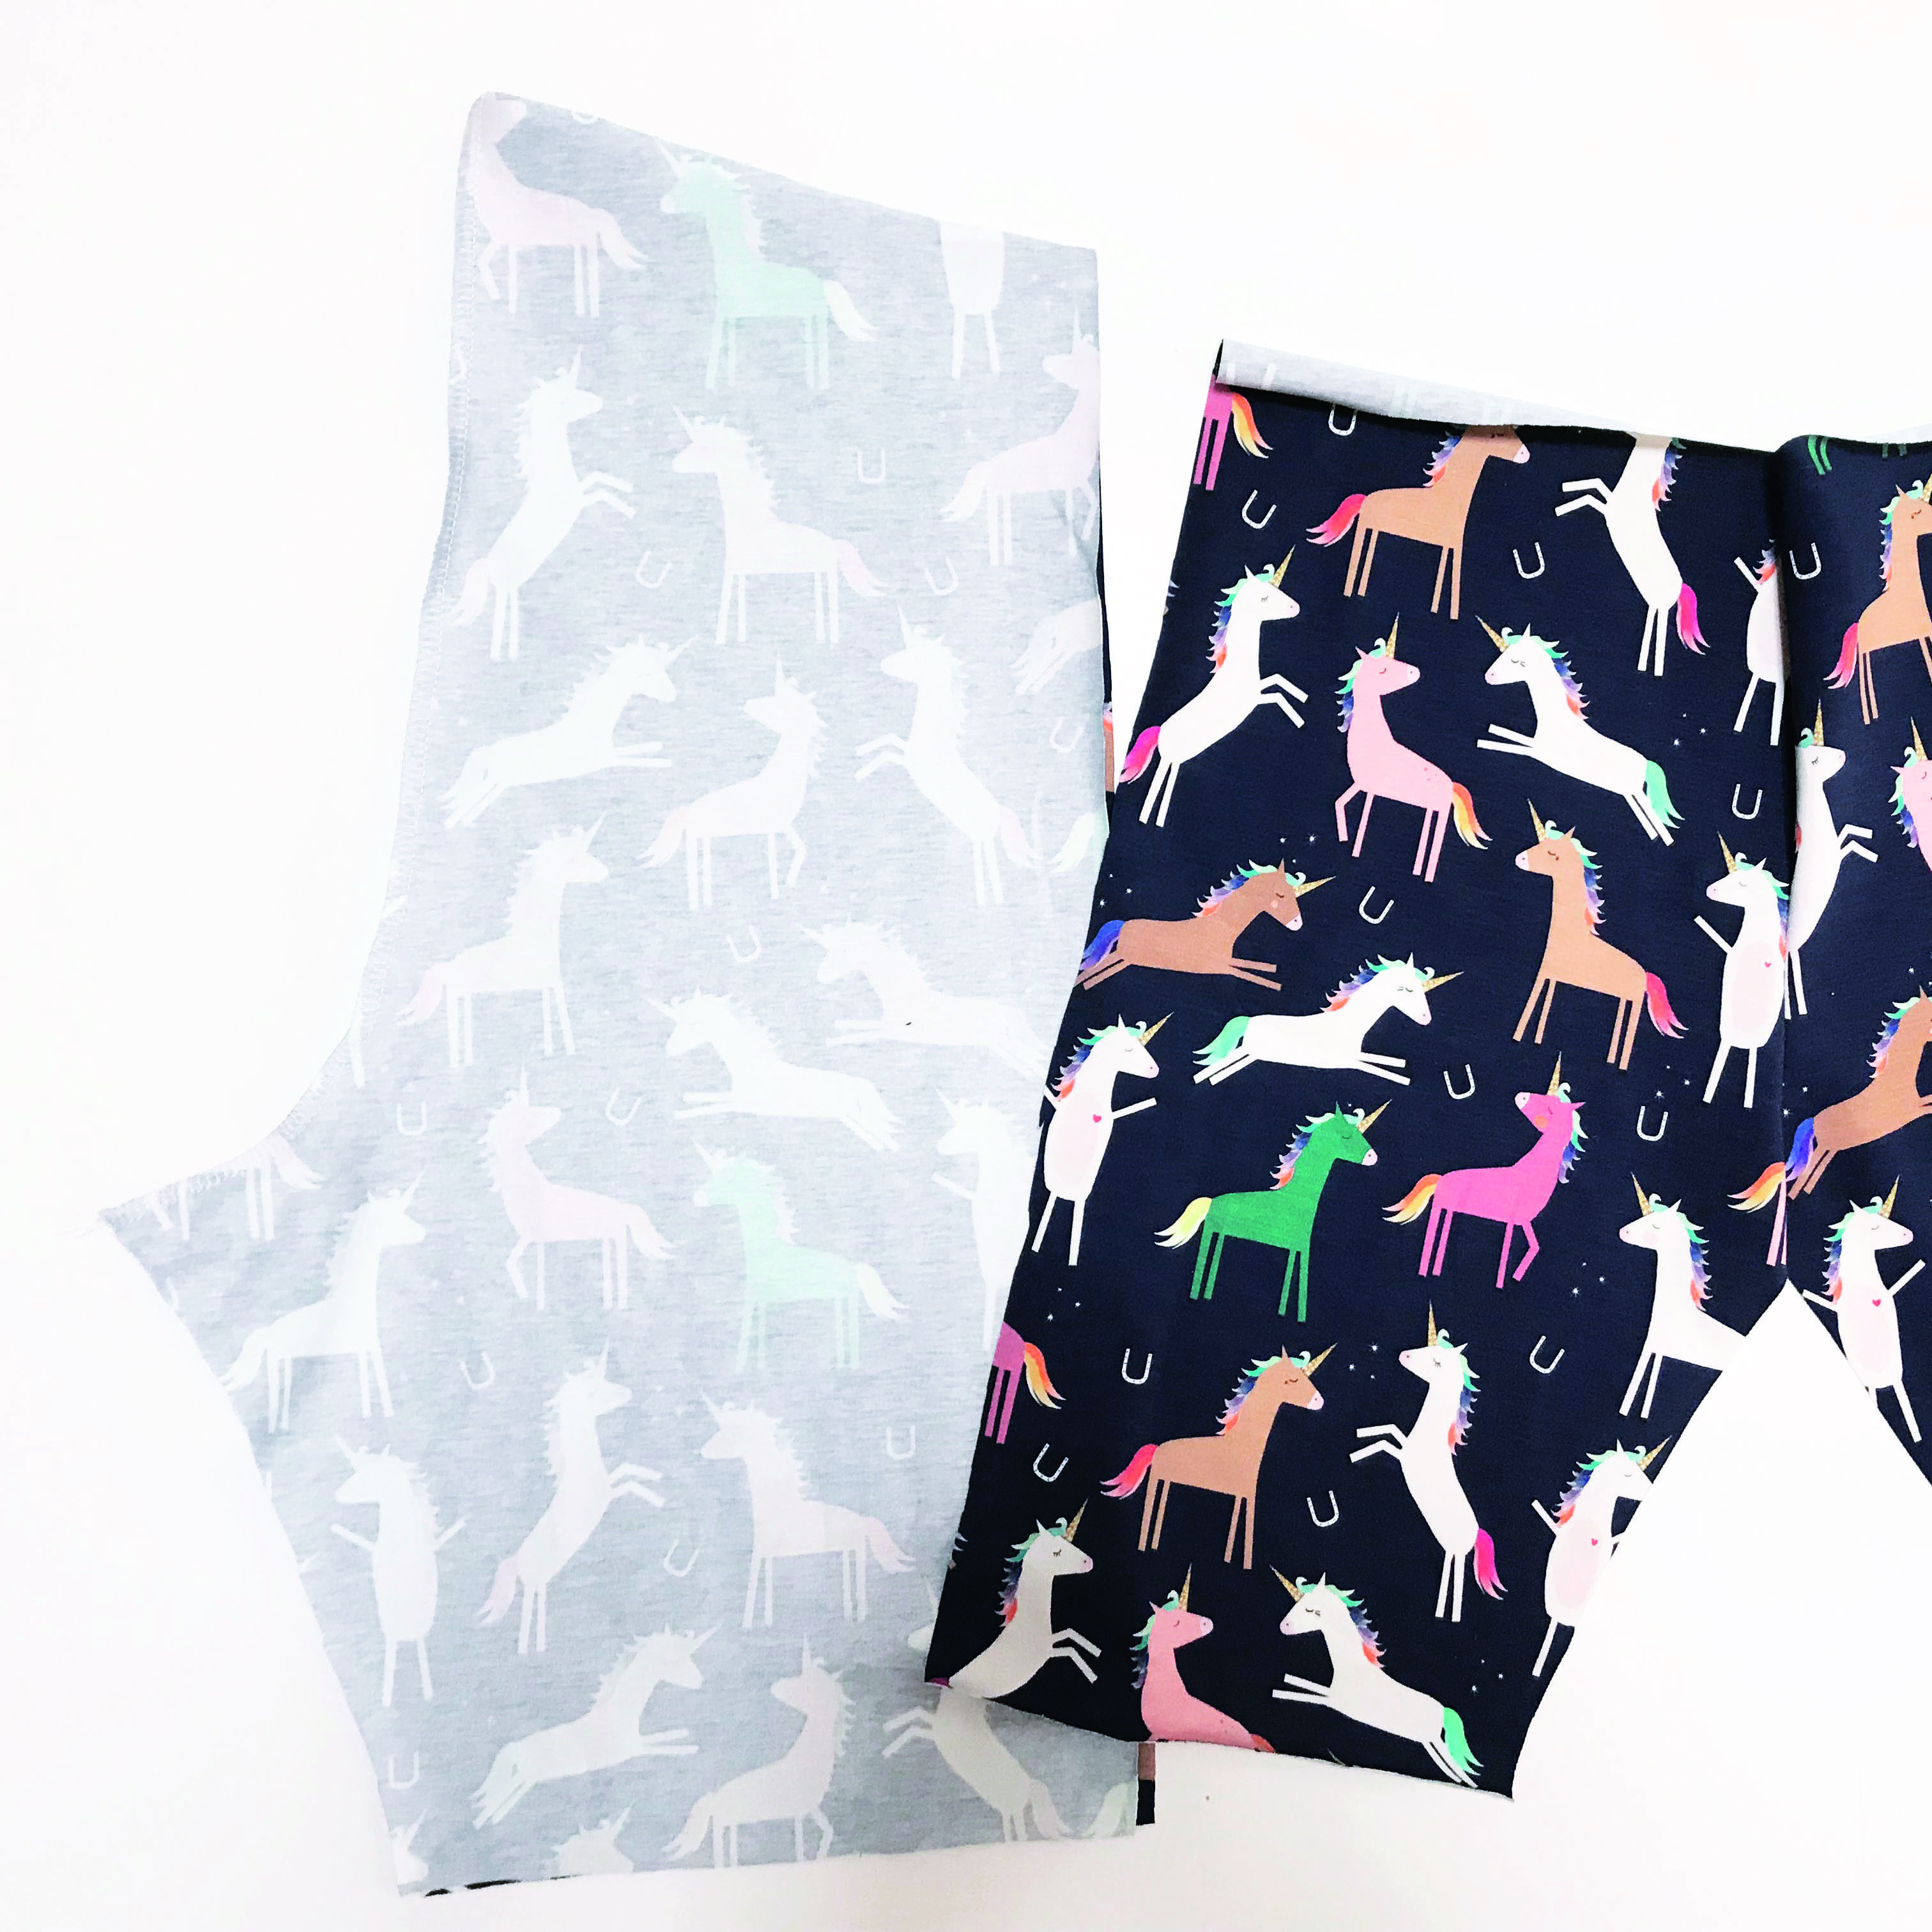
Repeat to sew the crotch seam on the two back pieces. Press both of the seams to the same side.
Step 4
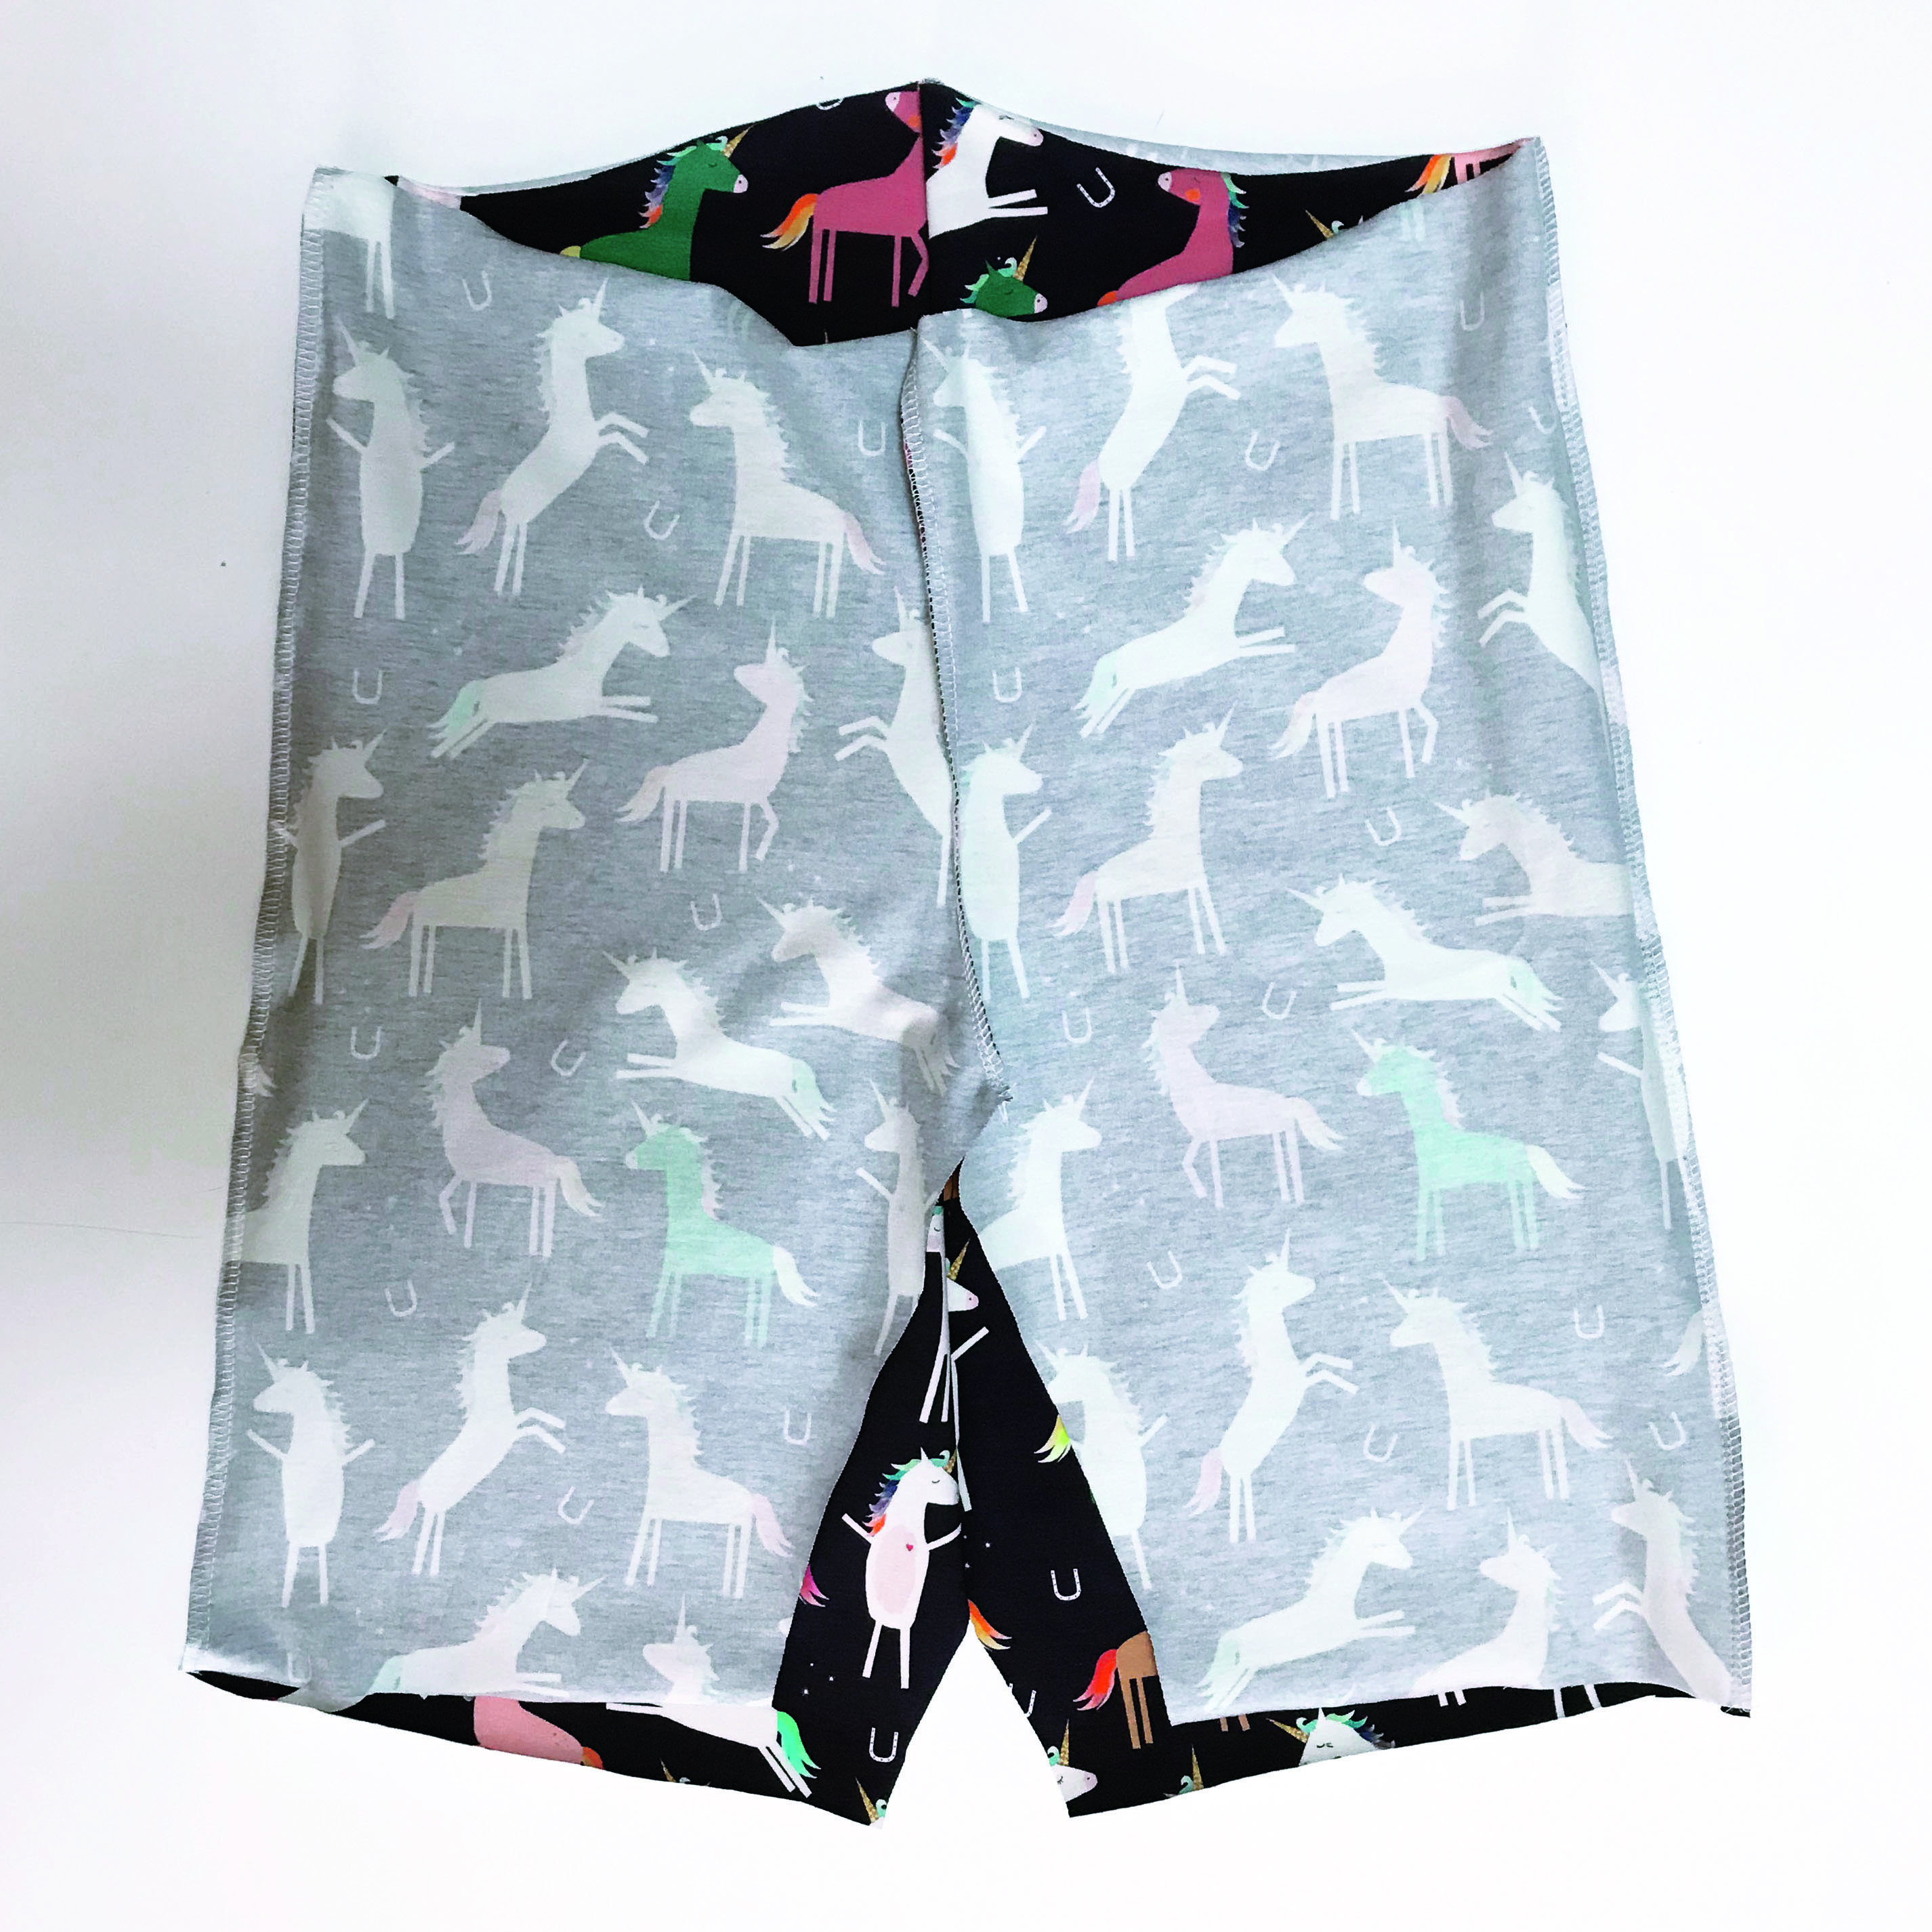
Pin then sew the shorts front and back RS together along the side seams.
Step 5
Press the side seams to the back.
Step 6
With RS facing, pin the shorts front and back together along the inside leg, aligning the front and back central seams.
Step 7
Sew the inside leg seam, starting at one hem, sewing up to the crotch and down to the other hem. Press the seam to the back.
Hemming the shorts
Step 1
Finish the raw edges of the fabric around one leg opening. Turn the fabric to the WS by 1cm (3/8in) and stitch in place. Repeat for the other leg opening.
Adding the elastic waist band
Step 1
Finish the raw edge of the waistband. Turn this edge to the WS by 4cm (2in). Press. This is the channel and should be slightly wider than the width of your elastic.
Step 2
Starting near the centre back seam of the shorts, sew the elastic channel to the shorts, close to the finished raw edge. Leave a 6cm (23/8in) gap to insert the elastic.
Step 3
Measure your waist and work out how you would like the shorts to fit. Our elastic is cut approx 12cm (43/4in) longer than our waist measurement so that the waistband sits below our natural waist but can still stretch over the hips. Cut the elastic to size.
Step 4
Using a safety pin, thread the elastic through the elastic channel all the way around and out the other side.
Step 5
Pin the elastic together to check fit, then cut any excess and sew together with two rows of stitching along the elastic overlap for strength.
Step 6
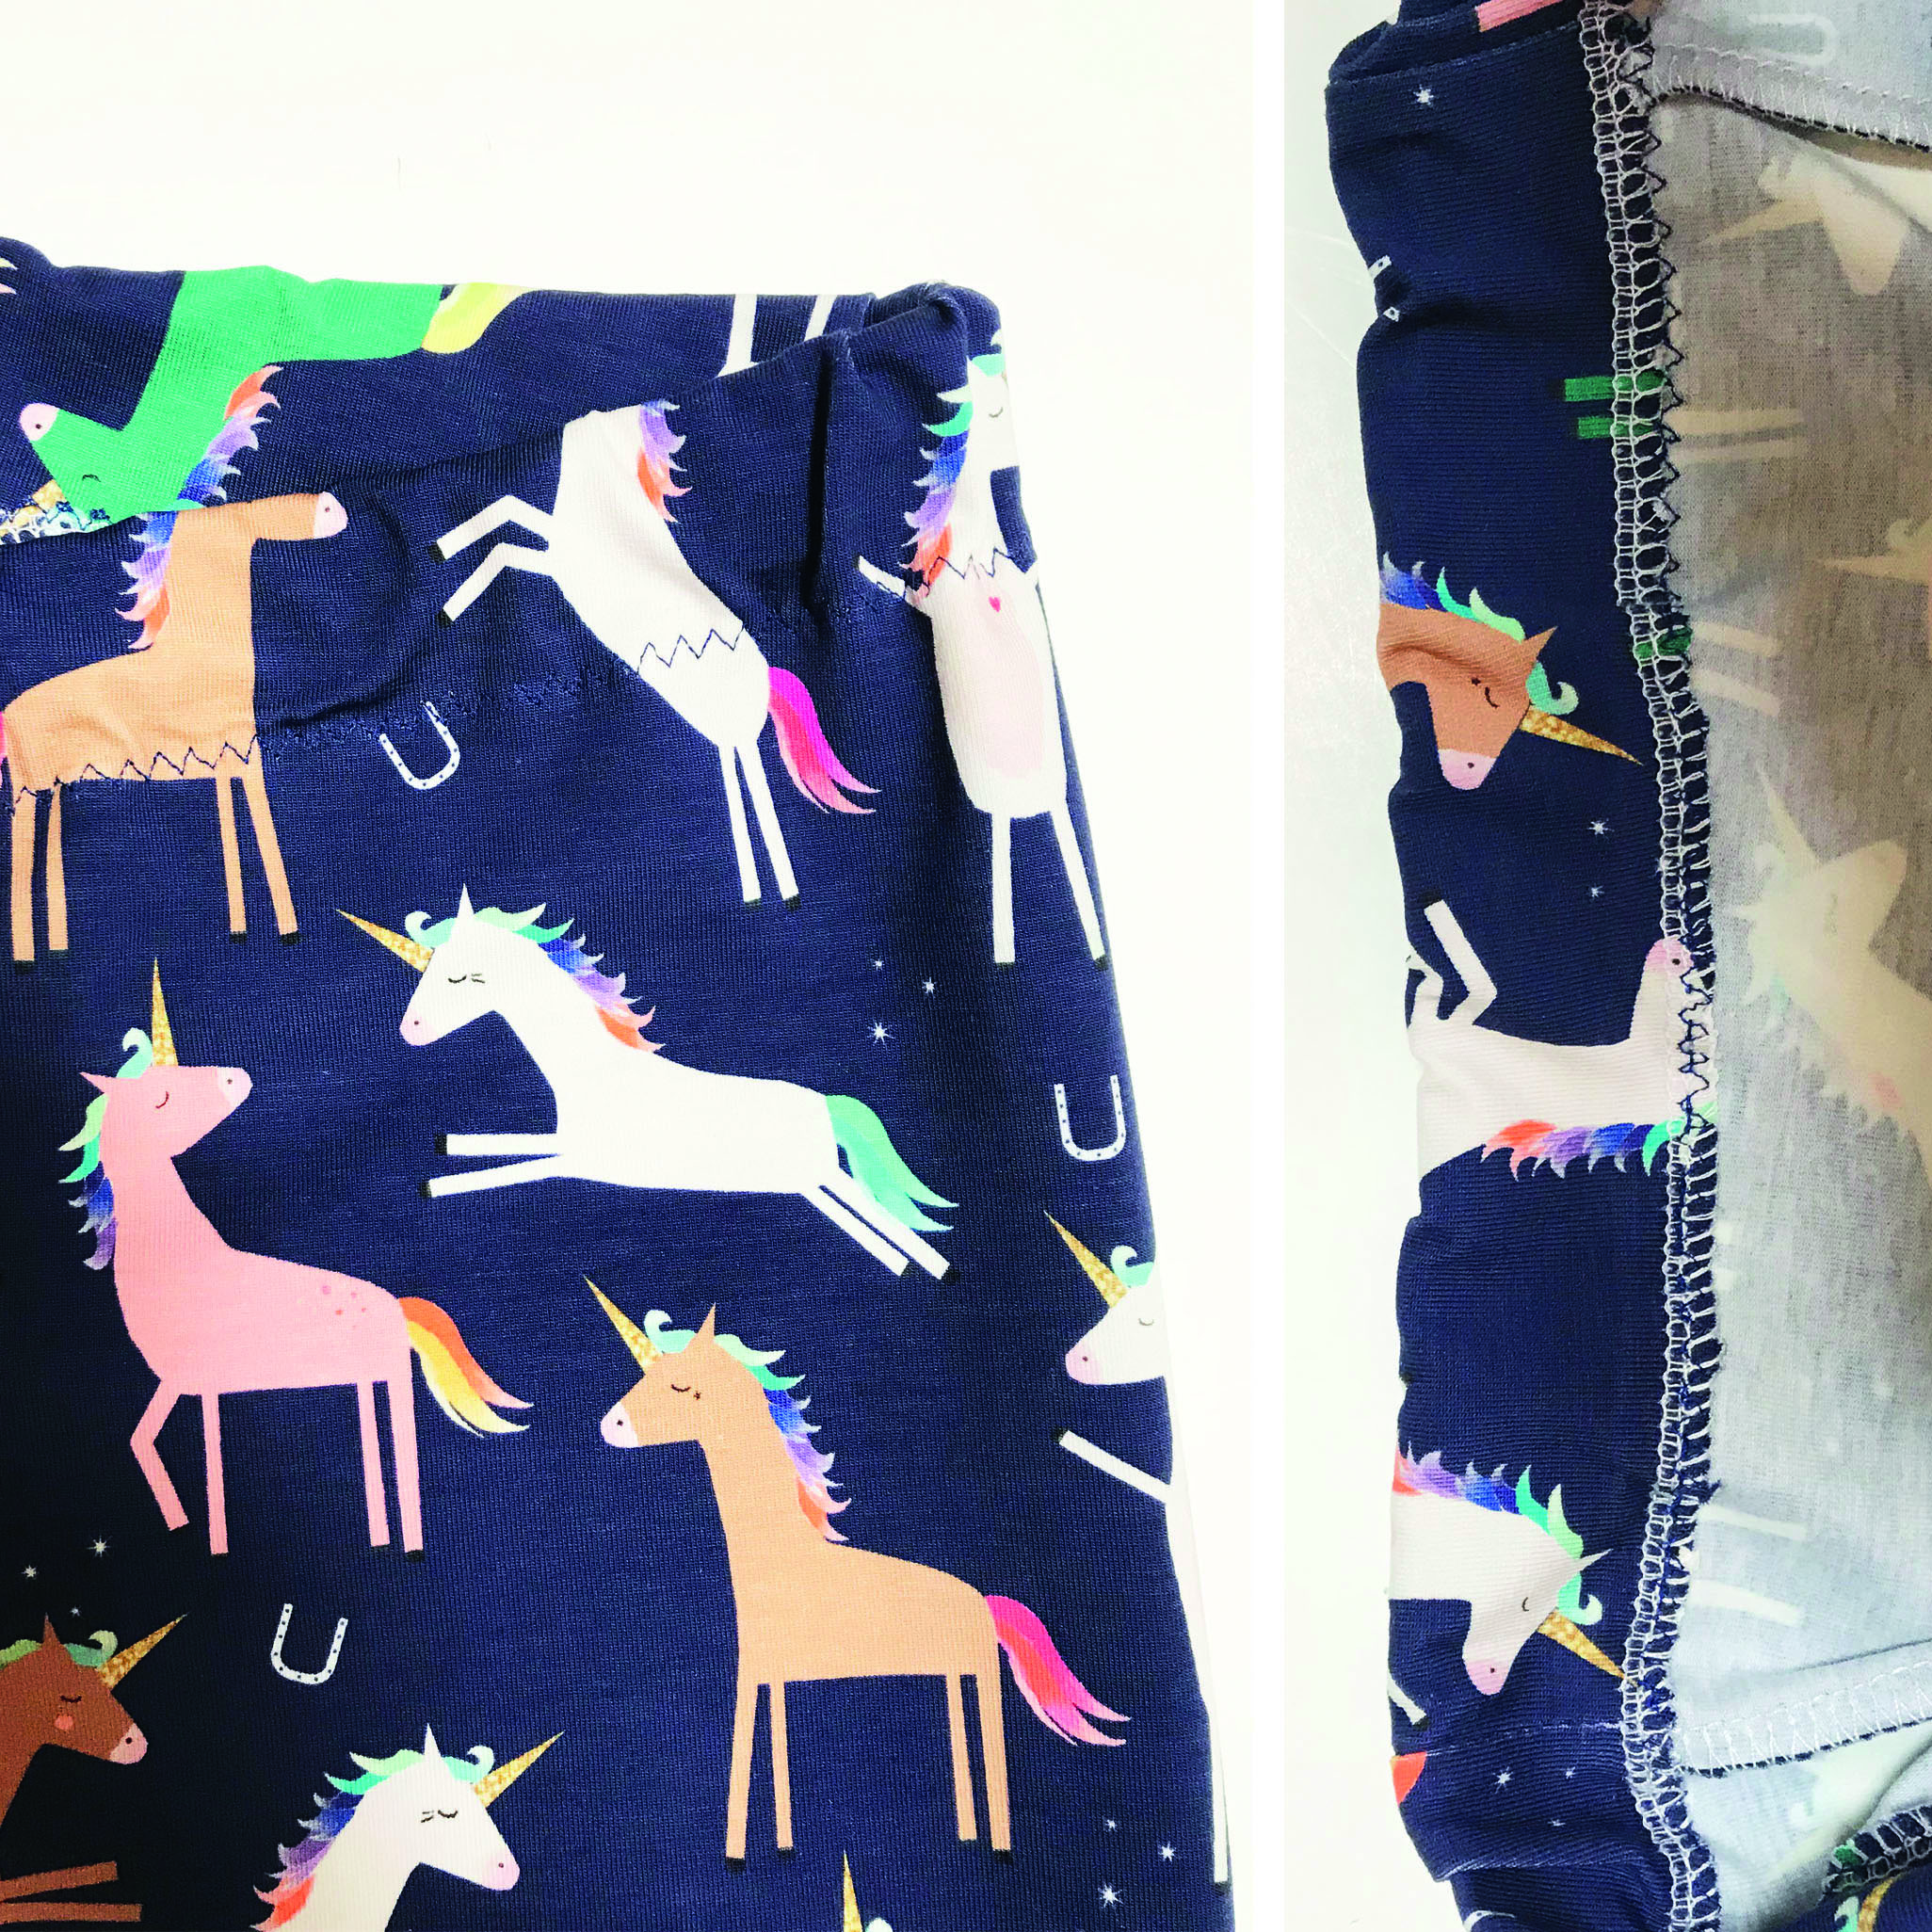
Pull the waistband outwards so the elastic pops back inside the channel. Pin and then sew the opening closed, pulling the fabric straight as you go.


