Patch pockets are a simple and effective way to add function to a garment, as well as being a fun design detail. The great thing about patch pockets is you can customise them to any shape you like – we’re dreaming of circular 1960s-style pockets, mini pockets to fit your train tickets in, or bold contrasting pockets to bring a bit of joy to a winter morning. In this tutorial we show you how to make a kangaroo-style pocket.
You will need
- Thin card
- Temporary fabric spray adhesive (optional)
- Matching thread
- Basic sewing kit
Notes
- Use a 1.5cm (5⁄8in) seam allowance unless otherwise stated.
- Download the bonus kangaroo pocket template here.
Drafting a kangaroo patch pocket
Use these steps to draft your own kangaroo patch pocket pattern, or use the template available on our website (see notes).
Step one
Draft a rectangle that is your desired pocket width x pocket height. Our rectangle measures 32x21cm (125⁄8x8¼in).
Step two
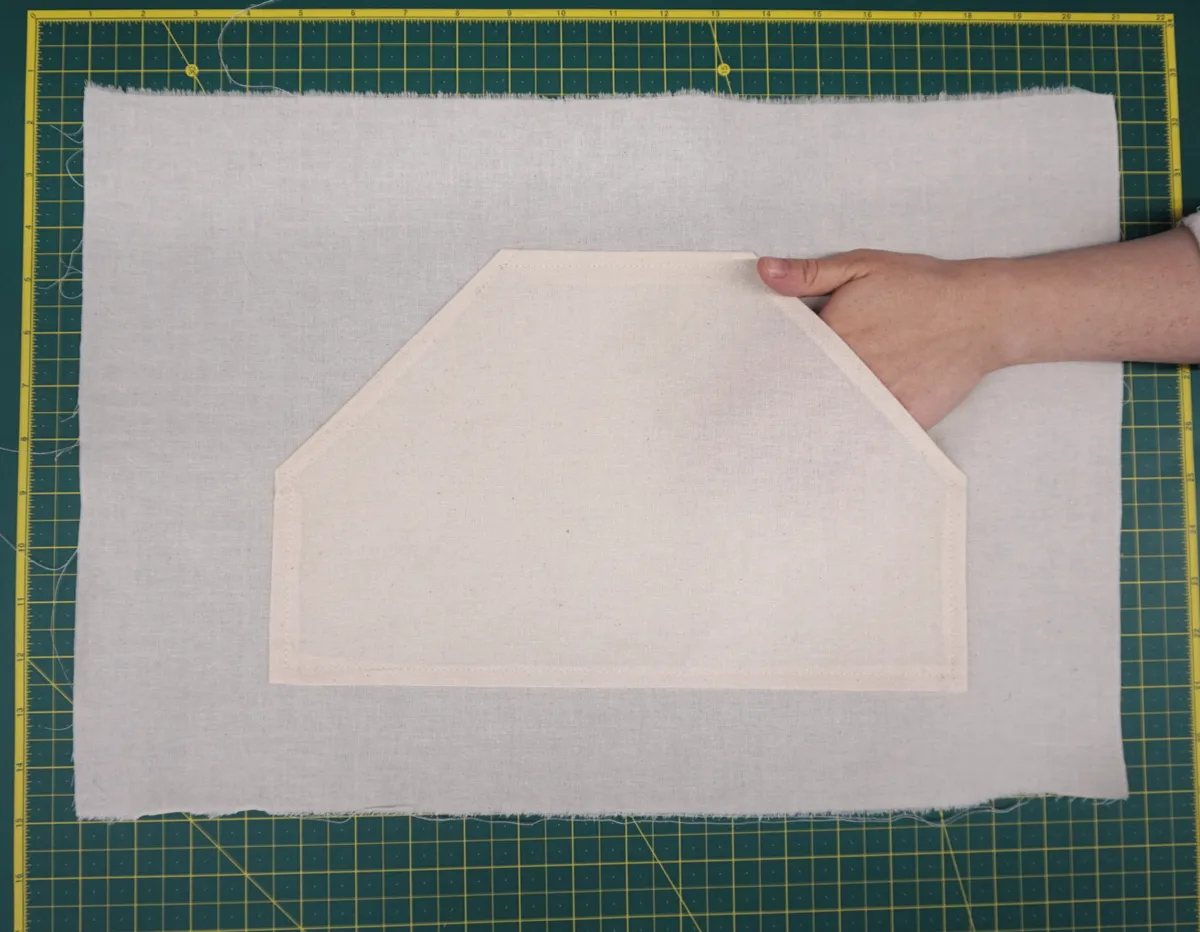
Angle the top right corner of the rectangle with a line that is your desired pocket opening depth/width. It is important that the pocket opening is not too narrow as you will need to be able to get your hand inside. You will also need to leave some of the top and right-hand edge intact so that you don’t have a triangular pocket! Our top edge measures 12cm (4¾in), our right-hand edge measures 10cm (4in) and our pocket opening width is 15cm (6in). Once you have drawn this angled line, lay your hand on top to check it will fit with a few centimetres either side for ease of movement.
Step three
Fold the pattern in half vertically and trace the left-hand corner edge exactly the same as the right-hand corner. It is important that your pattern is symmetrical.
Step four
Unfold and add 1.5cm (5⁄8in) seam allowance all around your template.
Step five
Cut out your pattern.
Cutting out
Step one
From the main fabric cut:
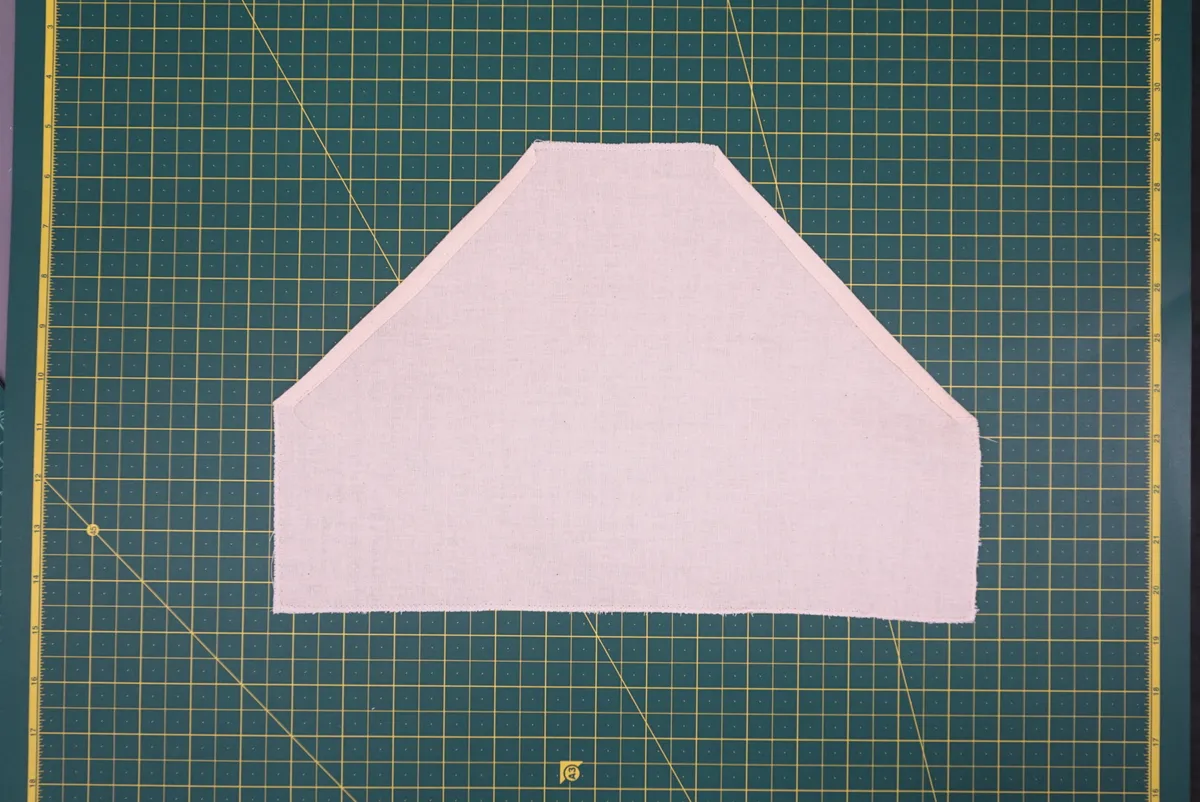
- Kangaroo pocket: cut one.
Step two
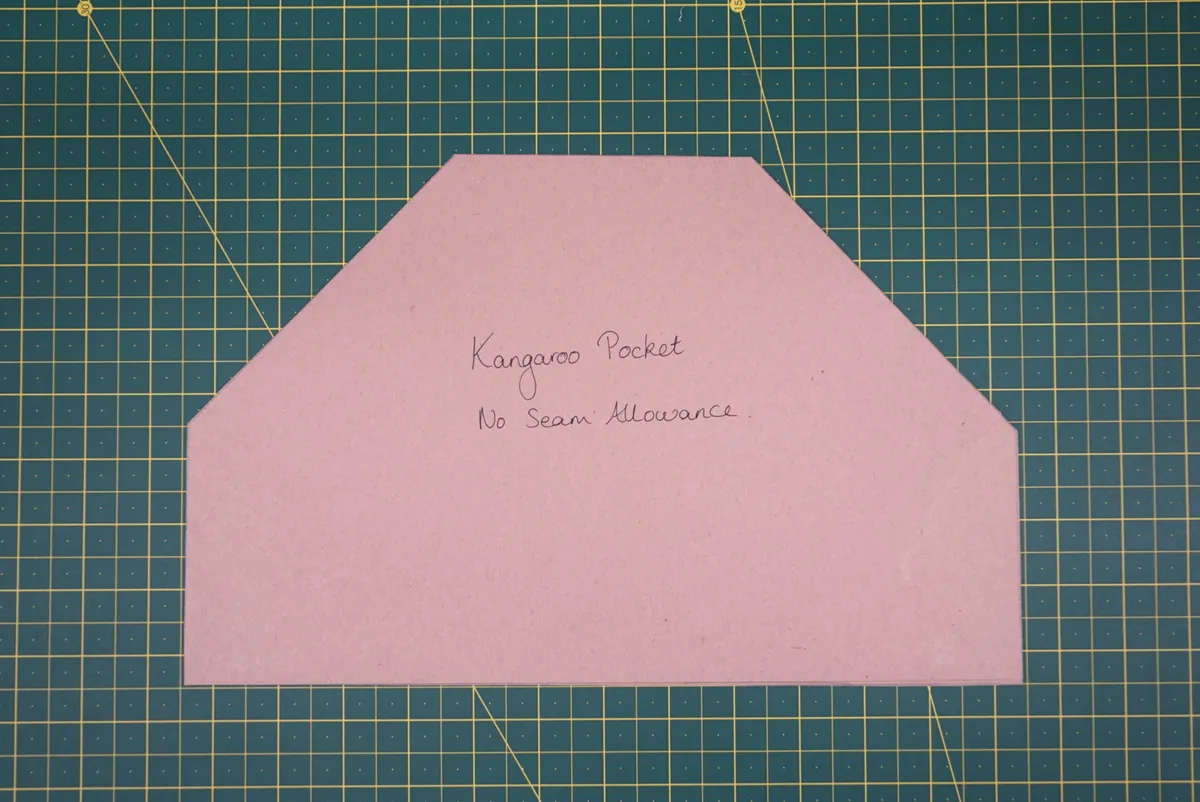
Trace around the kangaroo pocket template onto thin card and cut away the 1.5cm (5⁄8in) seam allowance.
Making the pocket
Step one
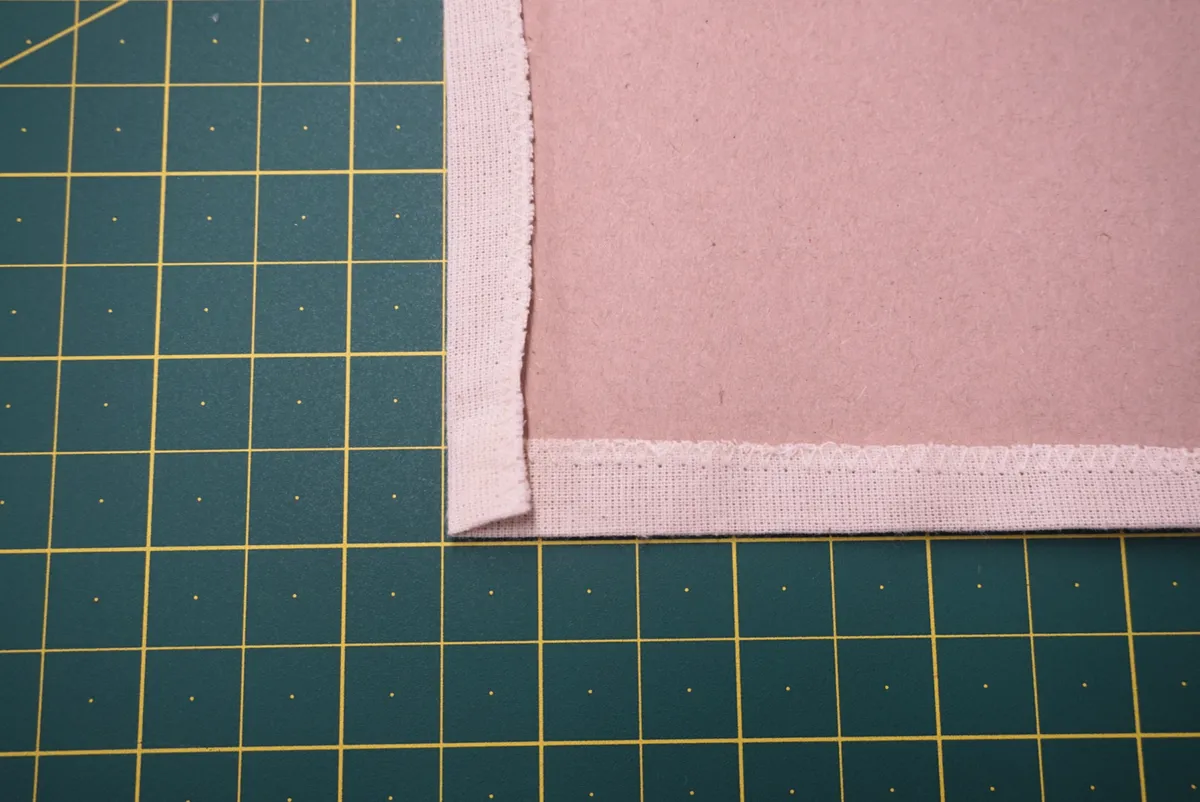
Finish the raw edges of the pocket with an overlocker or zigzag stitch. Along the angled pocket opening edges turn 5mm (¼in) to the wrong side (WS) and press. Then turn 1cm (3⁄8in) to the WS and press again. Topstitch along the open edge of the fold.
Step two
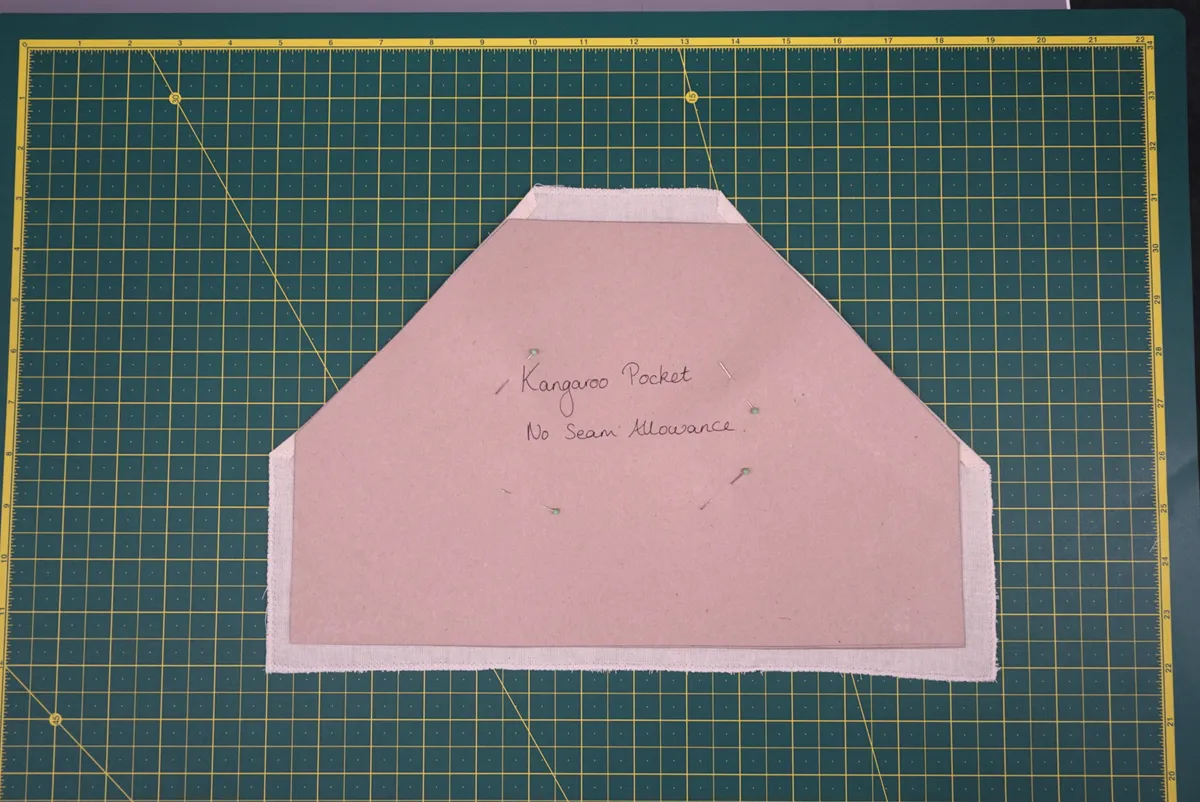
Place the cardboard template on the WS of the main fabric kangaroo pocket piece. Use a few pins or a temporary fabric adhesive to position the template exactly in the centre of the fabric. There is no seam allowance left along the angled edges as we have finished these already. However, there should be 1.5cm (5⁄8in) seam allowance along the top, bottom and side edges. If you are using pins, make sure they are positioned away from the outer edges as they will scratch the plate of your iron if you press over them.
Step three
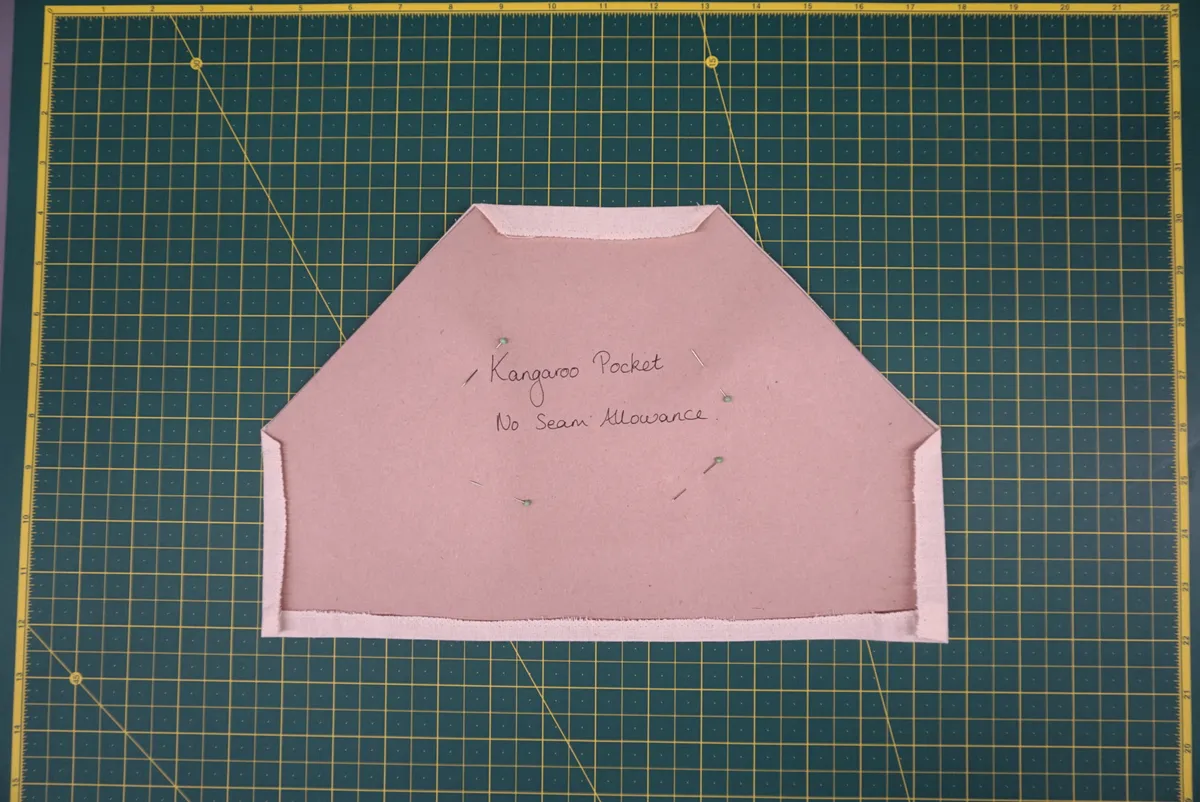
Take the pocket and card template to your ironing board and press each fabric seam allowance edge over onto the cardboard.
Step four
Neatly fold the corners so that they are not visible from the right side (RS) and lay as flat as possible. If your fabric can be steamed use the steam function on your iron to get a crisp fold. You may find the right-angled corners difficult to fold without the seam allowance being visible on the RS. If this is the case you can pleat the folded fabric slightly so that it is not visible; just make sure that in doing so you aren’t making the corner too bulky. Don’t be tempted to trim away excess fabric at the corners as this can lead to fraying that will eventually become visible on the RS and potentially make a weaker pocket.
Step five
Remove the cardboard template and place the pocket on your garment. Pin in place to check the position.
Step six
Topstitch the pocket in place 3-5mm (1⁄8-¼in) from the folded edges to finish. Backstitch at the edges of the pocket openings for extra security and pivot the fabric with the needle in the down position at the corners. Remember not to sew the openings shut!
Top tips
Follow these tips to ensure the topstitching on your patch pockets looks professional.
- If you're not confident topstitching a perfectly straight line, use a thread that is a perfect match to your fabric so it blends in. If you are unsure of which thread colour to use, go one shade darker than your fabric as this will blend in better than a lighter thread.
- Follow the guide on your machine plate to get the distance between the pocket edge and the topstitching exact. If your machine's markings are unclear, use masking tape to mark your desired distance from the needle.
- Pivot at the corners of the pockets to avoid distracting backstitching. Sew up until a corner then turn the hand dial so that the needle is in the down position in the fabric. Raise the presser foot, rotate the fabric so that the next side of the pocket is lined up, lower the presser foot and continue sewing.