Cutting out
Step 1
Start by cutting off the curtain tape but leave all the side hemming intact for now as this will give a straight edge.
Step 2
To provide some structure and crispness to the underskirt, use spray starch to stiffen one of the curtains.
Step 3
Cut three rectangles in total. Each of them should measure three times your waist measurement in width and 65cm (26in) in length. Cut one from the unstarched fabric to form the more floaty top layer. Cut two from the starched fabric to form the underskirt.
Step 4
For the waistband cut a piece 10cm (4in) wide and 7.5cm (3in) longer than your waist measurement. Press a piece of interfacing to the wrong side (WS) of it to stiffen.
Making the underskirt
Step 1
Join the two starched underskirts together by layering one on top of the other, both with right sides (RS) up. Stitch together down the two short edges, then along the top edge. Use an overlocker or stitch with a straight stitch then a machine zigzag to neaten all along the raw edges.
Step 2
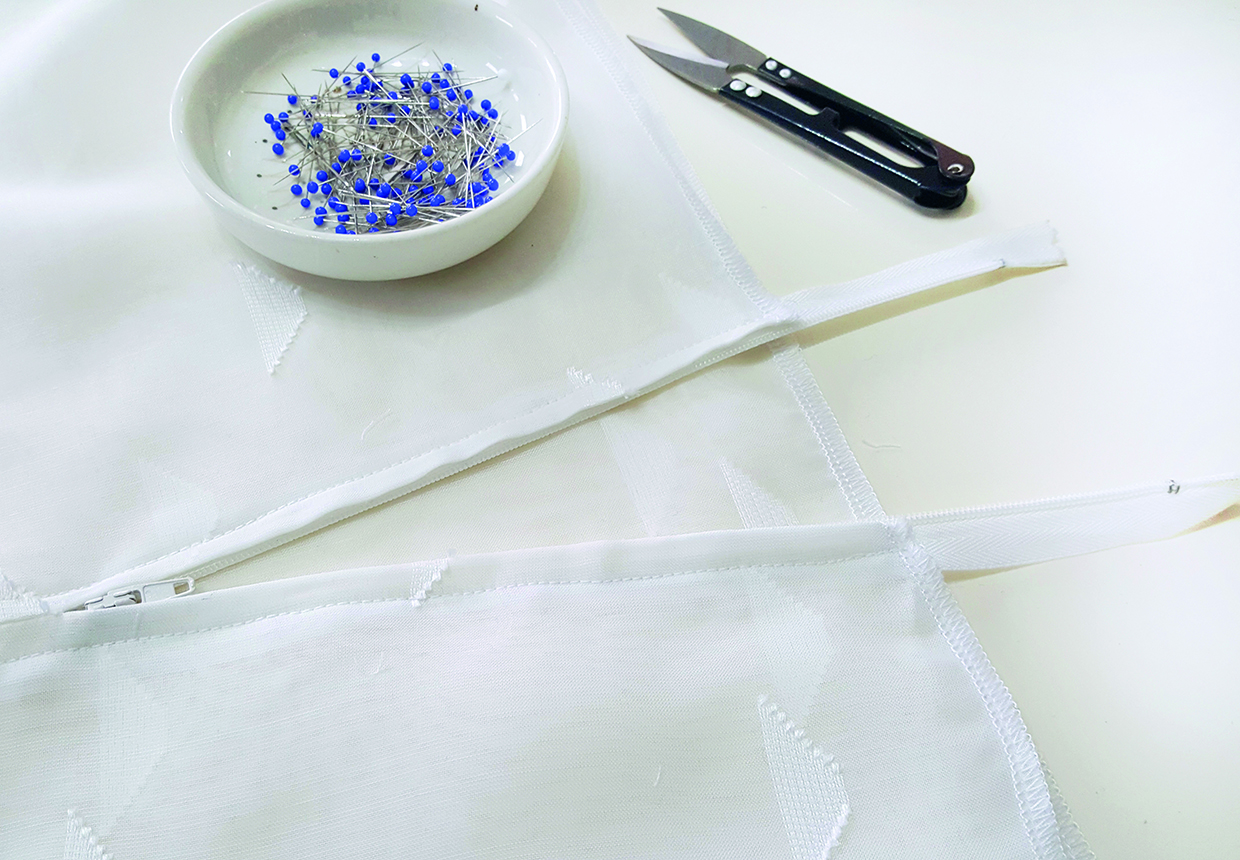
Fold the joined layers RS together and stitch together down all four layers of the short sides starting 20cm (8in) from the top.
Step 3
Press the seam open and flat to create your centre back (CB) seam.
Step 4
Insert the zip above the CB seam.
Pleating the underskirt
Step 1
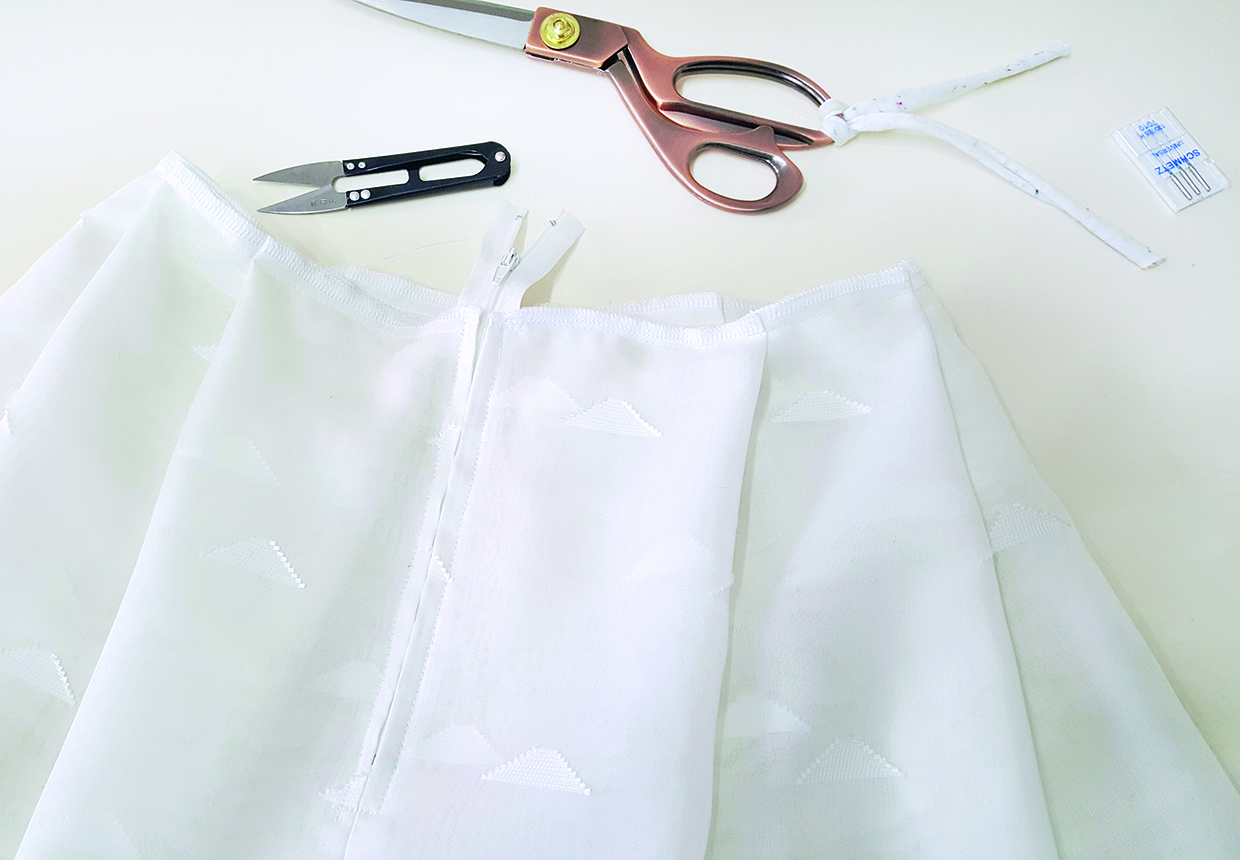
Pleat all around the top edge of the joined underskirts until it measures the same as and fits your waistline. Larger and fewer pleats work better here as they give the least bulk at the waistline whilst still providing structure.
Step 2
Once you’re happy with the pleats, machine tack them into place 1cm (3⁄8in) from the top edge.
Making the top layer
Step 1
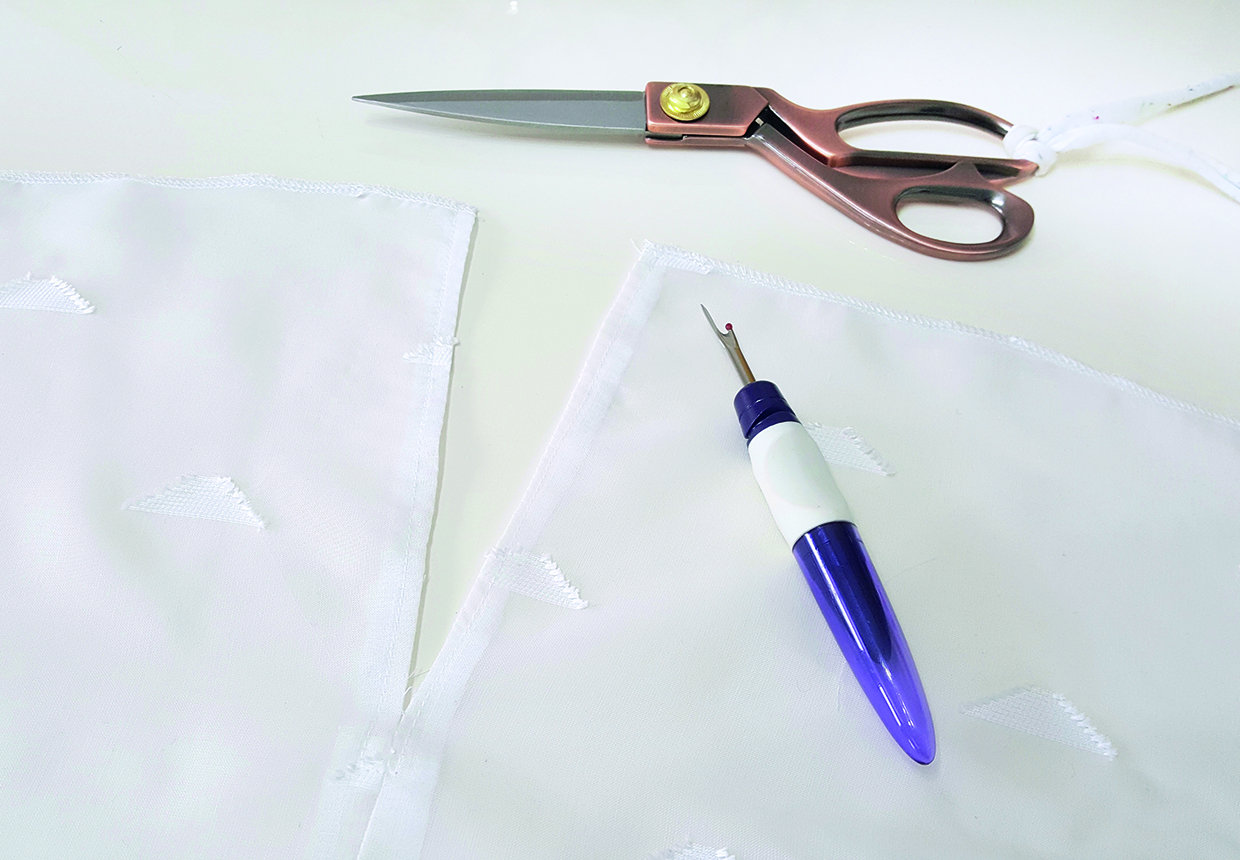
Stitch and finish the short edges of the top layer together to create a loop in the same way as for the underskirt, but instead of inserting a zip leave the top 20cm (8in) of the seam open with the finished edges turned under and topstitched into place.
Step 2
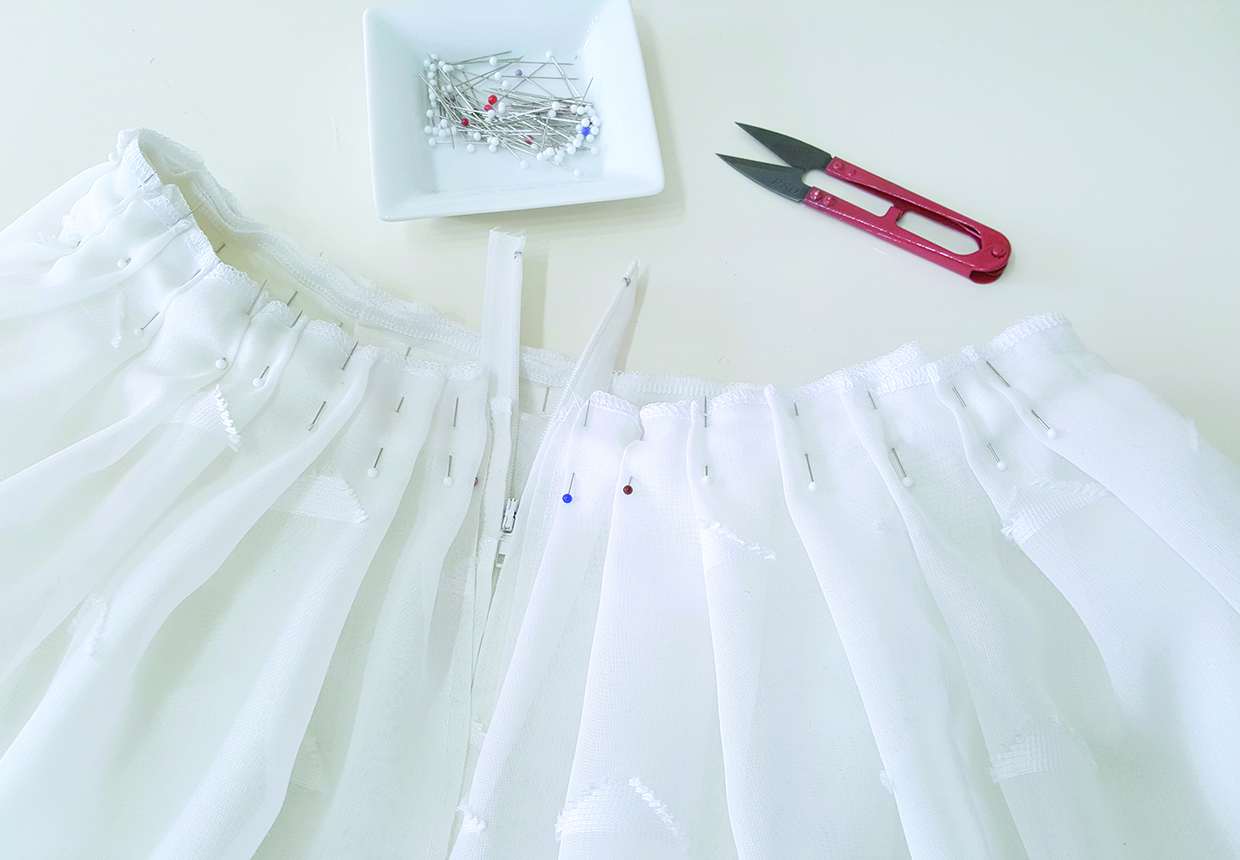
Gather the waistline of the top layer until it fits the waistline of the underskirt and pin into place, through all layers.
Step 3
Pin the open section at the top of the CB seam either side of the zip tape.
Step 4
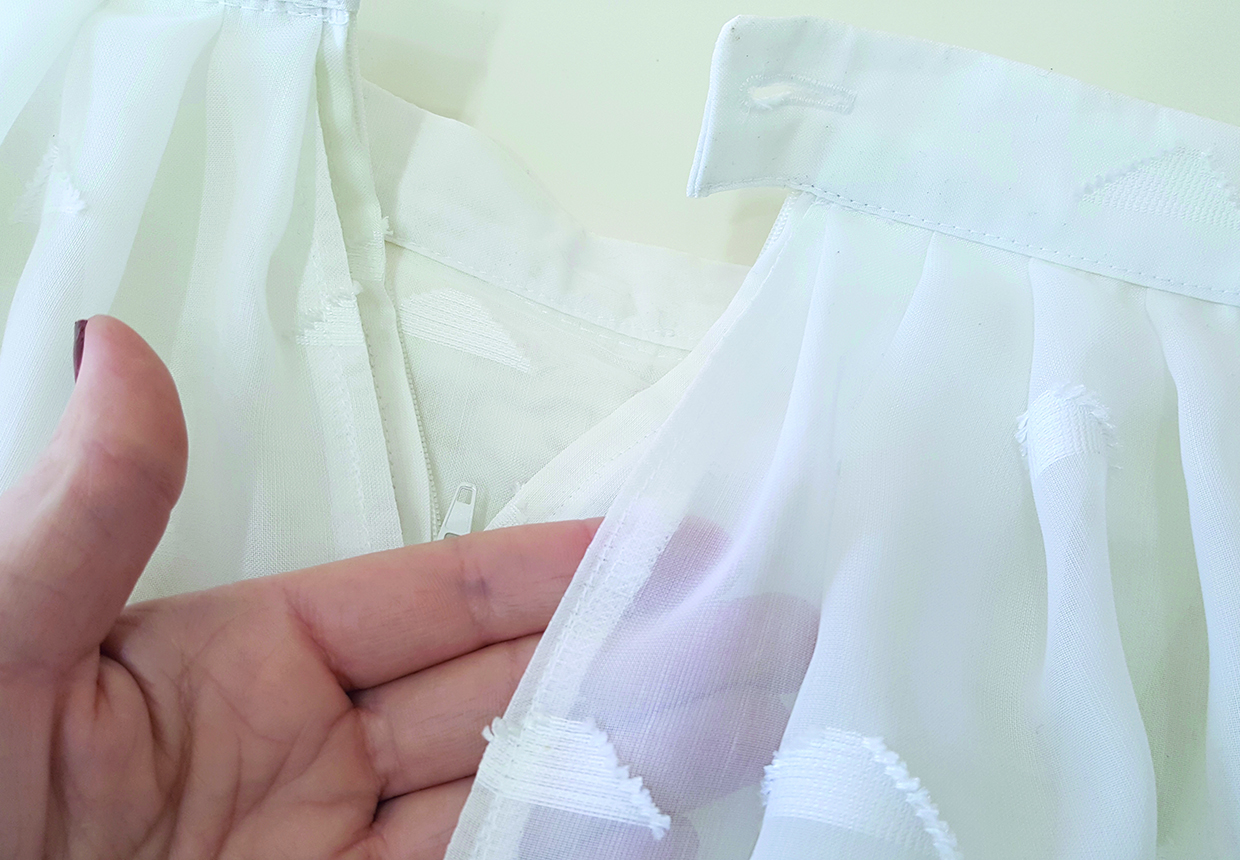
The top layer should ‘float’ above the underskirt, anchored only at the waistline, either side of the zip underneath. This photo jumps ahead but gives you a clearer idea.
Step 5
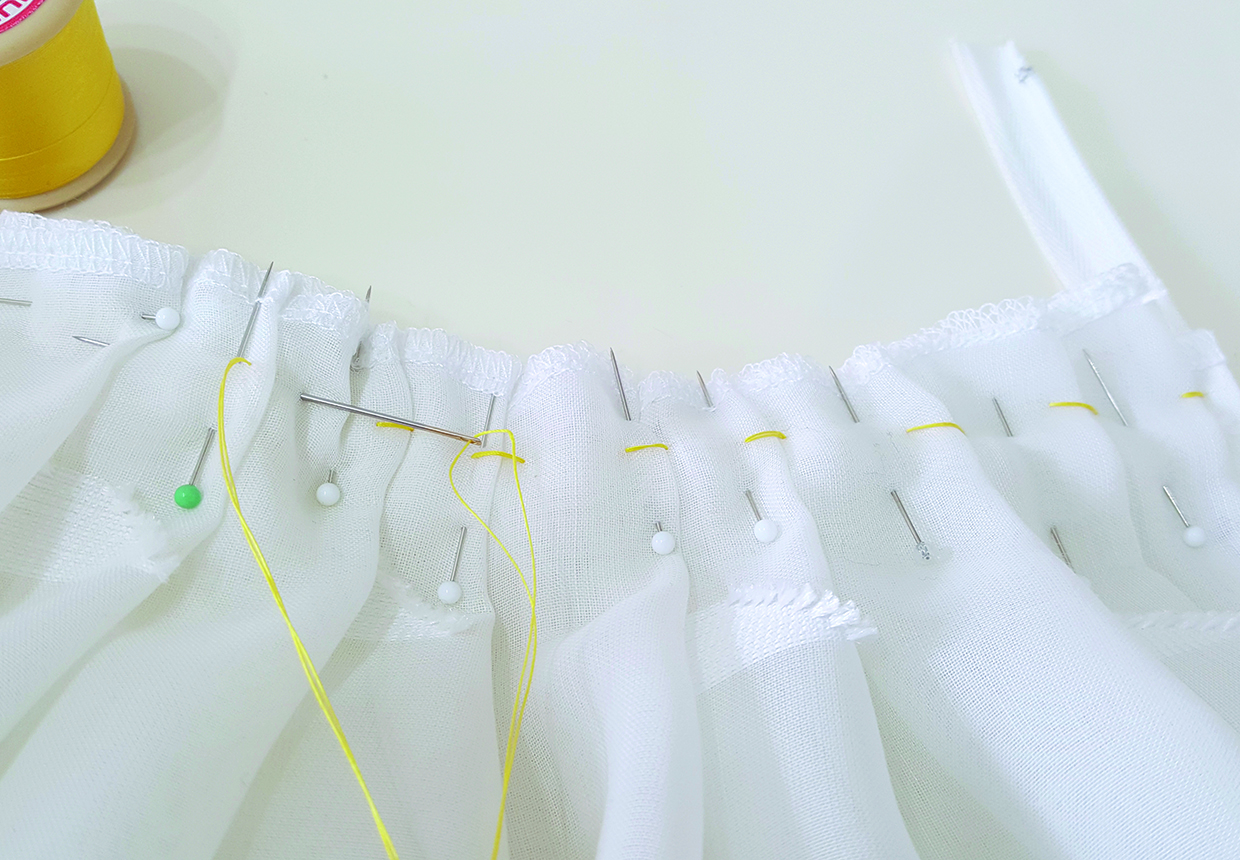
Tack everything into place, paying particular attention to anchoring down the folds of the pleats/gathers. Tacking helps to keep everything flat and will prevent your carefully placed pleats from shifting.
Step 6
Stitch everything into place 1cm (3⁄8in) from the top edge and remove your tacking.
Attaching the waistband
Step 1
Fold and press the interfaced waistband in half WS together along the length.
Step 2
Turn under and press 1.5cm (5⁄8in) all along one long edge of the waistband.
Step 3
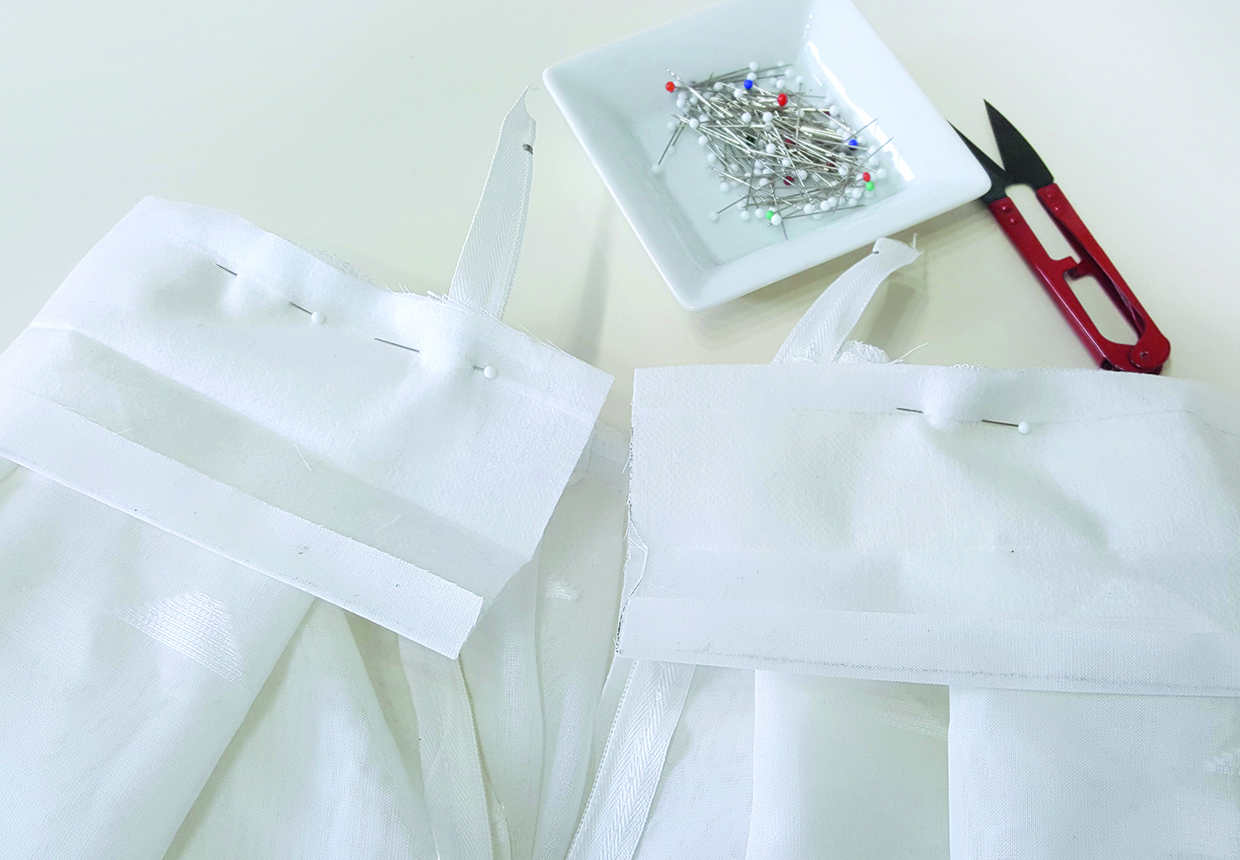
Pin the RS of the unfolded edge to the WS of your waistline; allowing the waistband to extend 2.5cm (1in) past the zip tape on the left, and 5cm (2in) past the zip tape on the right.
Step 4
Sew in place using a 1.5cm (5⁄8in) seam allowance, starting and finishing close to the zip teeth.
Step 5
Press the waistband upwards then trim and grade the seam allowances to reduce bulk. Cut away any excess zip tape 1.5cm (5⁄88in) above the seamline.
Step 6
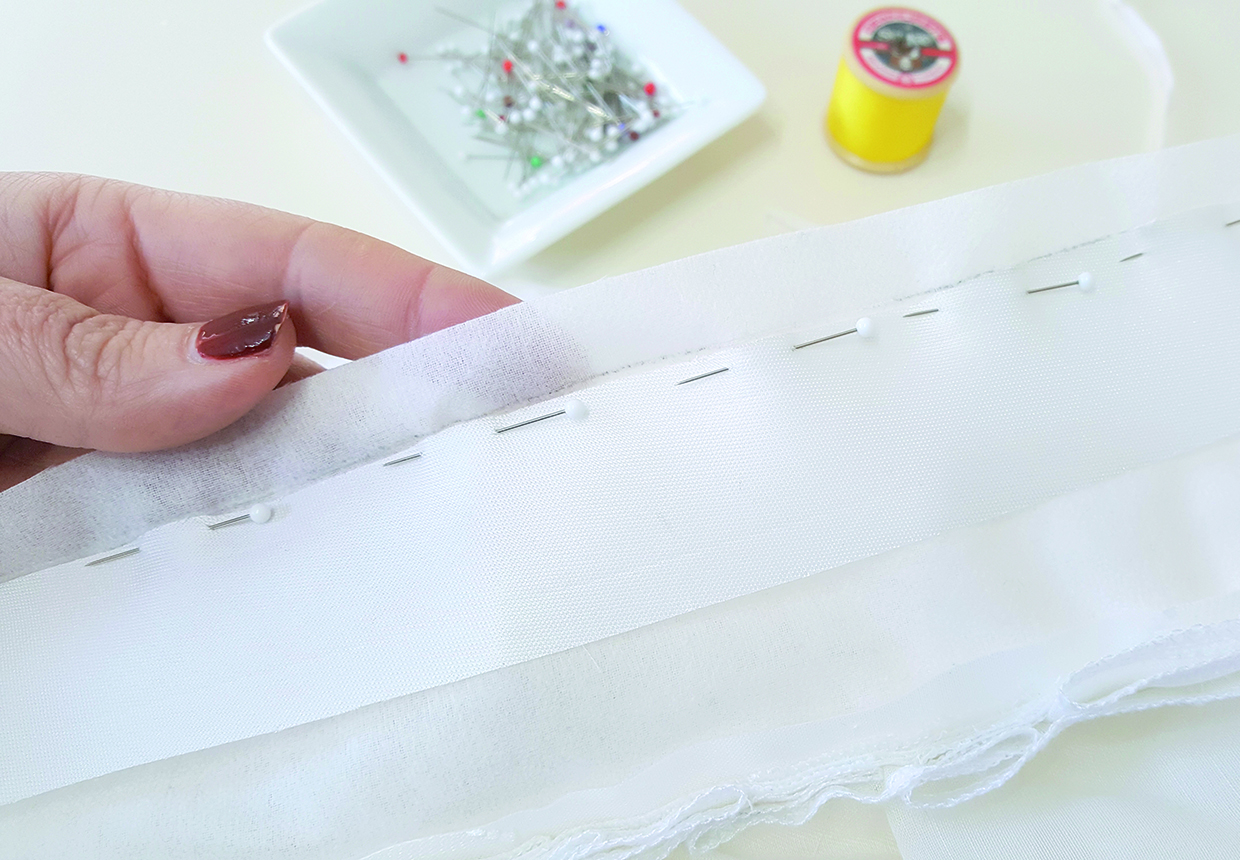
At this stage, I decided the waistband was too translucent so I pressed a length of satin bias open and flat, and applied it to the inside of the waistband.
Finishing the waistband
Step 1
Fold the waistband RS together at the short ends, with folded edges lined up.
Step 2
For the left side of the waistband, sew the short ends together right up in line with the zipper teeth as marked.
Step 3
For the right-hand side sew the short ends together 4cm (1½in) from the zip teeth. This will be your button tab overlap.
Step 4
Trim away any excess to within 5mm (¼in) of your stitching line. Clip corners close to, but not through, the stitching.
Step 5
Turn the corners through to the RS. The ends of the waistband will enclose the zip, and the folded edge you pressed under will line up with the waistband seam you just sewed.
Step 6
Pin the folded edge on top of that line of stitching. Check that the pins are catching the edge of the waistband on the reverse then tack into place.
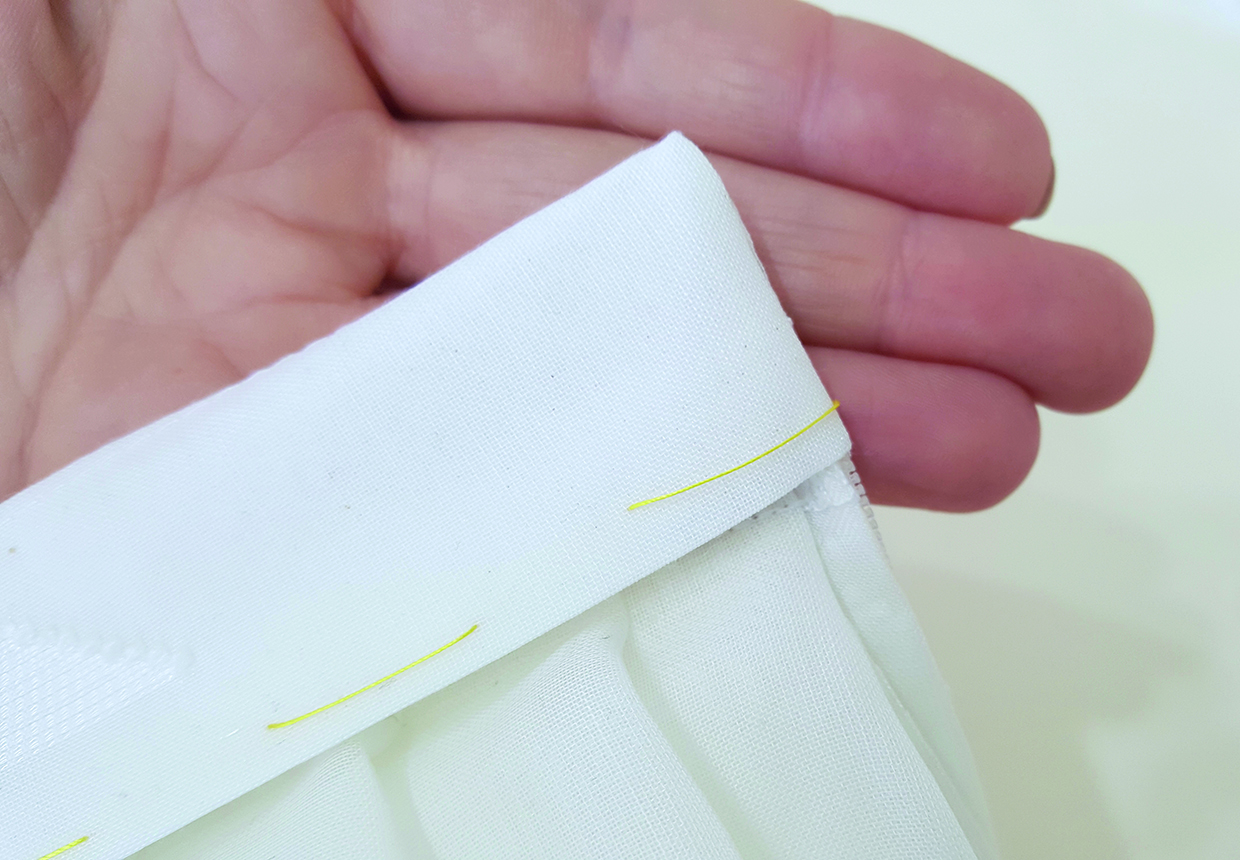
Step 7
Edge stitch all the way along the folded edge of the waistband on the RS.
Step 8
Stitch 3mm (1⁄8in) in from the folded edge to ensure you catch the folded edge of the waistband on the WS.
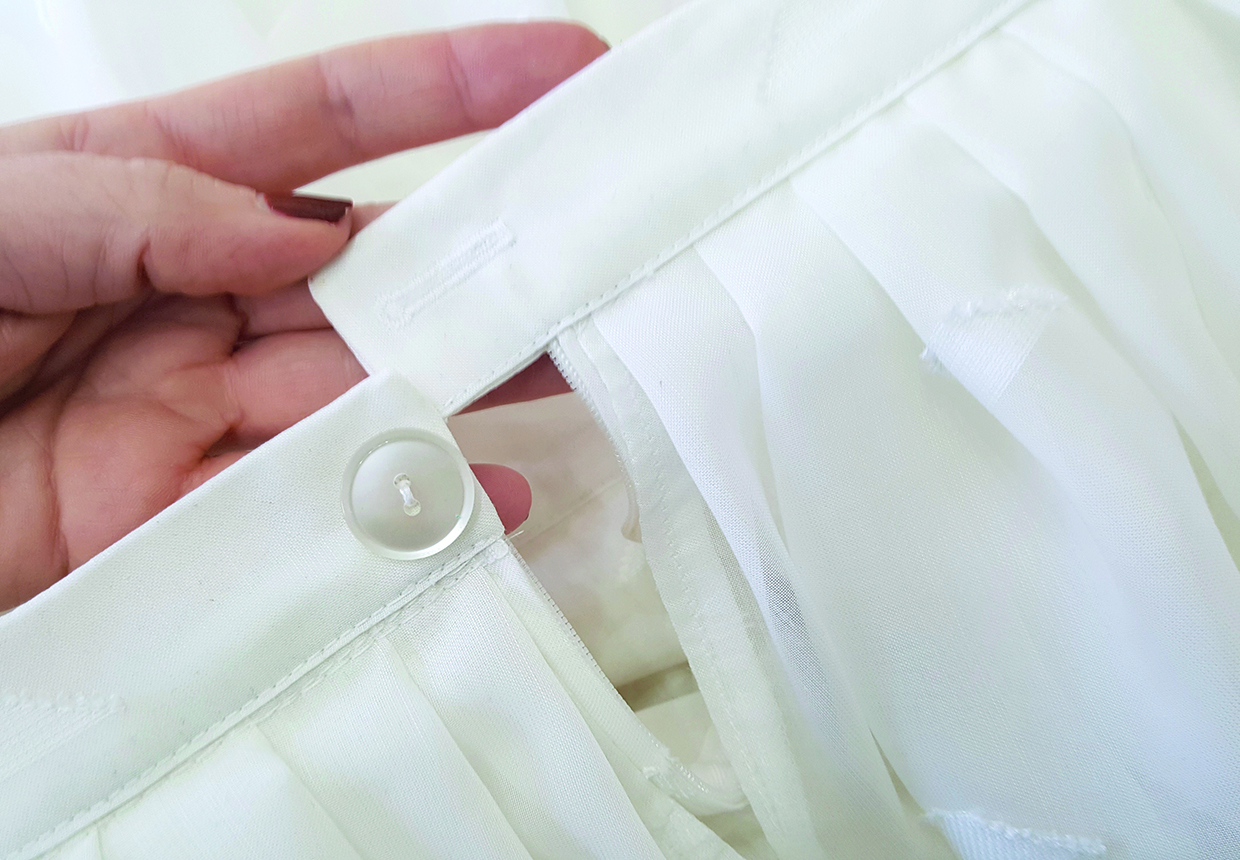
Step 9
Press and add the closure of your choice. We used a button and buttonhole but you could add snaps or hooks and eyes.
Hemming the skirt
Step 1
If you are using tulle or netting that doesn’t fray you won’t need to hem. Otherwise opt for a narrow hem finish.
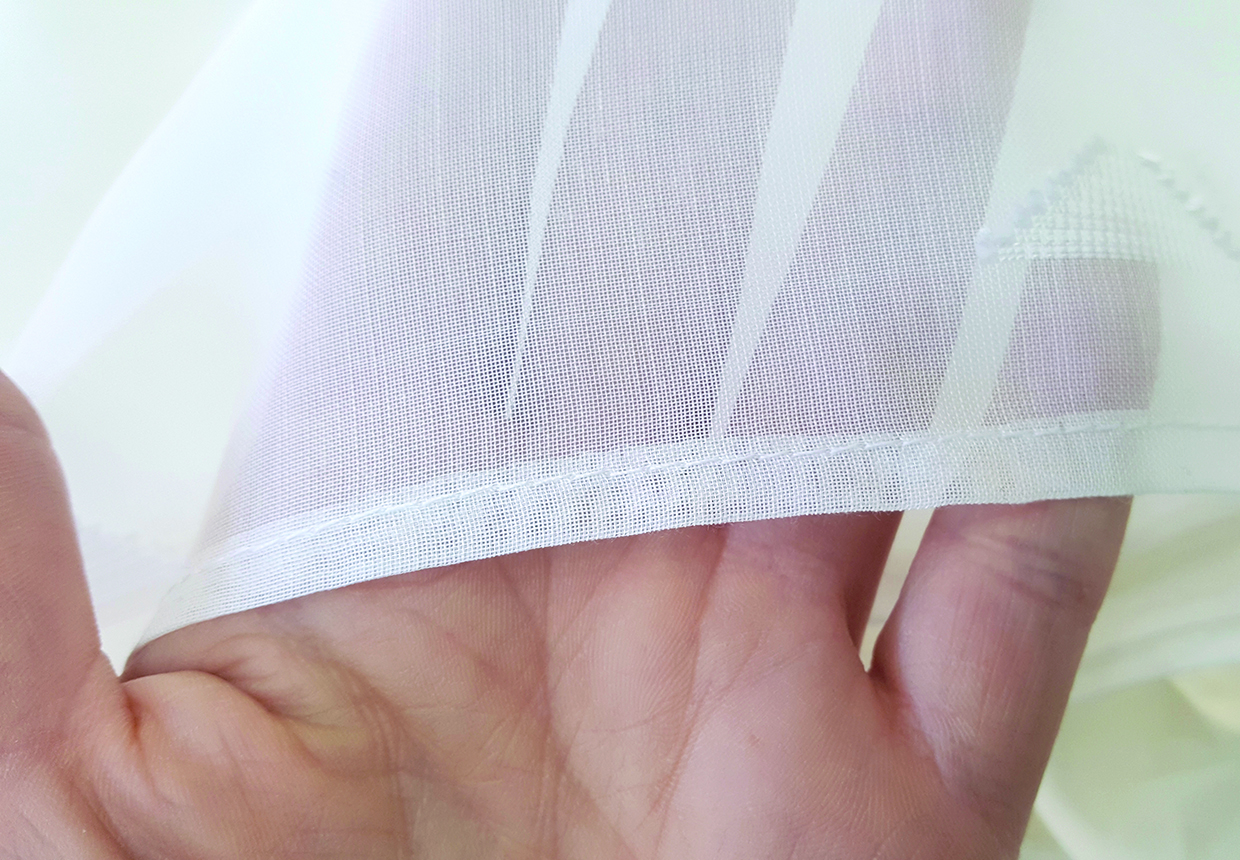
Step 2
Where the hem of the underskirt is joined at the CB, simply make a 1.5cm (5⁄8in) snip into the hem either side of the CB seam on one of the layers, to release it and allow you to hem the two underskirt layers individually.


