How to do paper marbling: a beginner's guide

Marbling makes such stunning effects! Learn how marbling inks lets you create amazing patterns for paper marbling with our easy tutorial and tips.

Try our magazines – get 6 issues from just £9.99!

Published: March 20, 2021 at 8:00 am

Immediate yet meditative, the craft of marbling can be approached as pattern-making, drawing or an exploration of colour. Paper marbling is a centuries-old craft long prized by bookbinders and bibliophiles. Once the closely held secret of master marblers, only trusted apprentices were taught the strange alchemy of pigments and the complex patterns they create when marbling inks and pigments.

The marbling process requires a vat filled with gelatinous size, made from water thickened with carrageenan or tragacanth. Paint sprinkled over the surface of the size spreads with the aid of a dispersing agent, historically the treated bile of an ox. The paint is then manipulated into patterns with a stylus or series of combs. When a sheet of alum-treated paper is gently laid on the size, it picks up the pattern, which looks as if it were still dancing on water.

The craft of marbling gradually spread through Europe until it was common to every bindery and marbling ink and pigment to give patterns graced the endpapers of most books. With the mechanisation of bookbinding, paper marbling fell from favour, but the tradition was saved from obsolescence with the 1970s’ renewed enthusiasm for hand crafts. Since then modern synthetic pigments and additives have simplified the alchemy involved, making marbling both more practicable and predictable in outcome. These developments also make the craft ripe for experimentation and expansion.

Paper marbling today can be approached as pattern-making, an exploration of colour or drawing. It can be serenely meditative or wildly experimental. Marbling patterns are not drawn by the marbler alone, but by a combination of the manual, chemical and natural phenomena acting on the pigments as they float. It is a remarkably immediate art form, in which each monoprint captures the precise moment when the fluid media are transferred to paper. The liquidity of the medium and the process, as well as the potential for additive layering of one pattern on another, allows the marbling artist to alternate between controlling the materials and drawing inspiration from unexpected outcomes. In a craft with centuries-old roots, this creates an opportunity for expressive unity between creator and creation and the growth of personal vision.

Here we showcase two marbling techniques, with a guide to marbling large pieces of paper from book and textile artist Natalie Stopka, which was originally published in Project Calm issue 5, and a guide to marbling with shaving foam, which is a simpler ink marbling technique for the crafters without a lot of space and equipment. Which marbling method is the right one for you to try?

Main image: © Mila Naumova

This article contains:

  • How to make marbling paper (traditional technique)
  • How to do paper marbling with shaving foam
  • Best paper marbling kits

How to make marbling paper tutorial
marbling ink main
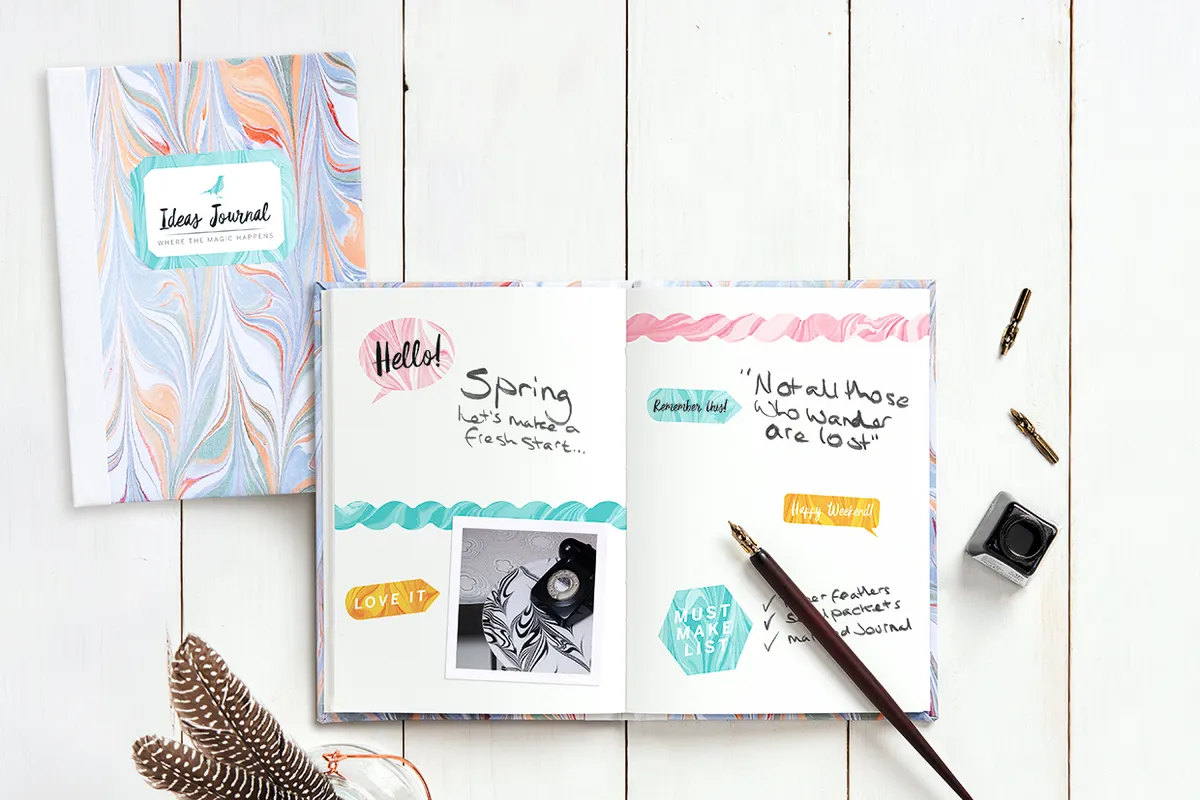
Paper marbling is a beautiful way to create your own unique book and journal covers

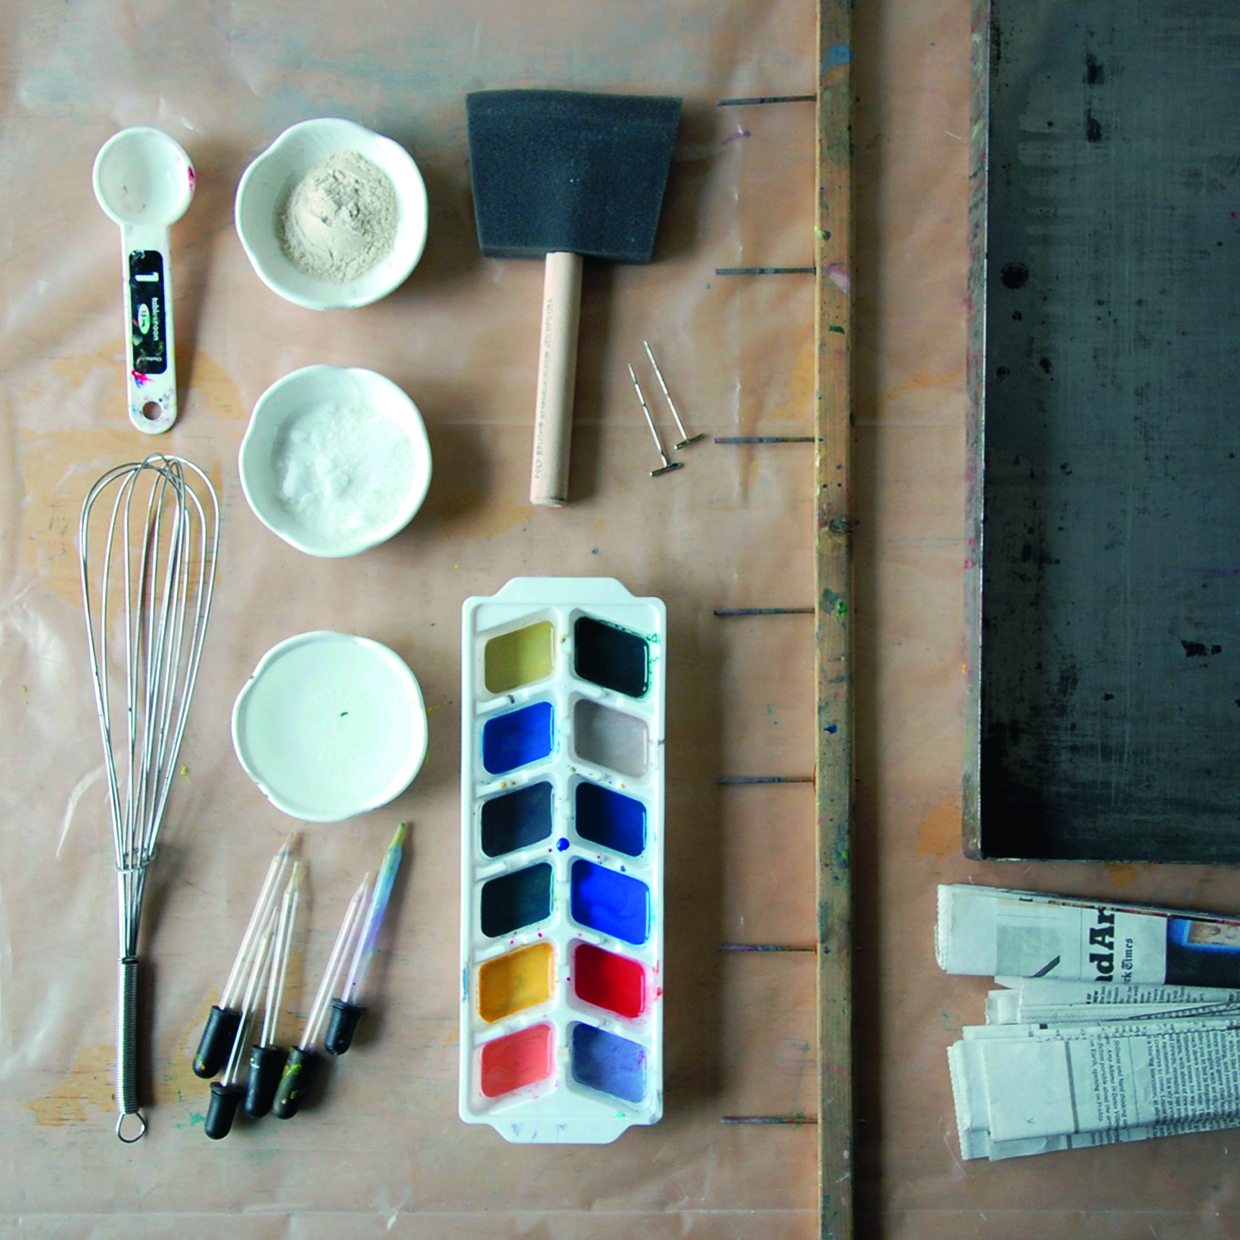
You will need:

  • Marbling tray
  • Paper (Medium weight drawing paper)
  • Paint palette
  • Acrylic paints (Golden Fluid Acrylics or Holbein Acryla recommended)
  • Eye droppers
  • Cloth
  • Newspaper
  • Stylus (Or a marbling comb)
  • Kodak Photo-Flo dispersant
  • Carrageenan
  • Aluminum sulfate (alum)

Step 1

marbling 1

Prepare your equipment. For large scale marbling, you will need the following bits of marbling kit:

  • Marbling tray
  • Medium weight drawing paper
  • Carrageenan
  • Aluminum sulfate (alum)
  • Acrylic paints (Golden Fluid Acrylics or Holbein Acryla recommended)
  • Paint palette
  • Eye droppers
  • Kodak Photo-Flo dispersant
  • Newspaper
  • Stylus or marbling combs
  • Dropcloth

Step 2

marbling ink 2

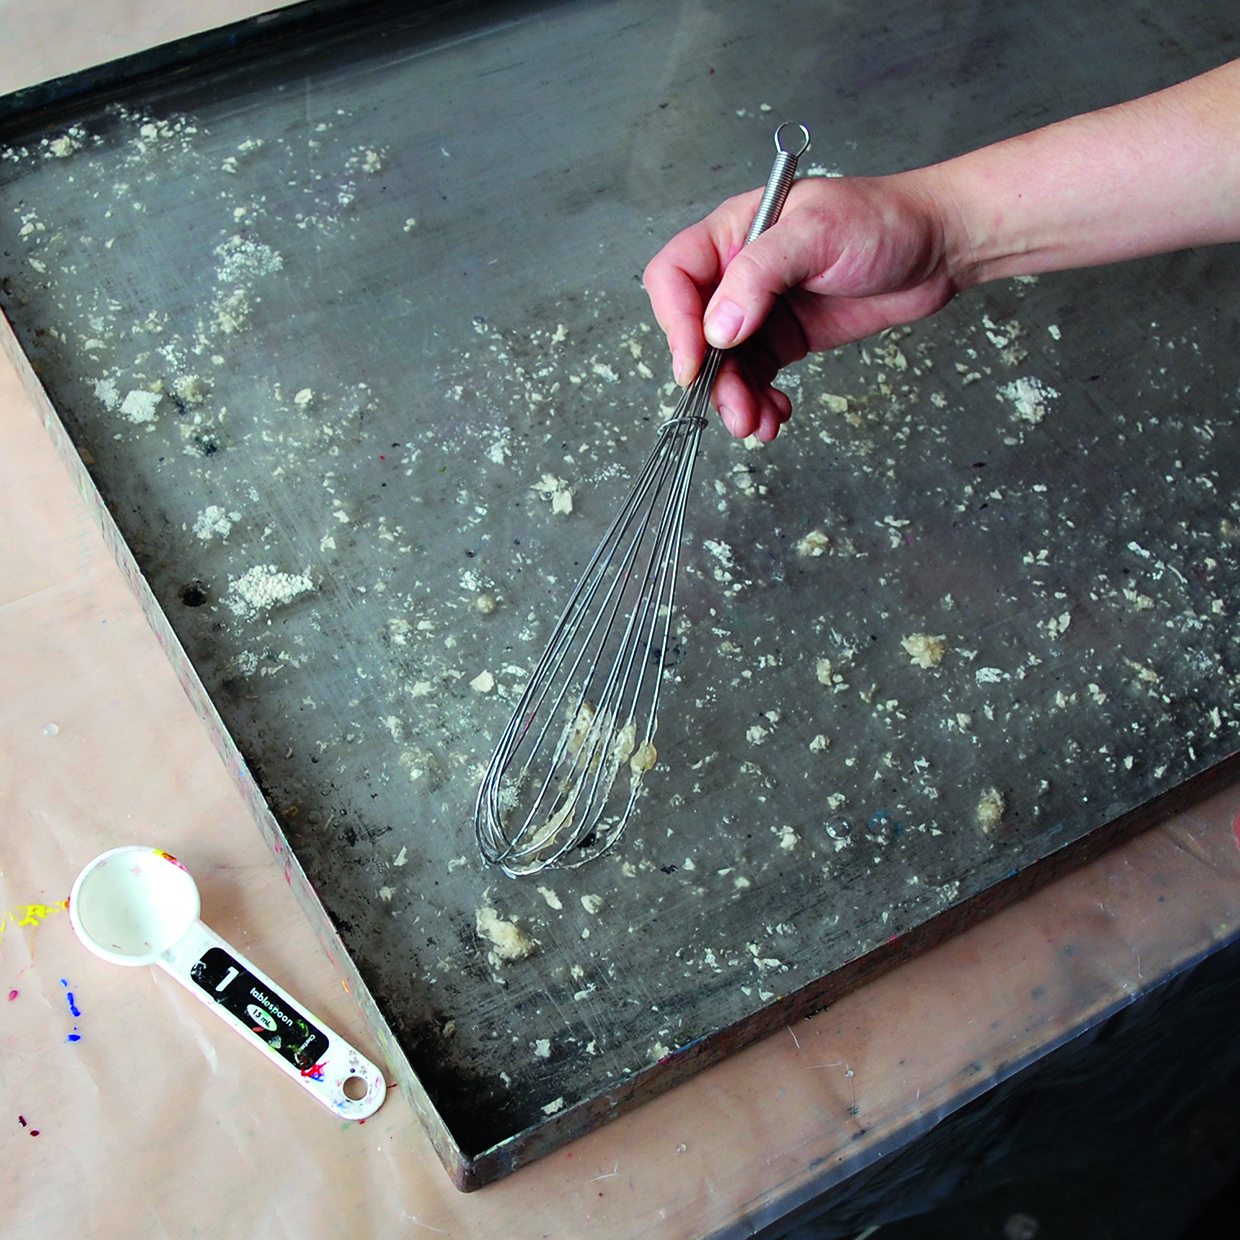
Fill your marbling tray with 1-2 inches of water, measuring as you do so. Whisk in 2 tablespoons of carrageenan for each gallon of water. The mixture, called size, will look lumpy at first; allow it to sit six hours or overnight to fully dissolve.

Step 3

marbling ink 3

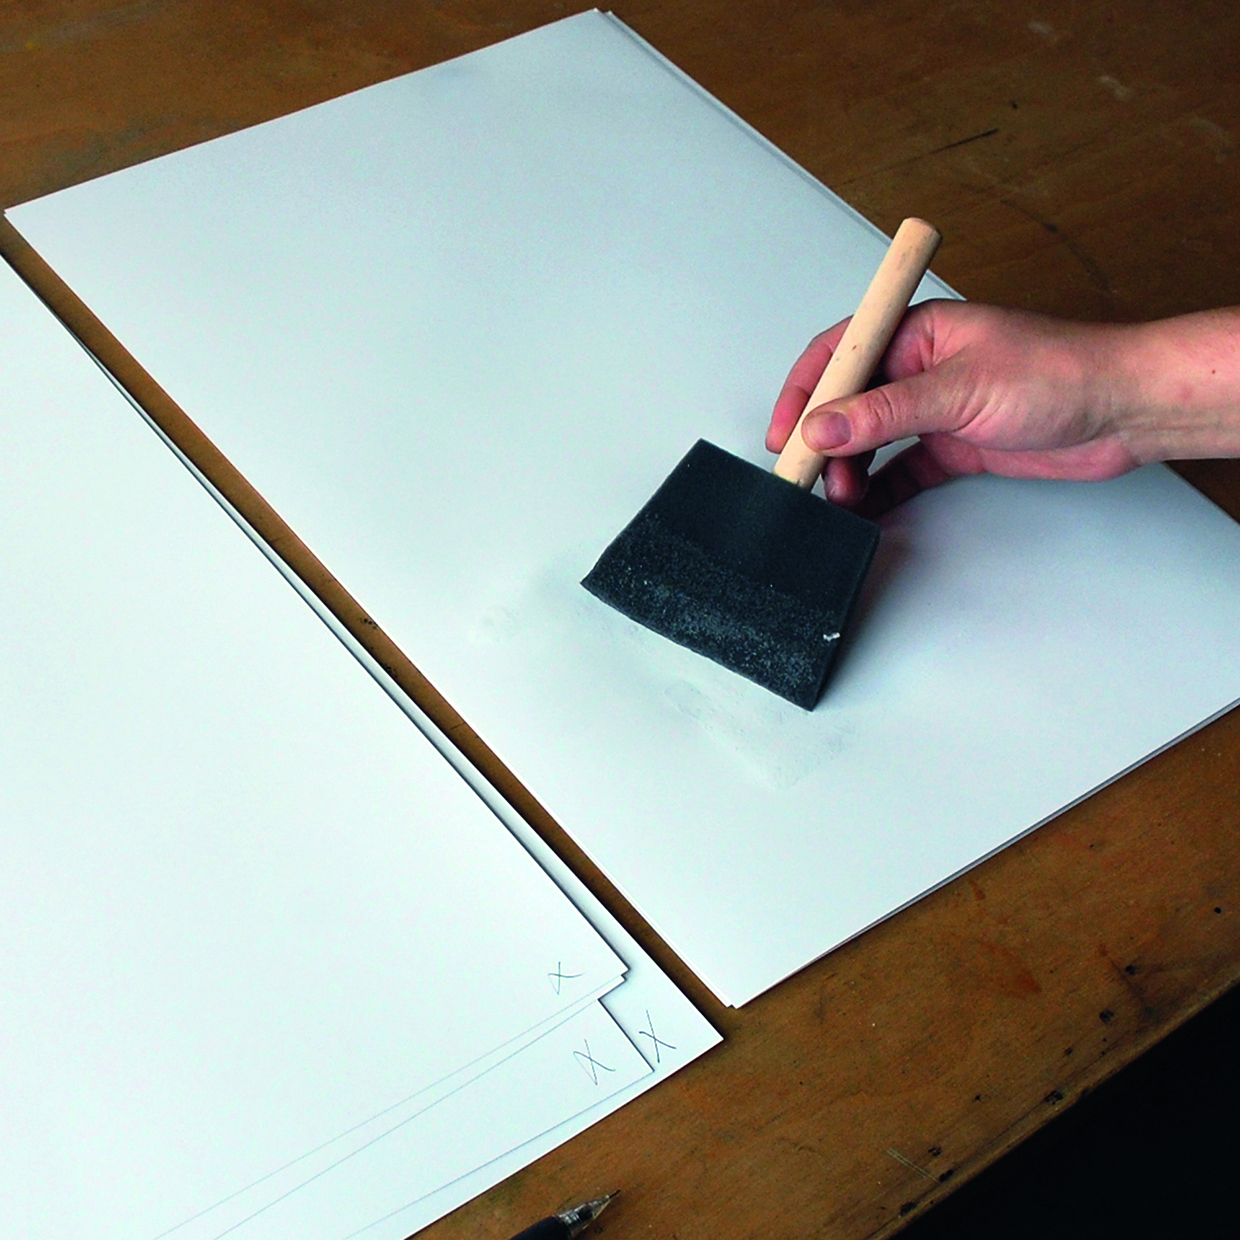
A mordant solution allows the marbling pigments to bond to the paper. An hour before marbling, dissolve 1½ teaspoons of aluminum sulfate in a pint of water and sponge this across the paper. Mark the back of each mordanted sheet with an X. Stack the paper under a heavy board to dry flat.

Step 4

marbling ink 4

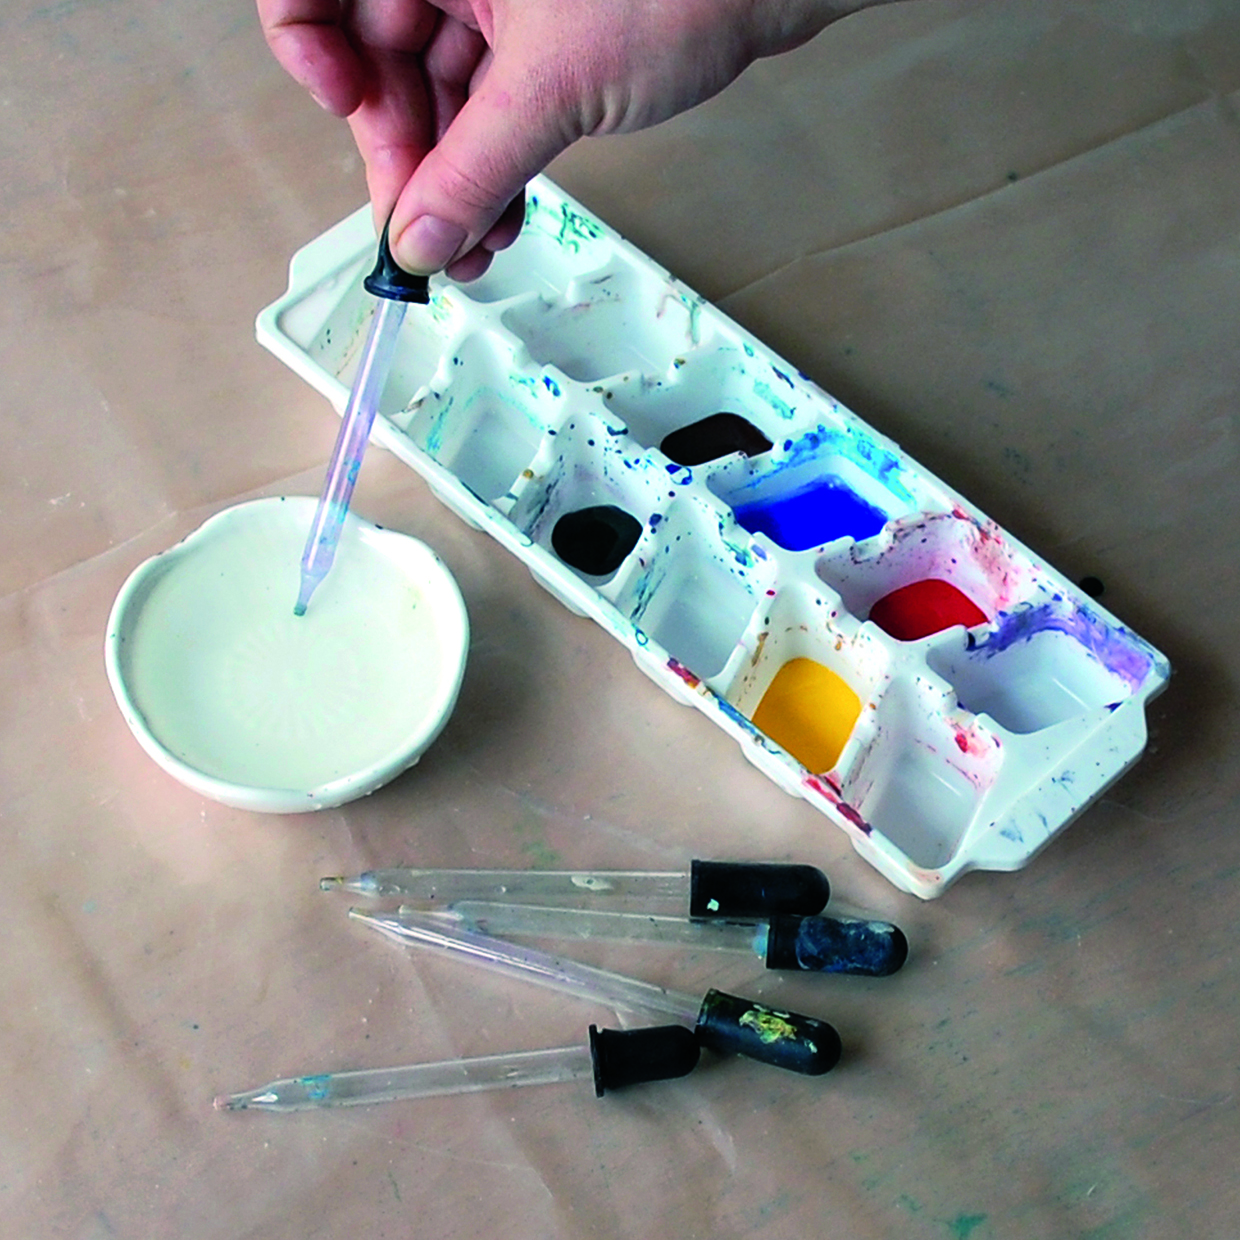
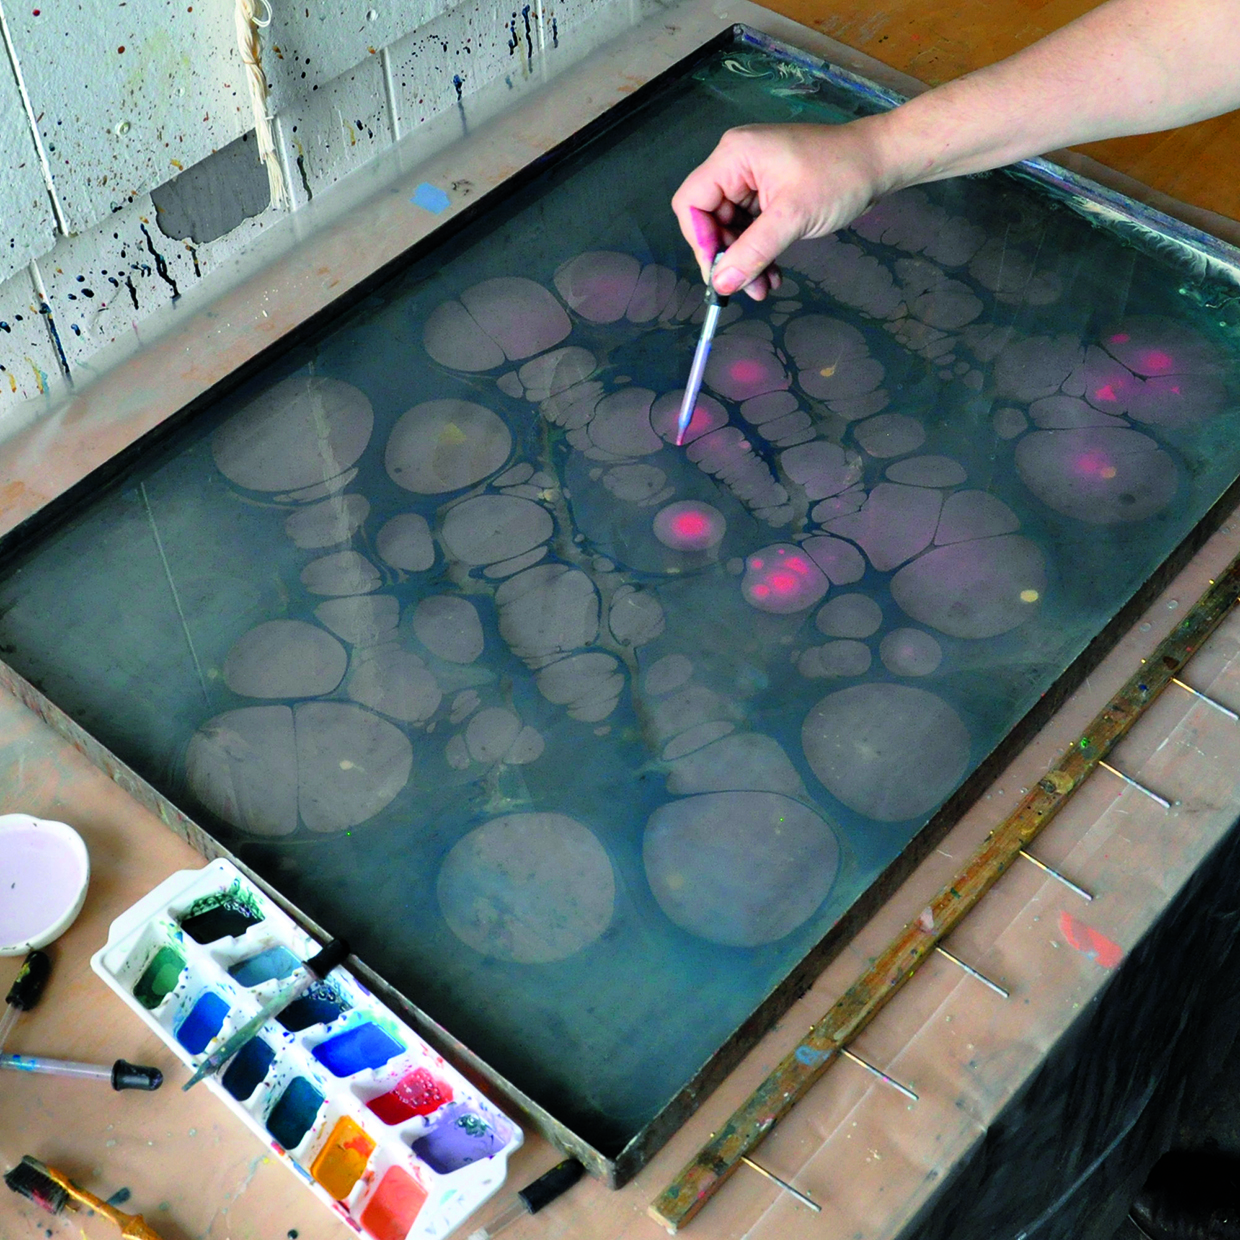
Fill your palette with each pigment. Thin the paint to the consistency of cream with water. Add a drop of each colour to your size. Colours that spread into a circle are ready. Any that sink to the bottom need a dispersant. Mix in 1 drop of Kodak Photo-Flo and test again, repeat if needed.

Step 5

marbling ink 5

Clear the surface of the size before marbling and after each print by skimming it with a strip of newspaper. This will pick up any dust or residual paint.

Step 6

marbling ink 6

You are now ready to start marbling! The most basic patterns, called variously Turkish spot or stone patterns, begin with a sprinkling of paint droplets in one colour over the size. Each successive colour applied in the same way will drive the previous colours into veins.

Step 7

marbling ink 7

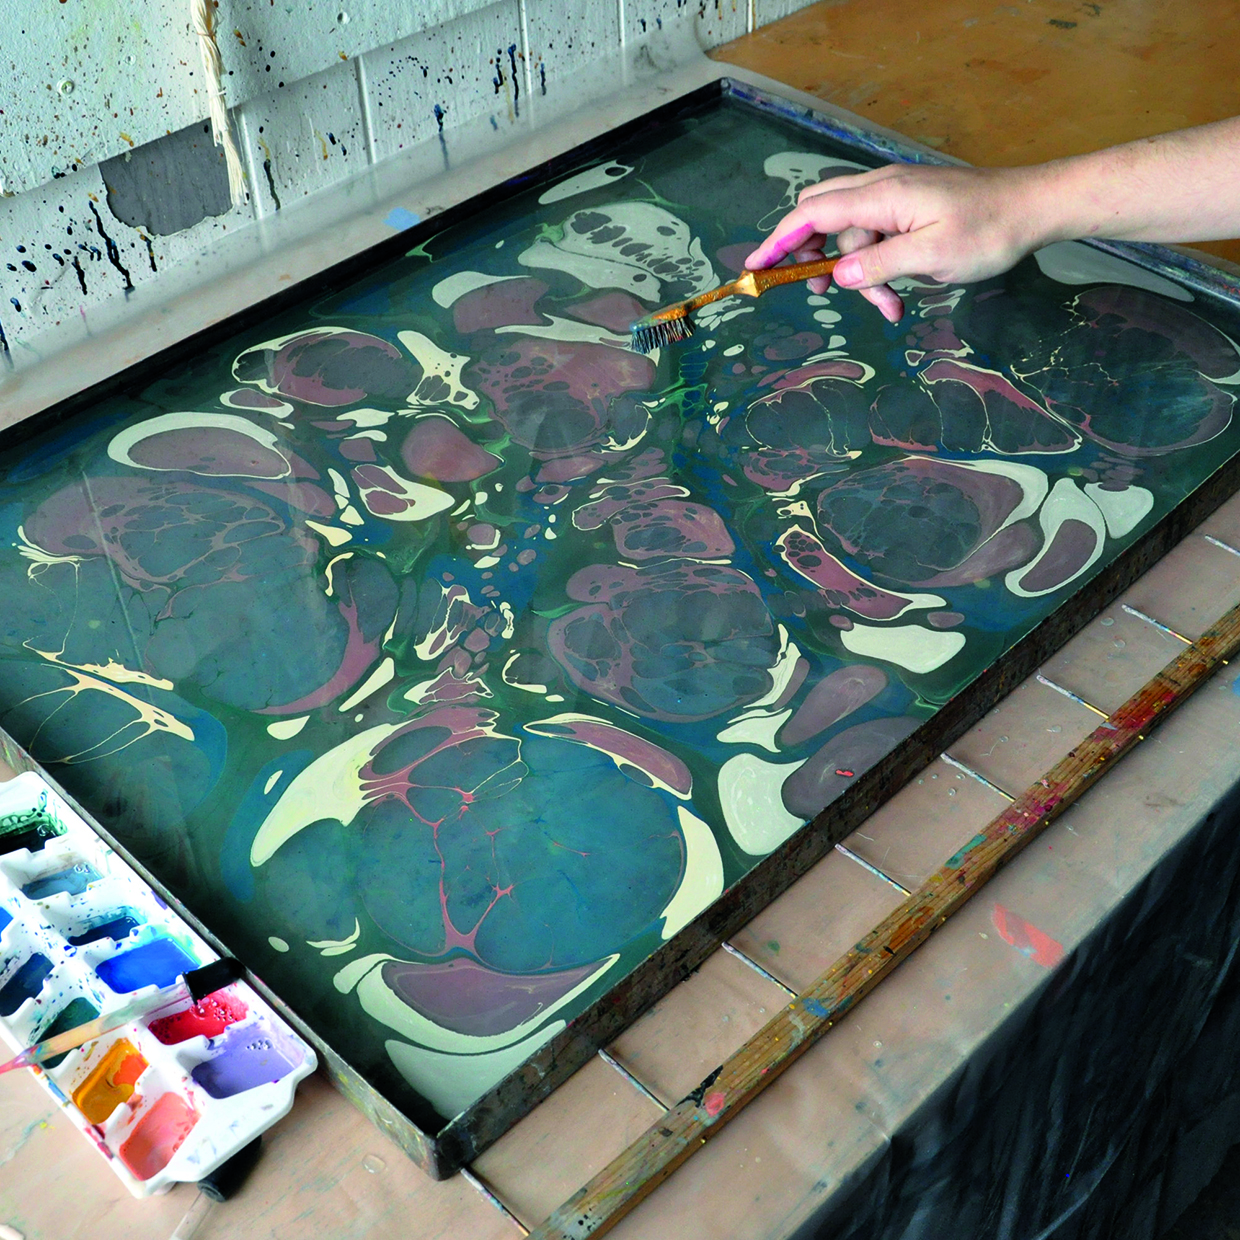
You may wish to experiment by dripping or splattering the colours with a paintbrush or an old toothbrush.

Step 8

marbling ink 8

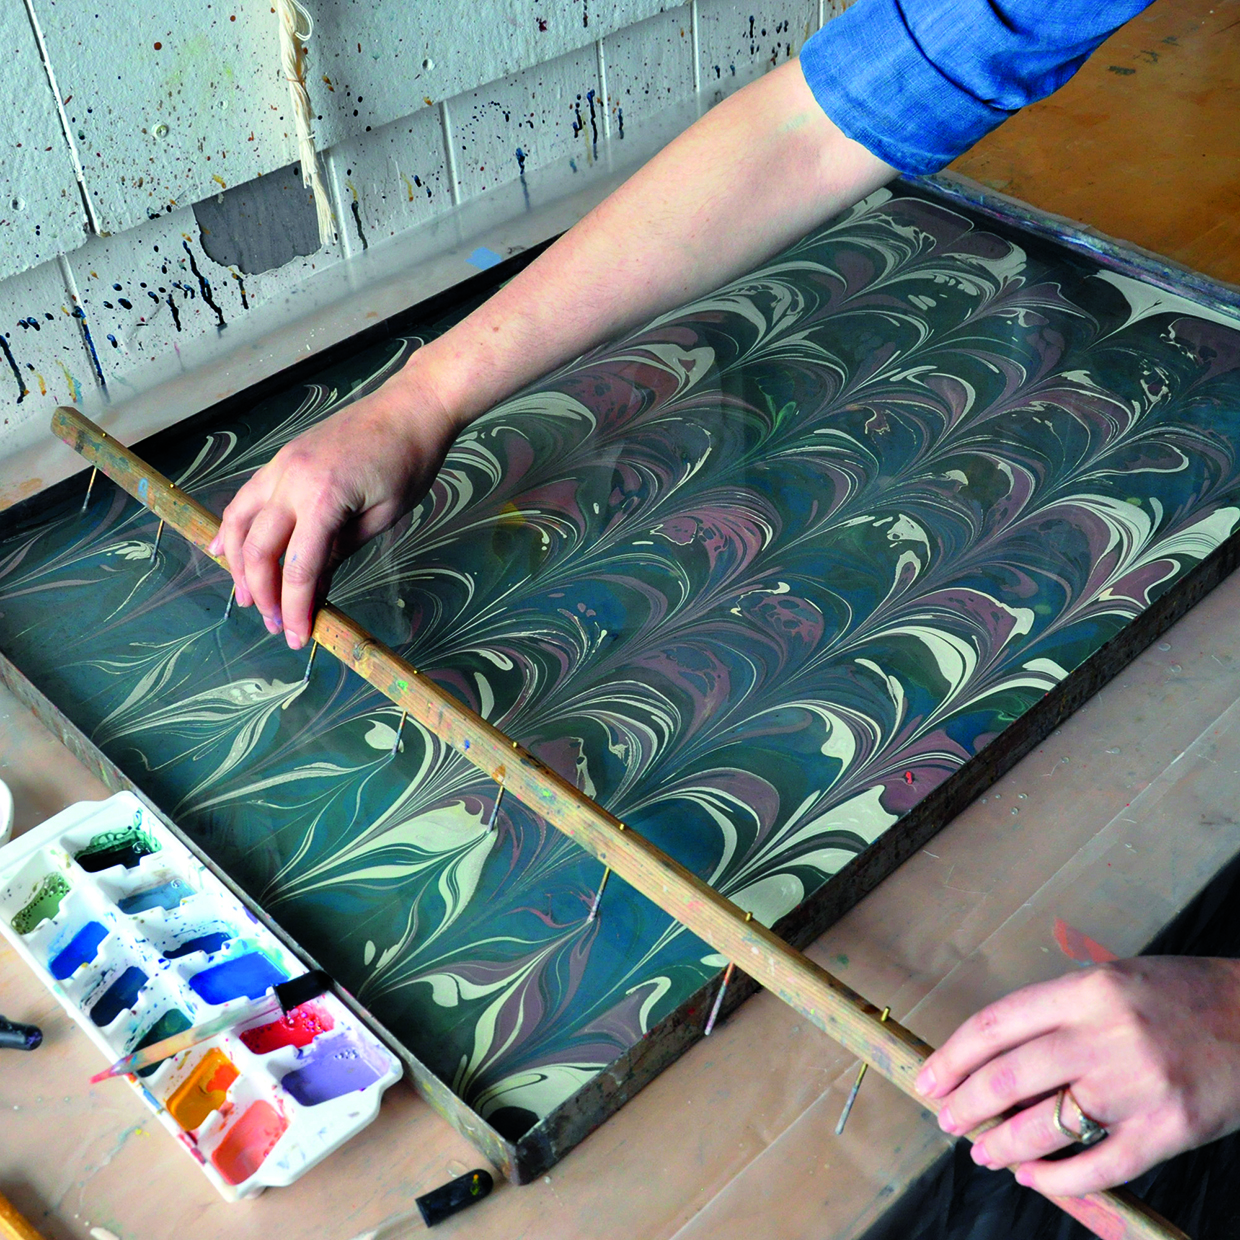
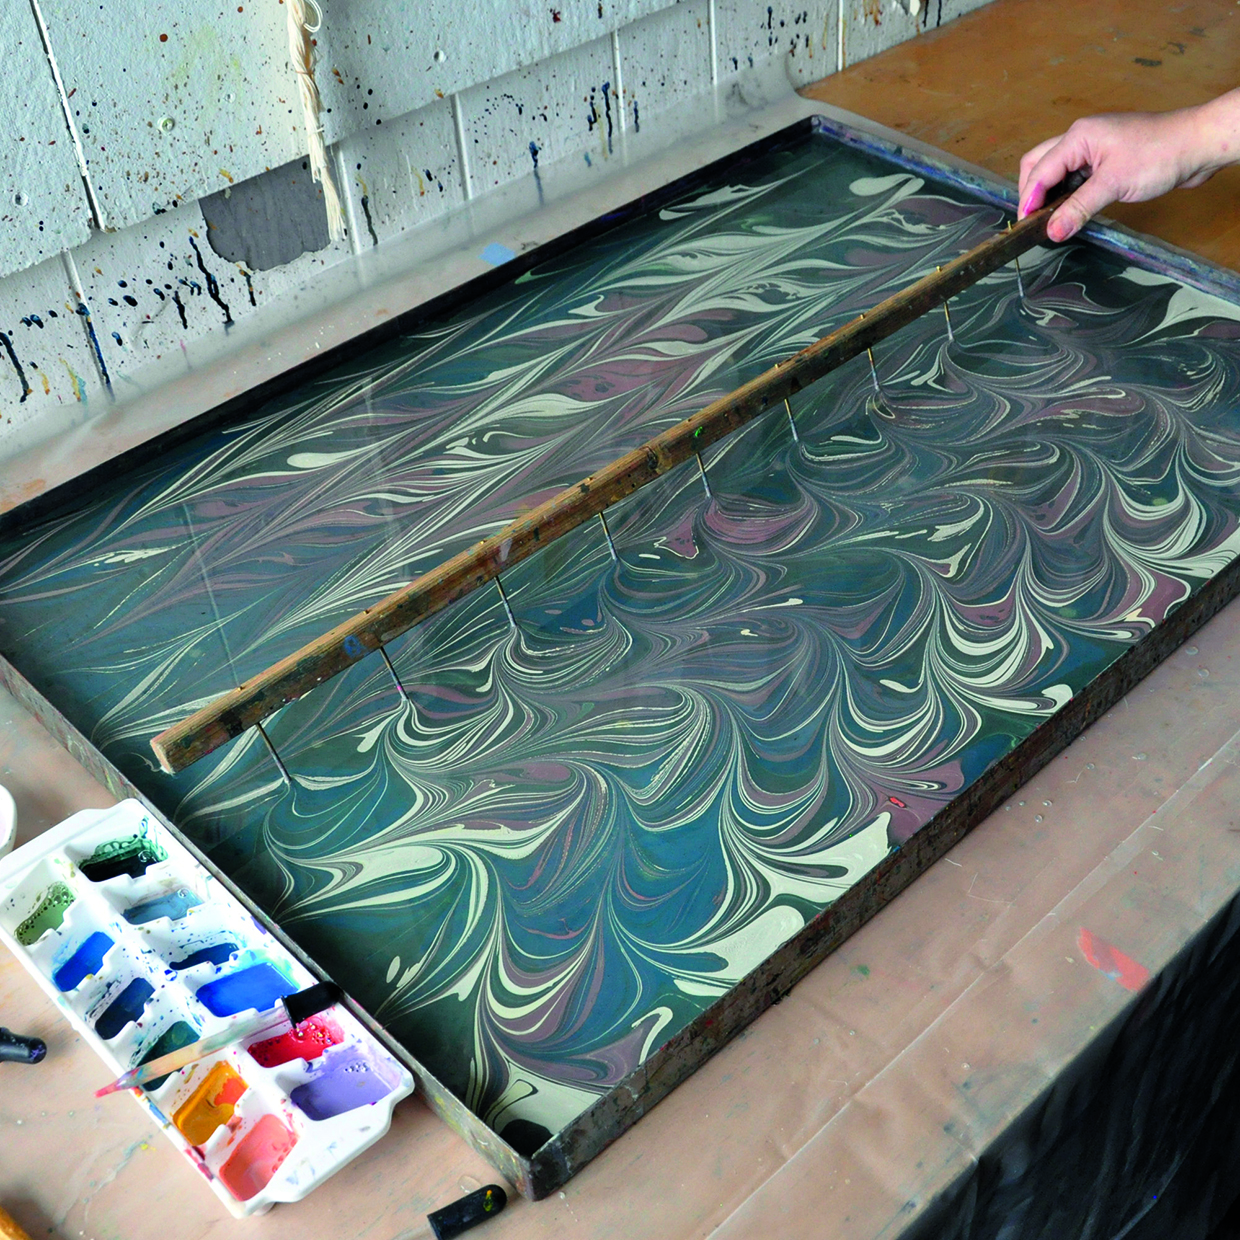
For more complex patterns, draw through the size with a stylus or marbling comb. The getgel pattern, from the Turkish for ‘to and fro’, is made by drawing a series of parallel lines with a comb or stylus. A second series of lines is then drawn between them in the opposite direction.

Step 9

marbling ink 9


Here a line of figure-eights is drawn perpendicular to the getgel pattern, creating the angelfish pattern. Any series of repeated movements will create a repeating pattern, so feel free to invent some new ones!

Step 10

marbling ink 10

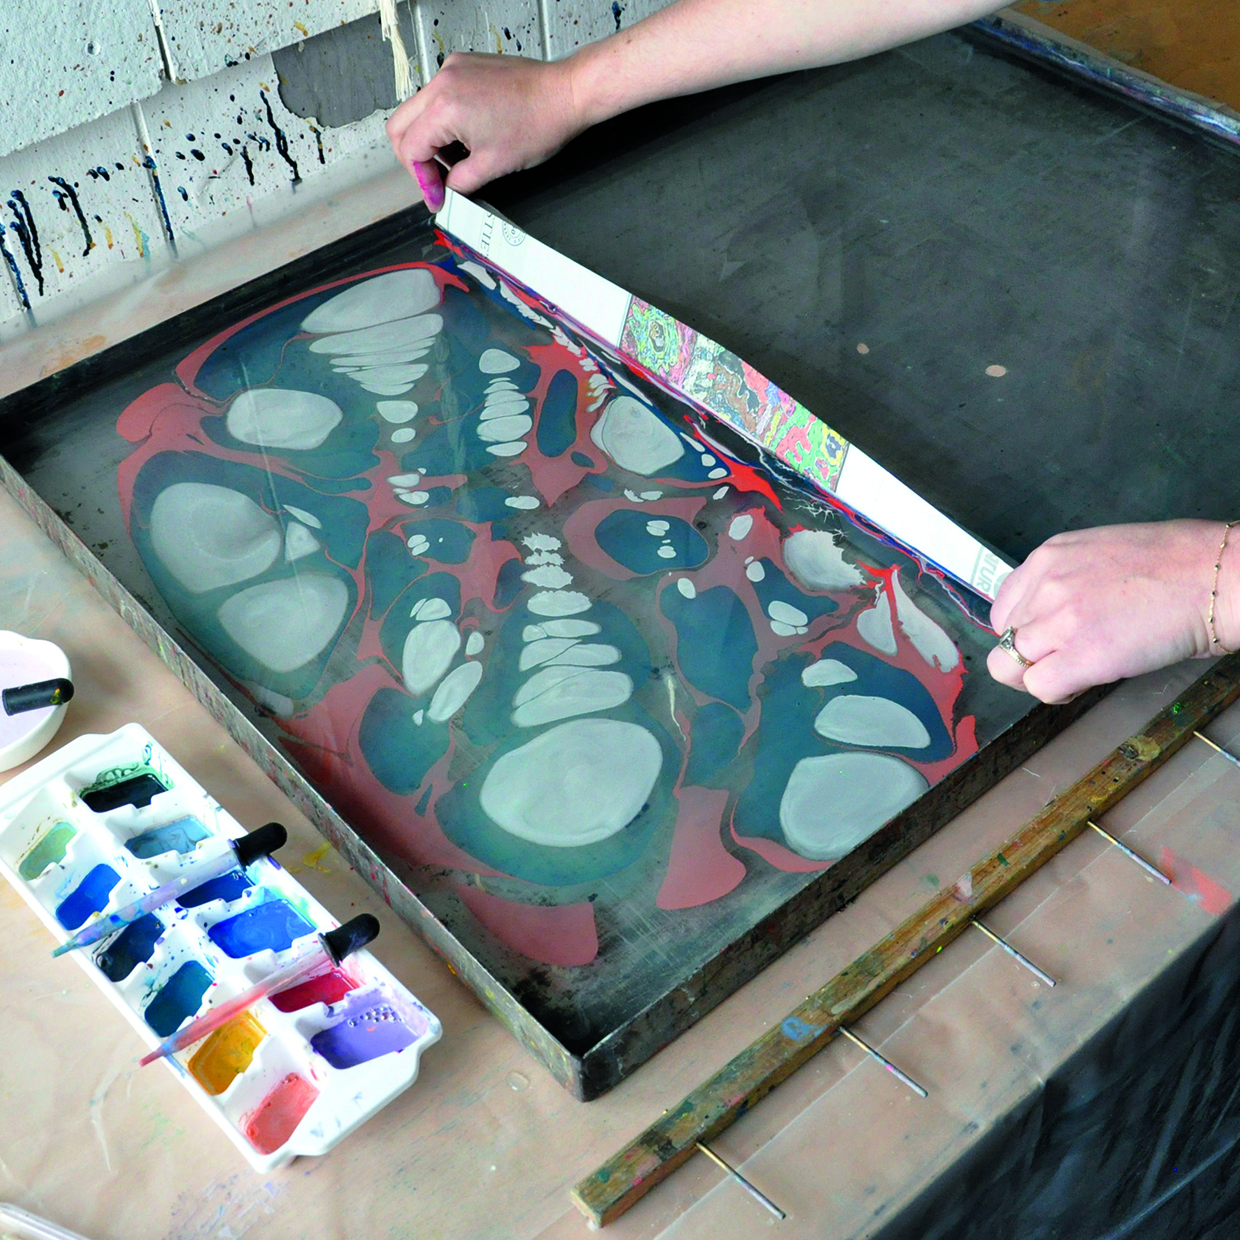
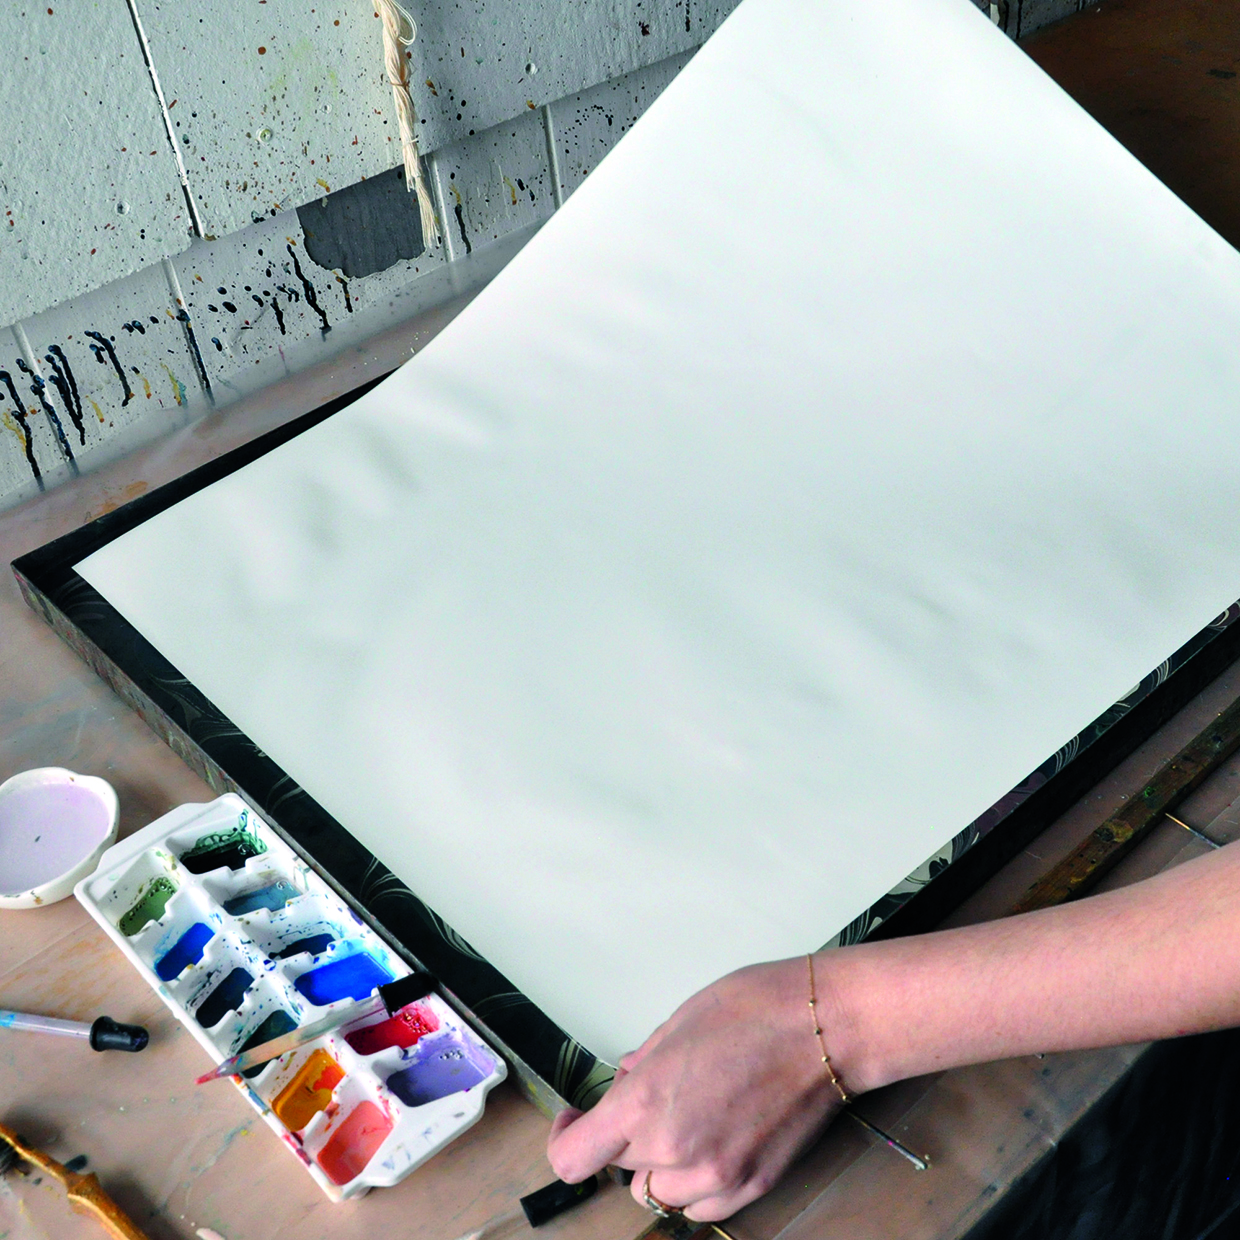
Once you are satisfied with your pattern, take a sheet of damp mordanted paper from the stack. Making certain that the X marking the back of the paper faces upward, smoothly lower it onto the size from one corner to the opposite.

Step 11

marbling ink 11

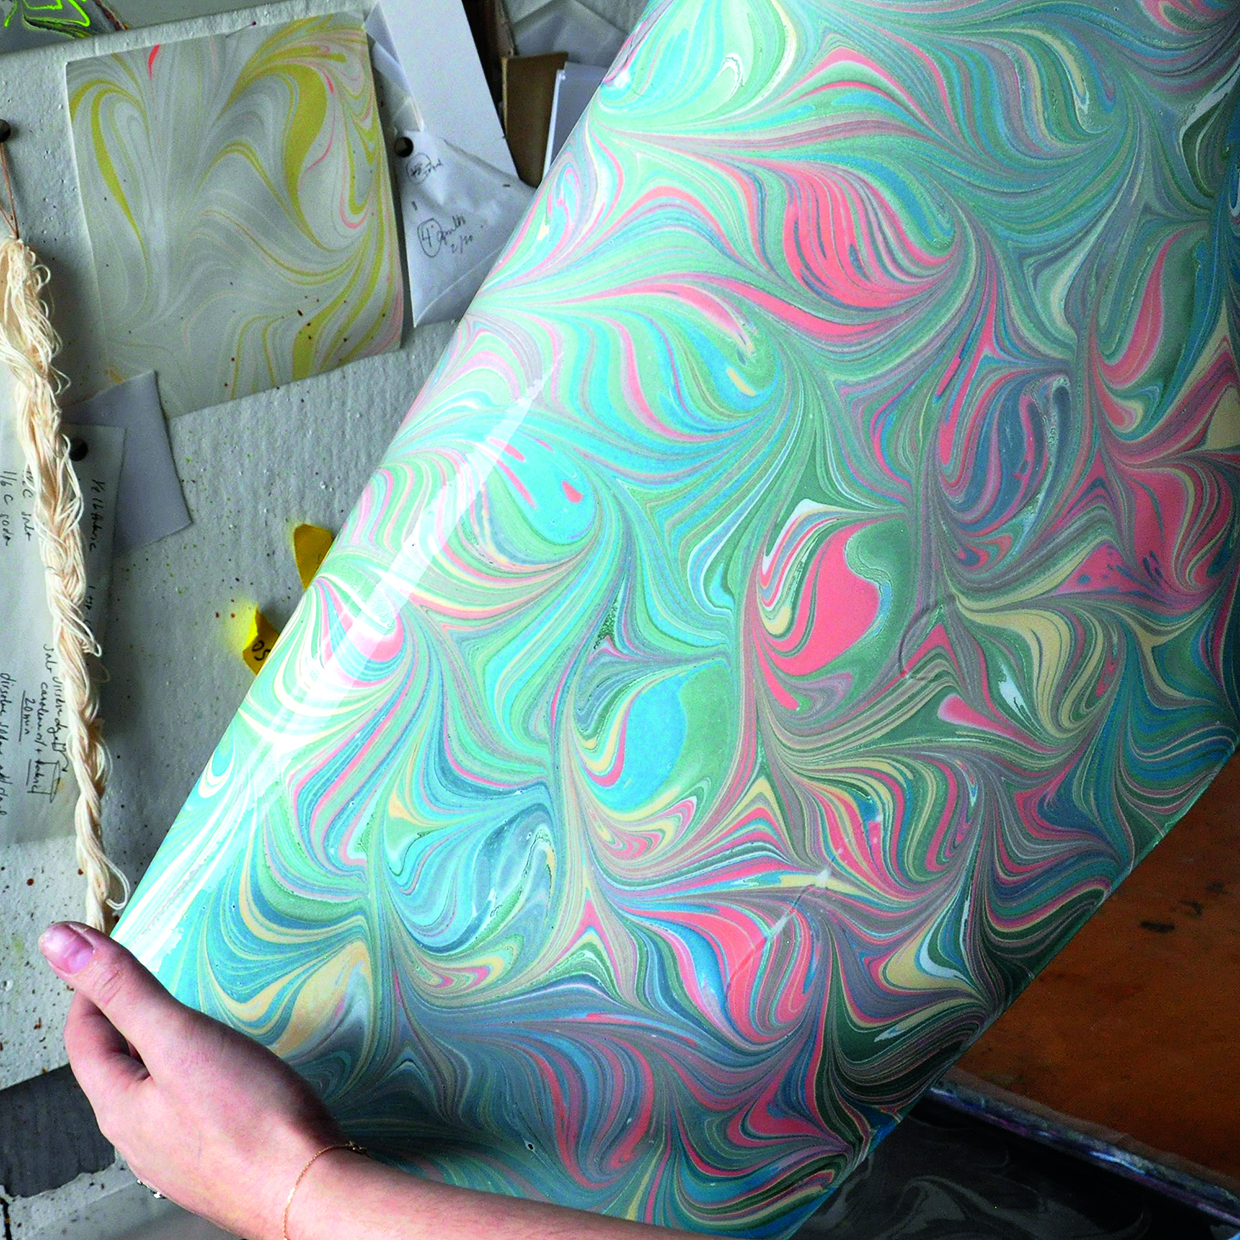
After a moment, lift the print by two corners. If the paint is streaking, lay it on a board and gently rinse off the excess paint.

Step 12

marbling ink 12

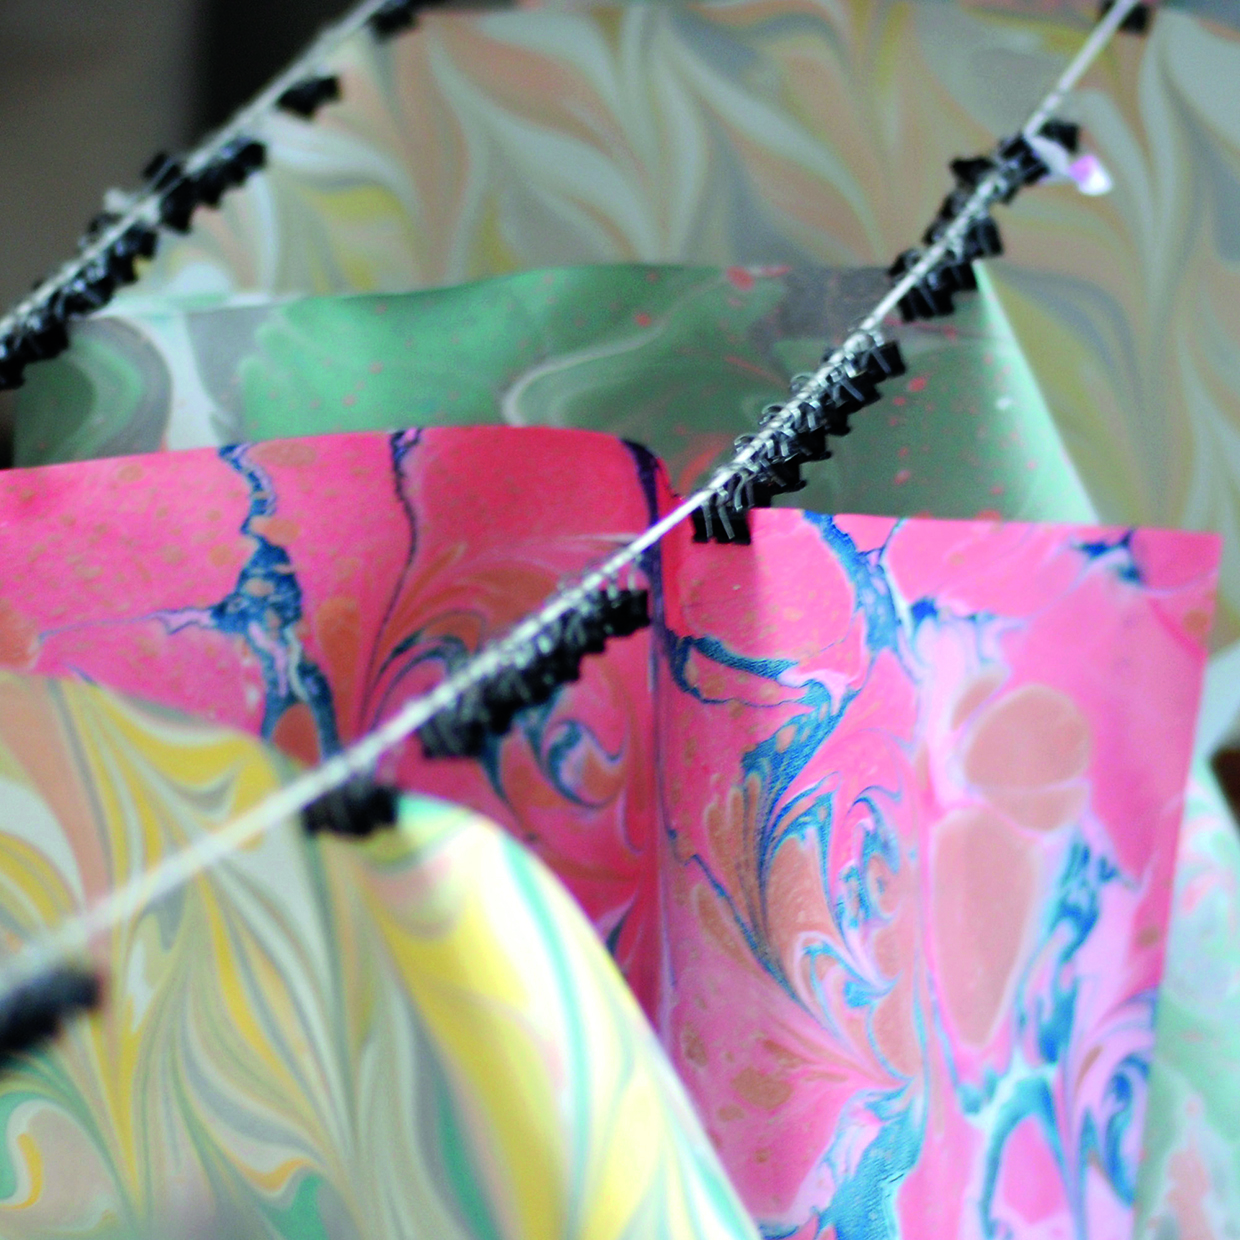
Hang your print to dry on a line, or lay it on a plastic-covered surface. Once dry, you may wish to press the prints flat by stacking them between damp blotters under a heavy board.

How to make marbling paper with shaving foam

If you are new to paper marbling, and only want to marble ink for a small piece of paper, this paper marbling with shaving foam technique is much easier to do, and is often used in card making. This paper marbling with shaving foam guide was written by Julie Gibbs and originally published in Papercraft inspirations issue 161.

marblink ink 21

Step 1

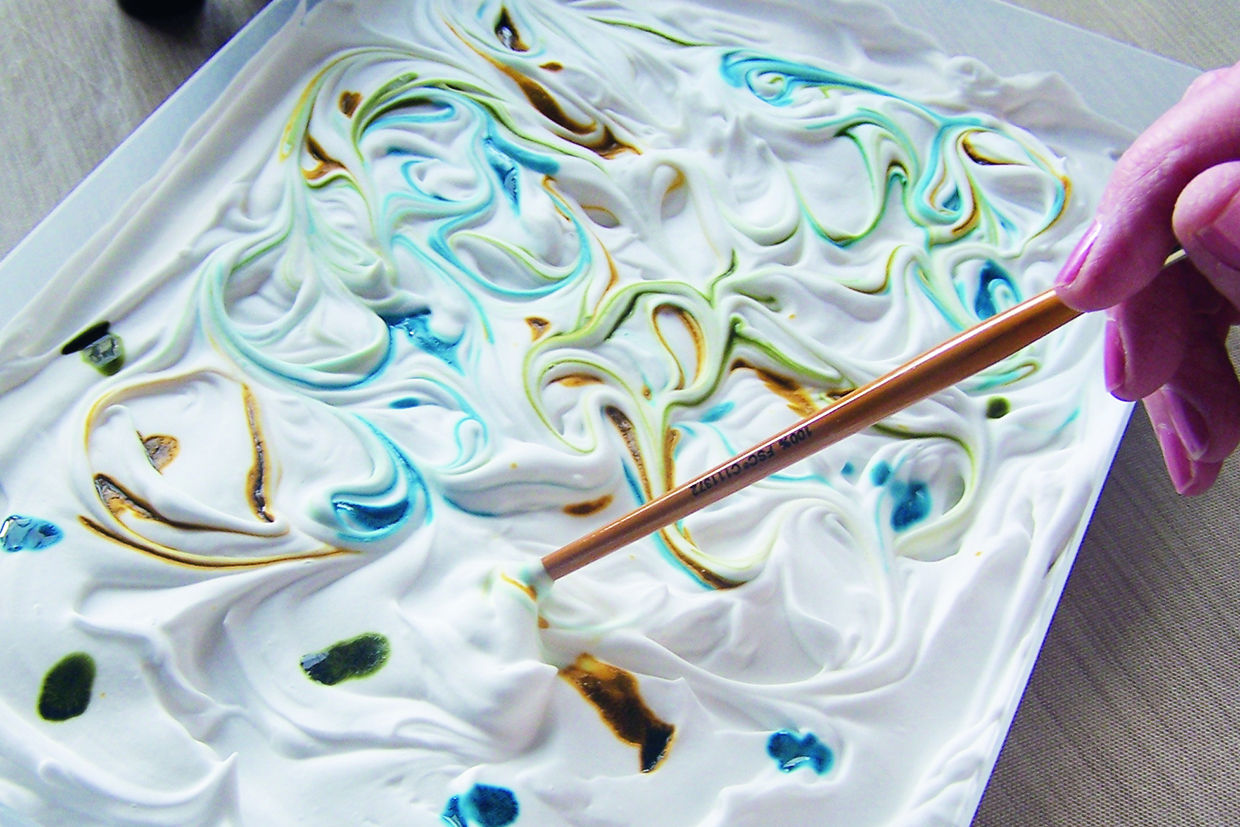
Squirt cheap shaving foam into a large, flat container and drop spots of coloured inks onto the surface – three colours are normally enough.

Step 2

Gently swirl the inks into the shaving foam using the end of a paintbrush. We used Tim Holtz Distress Ink re-inkers but a similar liquid ink would work too.

marbling ink 22

Step 3

Lightly press your base card onto the surface of the foam.

Step 4

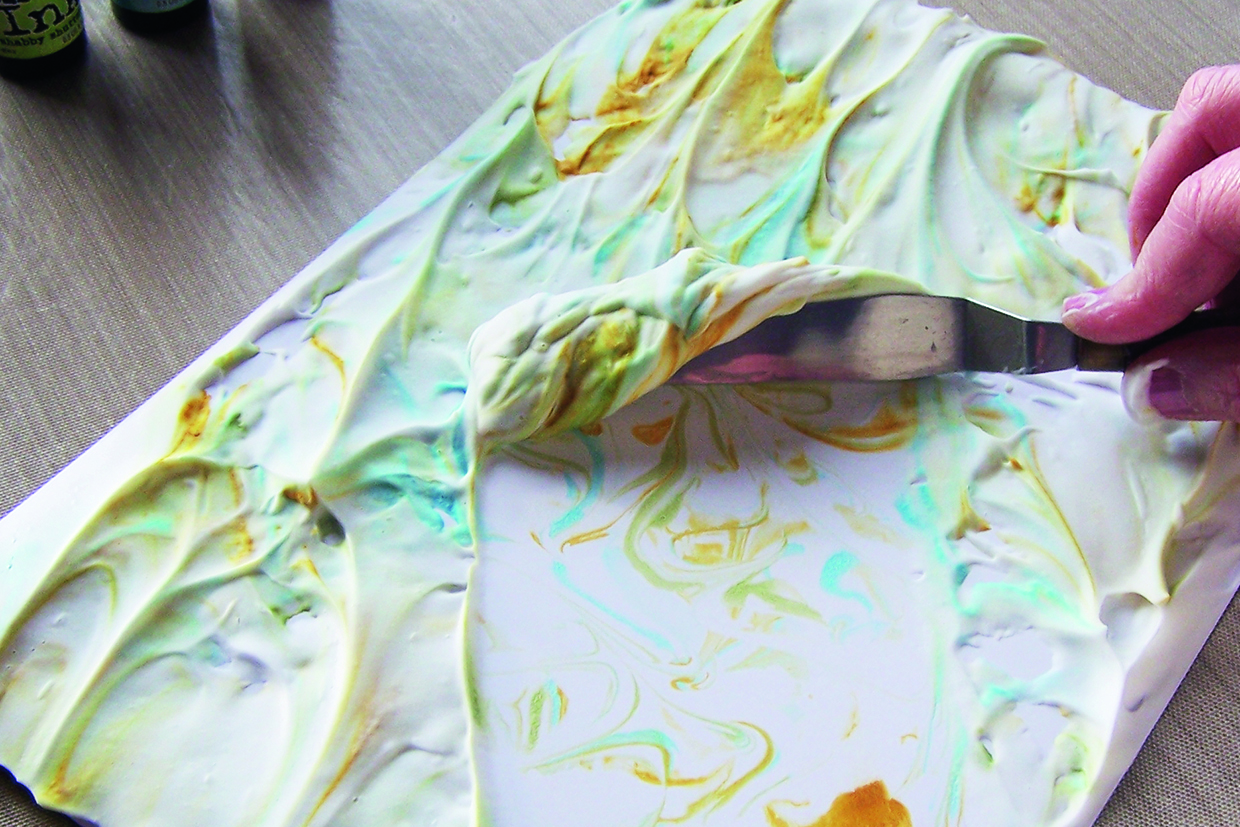
Lift off, place facing up on a clear surface and scrape away the ink and shaving foam to leave a marbled effect.

Step 5

Wipe with a paper towel and allow to dry. You can keep using what foam remains with more card until the colours become too mixed and muddy.

marbling ink 23

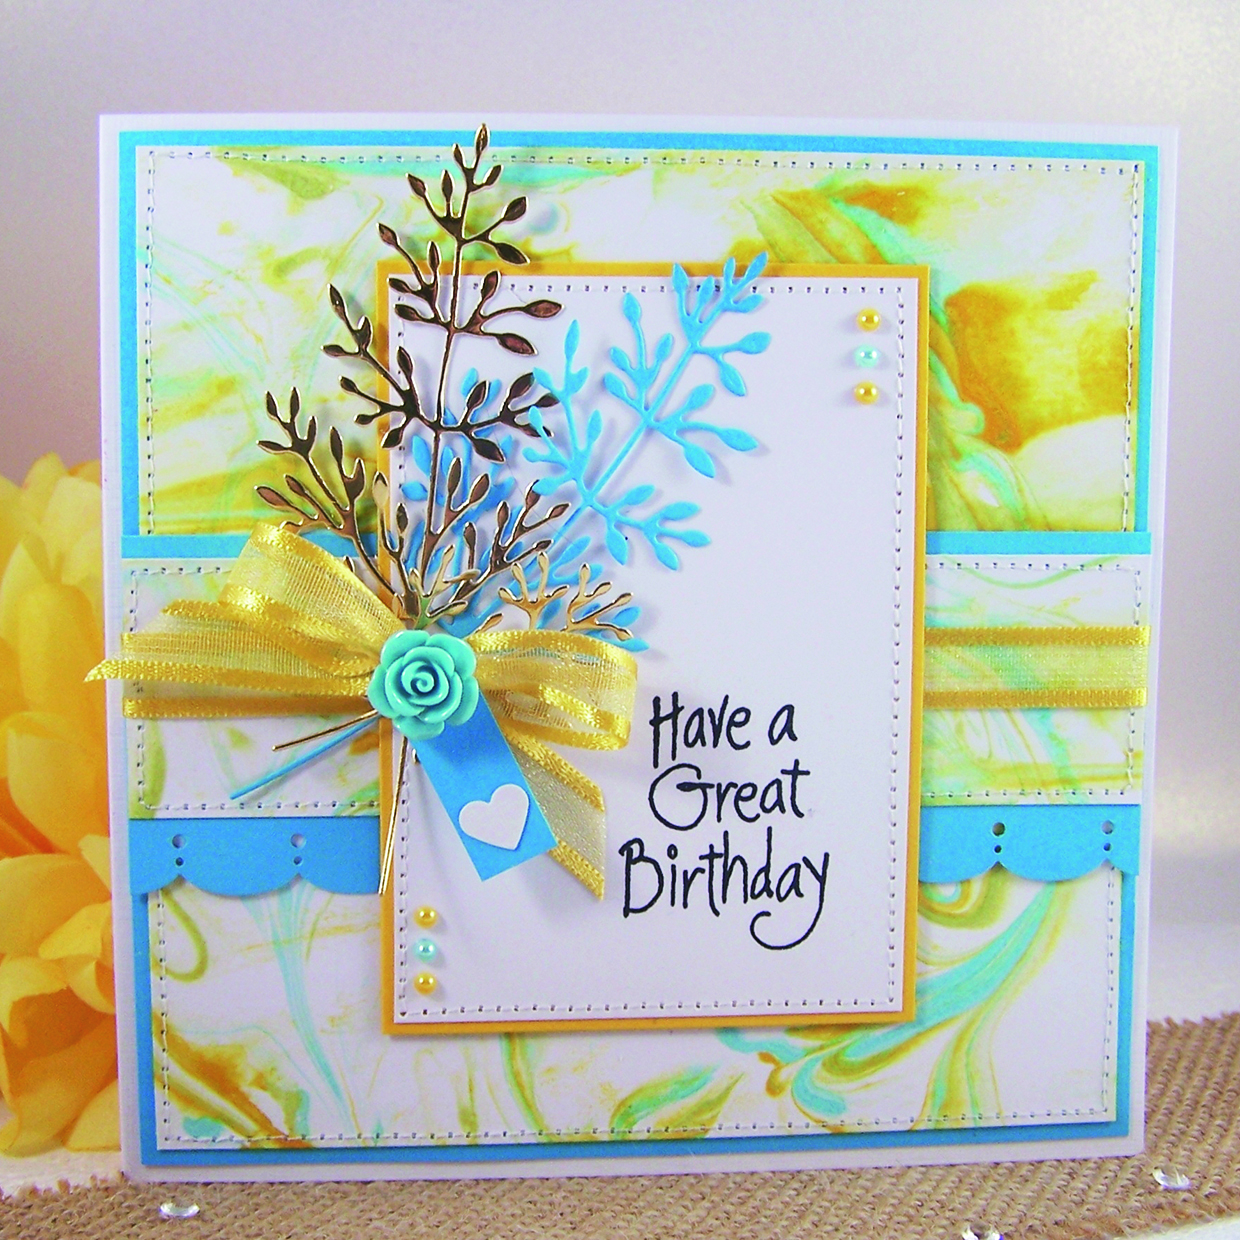
Once dry, use the background as usual to make a stunning card. Layer up with coloured card, punched and die-cut elements and a stamped sentiment alongside ribbon, a resin flower, adhesive pearls and of course the obligatory heart that Julie always includes on her creations.

Best marbling kits

If you are looking to try marbling for the first time, why not try out marbling ink with our pick of  marbling kit? Some of these are complete marbling kits with everything you ned to try out these techniques, and some is essential marbling kit you can invest in to expand your materials.

Ebru marbling kit

marbling kit ebru

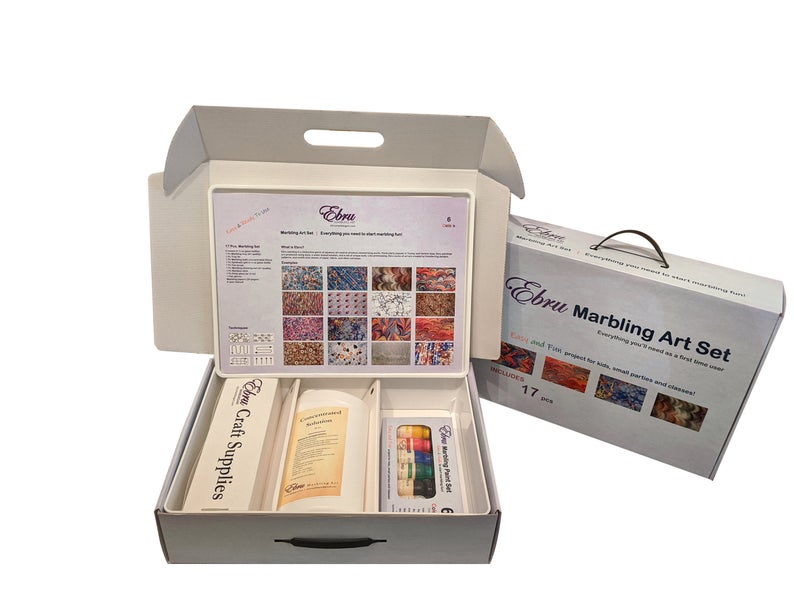
We love this marbling kit which comes with tray, brushes, 6 colours and marbling paper as well as a complete instruction manual on different patterns you can make with the kit. It is the complete article, and will let you create some beautifully professional results while being simple enough to use with the family. It’s not a budget option, though!

Find on the Ebrumarblingart Etsy store

Marbling starter kit

marbling starter

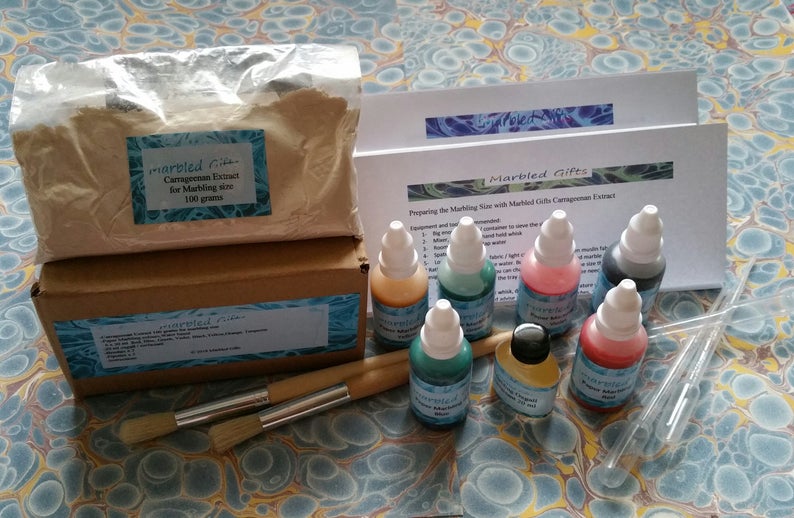
This beginner-friendly kit is a good choice for those taking their first steps with marbling. You can choose the size and quantities of the marbling paint and marbling medium you want to have in your kit, with the option to include more colours when selecting larger volumes. All the marbling kit options contain brushes and droppers too, but you don’t have the option to a dd a marbling tray.

Find on the MarbledGifts Etsy Store 

Complete Marbling kit

marbling mp

This kit comes with 5 colours, A4 container tay, marbling comb, marbling mediums, dropper sponge, skewer and paintbrushes, as well as instruction booklet guiding you through the technique. The paints are primary colours with black and white to enable you to mix your own shades to expand the colour range you can produce. A great kit for beginners to embrace the marbling technique!

Find on Marmore Paperie NOTHS store

Ready-to-use marbling kit

marbling mg

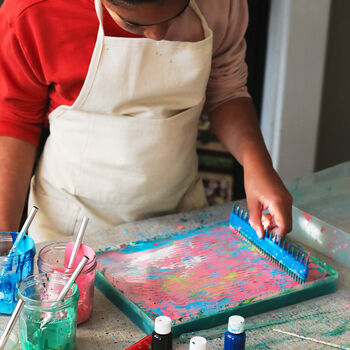
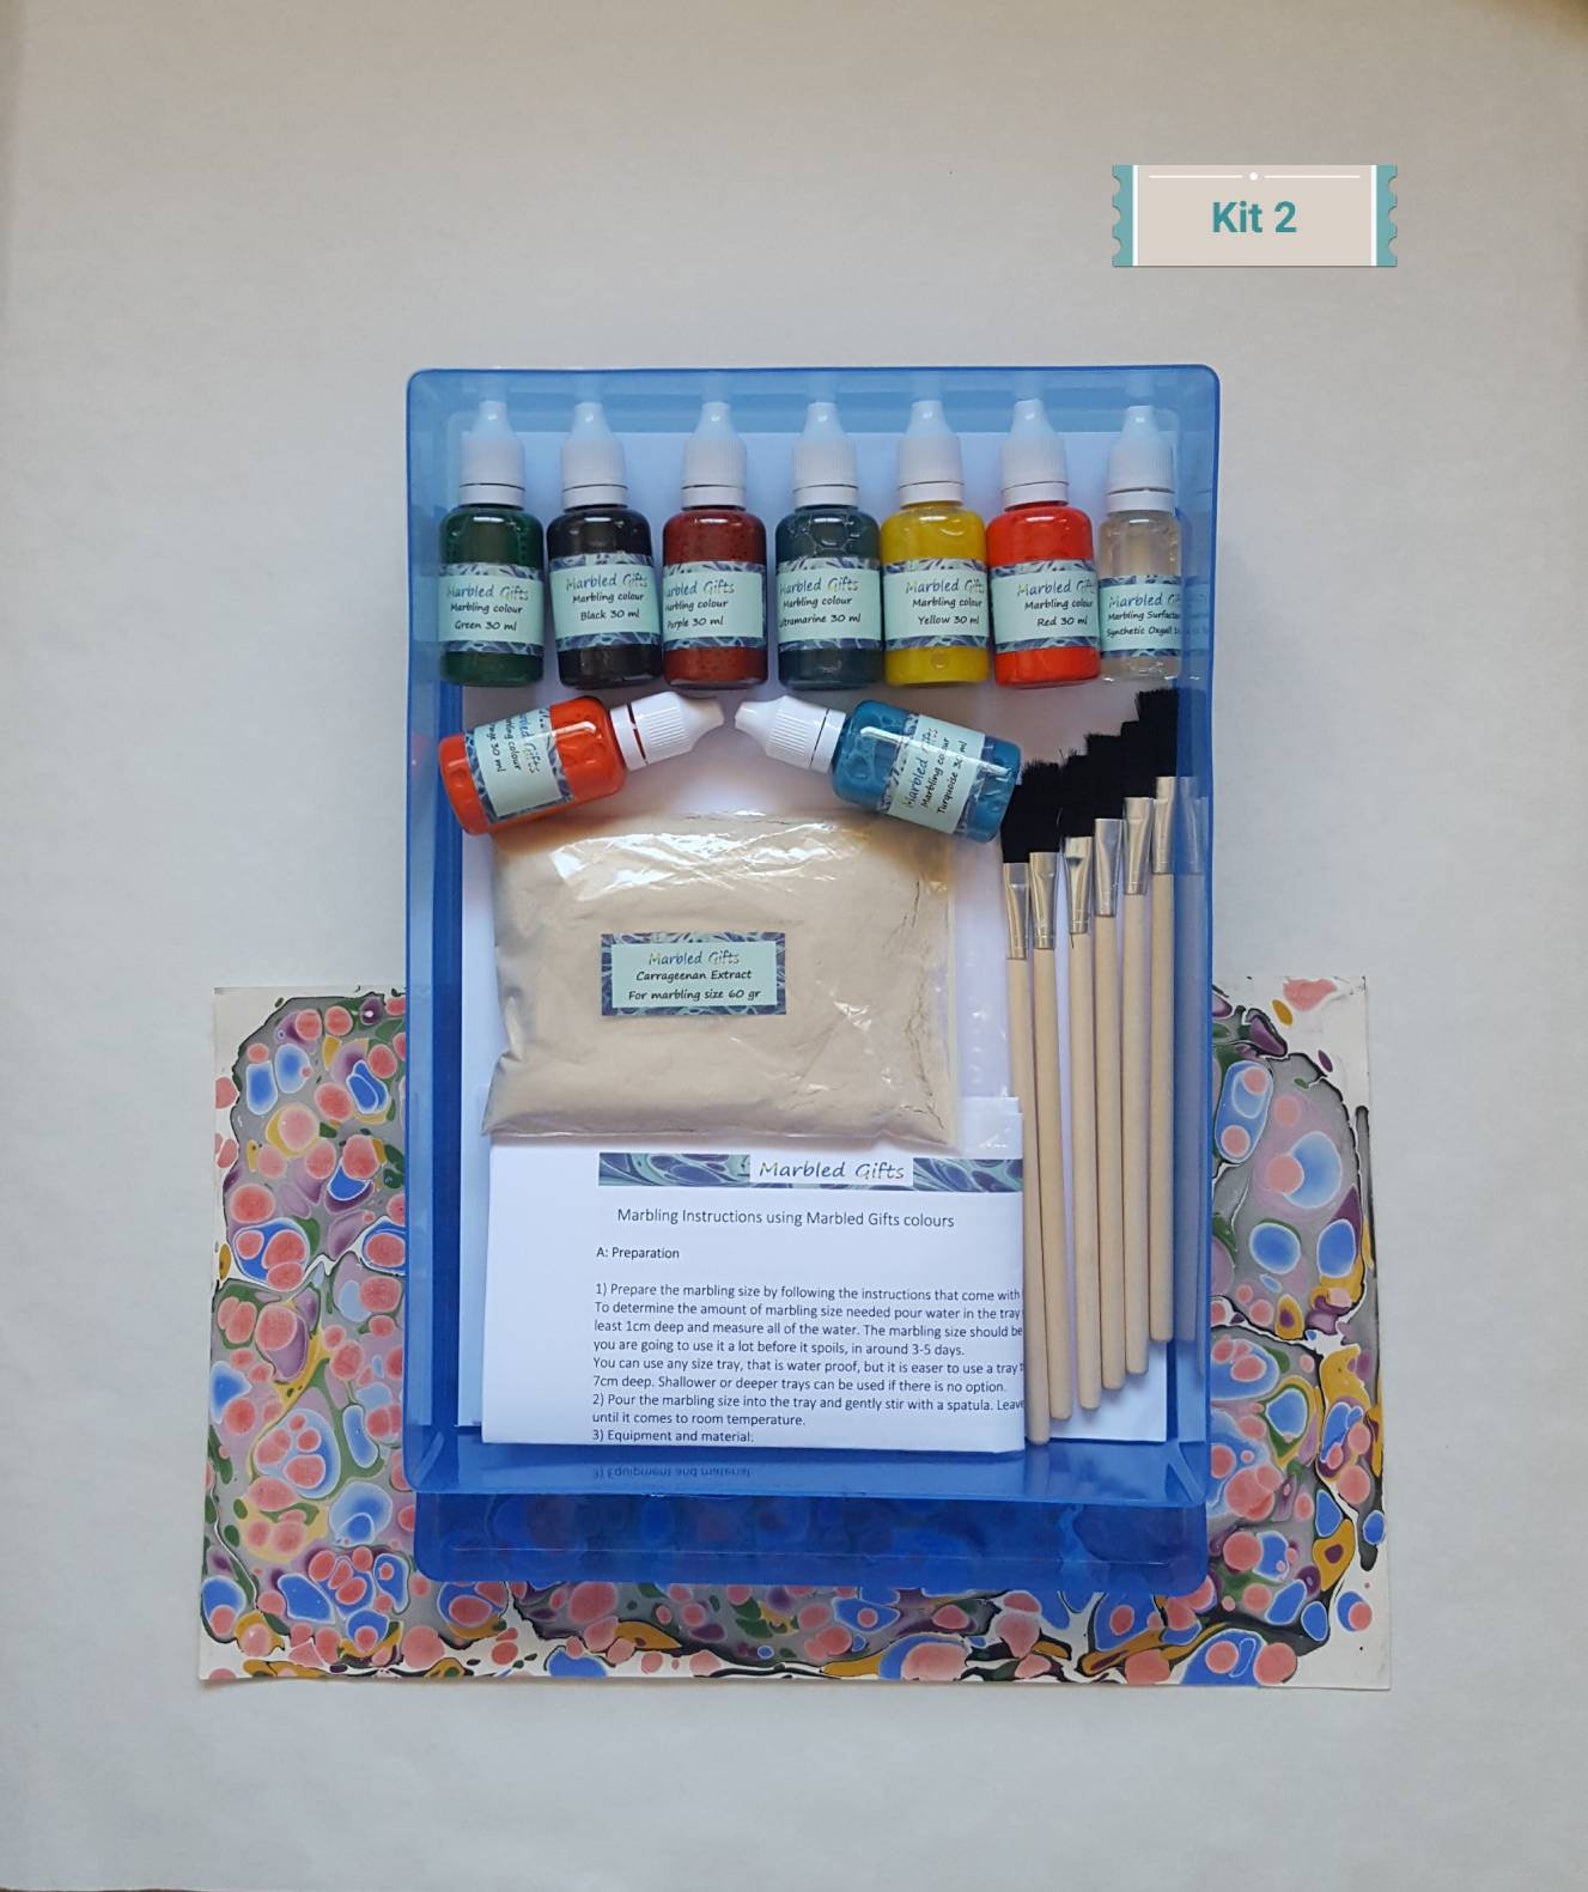
This ready-to-use marbling kit comes complete with the A4 tray you need, as well as 8 colours marbling mediums and 20 pieces of paper. There is also the option to add extra trays, which is handy if you want to use it as a family or with friends, so you can all try marbling together, working along with the guide instructions, which is included.

Find on the MarbledGifts Etsy store

Marbling top up supplies

Marbling TU

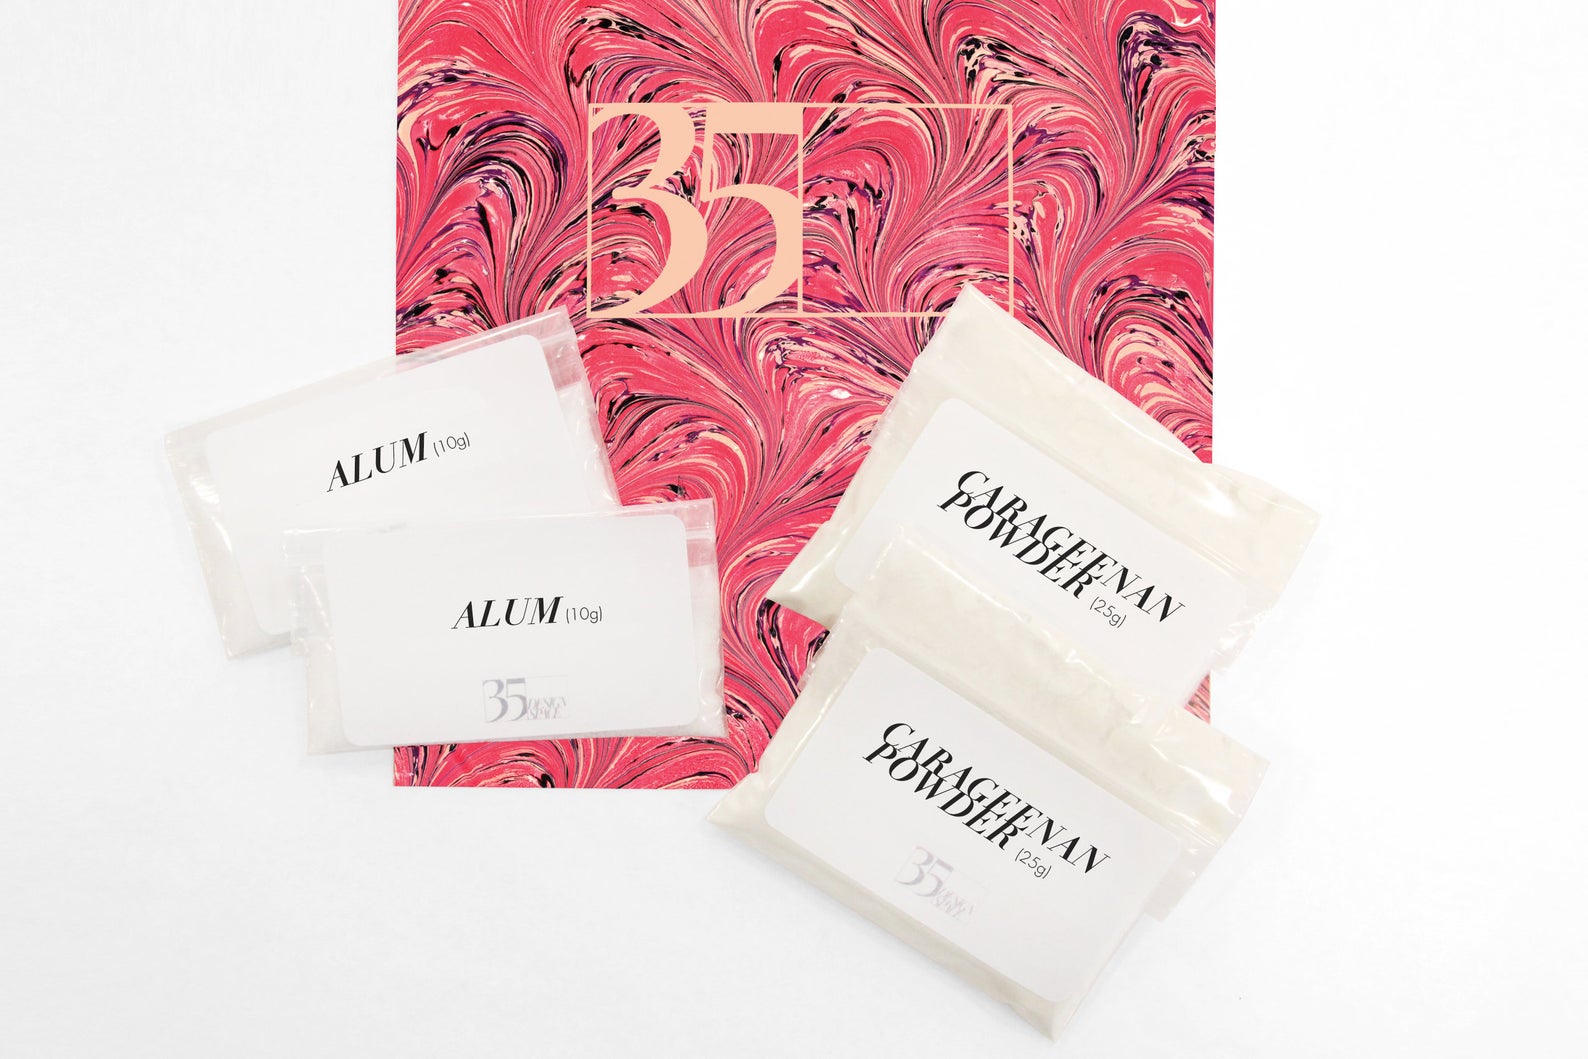
If you are looking to top up your marbling medium, you can buy this alum and Carrageenan pair at the a very reasonable price from 35 Design Space

Find on the 35DesignSpace Etsy store

More marbling to try

If you fancy trying out some other projects where you blend colours to create marbling, we have more free tutorials for you to try right here on Gathered! Check out our DIY coasters tutorial and our eco dying tutorial to make your on home accessories. Make your own marbled soaps with our met and pour DIY soap tutorial or try out the full col process technique for yourself in our how to make soap at home article.