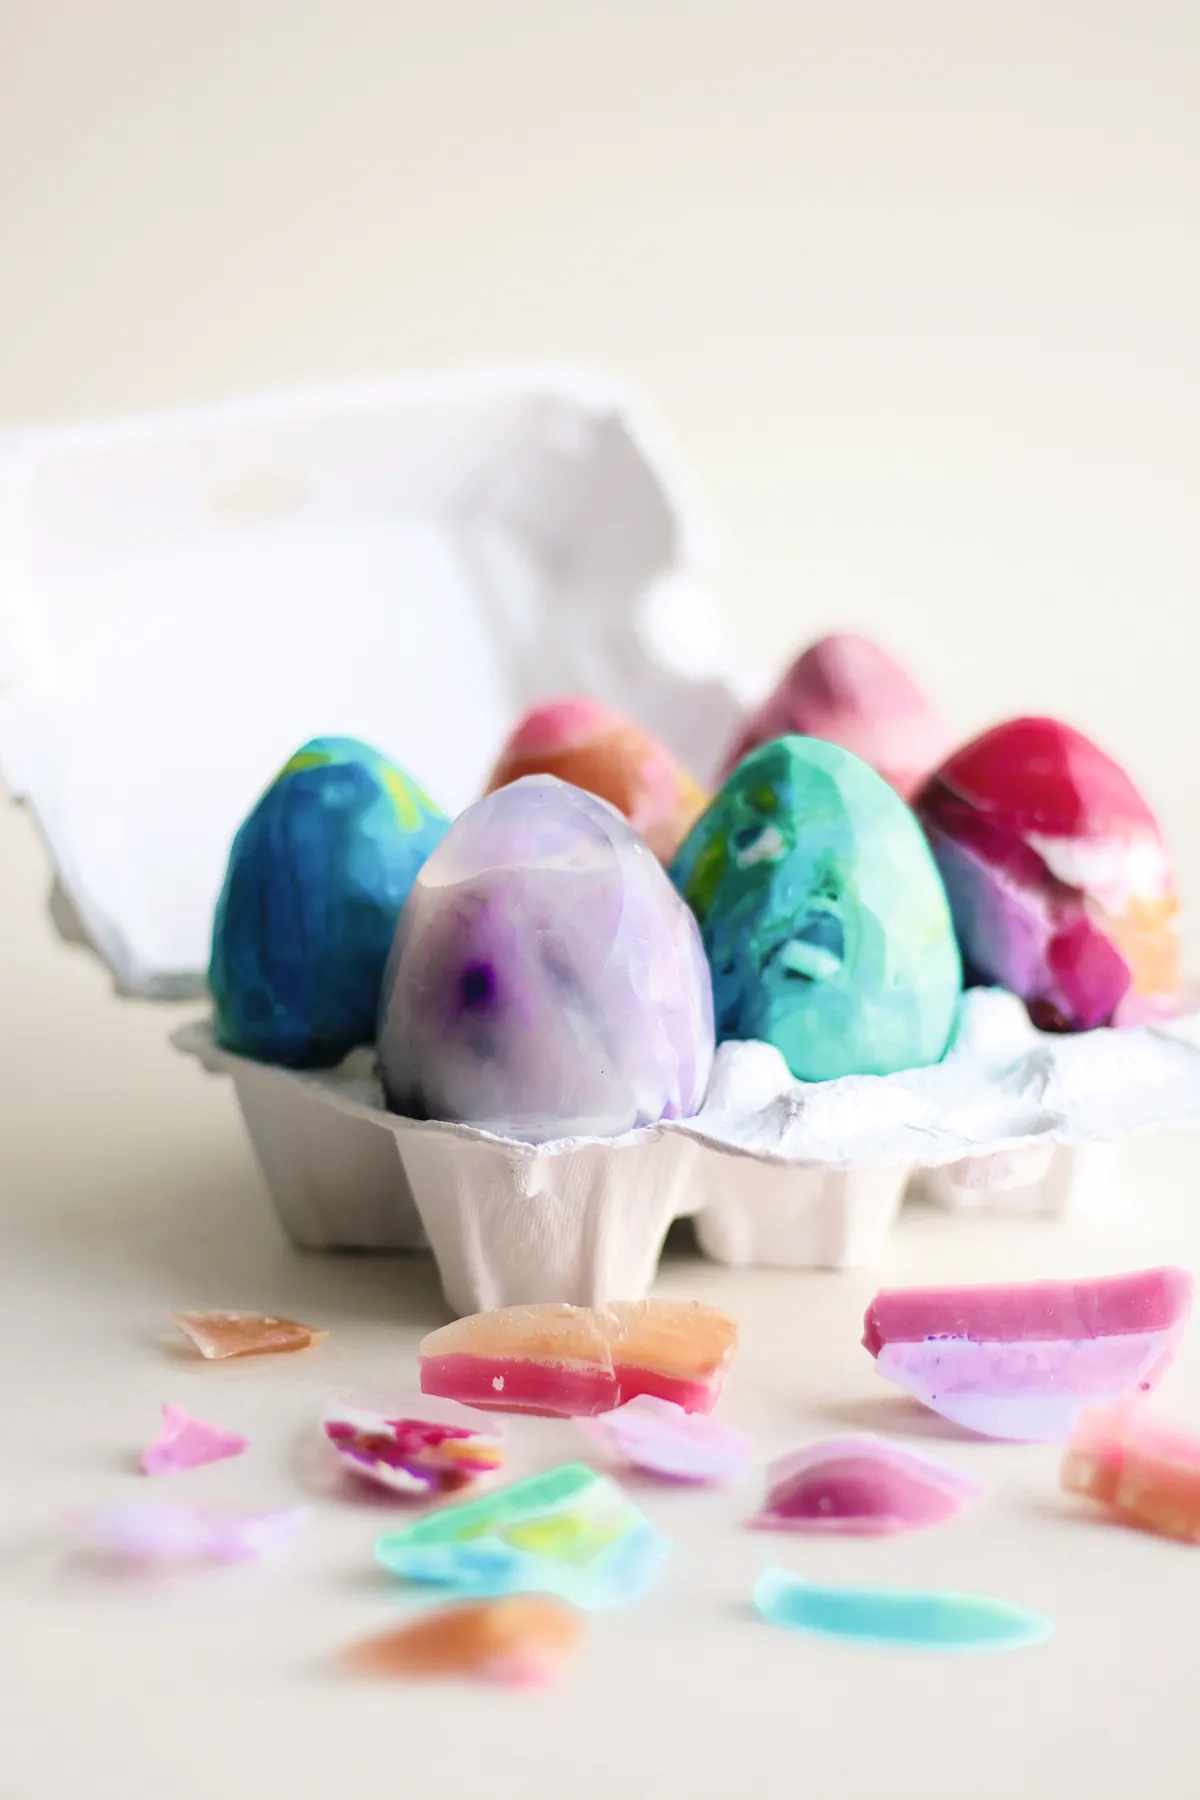
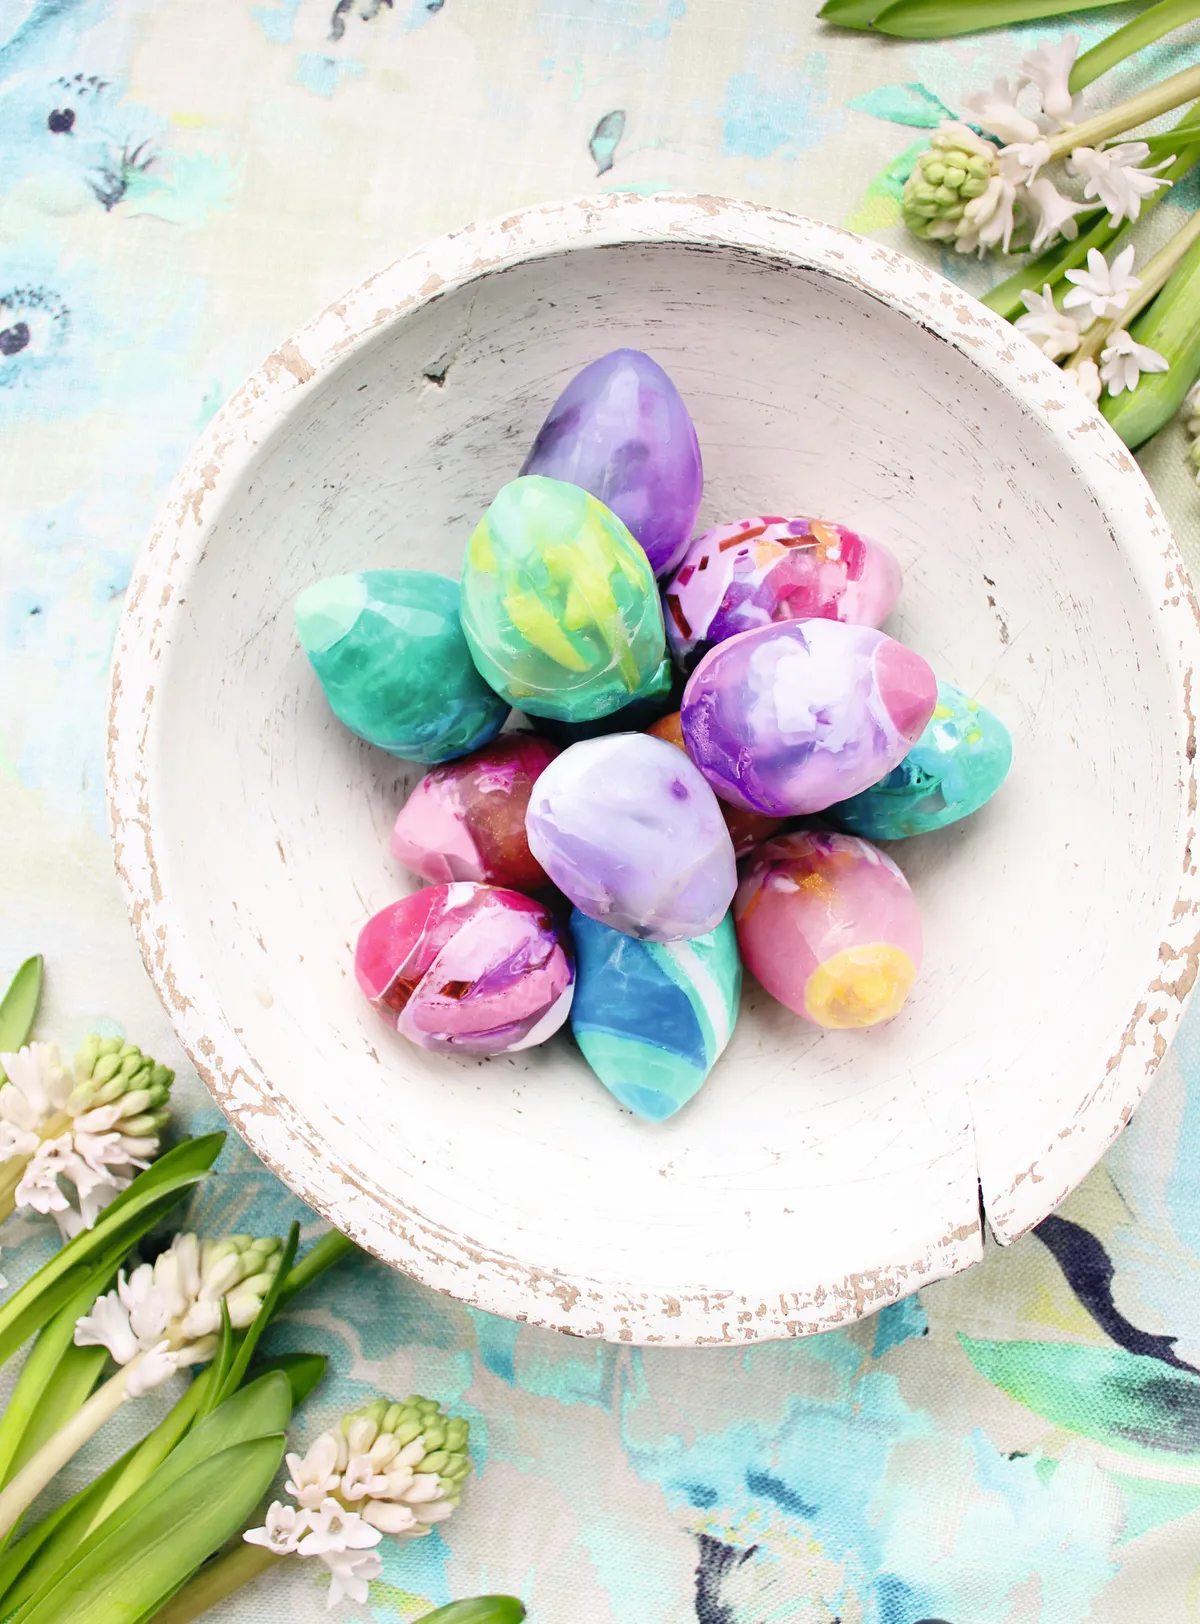
Indulge your inner magpie with these Fabergé-worthy egg-shaped DIY soaps. With their rich jewel colours and diamond-like facets, we don’t just want to put them in the bathroom any old how we want to build an extravagant gilt cabinet and display them on the wall for all to see.
If you’ve never made DIY soap before, this project is guaranteed to convert you. Melt and pour soap bases are readily available online and in most craft stores. And, if you add a few drops of fragrance or essential oil to the melted soap base, you can make your versions scented.
If you'd prefer to make your own soap at home using the full cold process method rather than a melt and pour, take a look at our How to make soap at home tutorial guide.
This project was created by Tamsyn for Mollie Makes magazine – for more easy-make craft projects and creative inspiration, subscribe to Mollie or click here to find out more.
Materials
- Two tubs of Stephenson Transparent Melt and Pour soap base, 1kg
- One tub of Stephenson Opaque Melt & Pour soap base, 1kg
- Mica pigment in several shades
- Old saucepan
- Silicone muffin cases
- Disposable plastic cups (you could use your own or old cups from a charity shop for a more sustainable option!)
- Wooden skewers
- Craft knife
DIY soap tutorial
For even more fun DIY kits head to our candle making kits and rug making kits for beginners for a new project!
 Place half a teaspoon of mica pigment into each muffin case – we used nine different cases and pigment colours, but you can use as many or as few as you like.
 Melt the transparent soap base in the saucepan on low heat, then pour into the muffin cases, filling them roughly two-thirds full. Mix the base and dye together thoroughly, then leave to set.
 Remove your solid soaps from the muffin cases, then cut up into irregular-shaped shards.
 Place a handful of shards into each plastic cup, grouping complementary colours together. Top up the cup with melted soap base – either clear or opaque, depending on the look you want to achieve – then leave to set.
 Remove the soap from the plastic cup, then carve into egg shapes using a craft knife. This step takes patience, as you’ll need to work around the soap carefully, removing a small amount at a time. We’ve left ours with lots of facets for a gemstone feel, but you can make yours smoother if you prefer.