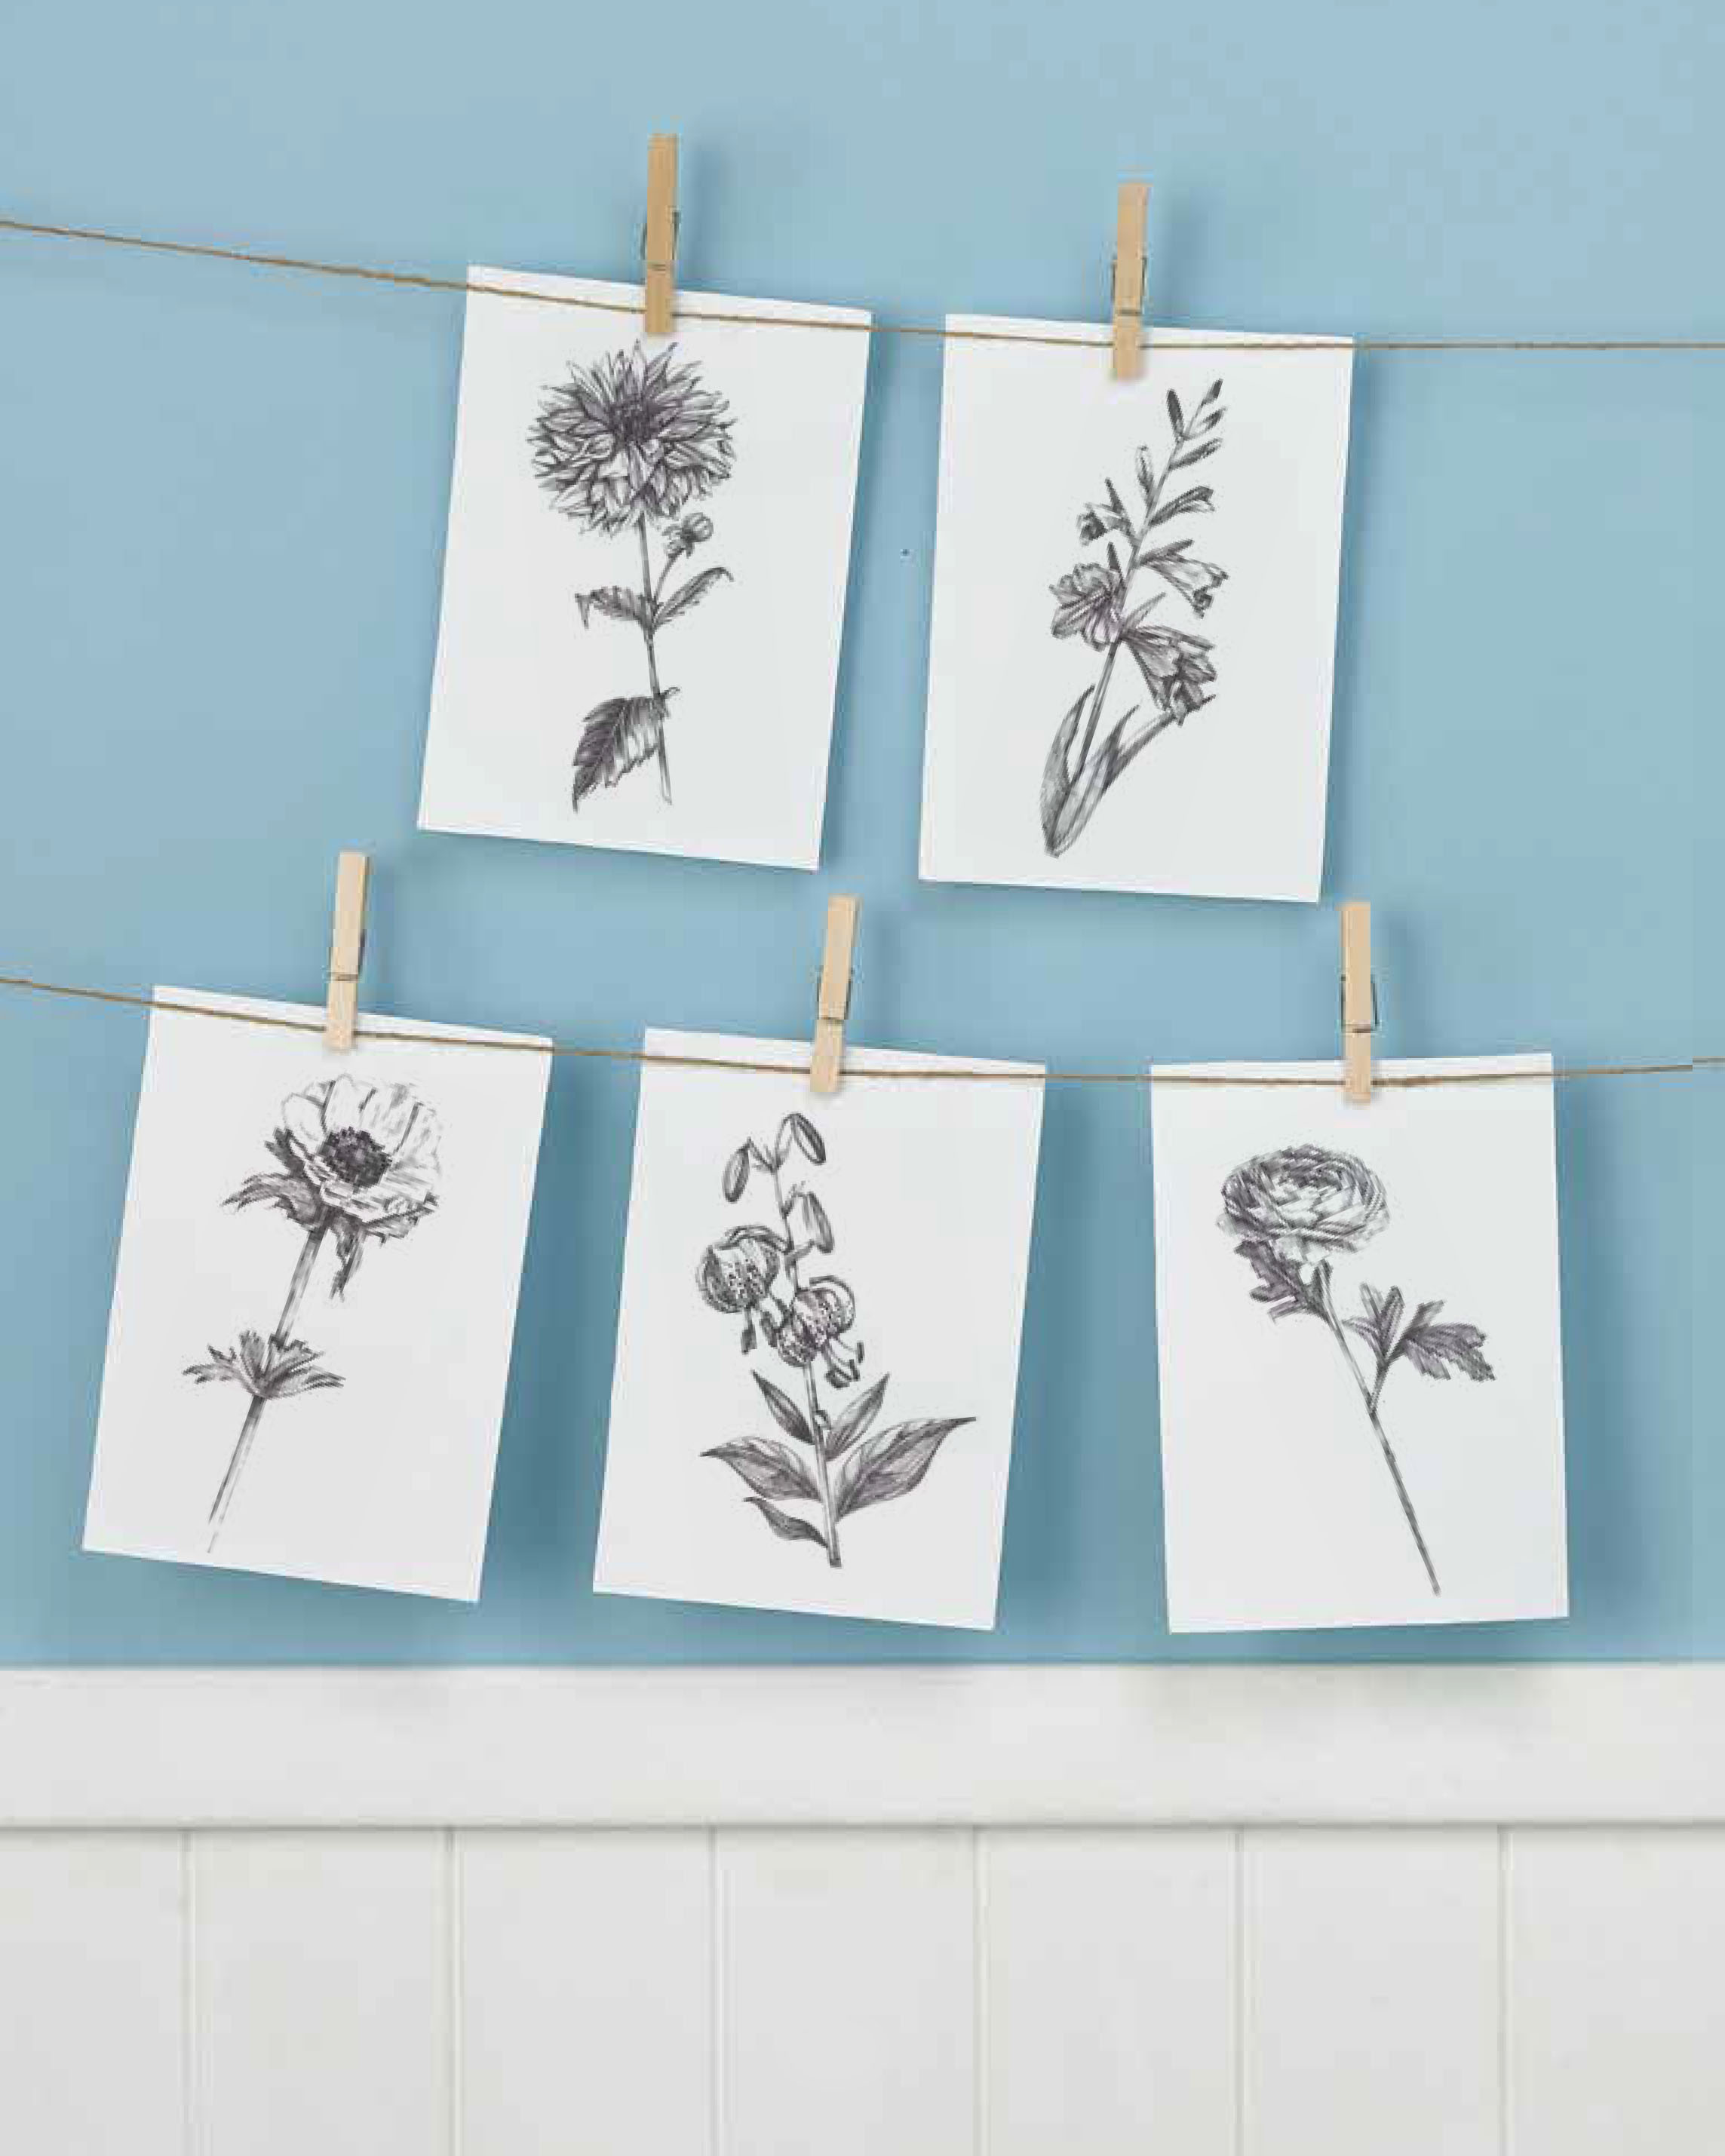
Taking time out to mindfully observe can be especially rewarding when drawing – delicate intricacies will reveal themselves, as well as fine details and subtle textures. With her beautiful ink drawings Esther Curtis takes colour out of the mix to show off the beauty of flowers in simple black and white.
Learning how to draw a flower step by step will help you to build up your drawing skills and get to grips with ink drawing. Why not make a collection of them to decorate your home or give as a present?
Esther says: "Try to draw what you see and not what you think is there. Once you shift your thinking, the act of drawing will often become very relaxing!"
For this project, it's useful to have a set of fineliners to create texture and shading. Here are a couple of sets to get you started:
- Faber Castell Pitt Artists Pens (set of 4) from SAA (£12.25)
- Staedtler Pigment Liners (set of 6) from Amazon (£10)
Looking for more fun art projects? Learn how to make butterfly art for your wall, how to draw a dog, how to paint watercolour pebbles or try monochrome painting for beginners.
If you want to improve your artistic skills, explore our watercolour painting for beginners guide, acrylic painting guide, oil painting for beginners guide and our guide to pencil drawing for beginners.
Follow this how to draw a flower easy tutorial to learn how to make your own gorgeous works of art…

