
How to draw a rose
Roses have been the artist's muse for millennia and make excellent still-life subjects. They first appear in frescos on the walls of the palace at Knossos, on the island of Crete, which dates to around 1,700 BC.
Roses can be as simple as a five-petaled flower surrounding a central pistil, or as intricate as layers upon layers of swirling, overlapping petals. They are elegant and timeless, and their lingering fragrance has made them a popular gift.
In this tutorial, we'll guide you through how to draw a rose, step by step, and show you how to construct the form of a rose using curves. We'll then build up the detail and add shading.
We'll be drawing a traditional garden rose. It's an ideal project to practise if you're keen to get outside and start sketching from life.
If you’re new to drawing, we think you’ll enjoy our guide to pencil drawing for beginners. It will also be helpful to browse the best drawing pencils, to help you out with the basic techniques and best kit from the off.
We love seeing what you create, so don’t forget to share your art projects with us on Instagram, Facebook or Twitter, too!
Top tips for rose drawing
Practice makes perfect
- Practise drawing roses using real flowers, fake flowers or even photographs. The more you practise, the easier you’ll find it. Keep your sketches organised in a sketchbook if you can, and makes notes about what worked for you and what didn’t. This provides useful reference material as time goes on.
- Study as many specimens as possible. Take time to study the flowers' form, posture and details.
- If you’re working from fresh, cut flowers, keep them fresher for longer by placing them in deep water. Deep water encourages capillary action that draws water up the length of the stem to the flower.
- Having a basic knowledge of the botanical form of the flower will help you understand what you’re drawing. It will also help you to understand the plant morphologically, and create a more accurate final piece.

Make initial sketches
- Use curves, ellipses, and triangles to roughly map out the main features of the flower.
- Use loose lines to make your initial sketches as you plan out compositions and plant positions.
- Look at the way that the petals are arranged. Are they arranged in a spiral? Or are they radially symmetric, arranged evenly around the middle of the flower?
Don't be afraid to experiment
- If your drawing becomes scuffed, or you end up with too many nearly erased pencil lines, trace and transfer your drawing to a new piece of paper using a lightbox. Discover the best lightboxes for artists with our handy round-up.
- Experiment with different types of paper. Using toned paper takes advantage of its colour, and this becomes one of the values in the drawing.
- If you want to take your botanical drawing further, try using pen and ink. It’s traditionally associated with such drawings, and by mixing lines, stippling and crosshatching you can achieve beautifully rendered 3D images. Check out our beginner’s guide to ink drawing for everything you need to get started.
For your rose drawing, you will need
Pencil

Lightly sketching the rough shape of the rose is a great way to build confidence in sketching the overall form of the flower.
You can use any pencil to get started. But if you want to get the most out of pencil drawing, we recommend getting a set with a selection of different hardness.
Hardness refers to the type of line the pencil will draw. B-pencils will draw a darker, thicker, but softer line. H-pencils will draw a lighter, thinner, harder line.
An HB pencil is right in the middle, and you’ll most likely have used them at school or in the office. This 12 sketching pencil kit from Faber-Castell is a great place to start and includes all pencil hardness from the very soft 5B to the very hard 5H.
Sketchbook (or paper)
You can use any type of paper for this drawing tutorial, but we recommend something with a smooth grain. This makes erasing the construction lines easier, as well as tinkering with the piece throughout the process.
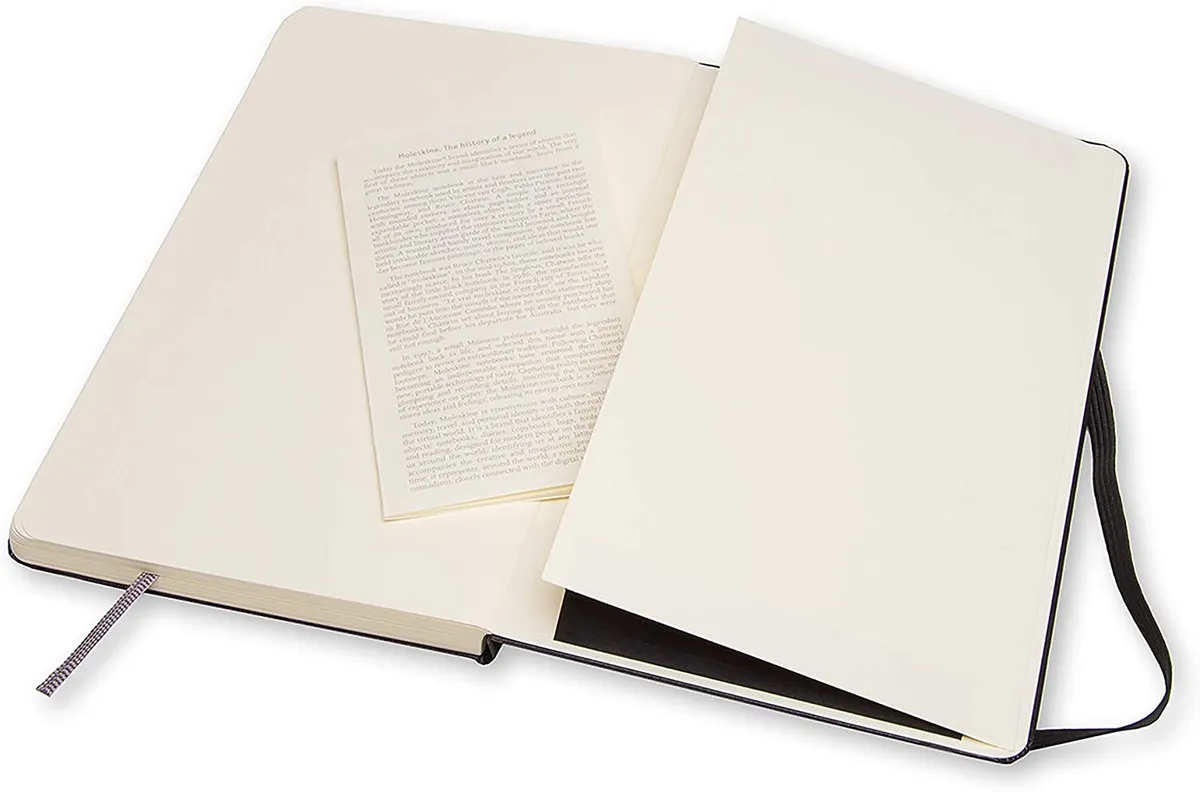
This 13 x 21cm sketchbook from Moleskine has lightly pigmented paper, so the pages are a softer, cream colour, rather than the traditional bright white, which is great if you’re only using pencil or ink in your artwork.
If you’re keen to add colour, we’d recommend using white paper if you’re starting out – just to get an accurate feel of the colours you’re using.
If you use a softer paper, or something with more of a grain, you’ll risk damaging the structure of the fibres the more you use your eraser, and the final result will not look as neat.
Experiment with different colour paper, why not try white pencils on black paper for something a bit different?
Eraser
Sometimes, leaving construction lines in your work can create a loose, fun and messy vibe to your art.
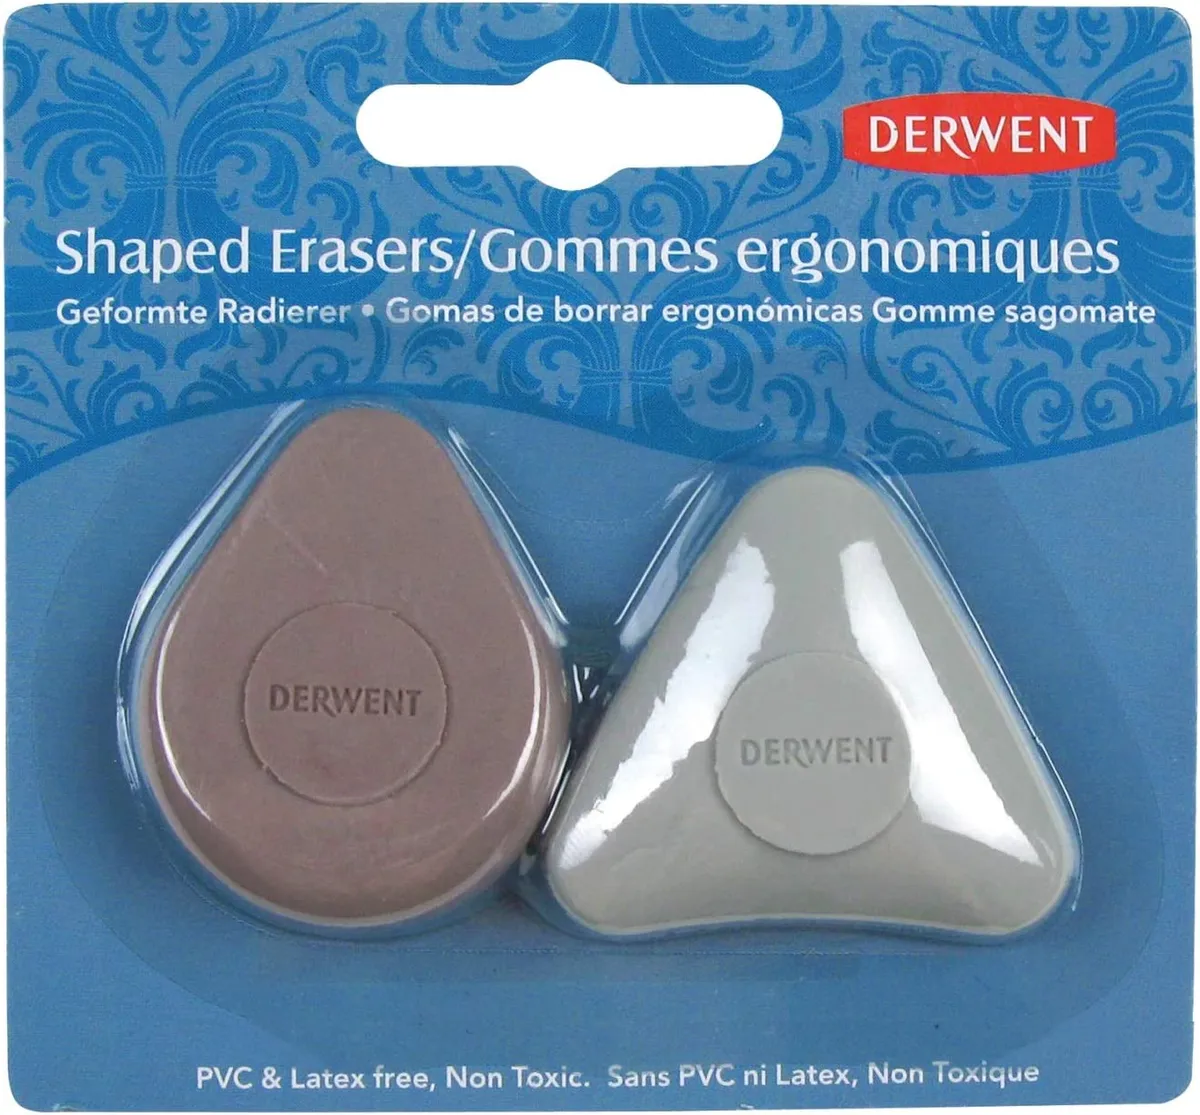
But if you want to be rid of those lines completely, then I recommend using a hard, angled eraser, like these ones from Derwent, to go with your smooth paper.
These ergonomic erasers are impressively smudge-free and shaped for a better grip (there’s a dimple in the back where your thumb goes). They last for ages and are certainly some of the best universal erasers on the market at the moment.
~or~
iPad

If you want to branch into digital art, then the iPad Pro is a great option for drawing, especially when paired with the Apple Pencil.
But don’t be put off by the cheaper, ‘regular’ iPads. They are just as good for the casual artist, it just boils down to how much storage you need and the types of apps you want to run.
As operating systems are taking up more and more space on your tablet than when they first came out, it’s important to keep this in mind if you’re looking to buy an iPad.
As time goes on and you install more updates, the new OS will gradually take up more and more space – and you’ll have less storage for your digital art. So, it’s worth opting for maximum storage from the off, if you can afford it.
Check out our round-up of the best drawing apps for iPad if you want to browse our recommendations.
Apple Pencil

The 2nd generation Apple Pencil has an added function when compared to the first generation. With a simple double-tap, you can switch between the tools you need, which is very useful when alternating between sketching and colouring, or when working on different layers.
The upgraded Apple Pencil magnetically attaches to the iPad Pro, and charges wirelessly. If you do happen to put it down on a flat surface, like your craft desk, the flat edges of the 2nd Gen Apple Pencil mean it’s much less likely to roll away (the original 1st Generation Apple Pencil is round).
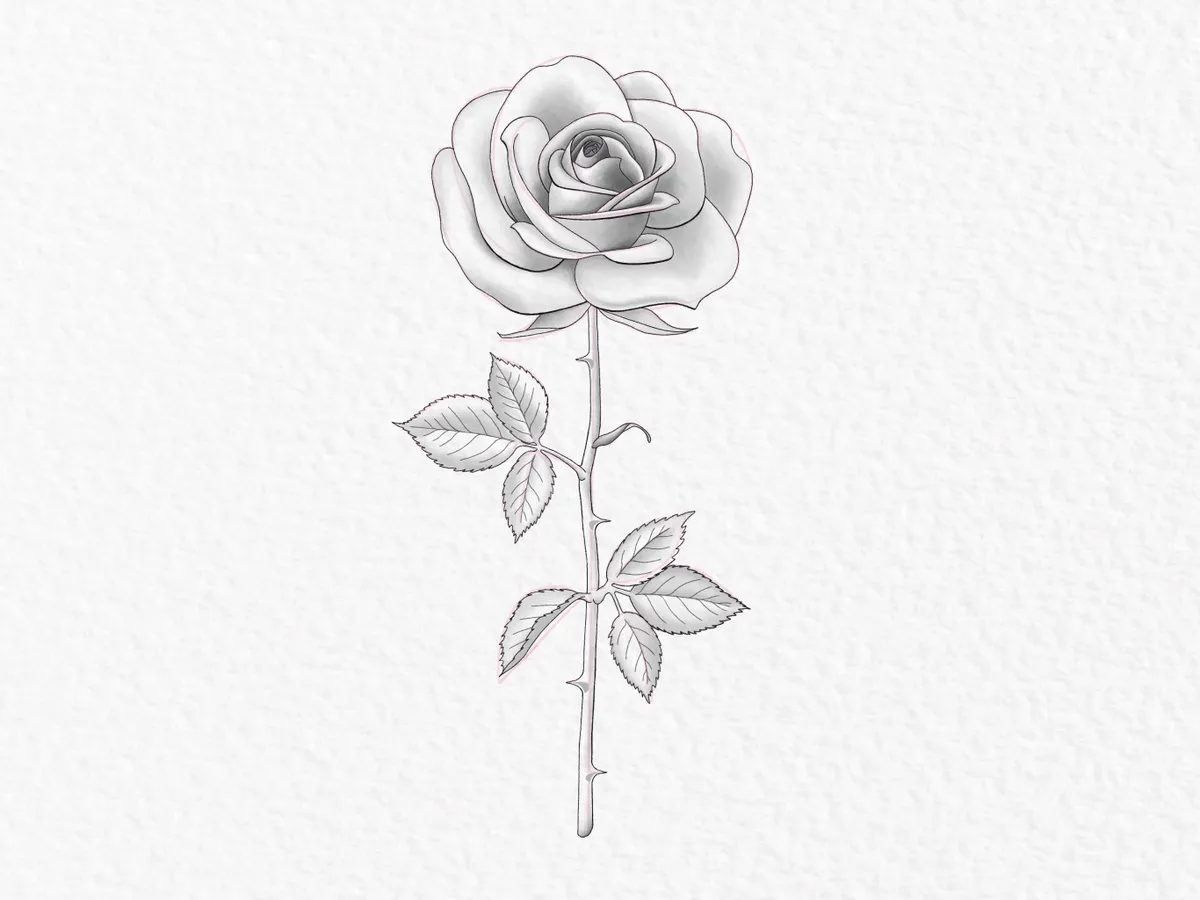
How to draw a rose
Follow this easy tutorial and learn how to draw a rose.
Scroll down for our in-depth rose drawing tutorial, where we take you from constructing the overall form of the flower using basic shapes and curves, to adding details and shading.
For the purposes of this easy rose drawing tutorial, we have used red to show where you should put the construction lines. We then lightened them when adding the detail on top.
Ready? Let’s go!


