Air dry clay is still a hugely popular crafting material but did you know that it’s super-easy to make yourself?
Air dry clay can be made in minutes with just some store cupboard ingredients, ideal if the kids are bored and need a quick craft to entertain them!
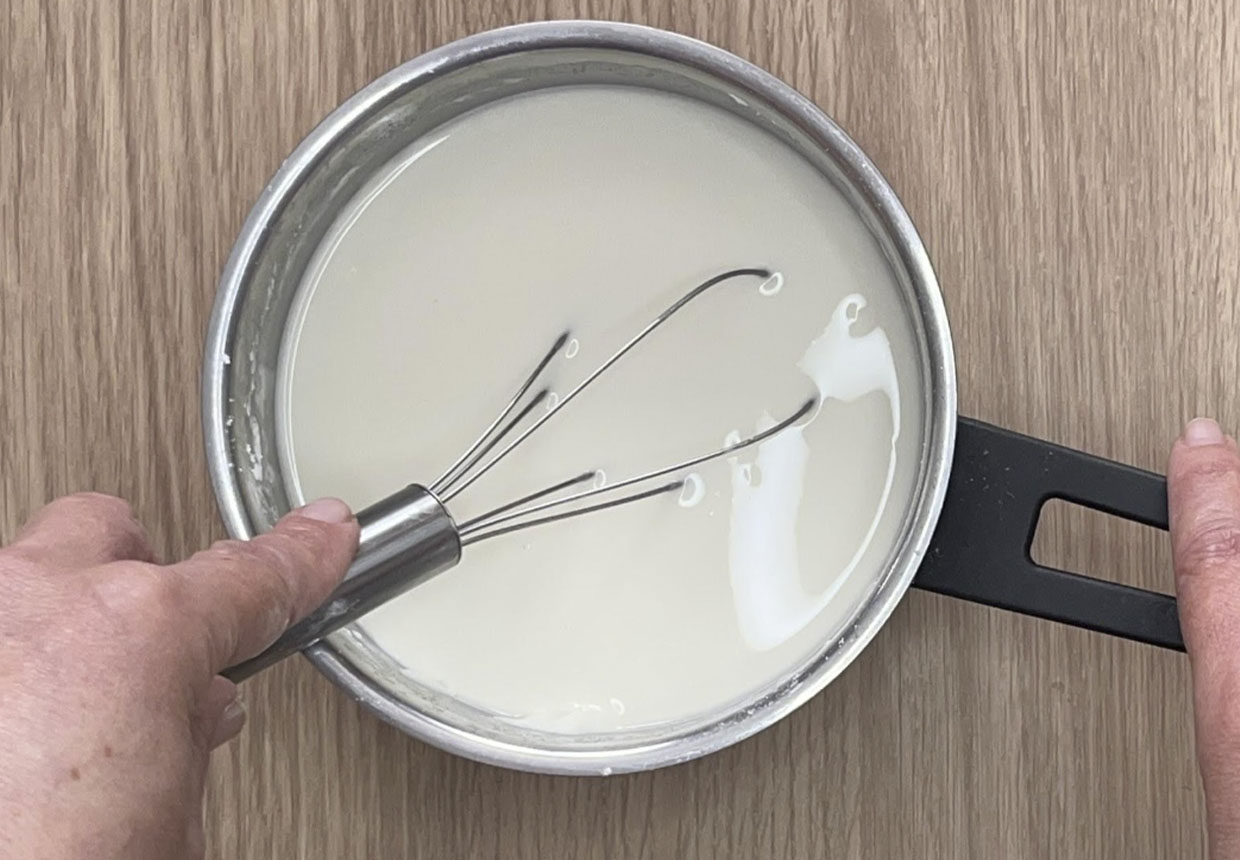
There are countless different recipes for homemade air dry clay but the easiest one is simply a mixture of sodium bicarbonate, corn flour and water.
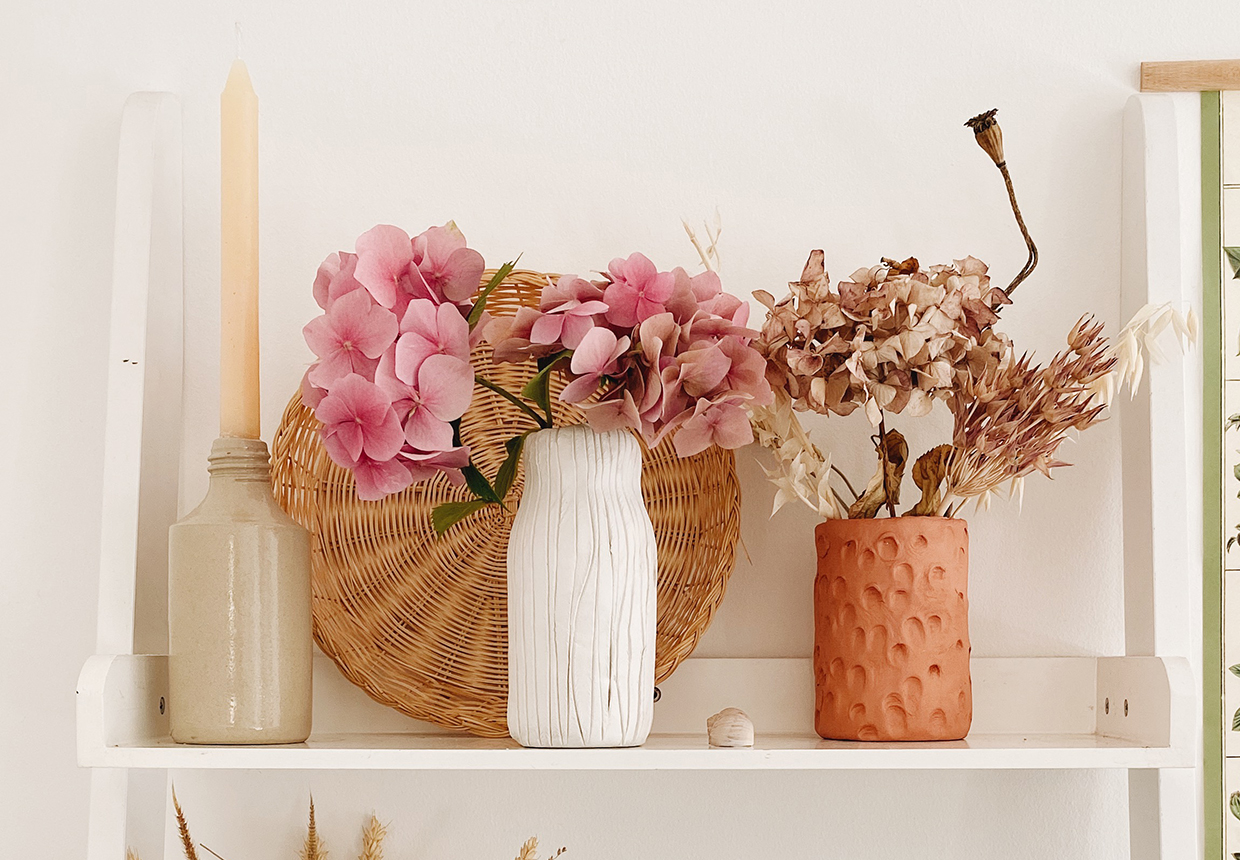
This mixture will provide you with a pliable, non-toxic white air dry clay that can be used in exactly the same way as shop-bought clay.
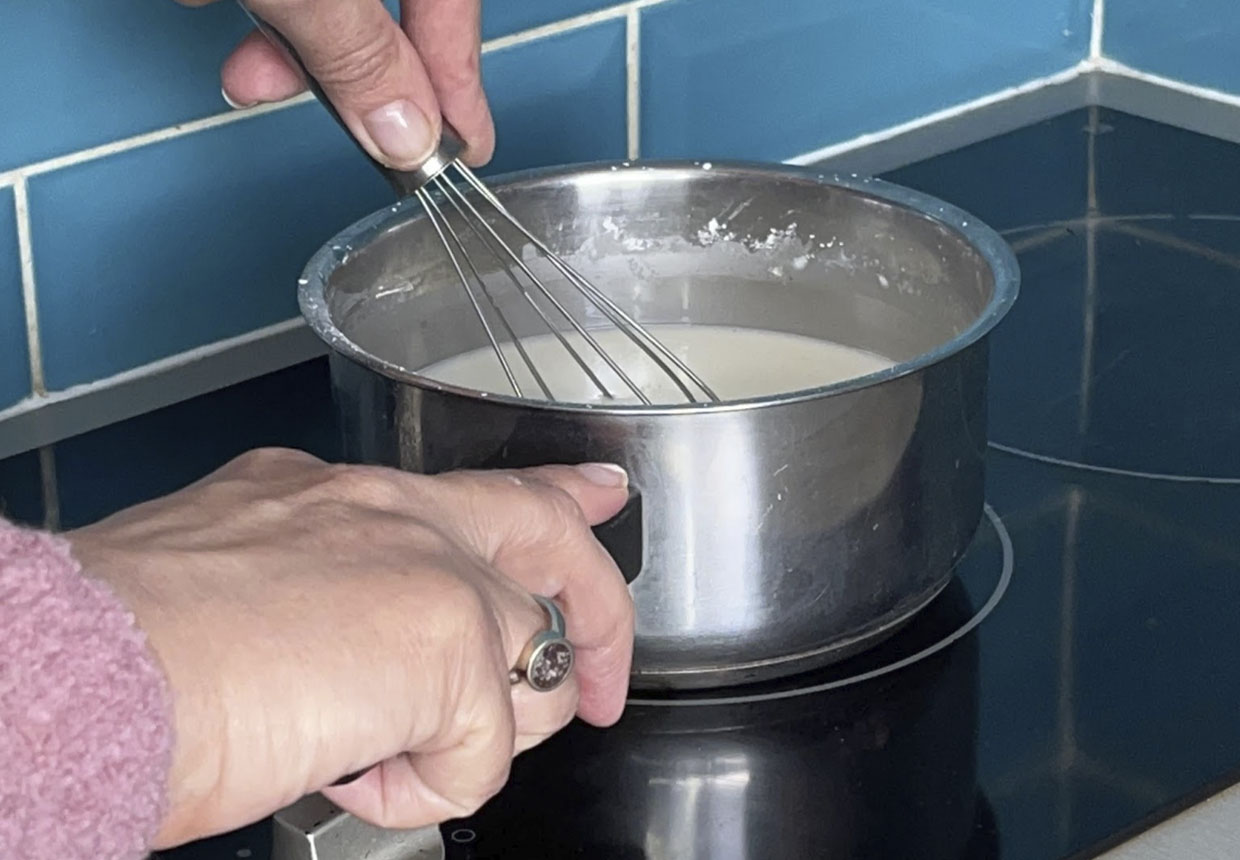
The method of making air dry clay shown here requires heating. The ingredients need to be measured accurately to ensure a smooth and even finished result that is easily kneaded and shaped and shouldn't crumble.
The use of corn flour instead of regular flour ensures that the air dry clay dries to a bright white colour that can then be painted or decorated.
Can my homemade air dry clay be coloured?
If you wish to colour the air dry clay then a few drops of food colouring can be added to the water before adding to the rest of the ingredients.
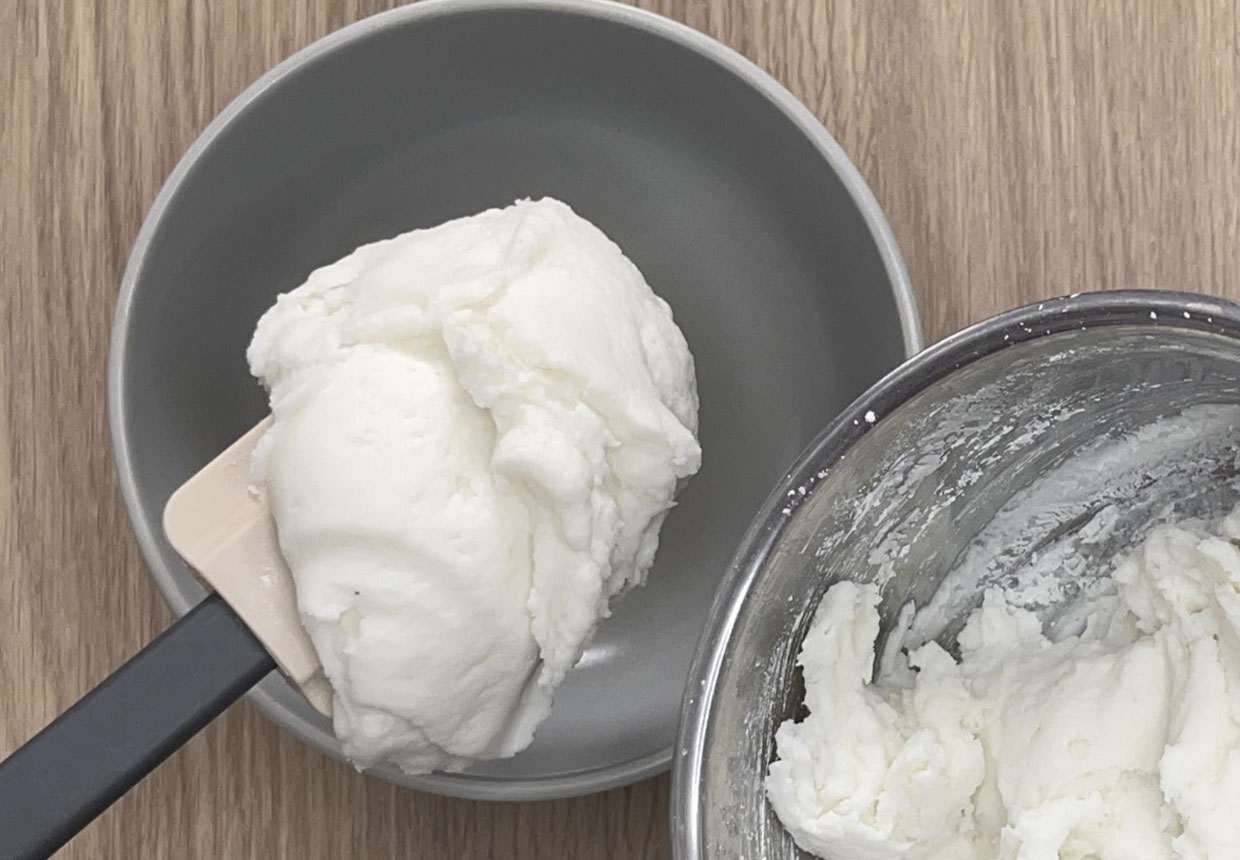
Once the air dry clay has been made it needs to be cooled thoroughly before it can be used.
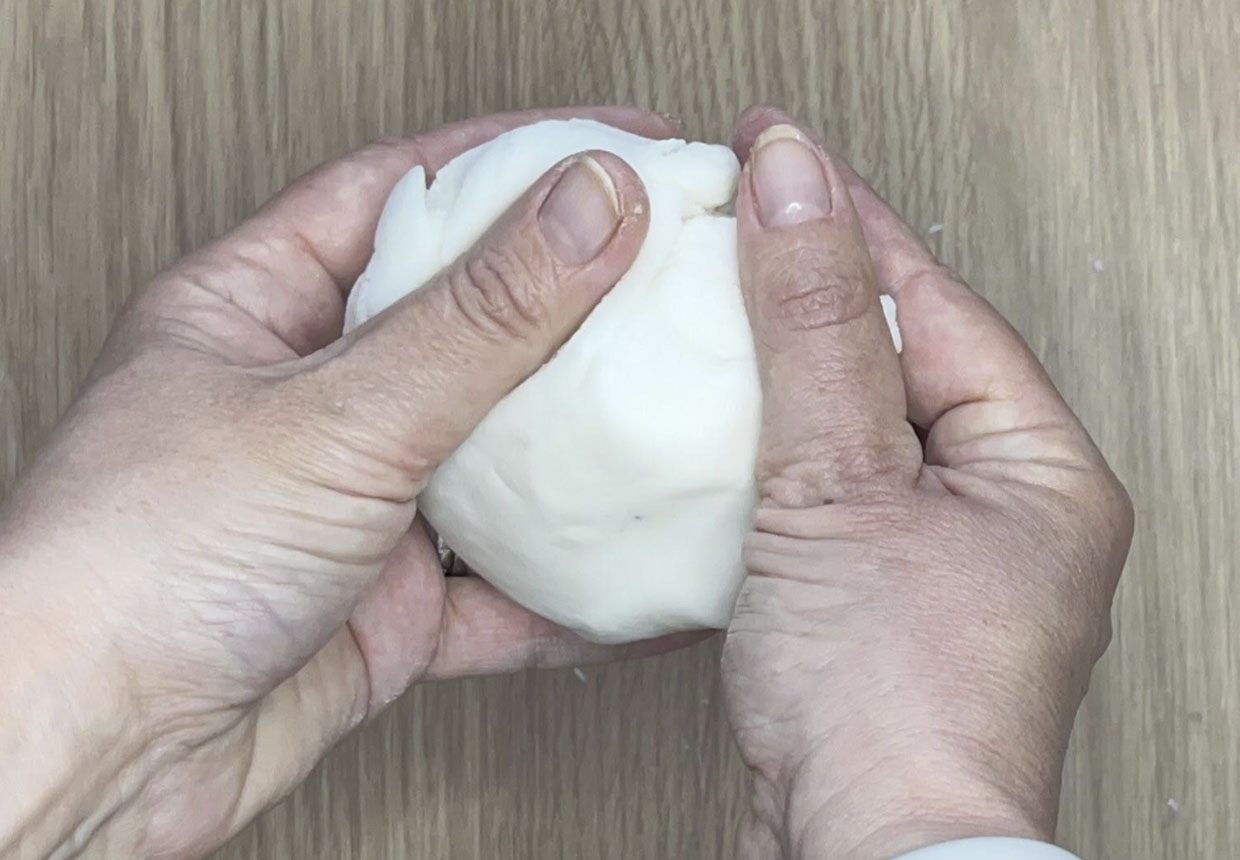
Once cooled it requires kneading to achieve a smooth clay that is soft and pliable to work with. It is then ready to be used to create a variety of projects.
How long does homemade air dry clay last?
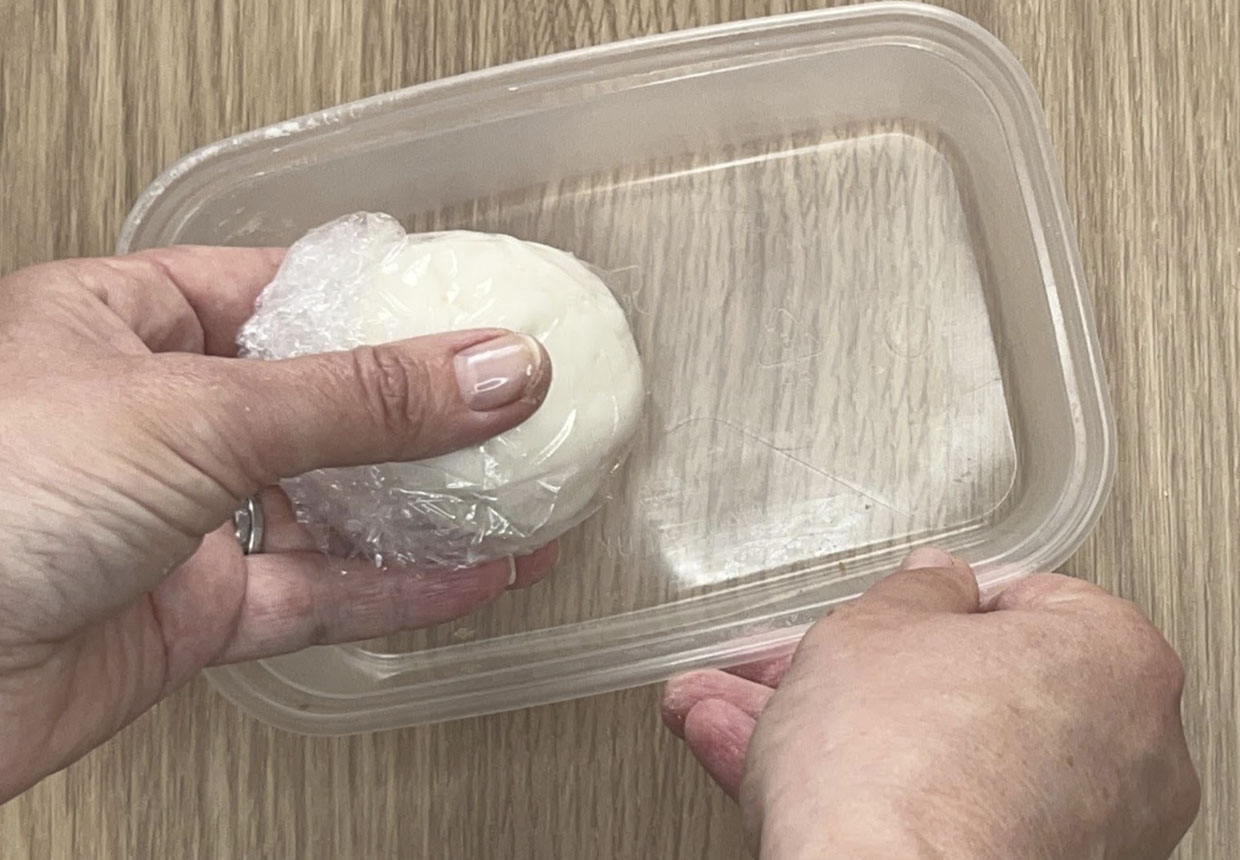
The air dry clay will last up to two weeks if wrapped in cling film and placed in an air tight container, avoiding it drying out.
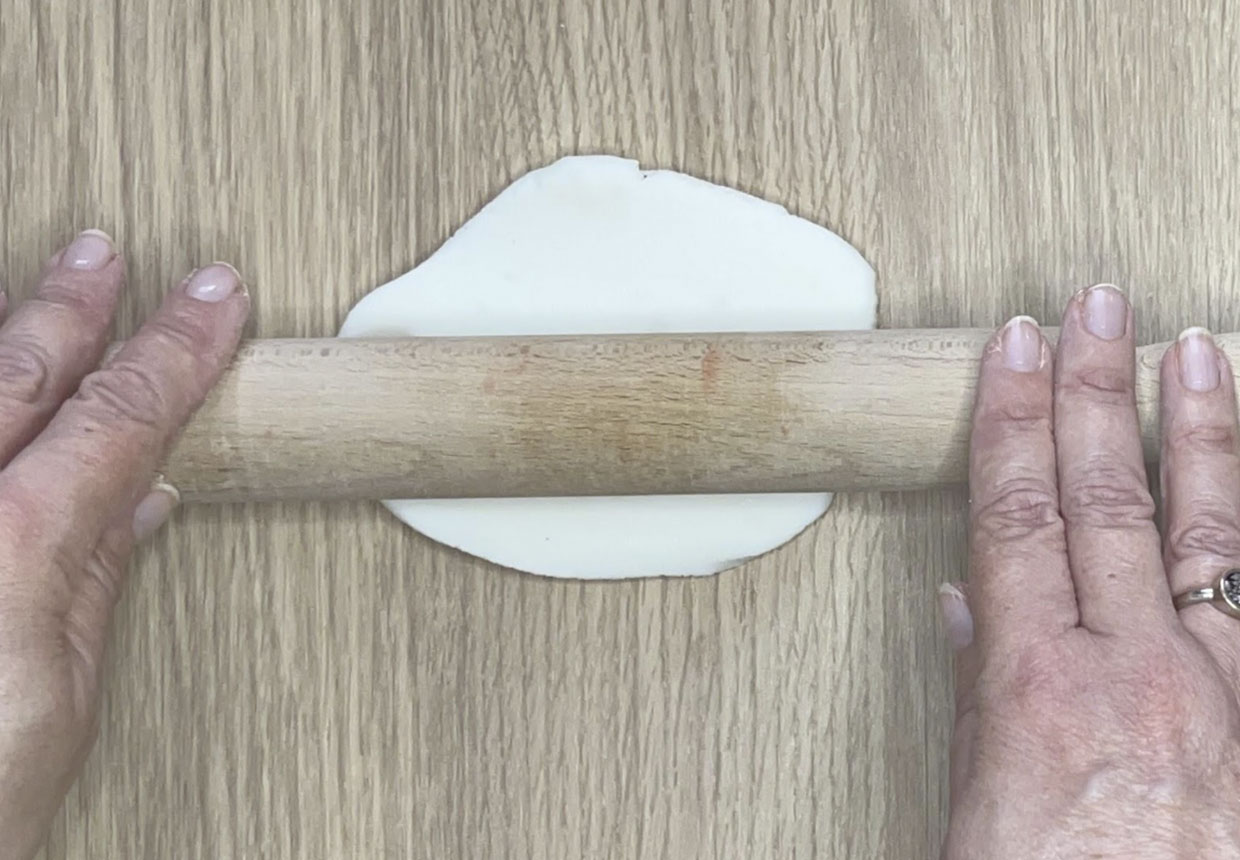
If the air dry clay has been stored for a few days it is probably best to knead it again but make it pliable again and prevent it cracking. Your homemade air dry clay can be rolled, cut and shaped as required.
How long will my air dry clay take to cure?
Once your air dry clay objects have been made they will need to be left to dry for up to three days, depending on the size and thickness of the objects made.
Turning the objects regularly will ensure even drying and avoid any cracking.
Do I need to bake air dry clay?
Air dry does not need baking, but if you wish to speed up the process then they can be oven baked in a low-temperature oven (around 100 degrees C) for up to an hour and a half, depending on the thickness of them.
For best results, turn the objects over halfway through baking.
Do I need to sand air dry clay?
Sanding your creations will create a smoother base, which is especially useful if you are painting your creations. Once the air dry clay objects have been dried thoroughly they can be sanded if required and then decorated with the paints or medium of your choice, just like the shop-bought alternative.
Are there other ways to make air dry clay?
You may wish to try other air dry clay recipes as different mixes may be better for creating certain items. Other recipes contain PVA glue and require no heating. It's best to experiment and see what works best for you.
