Stippling art: a beginner’s step-by-step guide
If you’ve heard of stippling art but you don’t know what it means, don’t worry: there’s a lot of confusion around the term.
Stippling is a mark-making technique that is primarily a drawing technique, but it can be employed in painting too.
It gets confused a lot with a painting style used by certain Impressionist artists called Pointillism, but this (more on this later in the article) – but the two methods are different.
Stippling can produce gorgeous drawings that create a shimmering, optical effect, and it’s perfect for describing light and shadow.
It’s a type of drawing that takes time and patience, but is far less complex than it looks and is something completely open to beginners.
Keen to get started? Read on: in this article, we're going to talk you through the essentials of stippling art, along with a step-by-step tutorial to help you get started.
What is stippling art?
Stippling art has its roots in Renaissance printmaking. During this time, artists found a way of suggesting tones of light and dark by using tiny little lines and dots.
This is the key to stippling: fundamentally, you’re using line to create the visual effects of value. By value, I mean degrees of lightness and darkness.
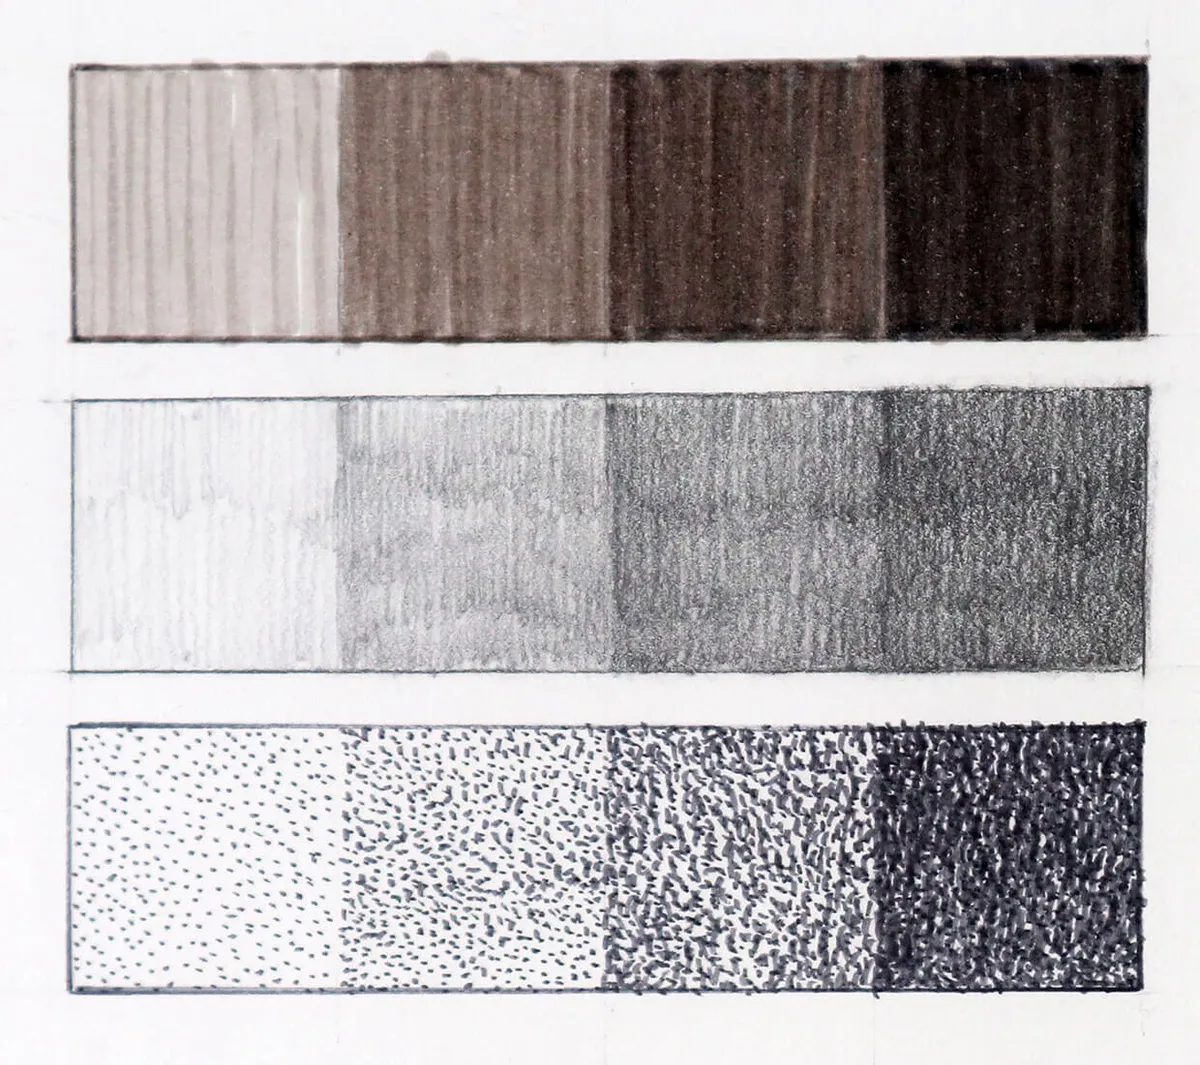
One simple way to get used to this idea is by creating a value scale. In the picture below, I drew three different scales using pencil, marker pen and stippling.
As you can see in each value scale, I created darker values using the same method: by applying one layer of the medium on top of the other. In this case of stippling, this simply means the dots get more dense and built-up.
Stippling drawing vs painting
Stippling art is essentially a type of linear drawing, but it’s one that touches upon a painterly method called Pointillism.
Pointillism was an innovative style of painting developed in nineteenth-century France by a group of Impressionists, including Camille Pissaro and Georges Seurat.
Building upon colour theories developed by scientists of the day, these pioneering artists discovered that applying discrete but evenly distributed dabs of colour would create an optical effect that made their paintings appear to shimmer with light.
These could be mixed optically, so overlapping dabs of red painting and yellow painting would produce an orange effect.
This is a thrilling technique to explore, but it is the subject of another article entirely. My advice is to start with some stippled monochrome drawing before moving on to complex, colour-filled work.
Equipment needed for stippling art
The tools and materials you’ll need for stippling art are very basic, and you can pick them up online or from an art or stationery store.
- Any lightweight paper of your choice. For my demo, I used some pastel paper, simply for a bit of extra colour.
- A hard pencil such as an HB, H or 2H. Don’t use anything softer, as you will smudge the drawing as you work.
- A pencil eraser to remove your drawing at the very end.
- A marker for your stippling. There are lots of great choices out there – for example, you’ll find ultra-fine markers in the Sakura Pigma Micron range, which are perfect for delicate drawing such as this. We recommend finding something that’s fairly inexpressive, and will produce uniform marks – we used the finer end of an N45 Tombow Dual Brush marker.
Here are some products which we'd recommend and where to buy them:
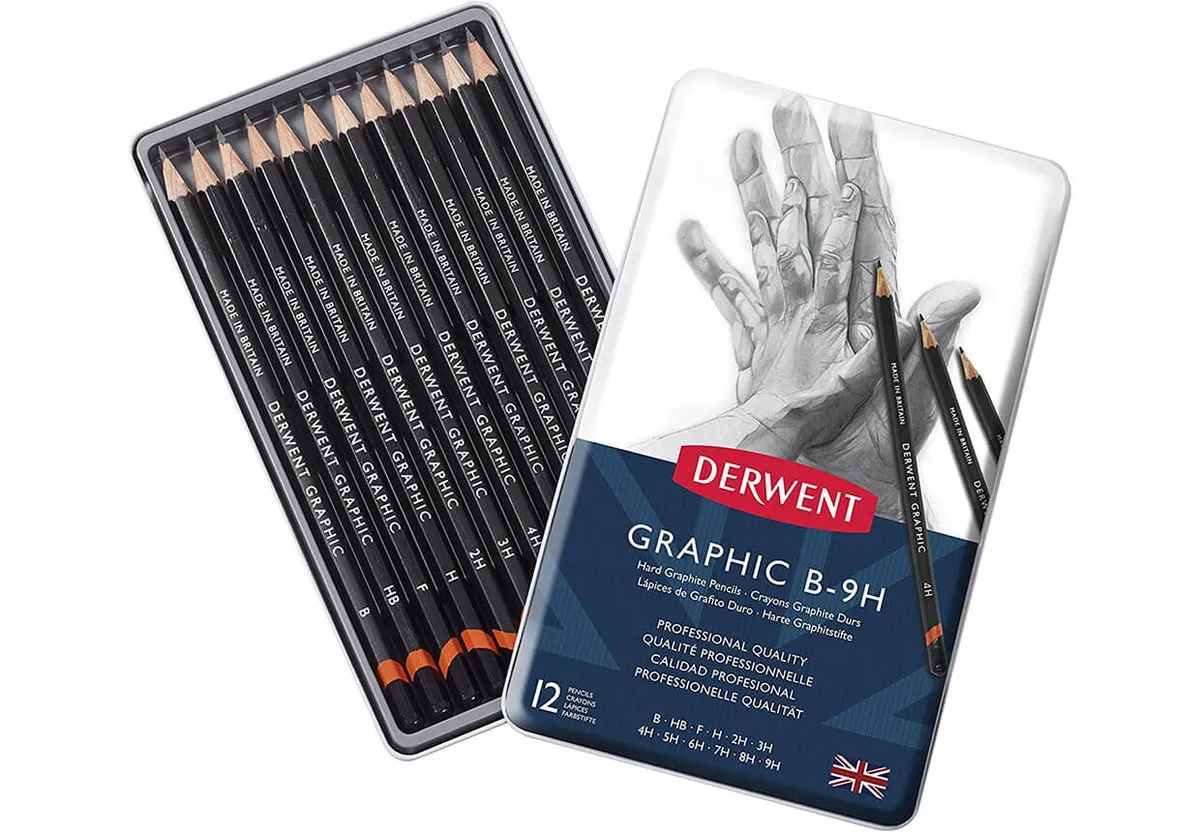
Derwent Graphic drawing pencils
If you’re used to sketching using a pencil, you may already have a set of drawing pencils. However, stippling is different to other drawing techniques because you need to use a pencil with a firmer nib. You can use softer pencils for this, but your dots won’t be as precise.
Your pencil marks may smudge if you’re using a softer nib, too. For this reason, we’d recommend buying a set of graphic pencils such as the Derwent Graphic B-9H pack. These pencils have been created with graphic designers and illustrators in mind, and they are a good choice for stippling.
Sakura Pigma Micron range
The Sakura Pigma Micron range is perfect for stippling art. These pens are specifically designed for drawing fine lines and other intricate details. The fineliner pens are lightfast, so they won’t fade when exposed to natural light.
They’re also designed not to bleed through paper, which is very useful! This Sakura Pigma Micron pen set includes three pens: two fineliners (0.1mm and 0.5mm) and one wider brush pen. These pens are also brilliant for any illustration projects you might be working on, as they allow you to draw precise lines.

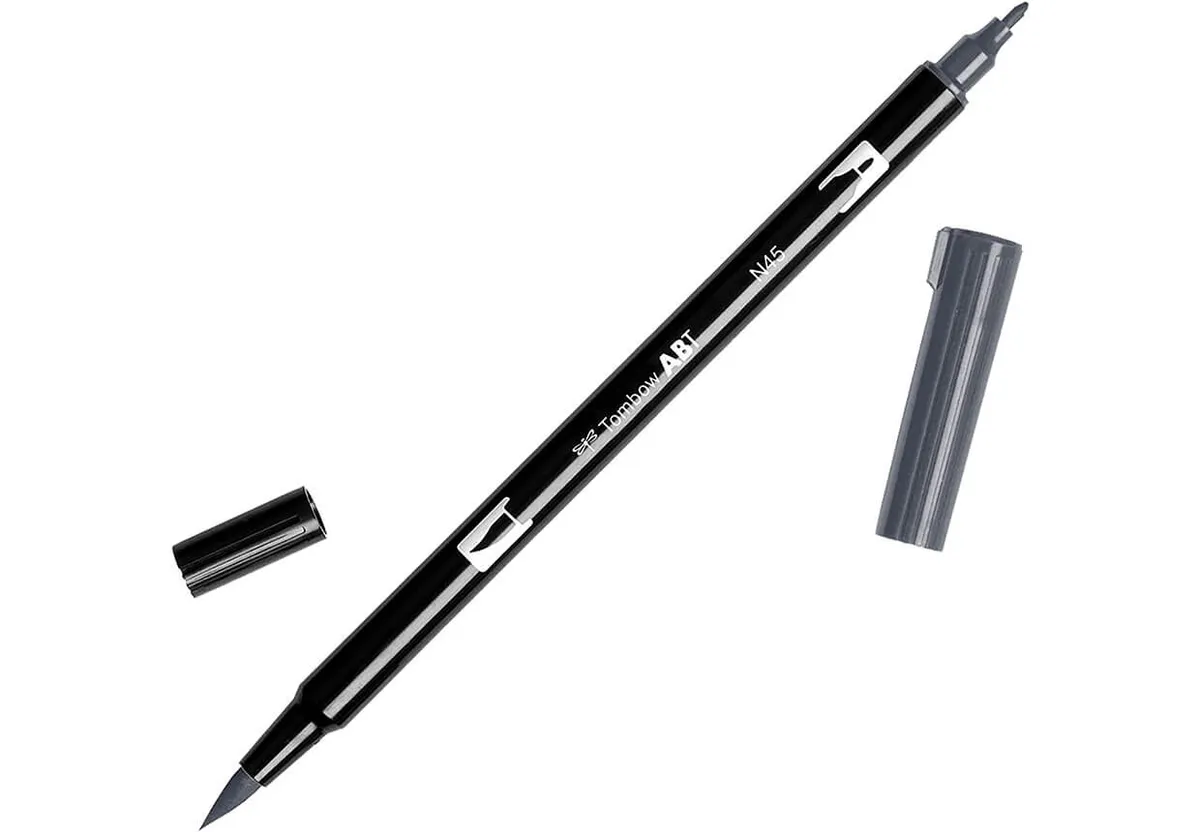
N45 Tombow Dual Brush marker
The N45 Tombow dual brush marker is widely used for calligraphy and brush lettering, but it’s a great choice for stippling too. It has dual tips – a finer tip on one end and wider brush tip on the other. The fine tip is ideal for stippling art, and you could use the other end to experiment with different mark-making techniques.
The ink is water-based, so it’s odourless. It’s also water soluble, so you could also blend the marks with a wet paintbrush to create some interesting effects. Bear in mind that this ink is not lightfast and may fade if you display it on your wall.
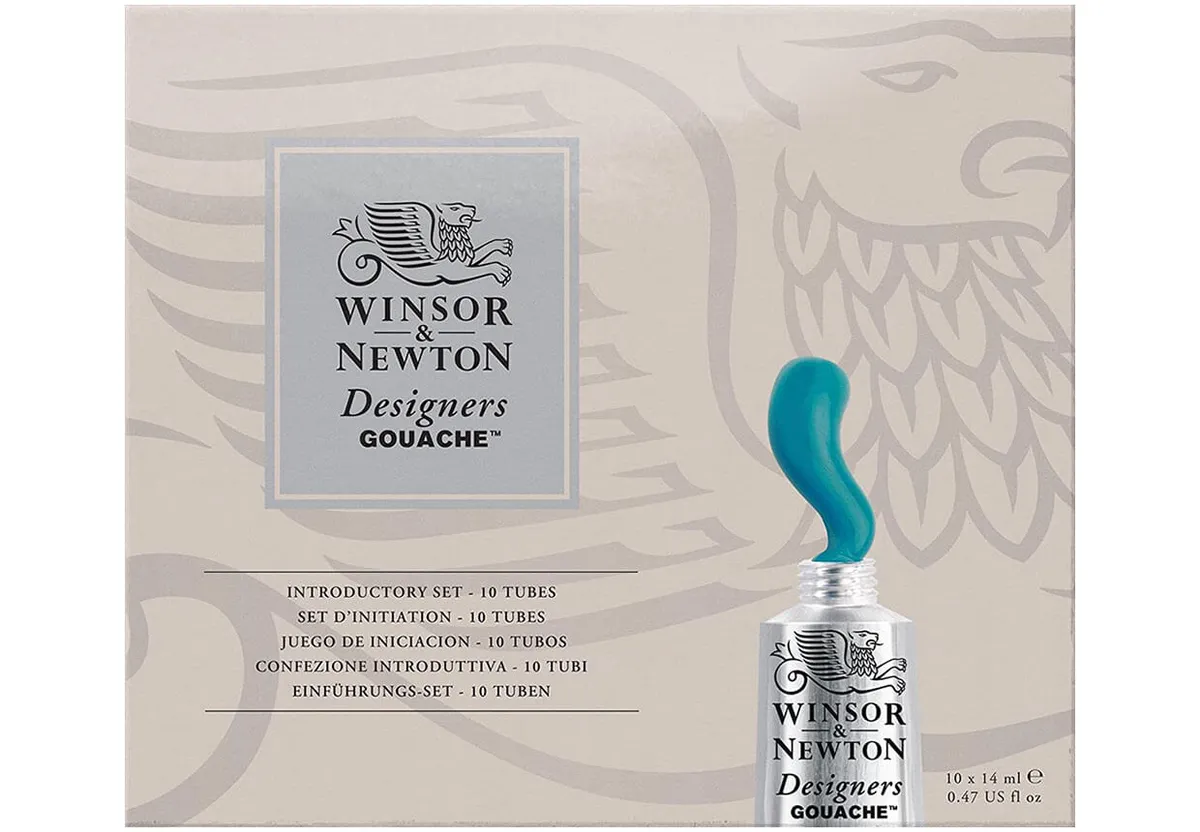
Winsor & Newton Designer gouache
If you do want to try out stippling painting in wet media, my advice is to use Winsor & Newton Designer Gouache applied with a thin miniature brush. Gouache is a fast-drying medium that dries to a flat, opaque finish.
Thin the paint to a milk-like consistency with water. Try to keep your hand out of any wet areas of painting. This is a great paint set to buy if you want to get into gouache painting. The set includes a range of vibrant colours for you to experiment with.
You can also buy individual tubes of gouache paint separately if you need to. If you're looking for more recommended paint sets, take a look at our best gouache paint set guide.