Pyrography is a fun and creative hobby, with a wide range of design possibilities. While wood burning is the most common practice, it can also be done on leather, bone, gourds and even egg shells.
There are quite a few elements that are essential to any wood burning setup, and those looking to try pyrography for the first time might benefit from buying a wood burning kit rather than acquiring individual items.
Whether you want to stock up on supplies or just fancy checking out what’s required, we’ve rounded up the essential wood burning tools that every pro pyrographer shouldn’t be without.
Keep it safe!
Whether you're new to pyrography or have been wood burning for some time, make sure you don't put yourself at risk with these pyrography safety tips.
The most important wood burning tool - a pyrography pen
1. Weller Pyrography Wood Burning Tool
Best fixed temperature solid point pyrography tool
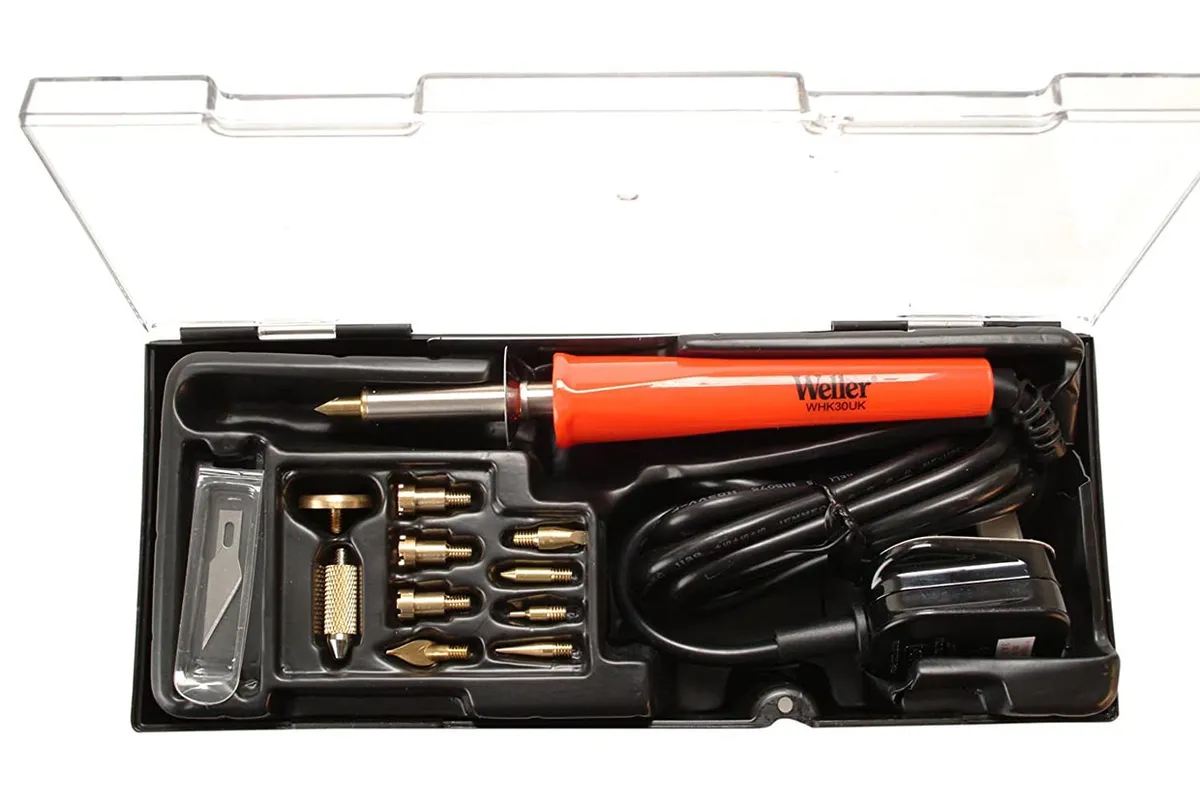
There are two main styles of pyrography pen, this tool by Weller is the solid tip style. Although there are many of these fixed temperature solid point wood burning irons available to buy online, this kit has been designed specifically for pyrography and other hobbyist uses. It also meets GS and RoHS safety standards and is produced by a reputable US brand.
This tool kit comes with 3 branding tips, 6 wood burning tips, a pattern transfer tip, a hot knife with blade chuck and a 7-page project book – all supplied in a handy carry case.
Although the fixed temperature may limit the range of effects and burn shades you can achieve, this pyrography pen can heat between 200°C - 595°C which will give you good results with most materials.
Pros – Quality product, handy case, useful range of tips
Cons – Fixed temperature
- Buy this Weller Pyrography Wood Burning Tool on Amazon
2. SEAAN Wire Tip Pyrography Machine
Best for intricate designs and improved control
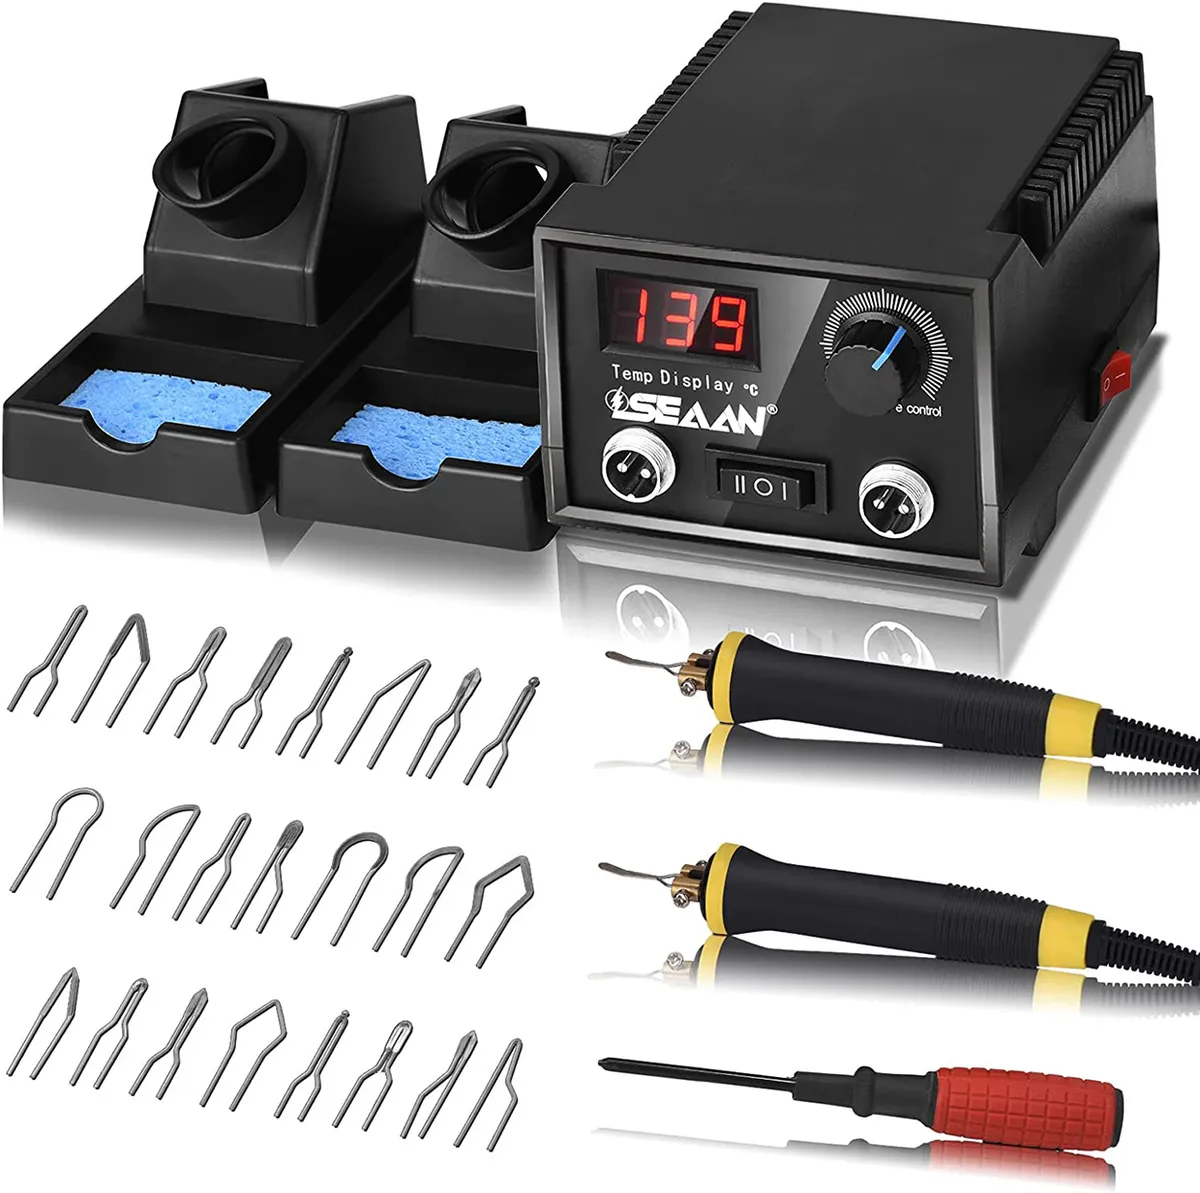
While solid point pyrography pens are a great entry-level wood burning tool and are useful for certain techniques, wire nib wood burning irons are much better for creating intricate designs and achieving different effects.
A shaped piece of wire acts as your nib and when heated up you can experiment with different temperatures and wire shapes to create different brush strokes and burn effects.
This wire tip wood burning machine from SEAAN features an LED display and an adjustable temperature range of up to 750°C. You get 23 wire nibs included in a range of styles and shapes which will provide plenty of interest, and can also be easily replaced if they start to degrade after time. Finally, the star feature of this product is that you get two wood burning irons to work with – this means that rather than having to wait for your iron to cool down before you can change to a different tip, you can simply switch to your other iron and continue working!
They also feature an ergonomic grip and the tip is much closer to the handle compared to solid point irons, giving you better control and more scope for creating intricate designs.
Pros – Variable temperature, Two irons
Cons – Wire tips are more breakable that solid points
- Get your SEAAN Wire Tip Pyrography Machine from Amazon
3. YIHUA 939D-II Pyrography Wood Burning Tool Station
Best for both styles of pyrography pen
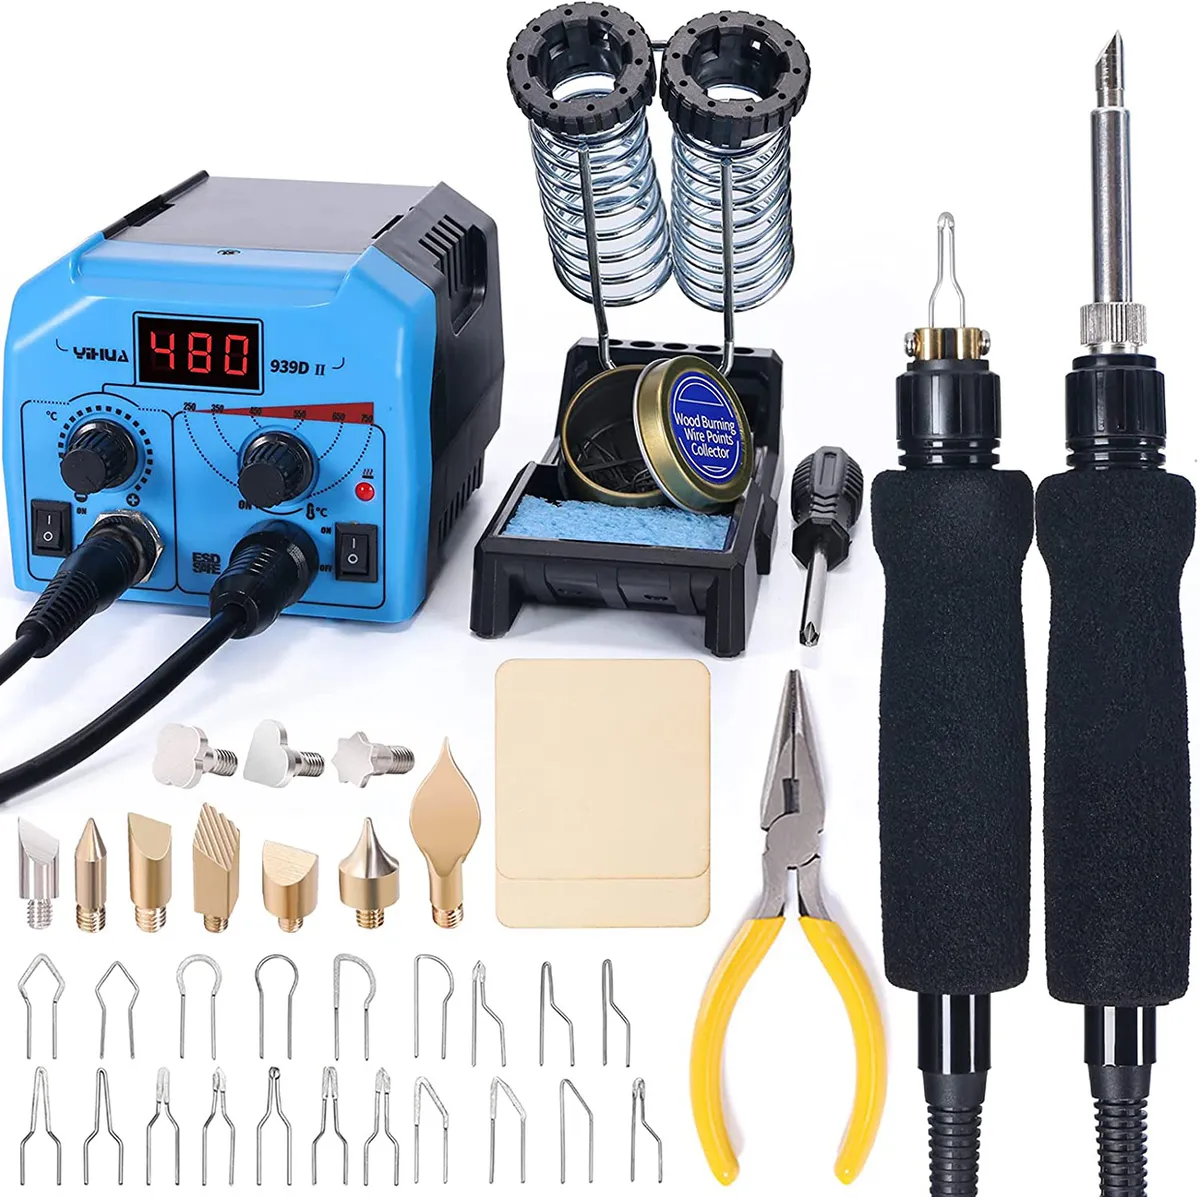
It can be tricky to decide on your preferred style of pyrography pen, and many professionals actually recommend using both as they each have their own unique styles and effects. So if you don't want to limit your creative capabilities, you could treat yourself to this wood burning tool station from YIHUA.
This unique product is the only one we found which includes both a wire nib iron and a solid point iron, each with its own separate temperature control and power switches on a single unit. This gives you a huge amount of potential for your pyrography projects. You get 20 wire nibs included which can be used with temperatures from 250-750°C, and 10 solid point tips which can be used with temperatures from 200-480°C.
There’s also soft-grip ergonomic handles, a holder which is heat resistant and holds both pyrography pens. You’ll also find accessories and even some practice wood pieces – making this a kit that has everything you need to get serious with your wood burning masterpieces.
Pros – Two pyrography pen styles, separate variable temperature controls
Cons - The most expensive of our wood burning tool choices
- Find this YIHUA 939D-II Pyrography Wood Burning Tool Station on Amazon
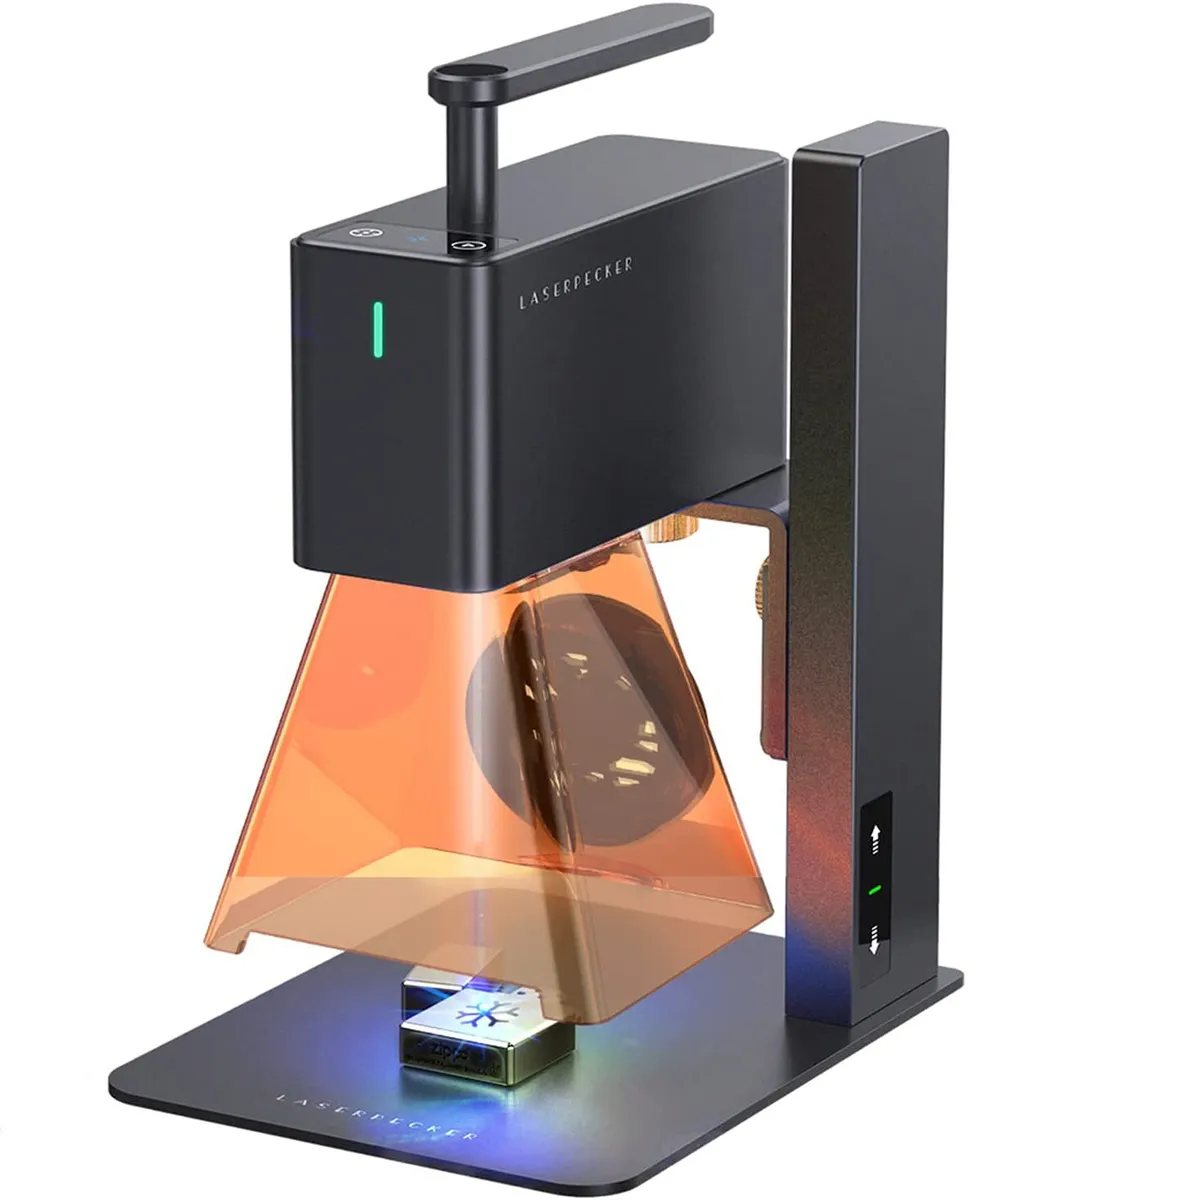
Burn photos into wood and more.
For those who are really serious about wood burning, there is one further step you can take – laser engraving. This technology has got so advanced that you can now do it from home with products like this LaserPecker 2 engraver.
Wood burning tool accessories
Once you’ve got your pyrography pen there’s plenty of accessories that will help you take your designs from just fine to total fire!
1. Sandpaper sheets
Helps achieve a cleaner burn and professional result
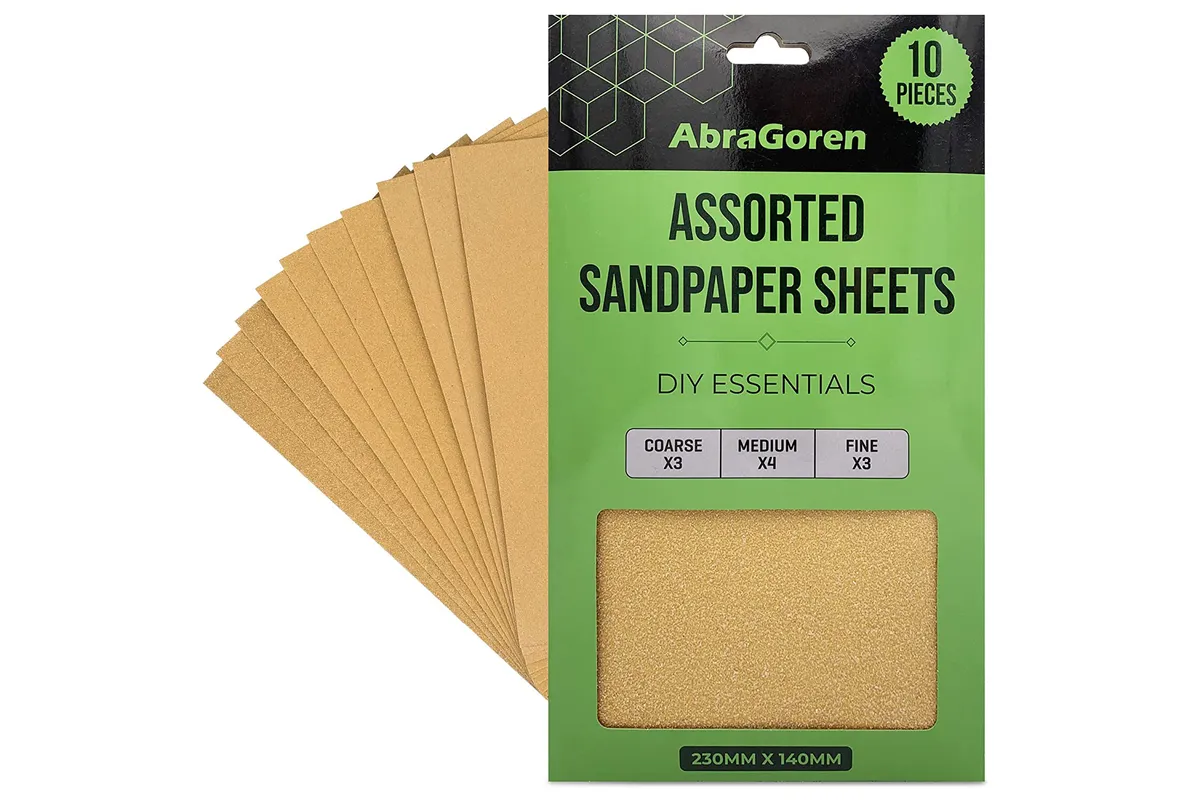
Before you start any pyrography project, you should give your wood material a light sanding to ensure it is smooth and free of dust.
This not only helps from a safety point of view, as any splinters or dust on the wood could potentially catch fire. A completely smooth surface means you will be able to burn your design into the wood more evenly without the risk of your iron catching and potentially slipping on a rough surface.
- Get yourself a pack of 10 mix grit sandpaper sheets from Amazon
2. Carbon transfer paper
Essential for planning pyrography designs
If you want to create really detailed and intricate pyrography designs, then you’ll need a way of transferring your designs onto your chosen surface. Carbon transfer paper is perfect for this and works on a variety of materials.
All you do is simply put the carbon paper on top of your surface, place your design on top of the carbon paper, then go over your design with a pointed object such as a pencil. Your design will be neatly transferred onto your material, ready for you to get burning.
- Get a bargain 100 sheets of Carbon Transfer paper from Amazon
3. Alphabet Stencils
Great for signage lettering
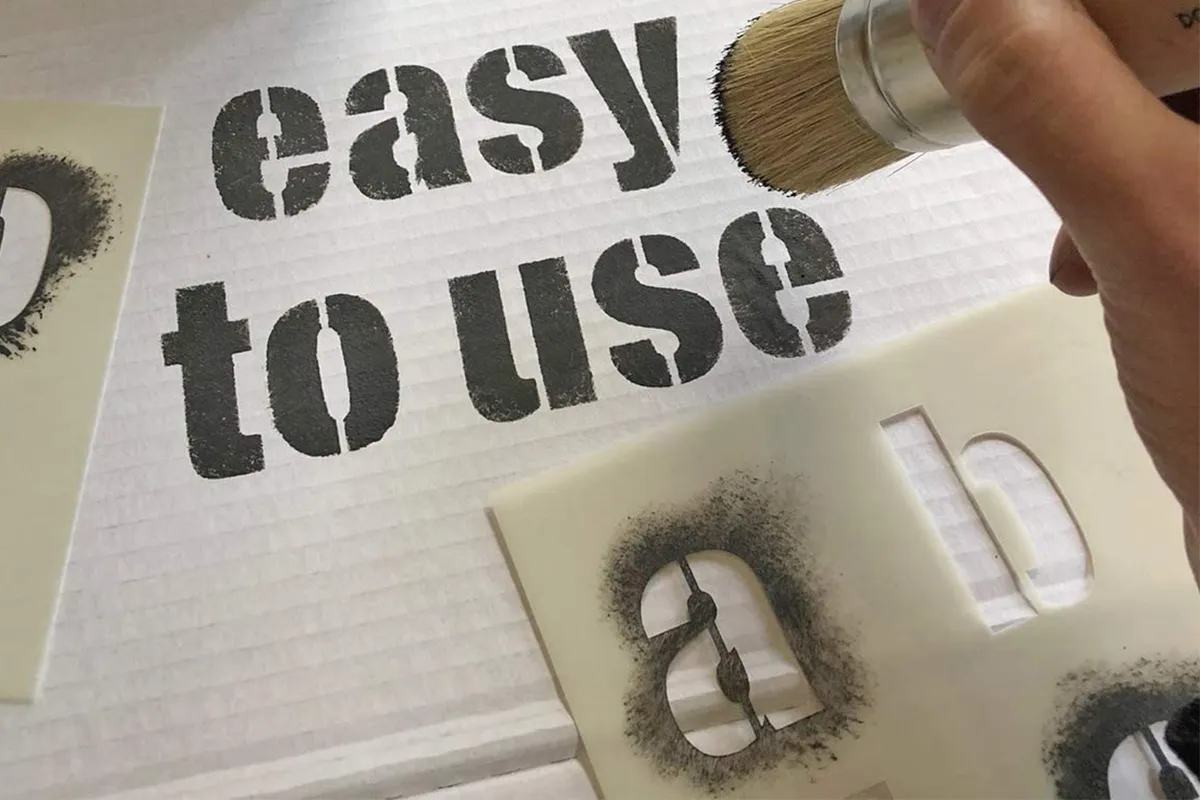
Stencils can be a really handy tool to have when planning your designs, especially for lettering on signage. You can get quite a range of metal stencils which claim to be suitable for wood burning, although we are slightly dubious of many of these claims – we don’t imagine it would be easy to work a pyrography iron around a stencil.
We would instead recommend getting some good quality plastic stencils and using them to draw your designs on – you can always use a metal ruler to help you with the straight lines.
- Find a range of Alphabet stencils on Amazon
Want to burn a logo?
Fancy using pyrography to add a logo to your wooden or leather products? Rather than drawing it out and burning your design by hand, you could instead get one of these custom logo branding tools made.

4. A protective mask
Stay safe while getting creative
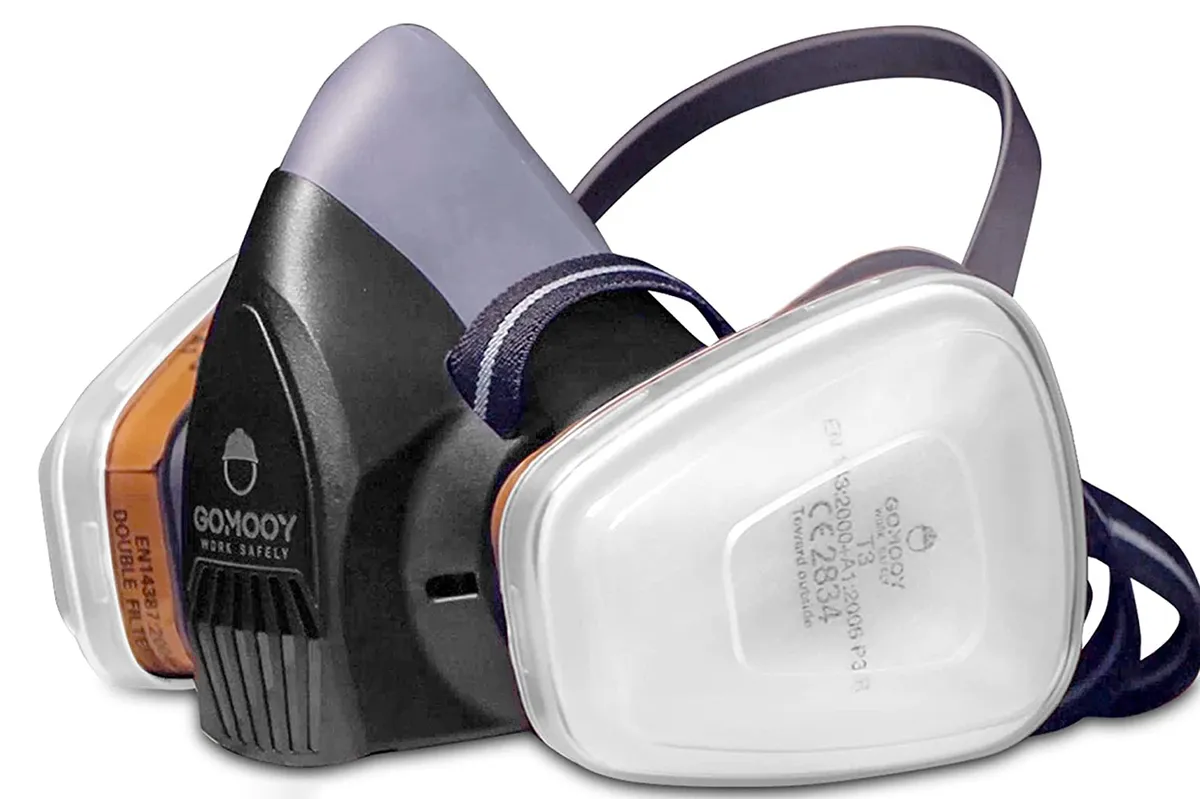
Once you get really addicted to wood burning, it’s definitely worth investing in some proper protective gear. As well as protecting you from particles when sanding your wooden materials, wearing an appropriate mask will also help protect you from any fumes while burning (although you should still never burn any treated or painted materials).
It may seem a bit intense to wear a full mask when crafting, but you’ll be grateful for it when you’ve spent the whole day bent over your pyrography pen.
- Get yourself a Double carbon filter mask from Amazon
5. The Wood Burn book
Your all-purpose reference book
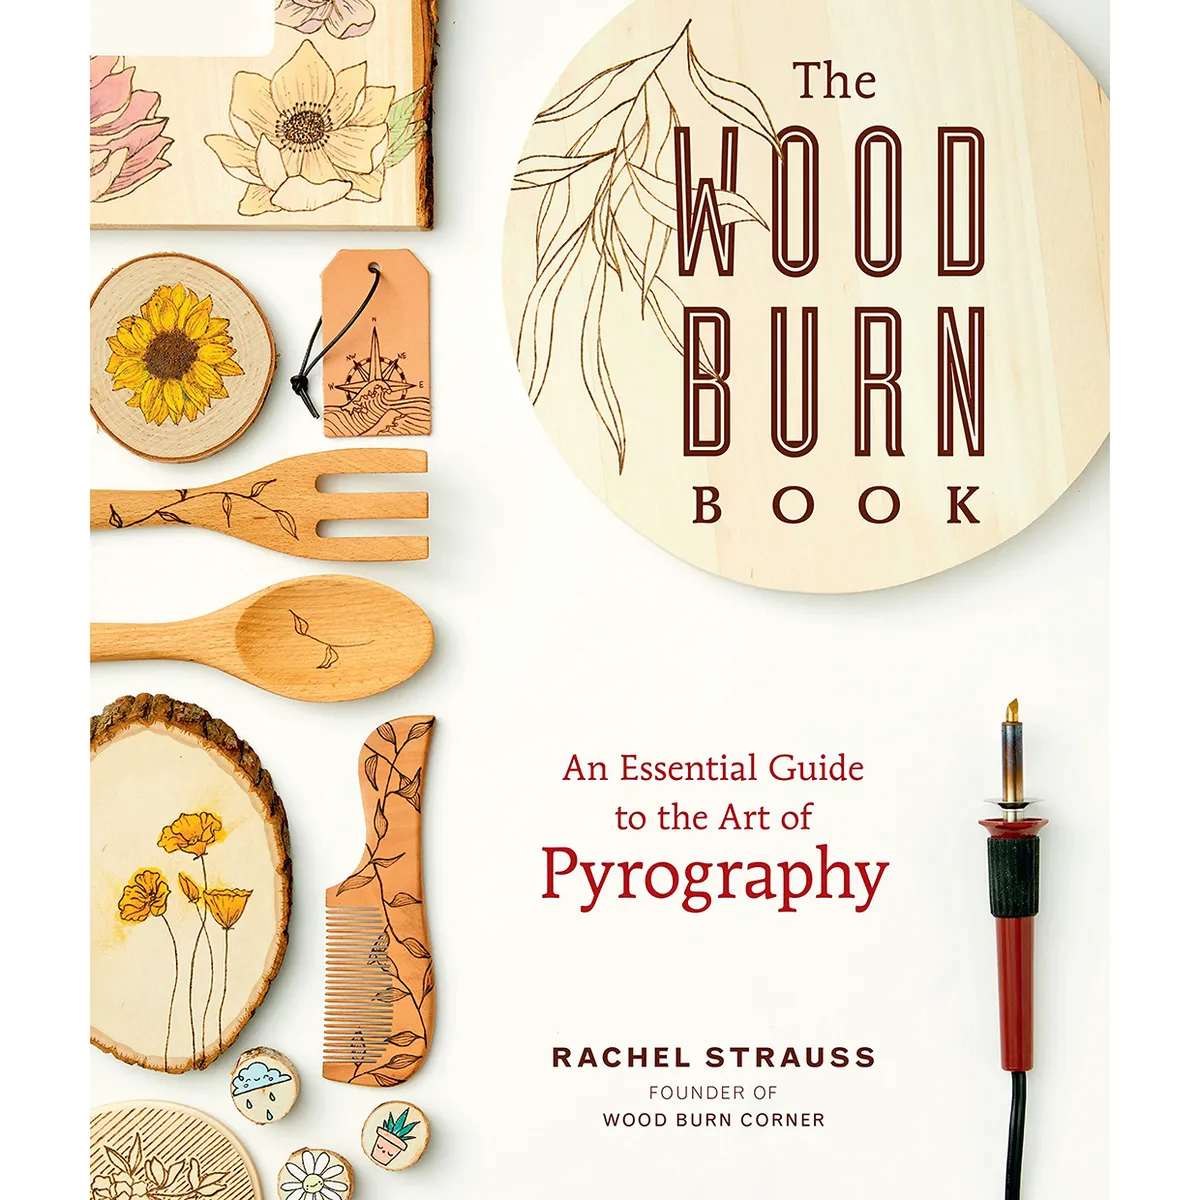
The Wood Burn book by Rachel Strauss contains everything you need to know about the art of pyrography, from tools and techniques to surfaces and safety. Plus there’s also plenty of projects inside to inspire you too.
- You can buy the The Wood Burn book from Amazon
6. Pyrography Basics: Techniques and Exercises for Beginners Book
Practice makes perfect
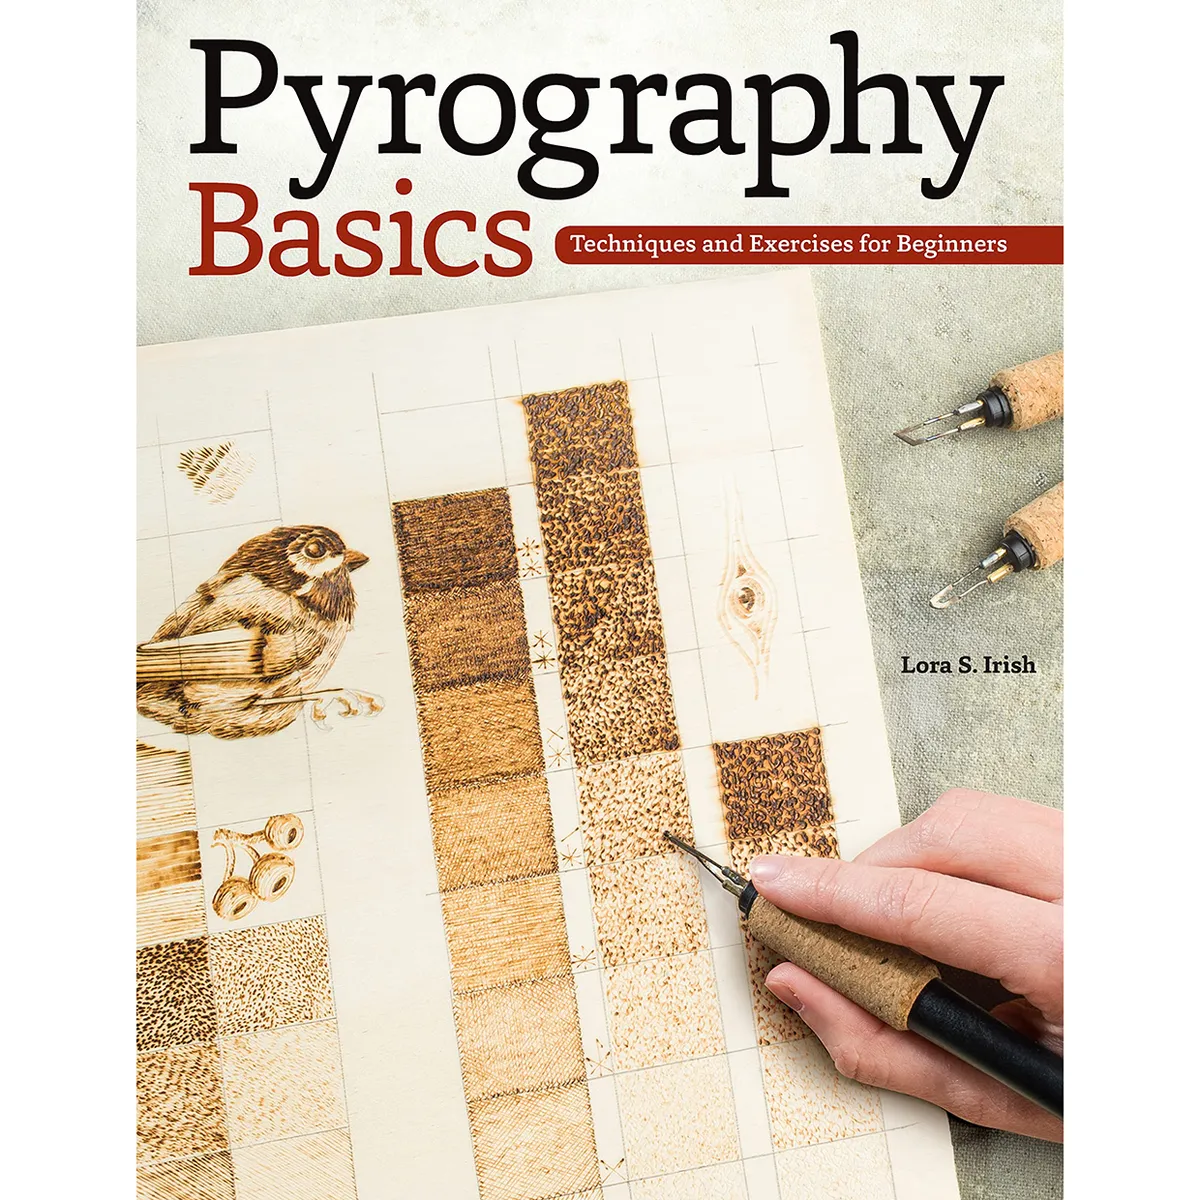
It’s always tempting to just get stuck straight in, but with a little bit of patience and this Pyrography Basics book you’ll quickly learn some professional techniques that will really help your designs. It’s a short 30-page book that is choc-full of useful information.
It teaches you to make a wooden practice board, which will help you to master a range of tonal and texture techniques. This will help to build your confidence to then move on to six practice projects all designed to build your skills.
Wood burning materials
Now that you’re all kitted out, the last thing you need is your materials to burn onto! You can source these locally from timber merchants or DIY stores, or try some of these online options.
1. Natural Wood Slices
Best for ornaments and gifts
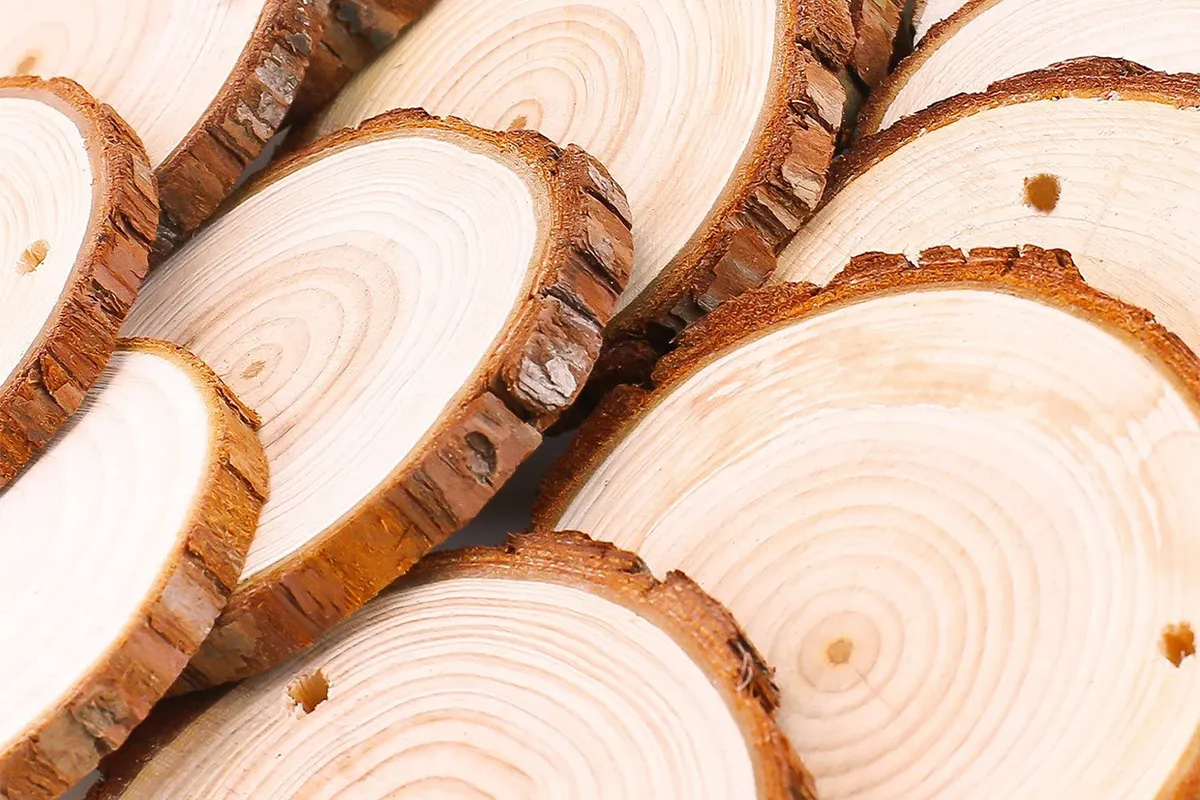
These sweet slices come in five sizes and make wonderful hanging ornaments and gift tags (made easier thanks to the pre-drilled hole). They’re pre-sanded and polished so provide a nice smooth surface for pyrography, and with twenty in a pack, you’ll have plenty to practise with.
- Buy Natural Wood Slices from Amazon
2. Square wooden blanks
Best for pyrography practice
Perfect your pyrography techniques with plenty of practice wood from this blanks set. Made from fine-grained boxwood, you can purchase them in bundles of 44, 53 or 70 pieces.
- Get a Square wooden blanks bundle from Amazon
3. Gourds
Best for home decor
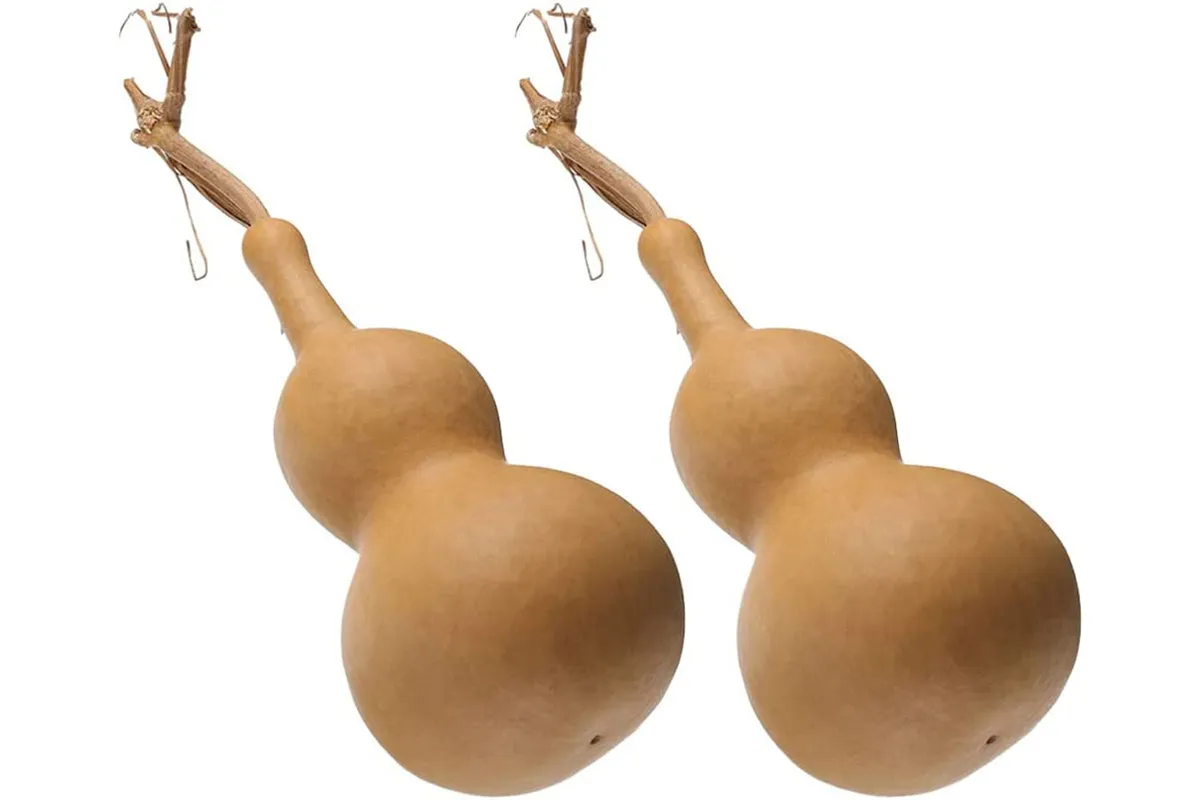
Make a really special decorative item to display proudly in your home by wood burning on a gourd. These dried-out members of the squash family come in interesting shapes and make a great material for pyrography.
- Buy a Natural dried gourd from Amazon
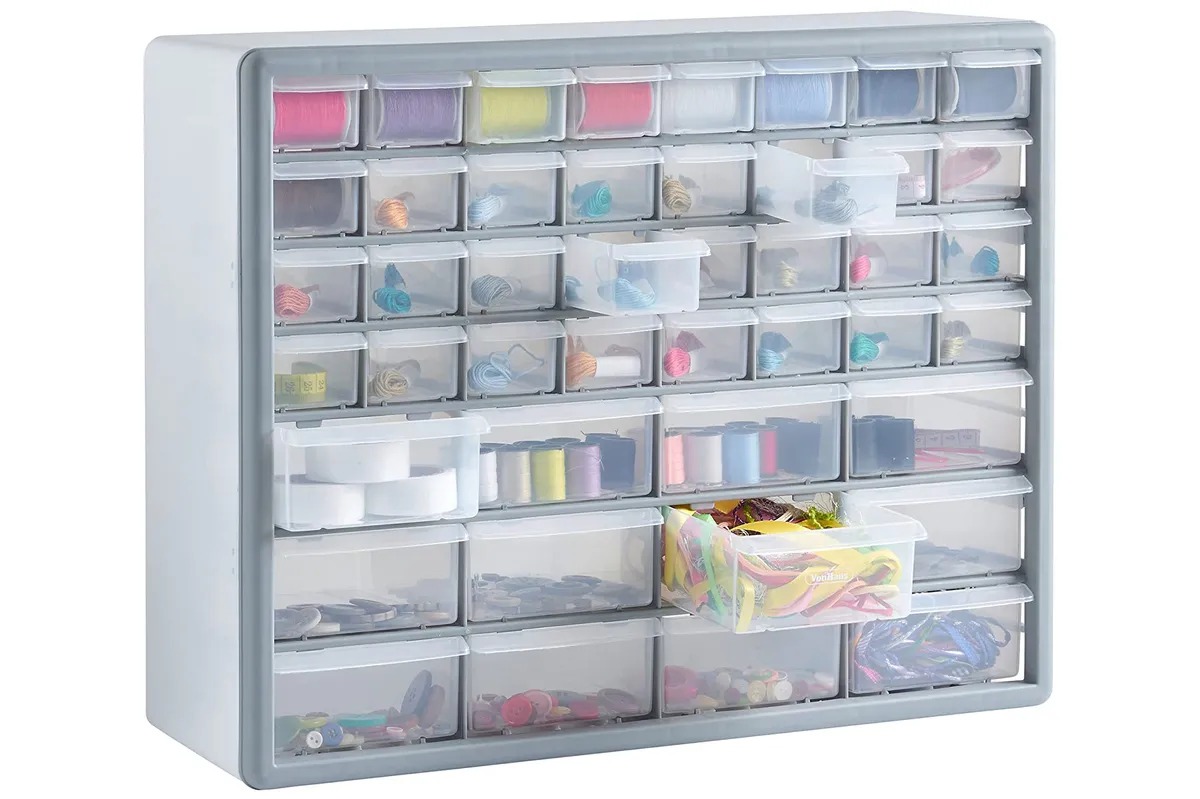
Need storage for your new tools?
From carts to cabinets and drawers to desks, you’ll find loads of workspace organising products in our pick of the best craft storage solutions.
Enjoy your pyrography tools
Now that you know everything you need in your wood burning setup, the next step is to get creative. You’ll want to spend time practising your pyrography techniques before tackling any big projects, so start out small and just have fun experimenting.
Make your own wooden items
If you’ve got a passion for crafting with natural materials, you could try prepping your own pyrography materials by checking out the best wood carving tools and woodworking projects with Gathered.
