How to do Furoshiki wrapping
Learn how to do Furoshiki wrapping and print our Mother’s Day printable to make the best gift ever.

Published:
Furoshiki wrapping is more popular than ever this year as more and more people seek sustainable ways to give gifts. After all, is there anything nicer than beautifully wrapped gifts? Forget finding the end of the sticky tape or co-ordinating your ribbon with your bow – this furoshiki inspired wrap uses only a single piece of cloth with simple folds and ties. And the best bit? Your recipient can use the fabric again! This is such a simple, yet striking idea, and takes your wrapping game to a whole new level.
What is furoshiki?
Furoshiki are traditional Japanese wrapping cloths most commonly used to wrap presents, foods, and clothes. They’ve been used since 794 (the Hessian period in Japan) and are becoming increasingly popular in the 21st century as an opposition to all the plastic and paper wrapping we use. Furoshiki is eco-friendly as the cloths are used over and over again.
Can you use any fabric for furoshiki?
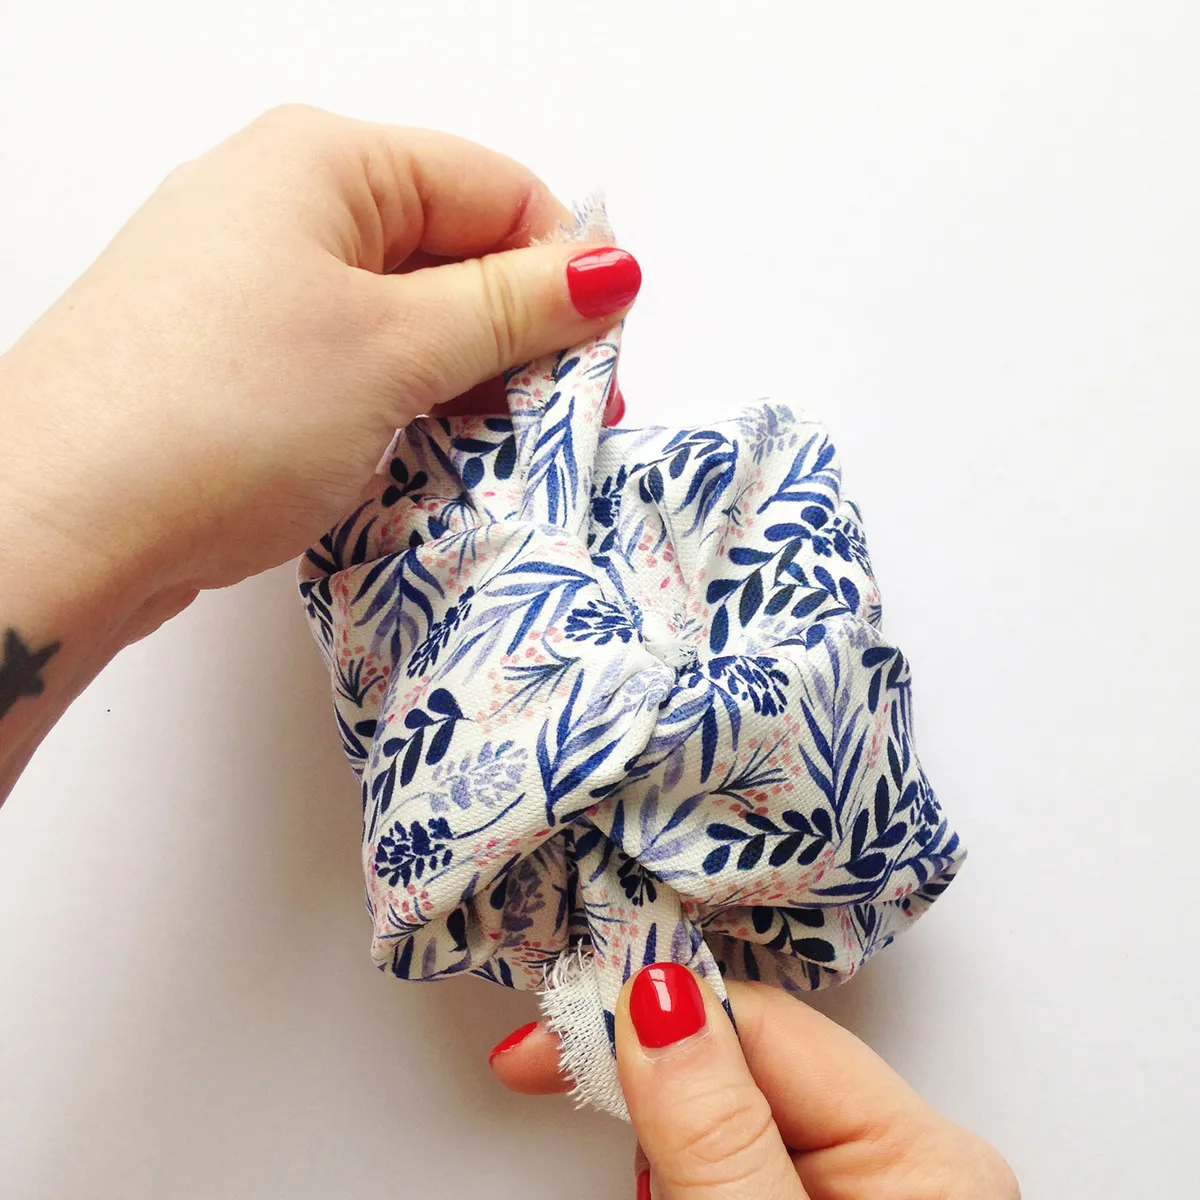
Yes! Furoshiki can be done with any fabric really with silk, cotton, nylon – anything you have on hand. Becki has used cotton in this furoshiki tutorial but you can use whatever material you have in your stash (not if you’re wrapping food though, check out our beeswax wrap tutorial for that!).
Now on with our furoshiki tutorial…

We made this tutorial for you initially for Mother’s Day but it works just as well for any budding Santa’s Elves out there looking to try this technique for Christmas. If you’re looking for more sustainable living tutorials then check out our visible mending and eco fabric gift wrap tutorial too.
You’ll need:
- Â A square piece of fabric
- Paper and printer (optional)
- Foliage (optional)
- Mother’s Day free printable postcard
How to do Furoshiki wrapping
You Will Need
- Fabric
- Printer
Total time:
Step 1

Cut a square of fabric then place your present diagonally in the centre of the fabric piece. Your fabric will need to be a fair size bigger than the gift to ensure you can wrap the box with enough material to tie.
How to tie furoshiki
Step 1

Tieing furoshiki is really easy. Take the opposite corners of fabric and simply tie over the top of the box.
Step 2

You can then gather the other two corners and tie on top doubling up the knot to secure.
Step 3


Add any florals or foliage to your furoshiki wrapped gifts or slide a Mother’s Day note in between the fold for top marks on presentation.
We hope you’ve enjoyed our furoshiki wrapping tutorial! Remember if you’d like to turn this make into a Mother’s Day gift, download this A6 hand painted postcard by Becki Clark and add it your own fabric-wrapped pressies. We have plenty of Mother’s Day projects here on Gathered too. Why not check out our free Mother’s day crochet bouquet pattern or give our DIY paper flowers a go?

About Becki Clark
Mollie Makes’ deputy art editor, Becki Clark is also an illustrator who works from her cosy home in Bristol, usually found with paints in hand, Becki specialises in pattern design and brush lettering. If she’s not at her desk, she’ll be walking her sausage dog Reggie looking for new inspiration. www.beckiclark.com