Step 1

Cut a piece of clay from each block in similar proportions to those shown, then cut a second piece of white clay to add later. Condition the clay by kneading in your clean hands, beginning with the white, until soft. Roll each piece of clay to the same length between your hands until it forms a long sausage, no thinner than 7-8mm (1/2"). Twist the sausages together to create a rope effect.
Step 2

Roll the twisted rope out again and then fold in three. Twist together again to create another rope and then roll once more. Repeat until the lines of clay are beginning to blend. It takes practise to get exactly the right effect, but don’t over mix and allow it to turn all grey.
Step 3
To create the marbled effect, add more white. Roll out the spare piece of white and twist together with the mixed clay sausage. Repeat the rolling/twisting process once or twice until you have an effect you’re happy with.
Step 4

Smear a little Badger’s Balm or Vaseline onto the acrylic block or ceramic tile to prevent the clay from sticking. Bend the clay sausage into an S shape and begin to roll out. Measure the internal depth of the flat cord end, then stack two piles of playing cards to the exact same height on either side of the clay so you can roll it to precisely the right thickness.
Step 5
Measure and mark the pendant shape using a pin. Depending on the size of the rolled clay you can cut several pieces and make multiple necklaces, or choose your favourite pattern once baked. Cut a rectangle 2cm (.") wide and 4.5cm (17/8“) long using a straight blade. Mark the centre point at the bottom and 1cm (3/8“) up each side. Cut the angle and remove any excess. Place the clay pieces in the fridge for half an hour to firm up.
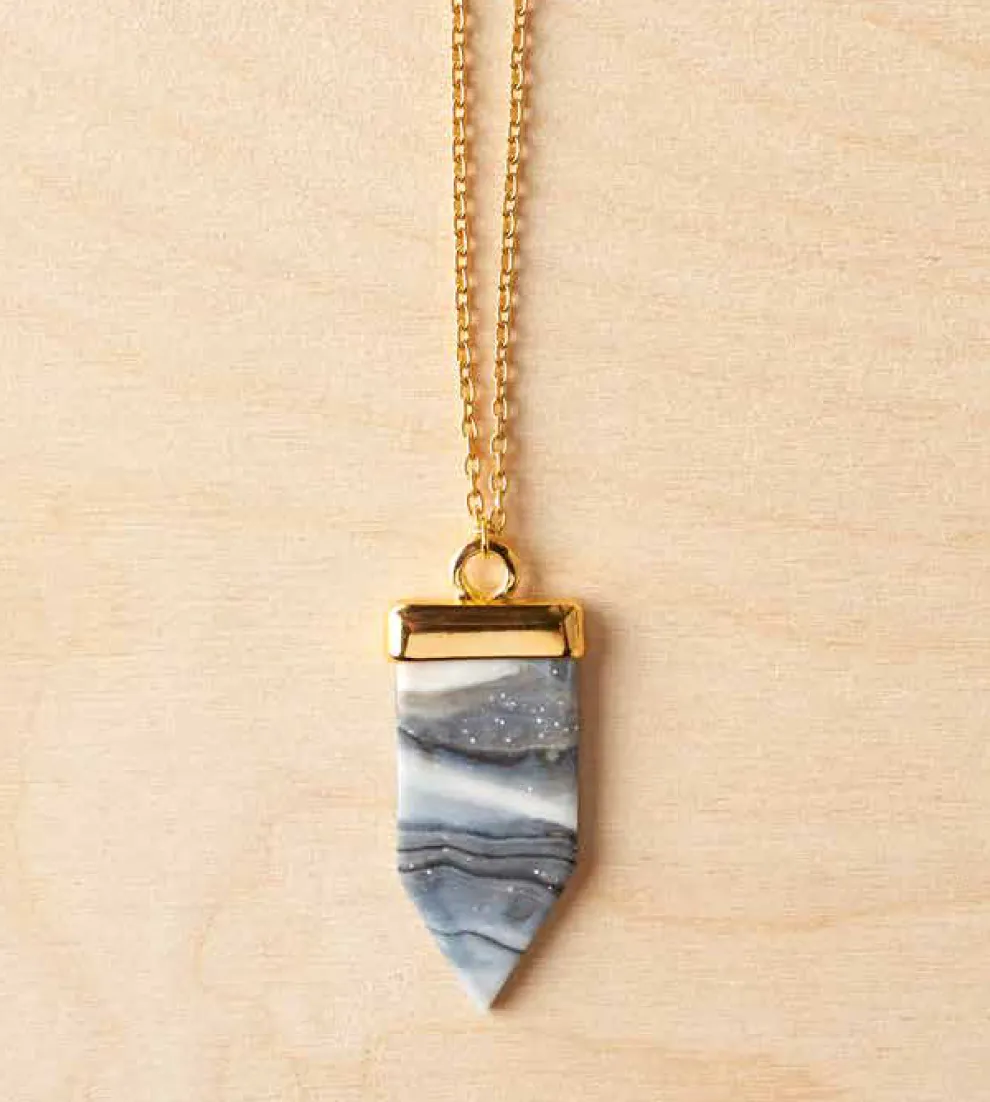
Step 6

Carefully lift the pieces onto a foil-covered oven proof sheet or, if you used a ceramic tile, place directly into the oven. Bake the clay for 15 minutes at about 100- 130C/ 275F/ gas mark 1 (lower on a fan oven). As it cools, make sure the tip doesn’t curve by placing a light weight on top. Once cool, rub the edges with fine sandpaper, put strong glue into the end cap and push the clay shape inside. Once dry, attach a large jump ring and slot the chain through. Attach a lobster clasp to one end and a large jump ring to the other end of the chain.