Welcome to the beautiful world of shibori tie-dye. This incredible version of tie-dyeing has deep roots in the crafting world and is a joy to make.
In this guide, we're going to explain what shibori is, where it came from and how you can start shibori tie-dyeing yourself.
Make sure you've got some protective gloves because things are about to get messy!
What is Shibori tie dye?
Shibori is a Japanese tie-dye technique dating right back to the eighth century. It originally came from China but gained popularity in Japan during the Edo period.
Shibori is a pinnacle of Japanese culture and has been used to decorate garments and homewares for thousands of years. The uneven lines created by the technique are a visual representation of the Japanese belief in the beauty of imperfection.
You can learn more about Chinese shibori tie-dyeing in the video below.
Where does the word Shibori come from?
The word shibori derives from the Japanese word shiboru which means to squeeze. In shibori tie dye, the fabric is squeezed in a number of different techniques to create the iconic pattern.
What is the best fabric for Shibori tie-dyeing?
Shibori tie-dyeing tends to work best on silk, cotton and hemp fabrics.
As sources of dye were limited in earlier times, an organic indigo colour was often used. We have used this traditional indigo colour in our tutorial but for a more modern approach, you could use a neon, pastel or brightly coloured dye.
Looking for more tie-dyeing fun?
Head over to our collection of the best tie dye kits and find a new craft project to work on!
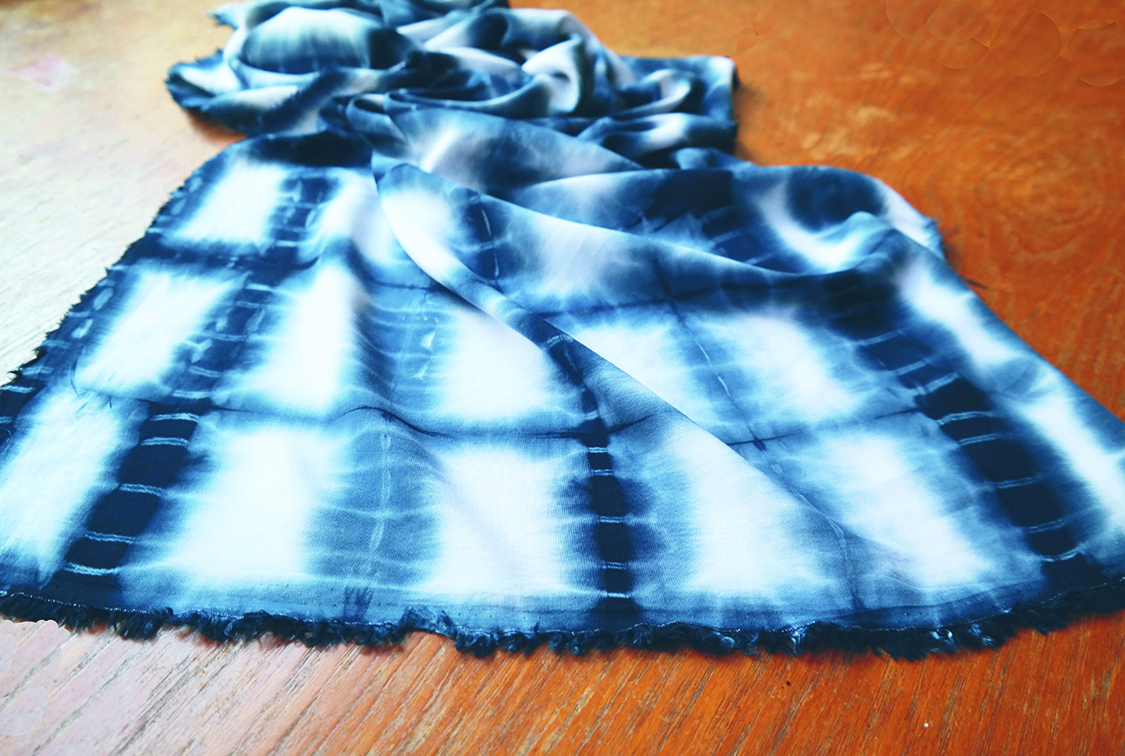
How to do shibori tie dye
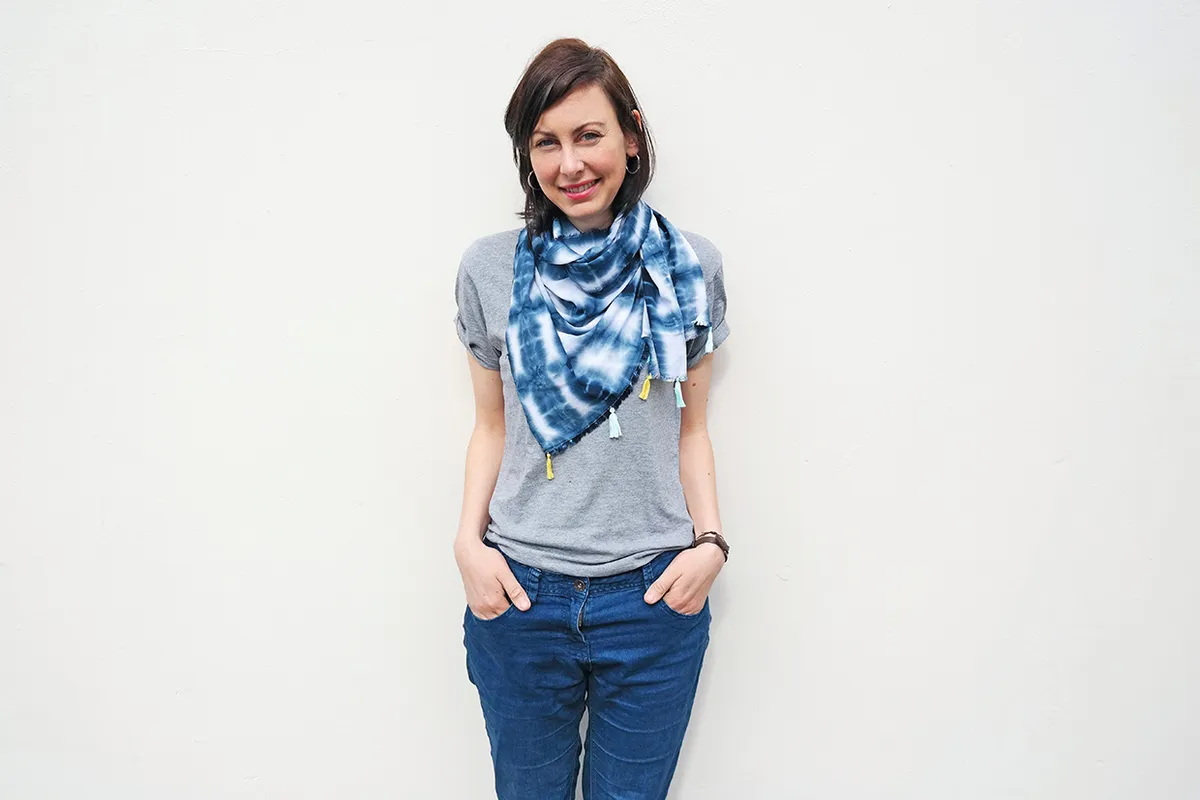
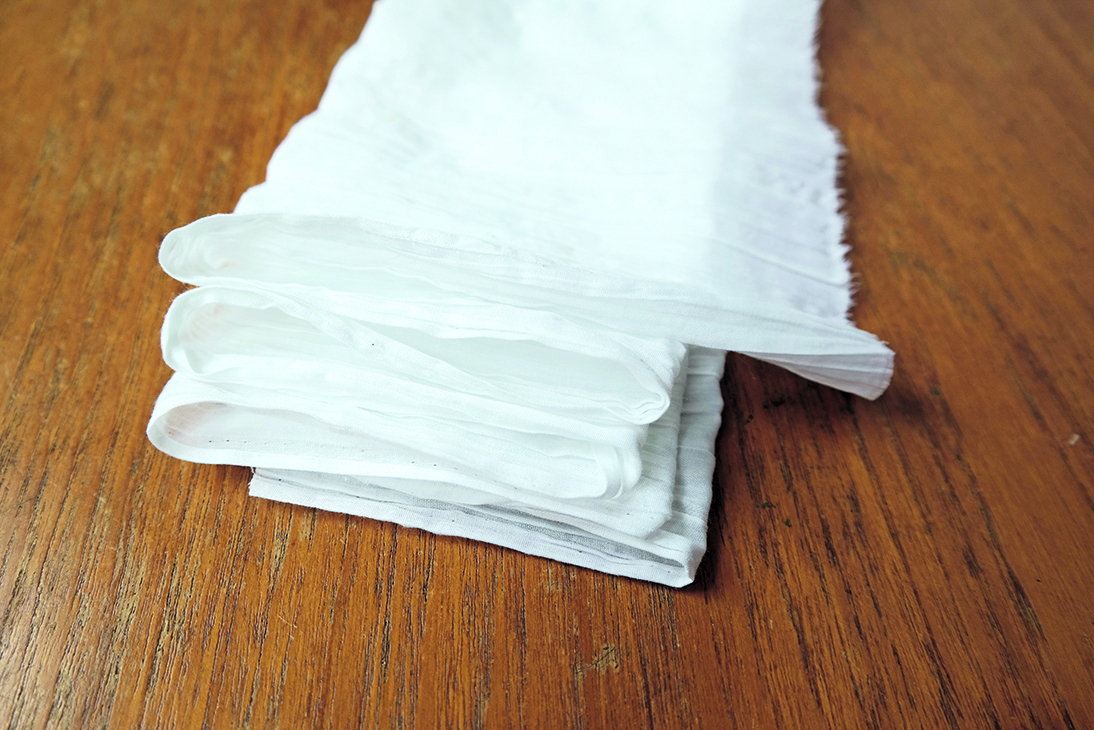
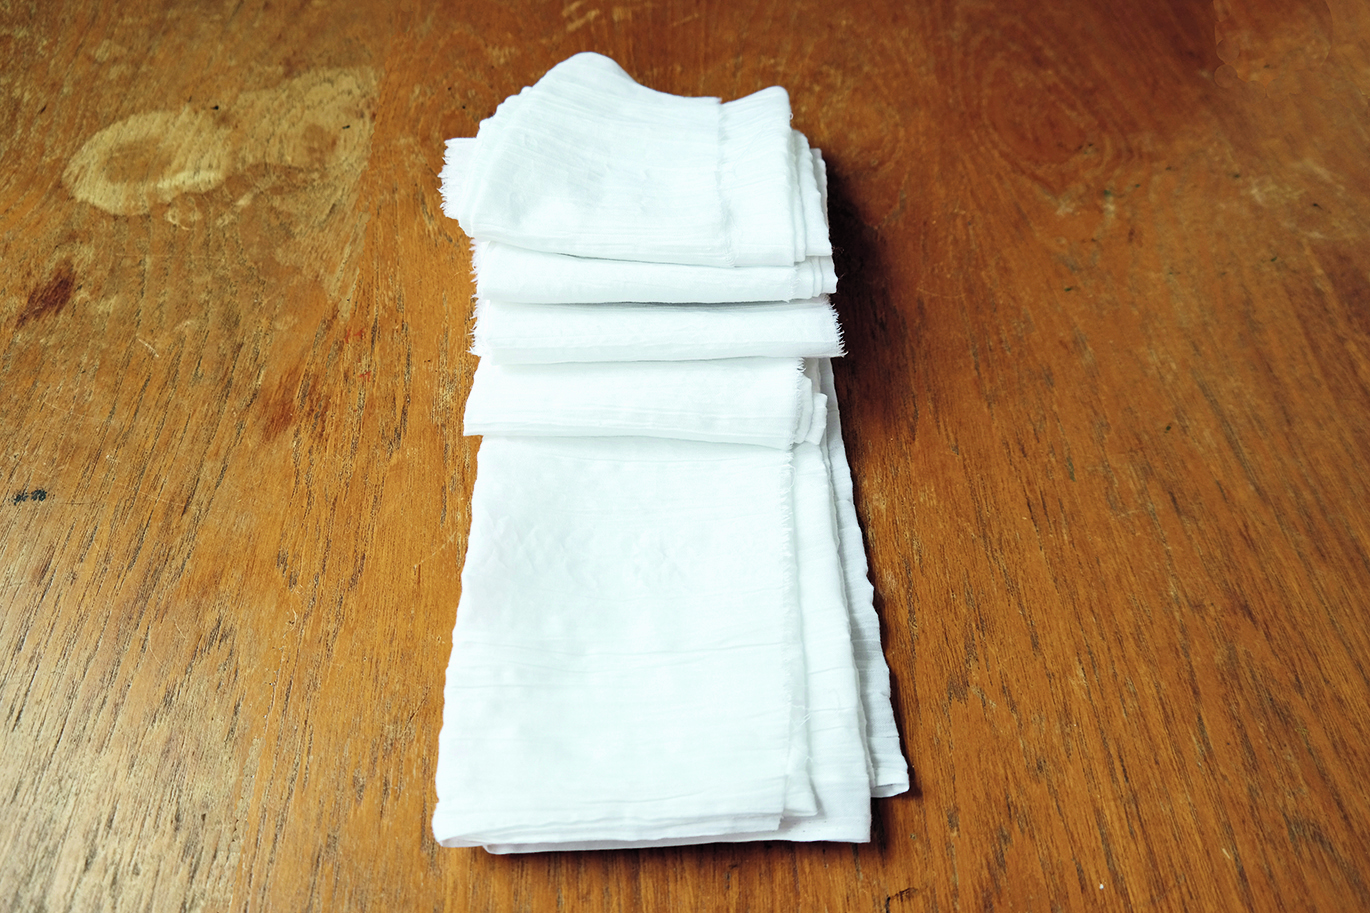
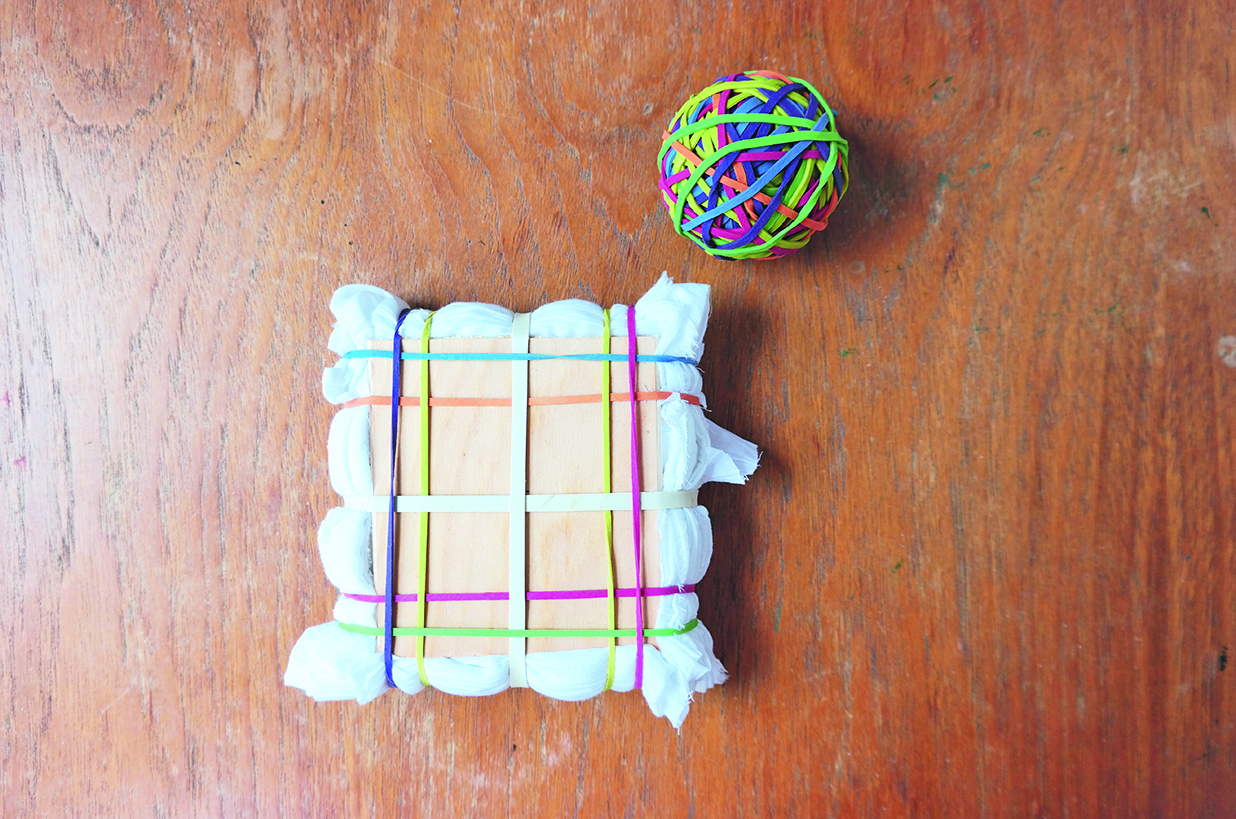
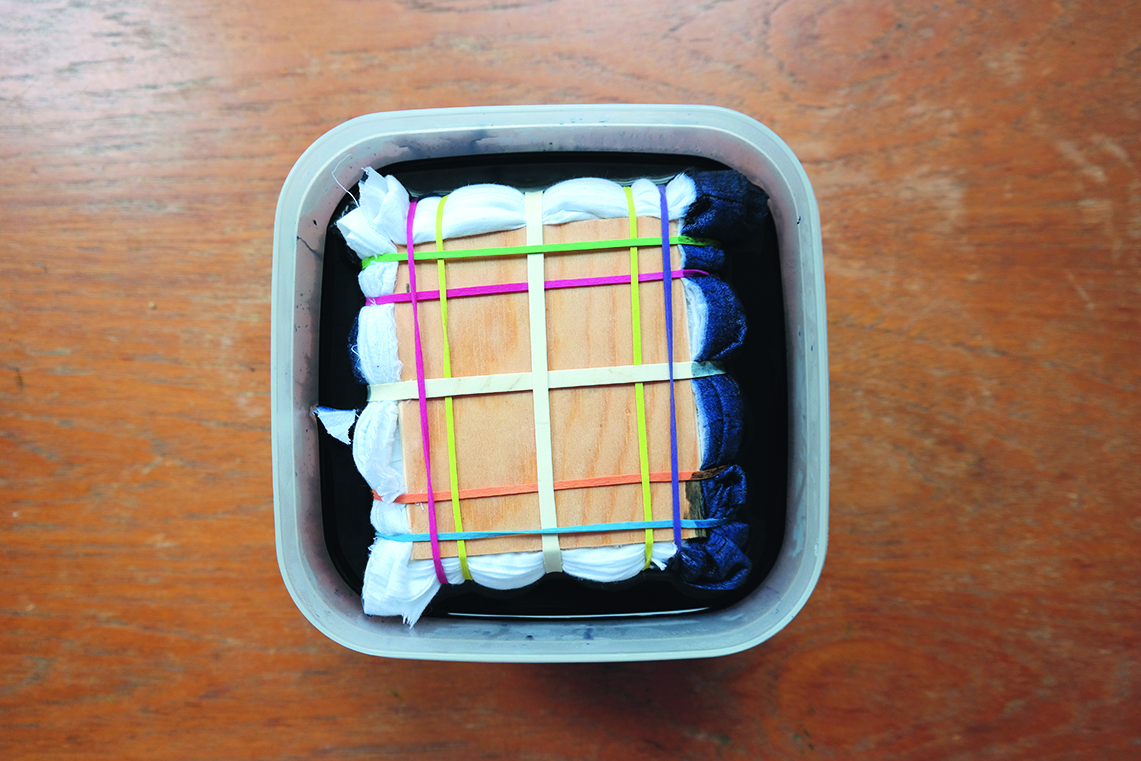
Turn a plain length of fabric into a striking scarf with Amy Phipps’ take on Japanese shibori tie-dye! There are lots of versions of shibori, and this scarf’s grid design is created using the dye-resist itajime technique, where pieces of wood are used as well as elastic bands.
You will need:
- White viscose fabric, approx. 130cm x 50cm (51 x 20")
- Dylon hand dye in Velvet Black
- Table salt
- Plastic bowl
- Rubber gloves
- Scissors
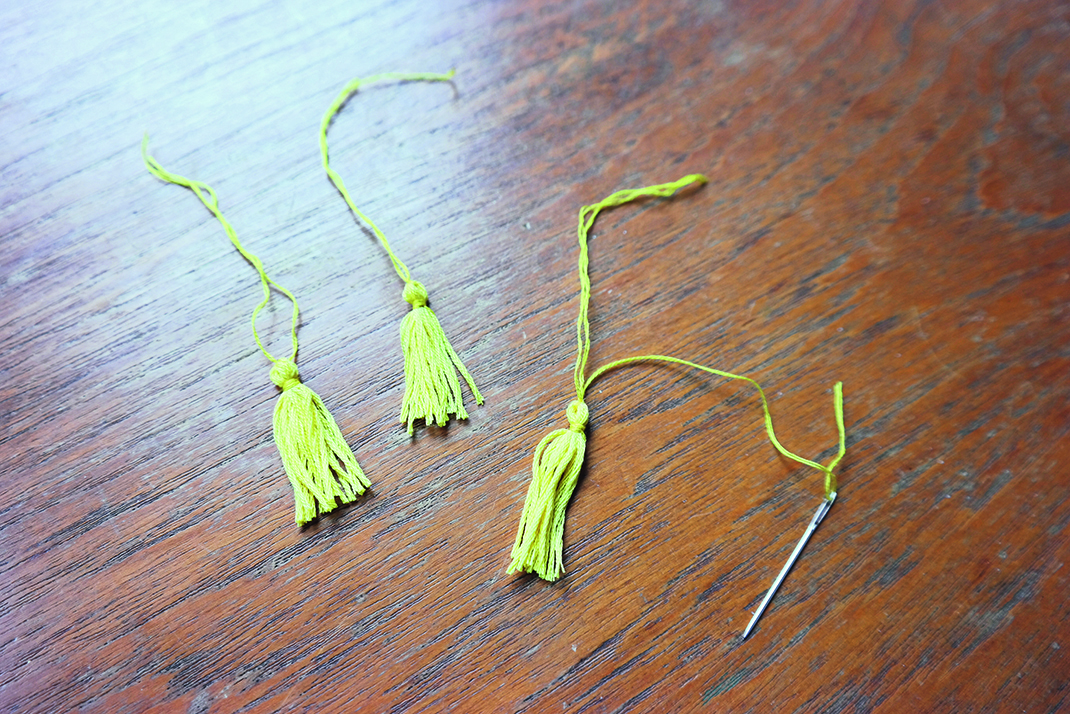
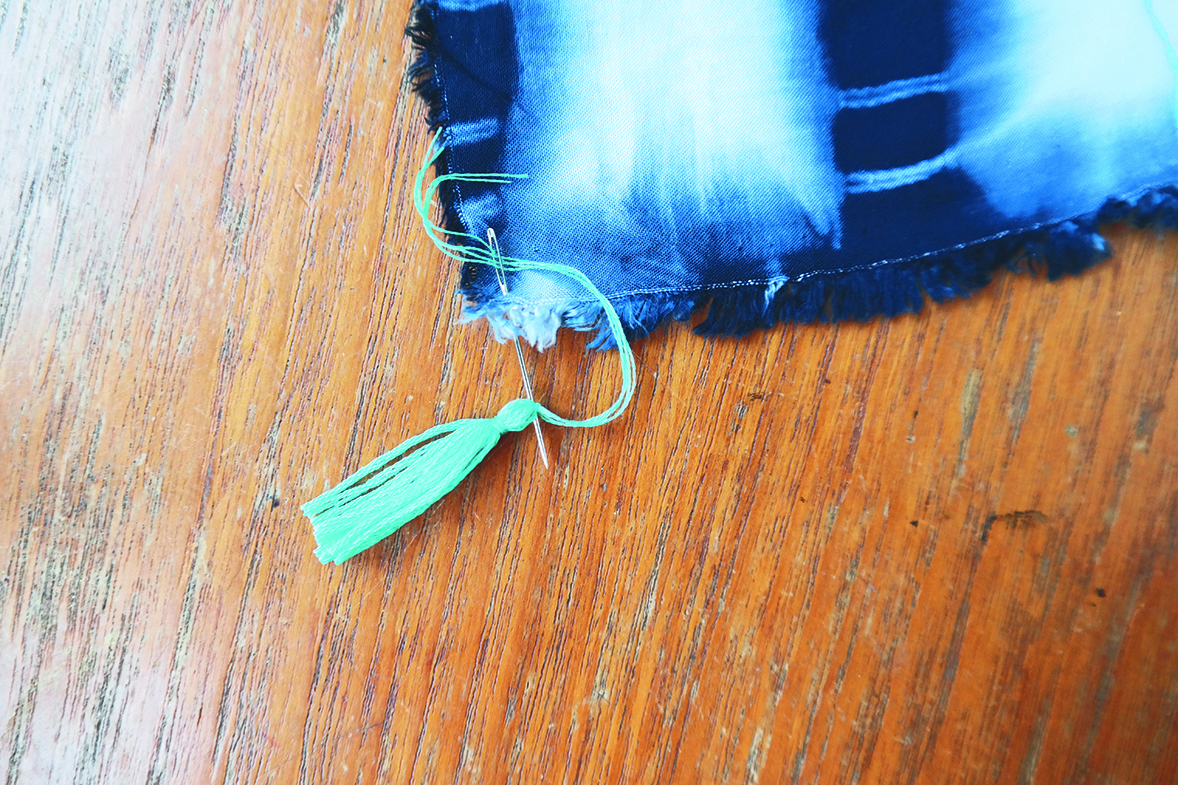
- Needle
- Pins
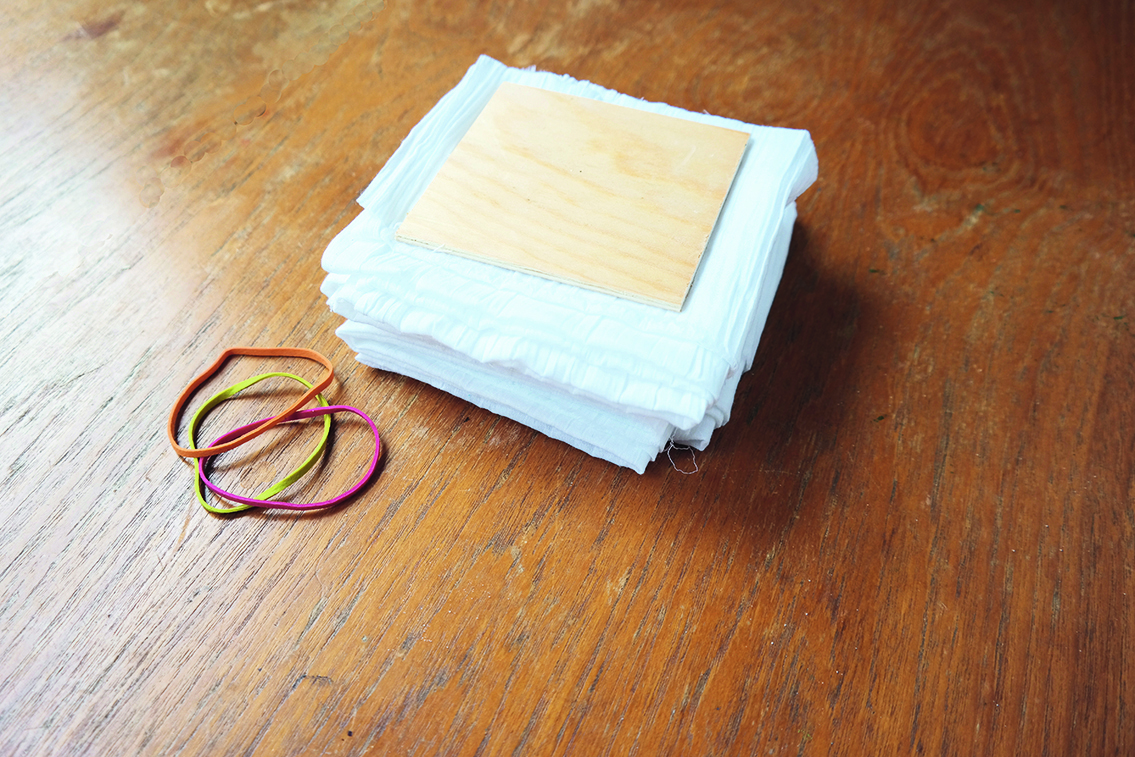
- Elastic bands, two thick and several thin
- Two pieces of wood off-cut, 10 x 10cm (4 x 4") each
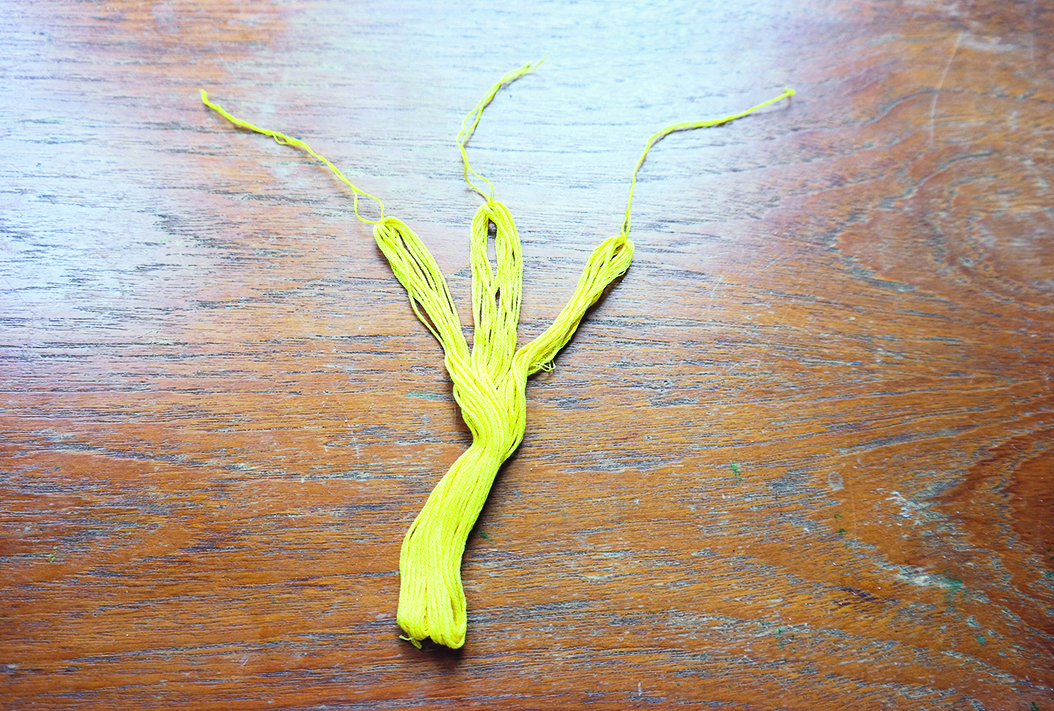
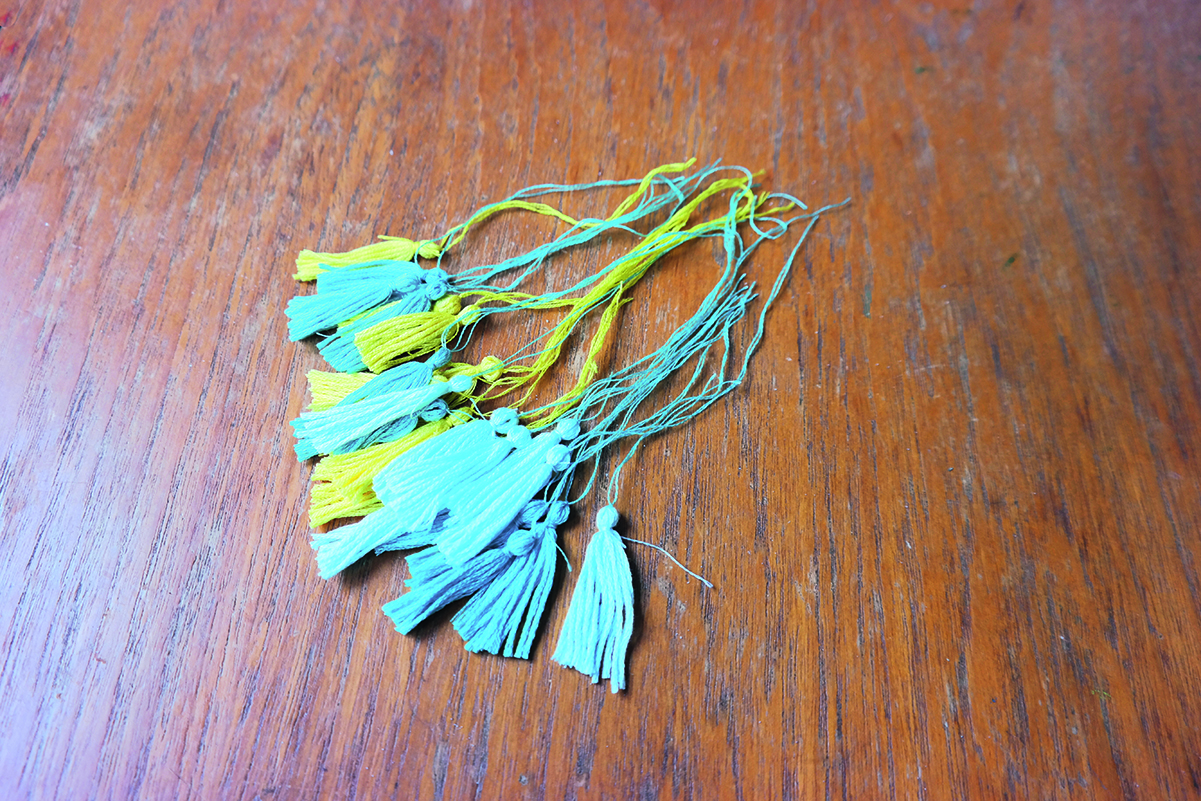
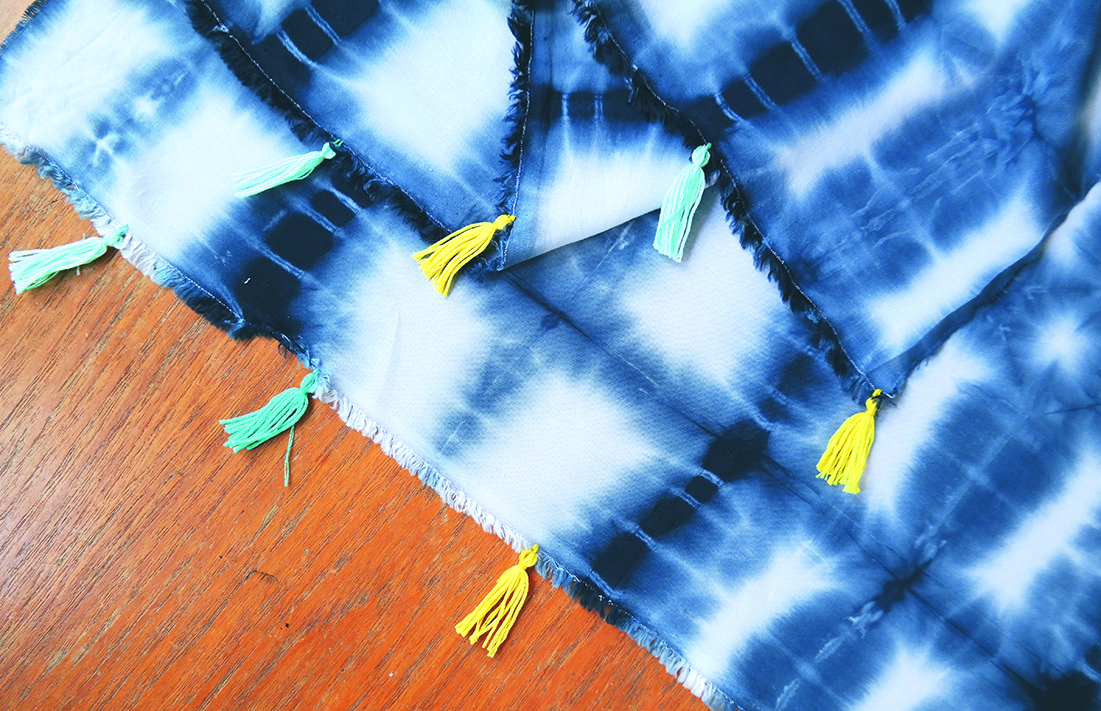
- Assorted skeins of brightly-coloured embroidery floss