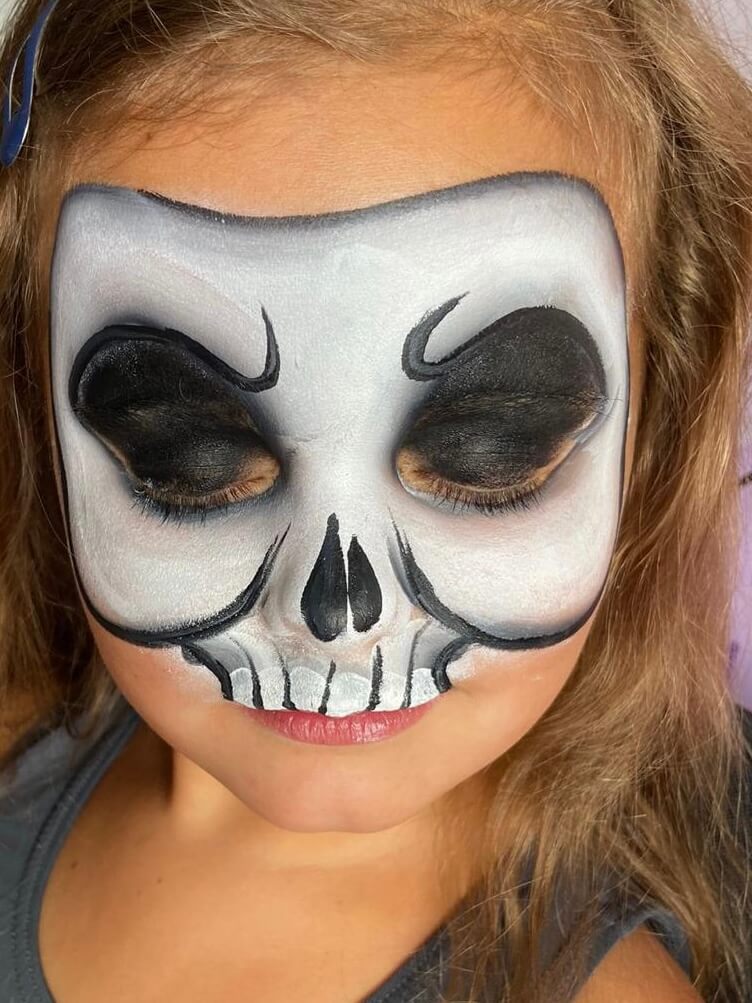
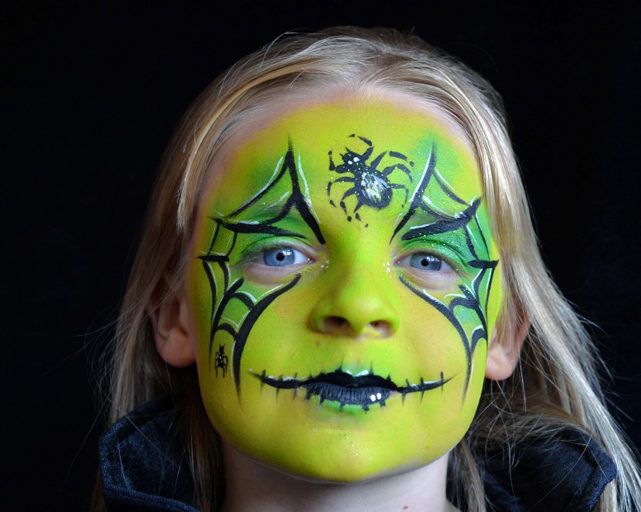
Step 1
Painting the eyes
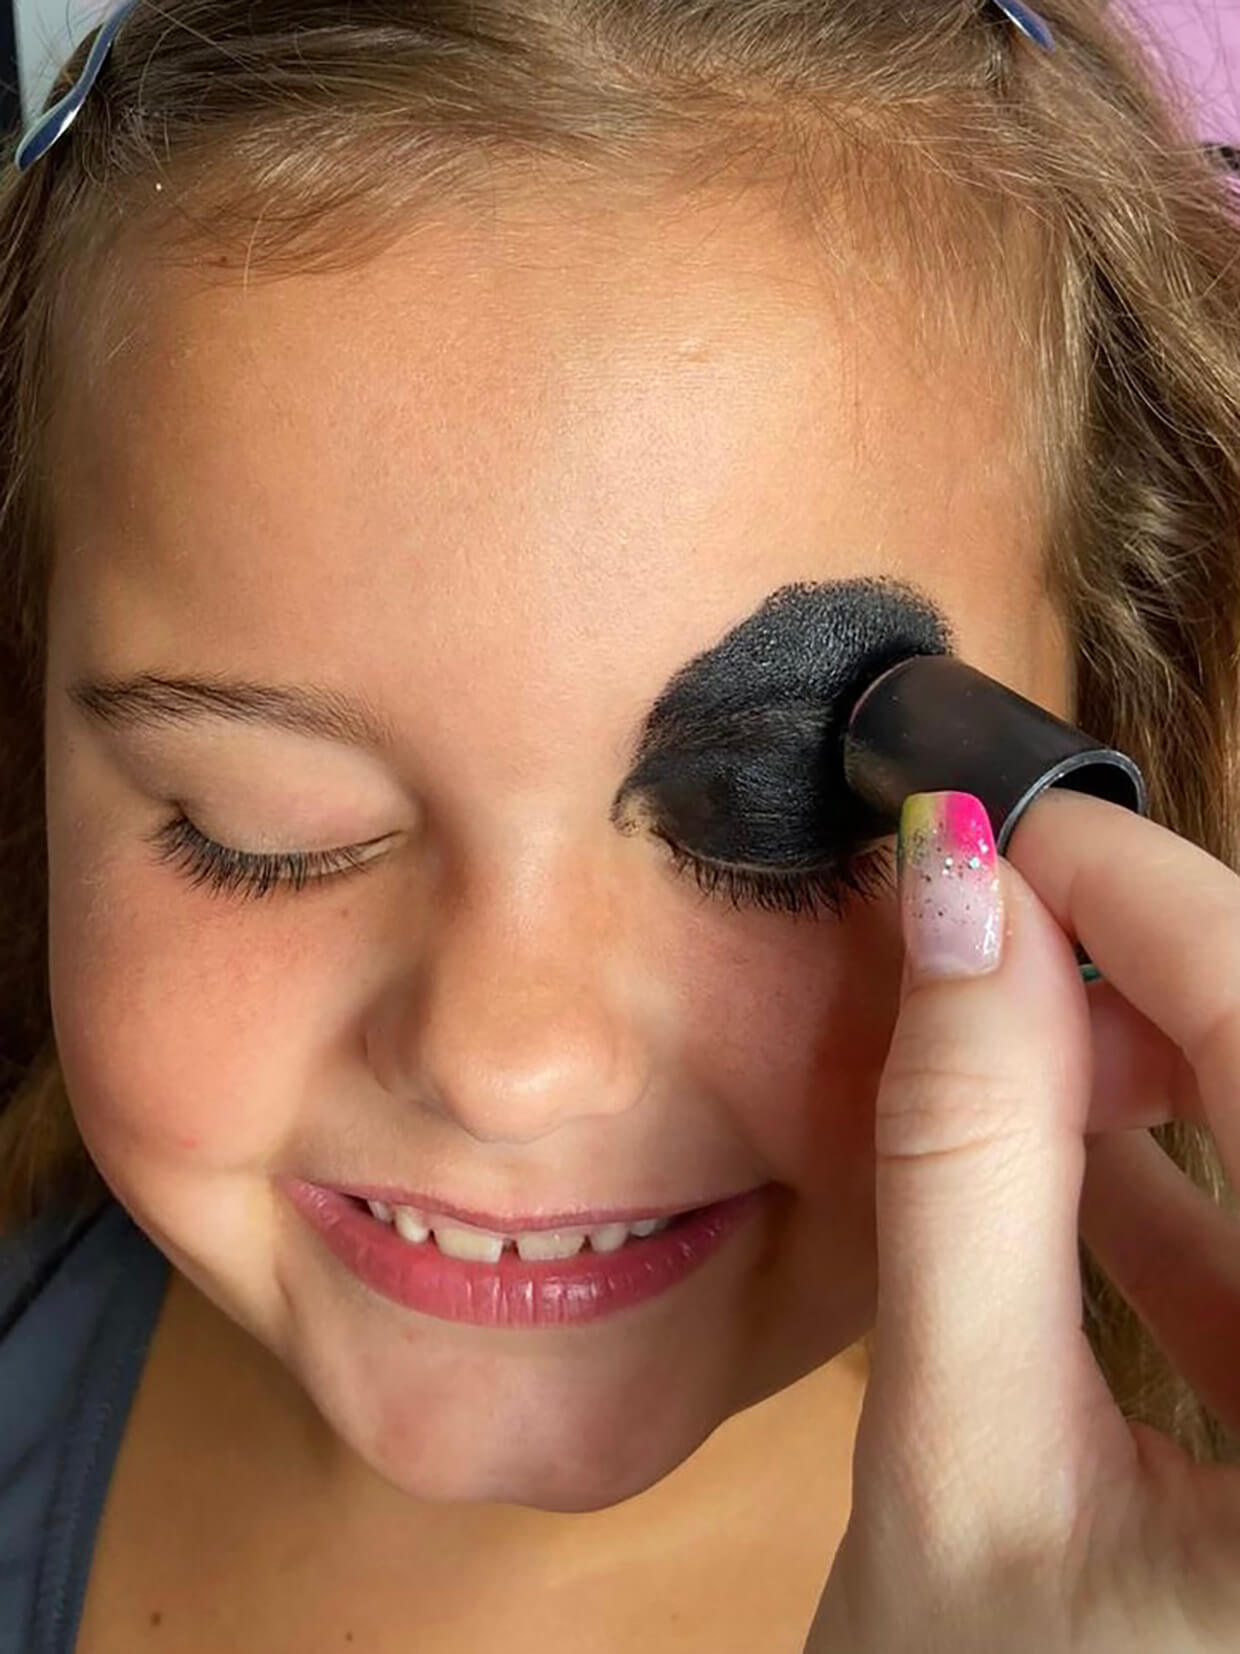
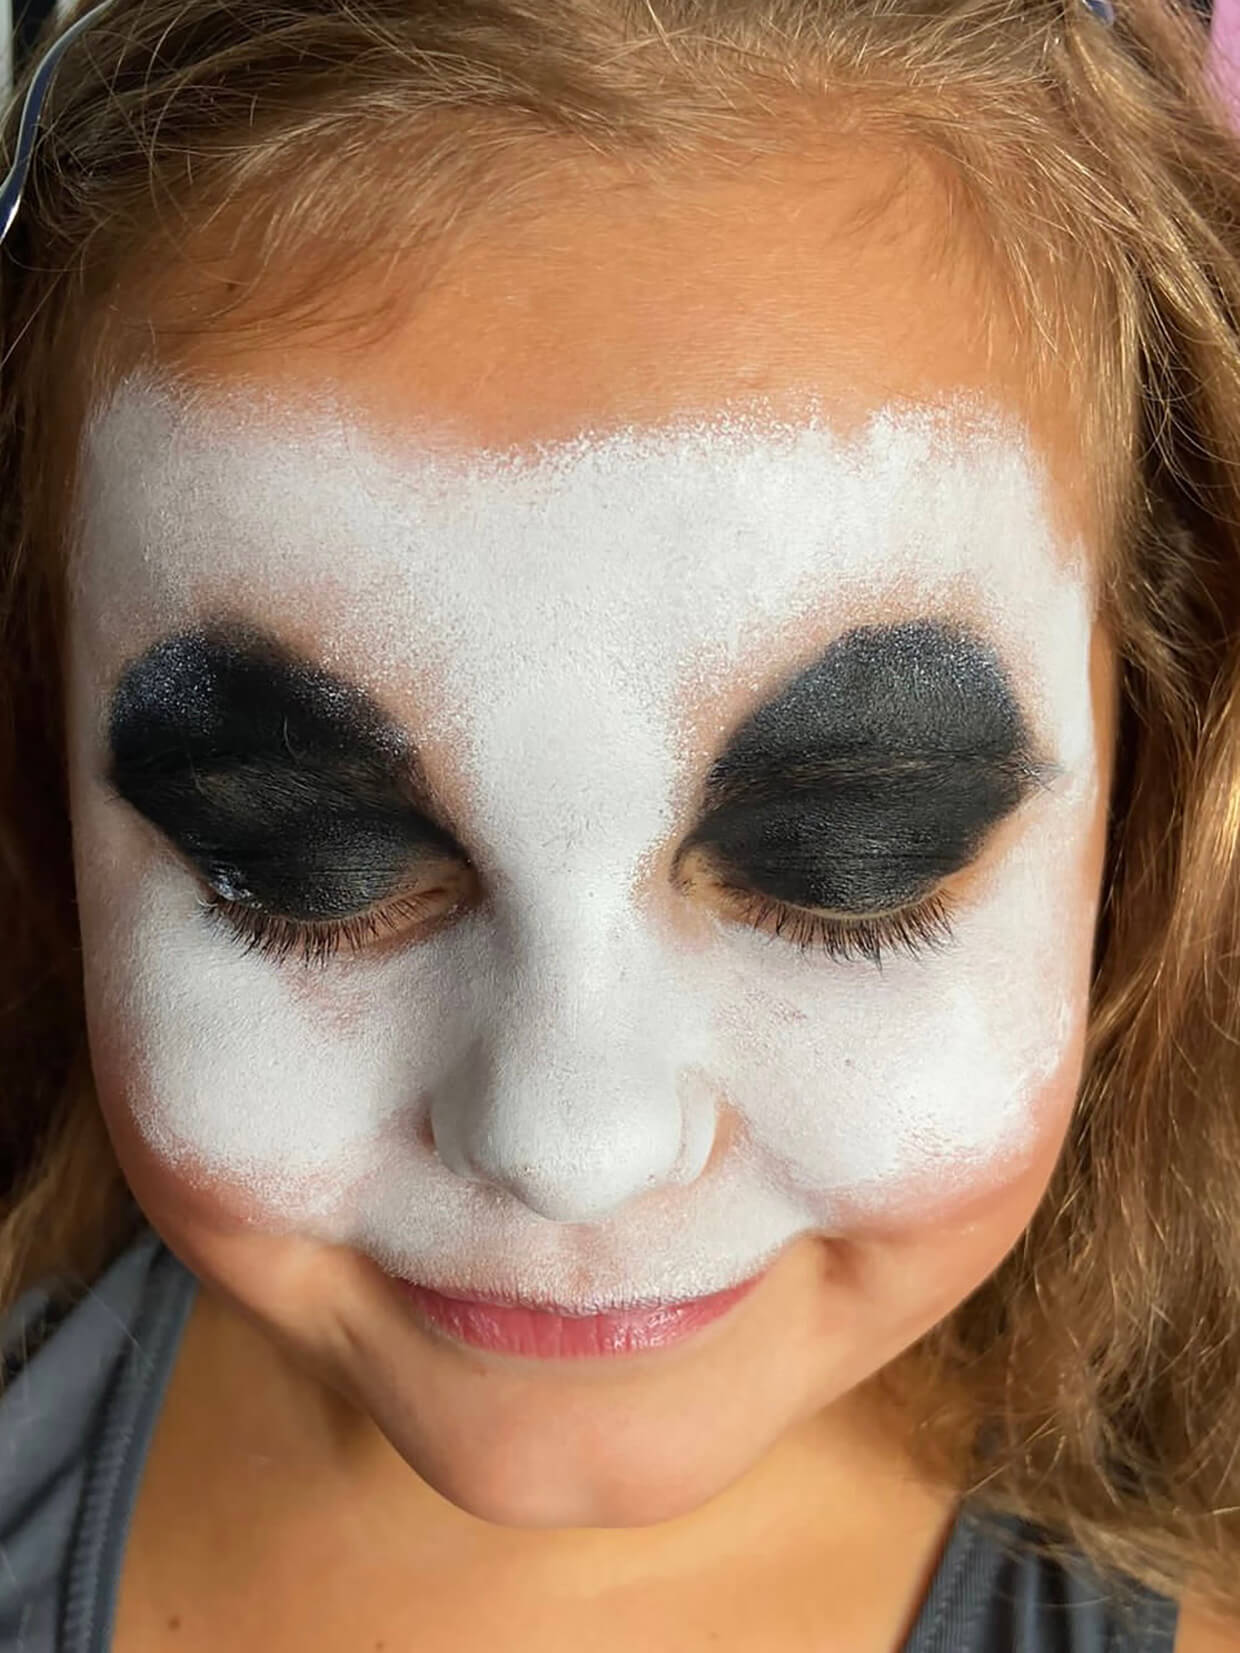
Start by lightly dampening the finger dauber and load it with black face paint.
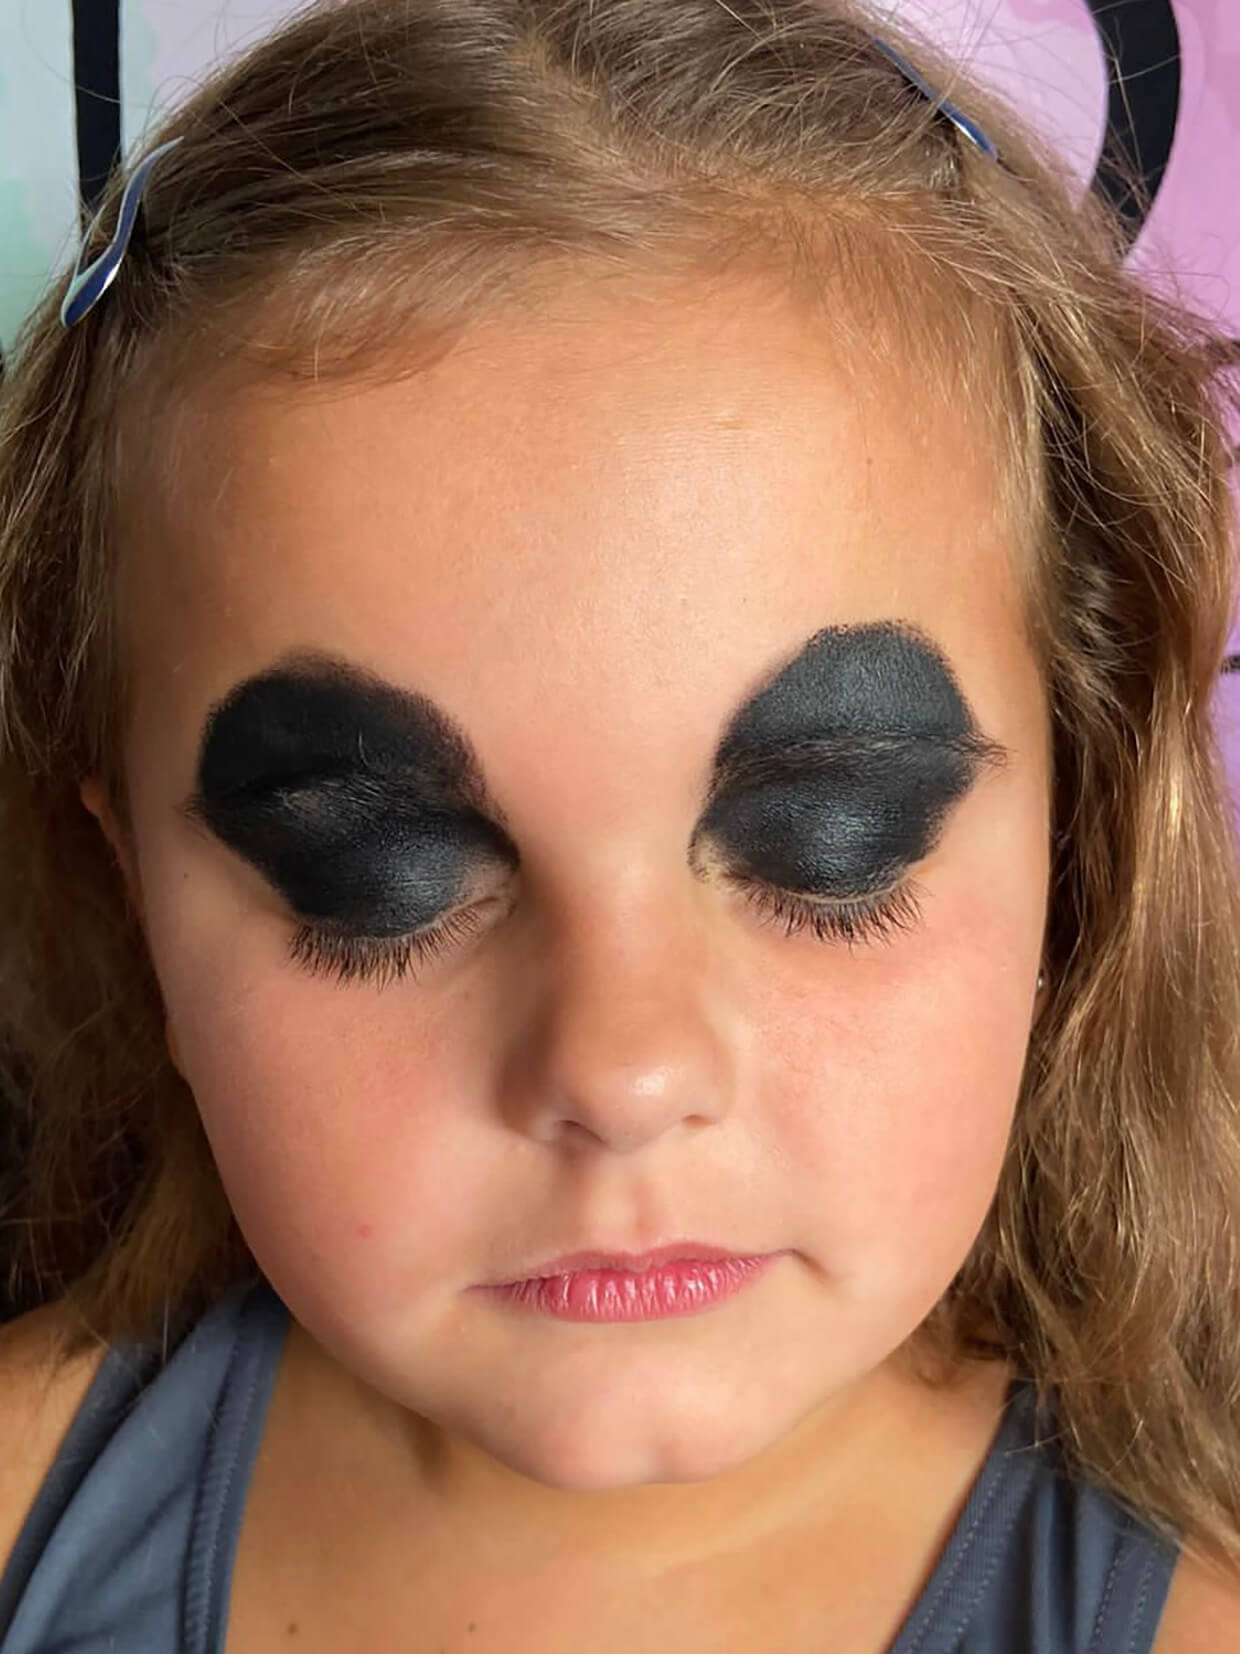
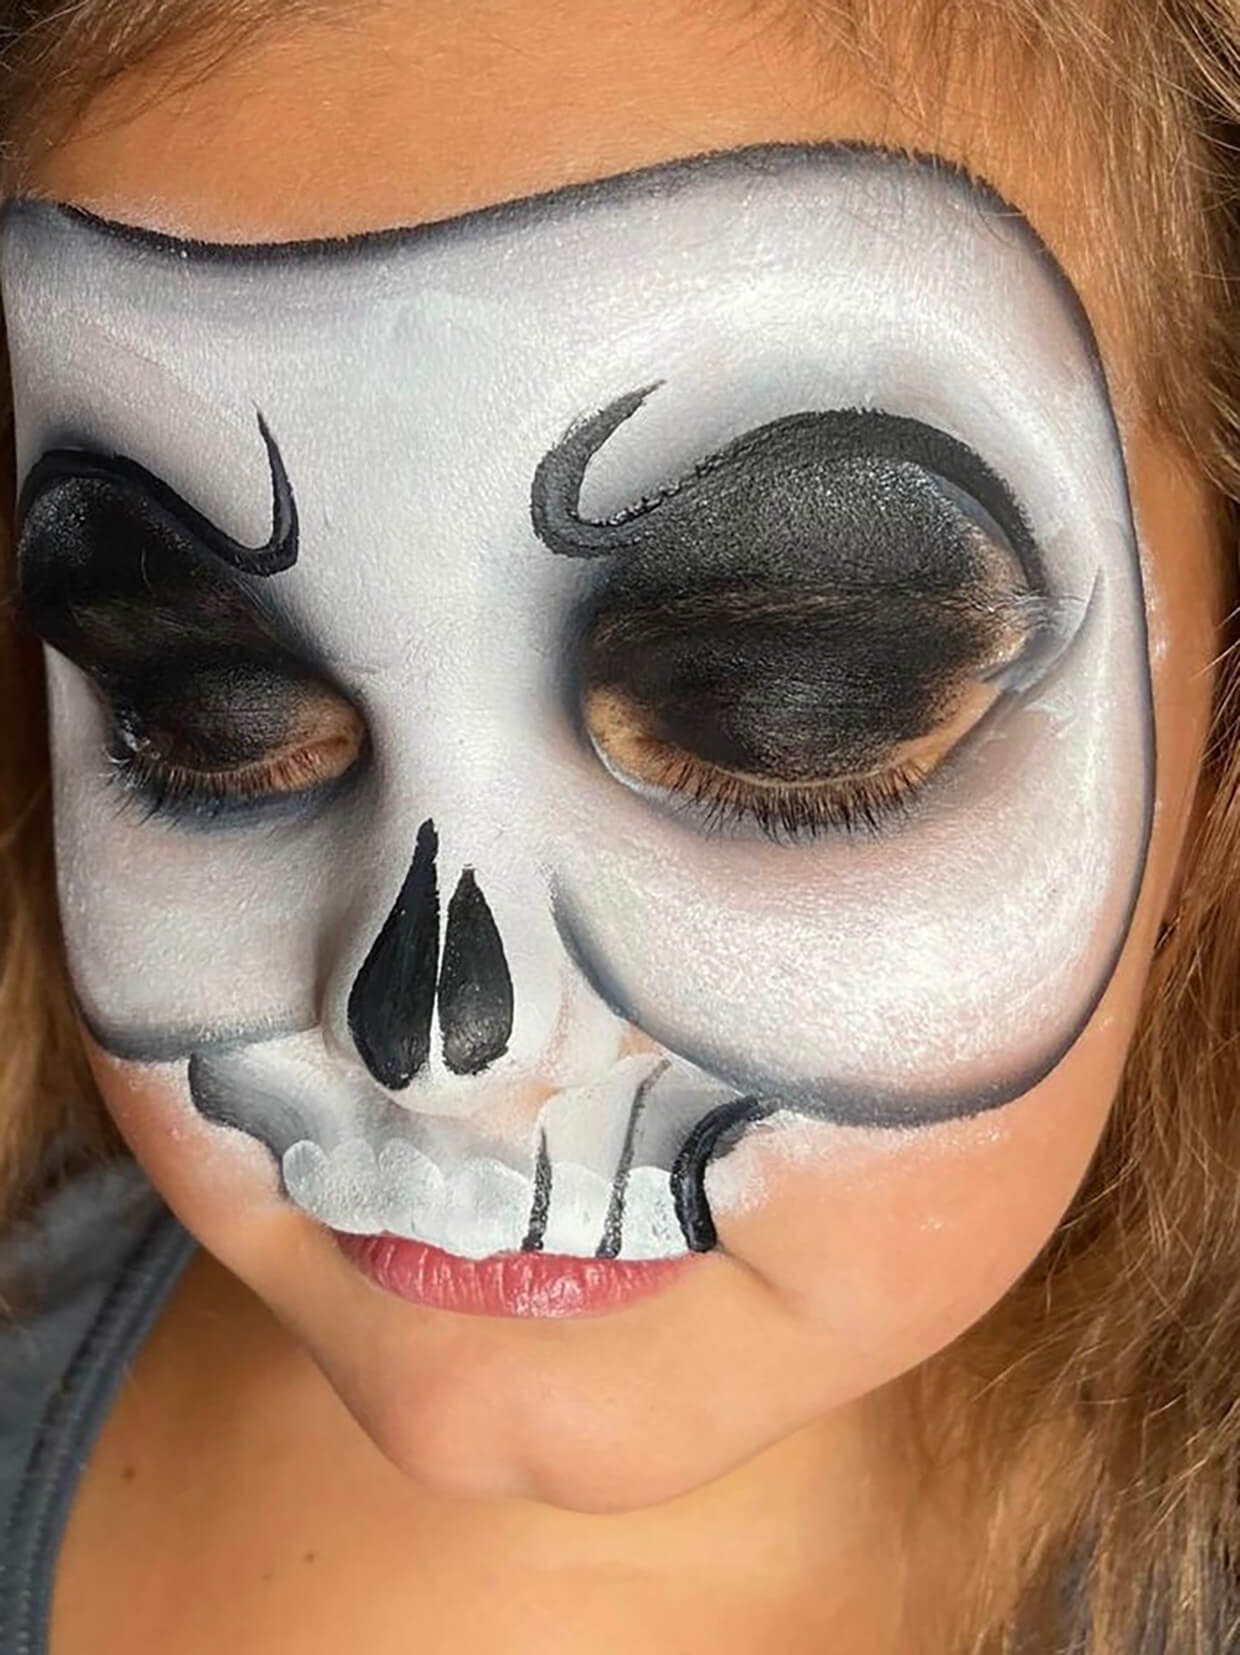
Gently dab the small sponge over both eyes, ensuring to completely cover the eyelids and bring the paint up just over the eyebrows to create two black circles around the eyes.
Step 2
Start the white of the skull
Lightly dampen your face paint sponge and load it with white face paint.
Apply the paint around the black and down the cheeks, over the nose and to the top of the mouth. Use a ‘dabbing’ motion to blend the paint onto the skin.
Important tip – As a general rule if you are painting more than one face, remember to use a clean sponge per face as it is very unhygienic to use the same sponge over and over again on lots of faces.
Step 3
Create definition on the skull
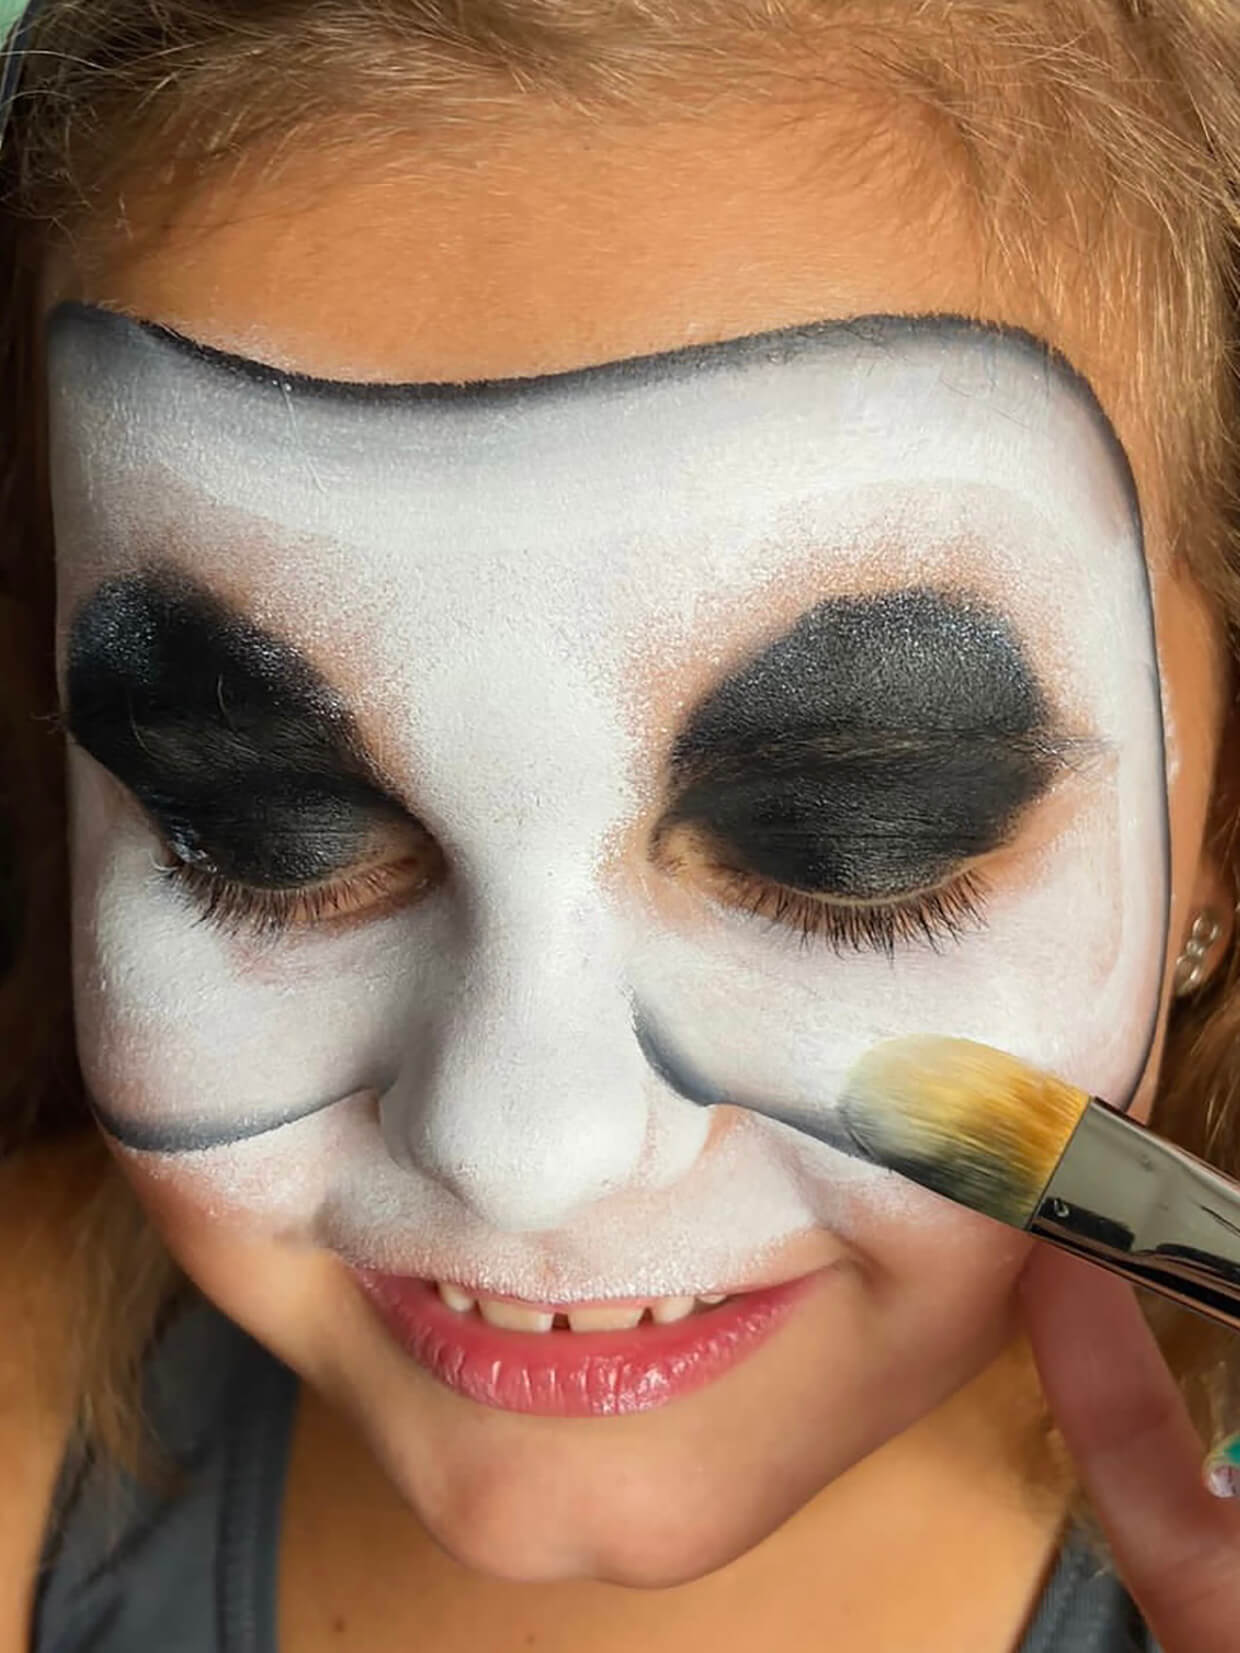
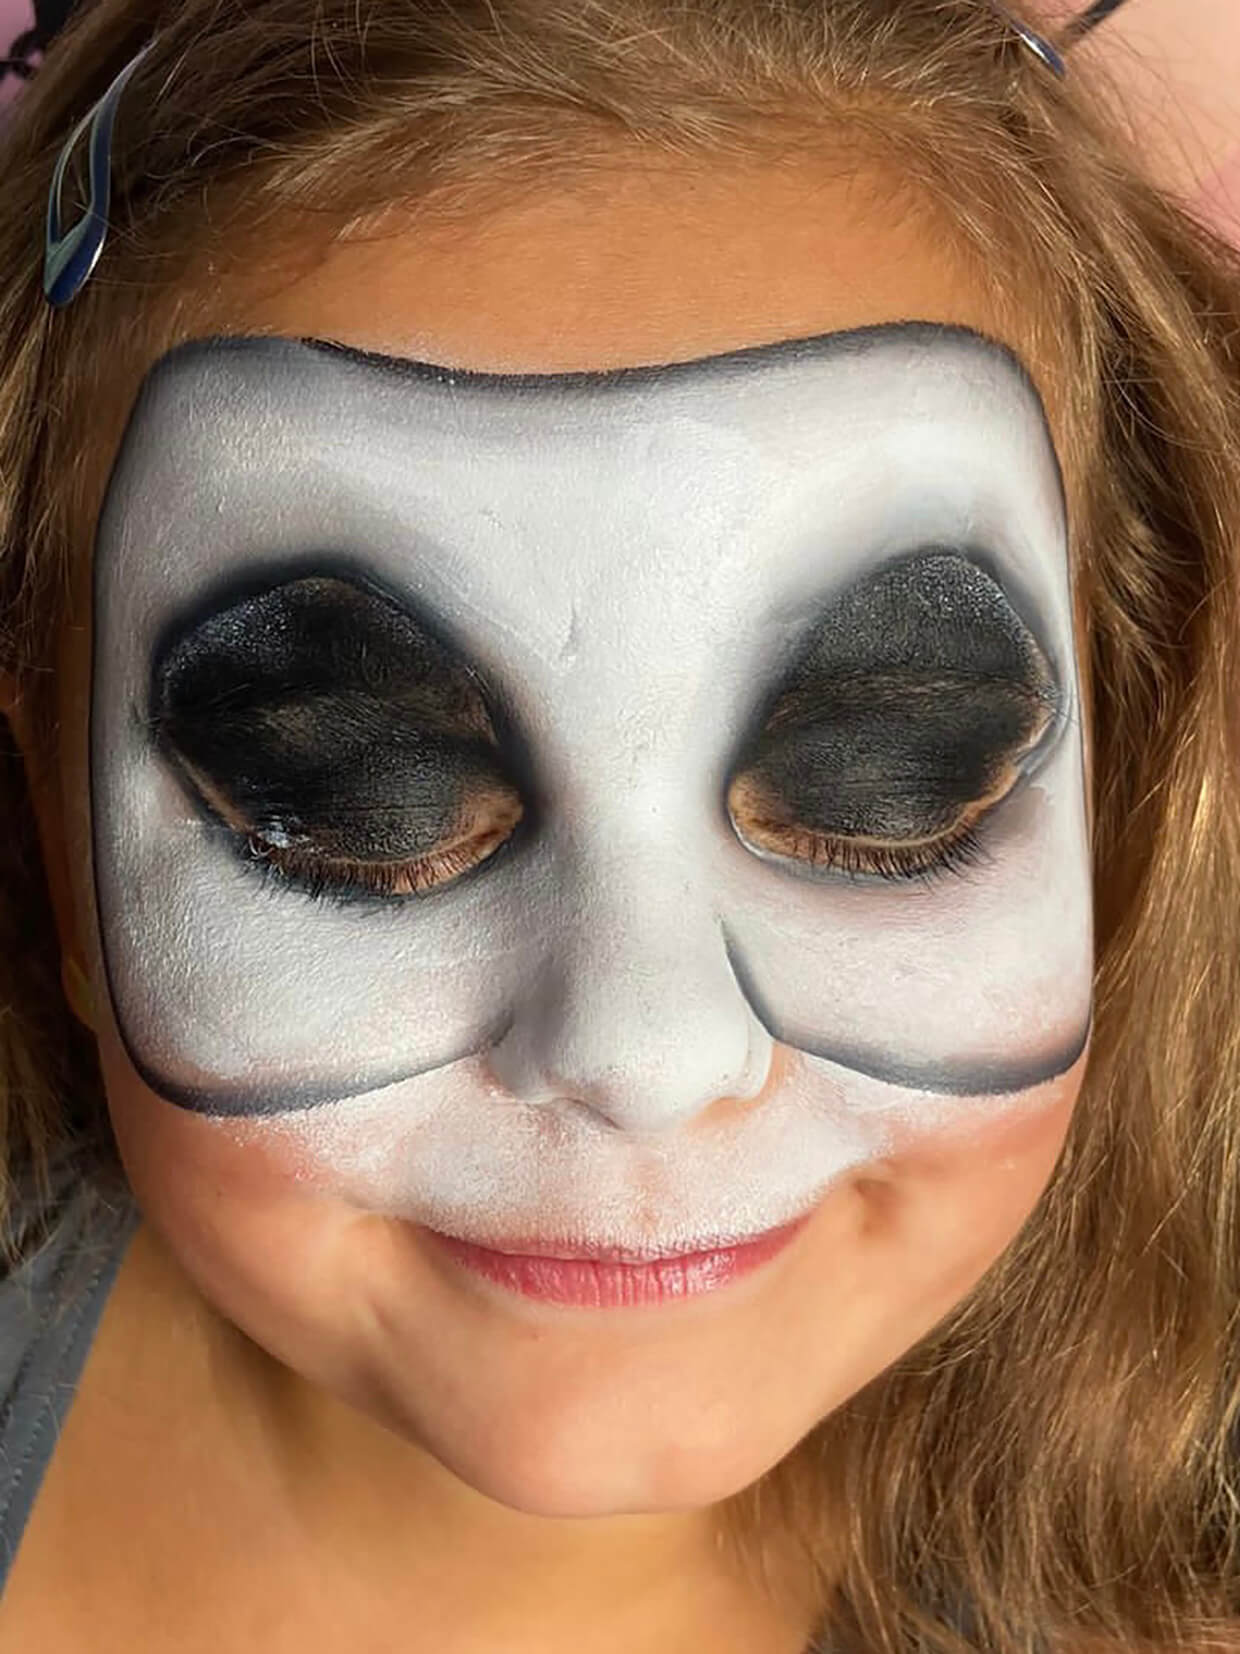
Take the round No 6 Filbert brush and load it with the black, grey and white (skull) one-stroke face paint.
Placing the black to the outside, run the brush around the top of the white sponged area, bringing the brush under the cheekbone and up to the middle of either side of the nose.
Step 4
Paint the top of the eyes
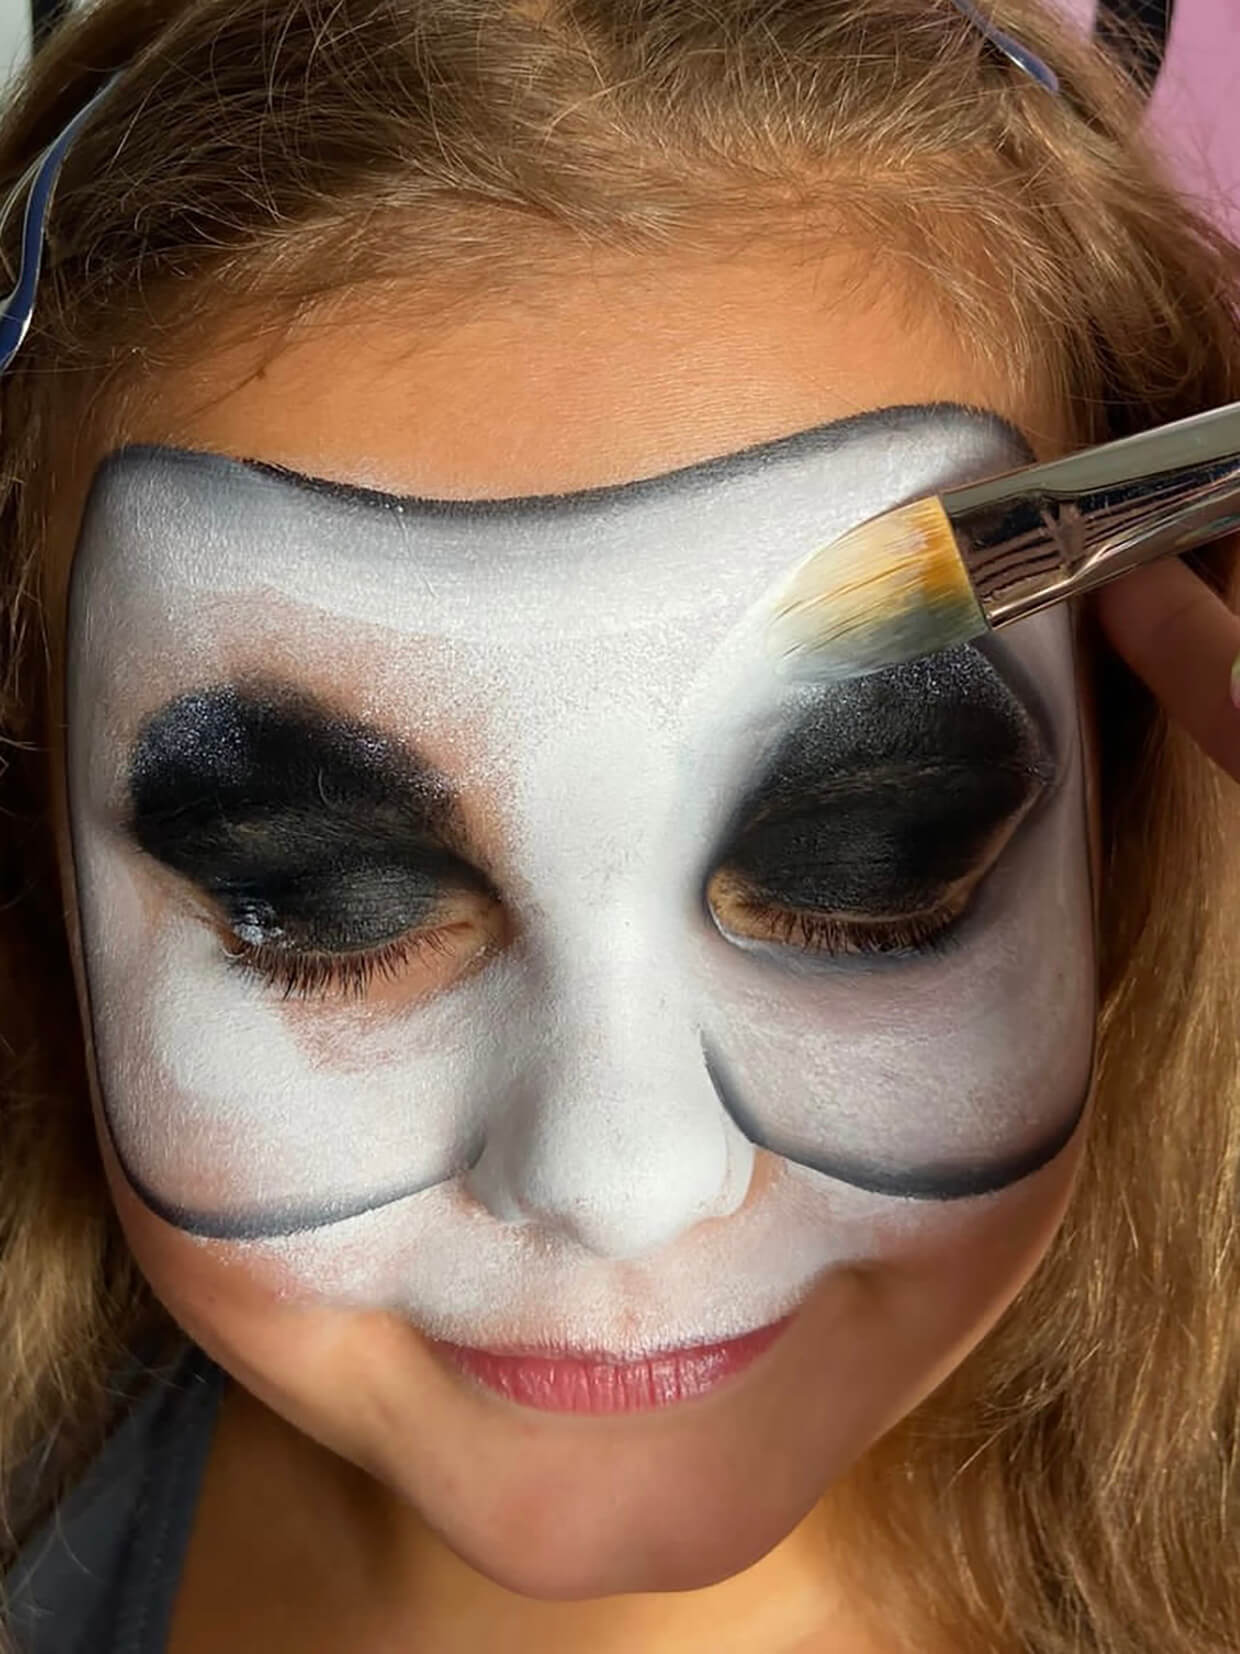
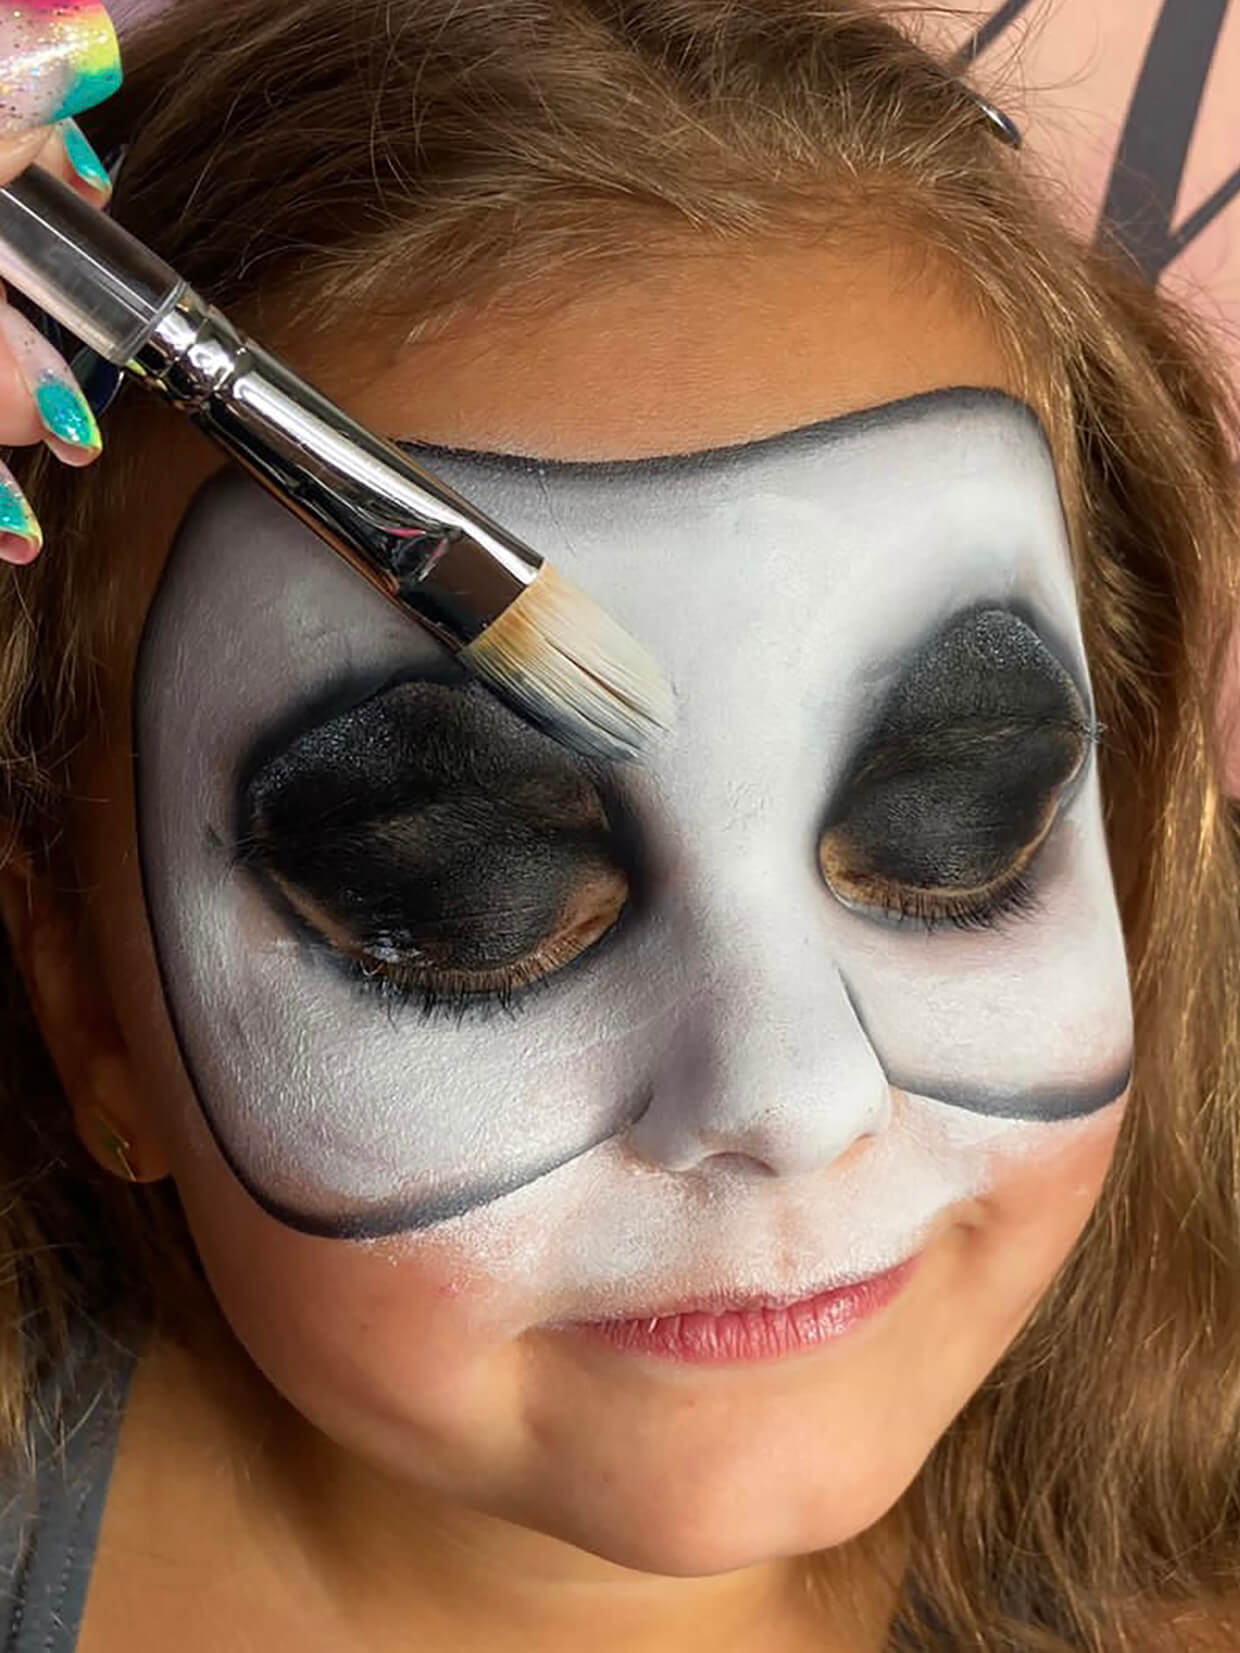
Using the same brush and the same one-stroke, rinse and reload the paint then, placing the black to the inside (against the black you have put down on top of the eye) run the brush all the way around the black eye area, on both eyes.
Step 5
Create the mouth
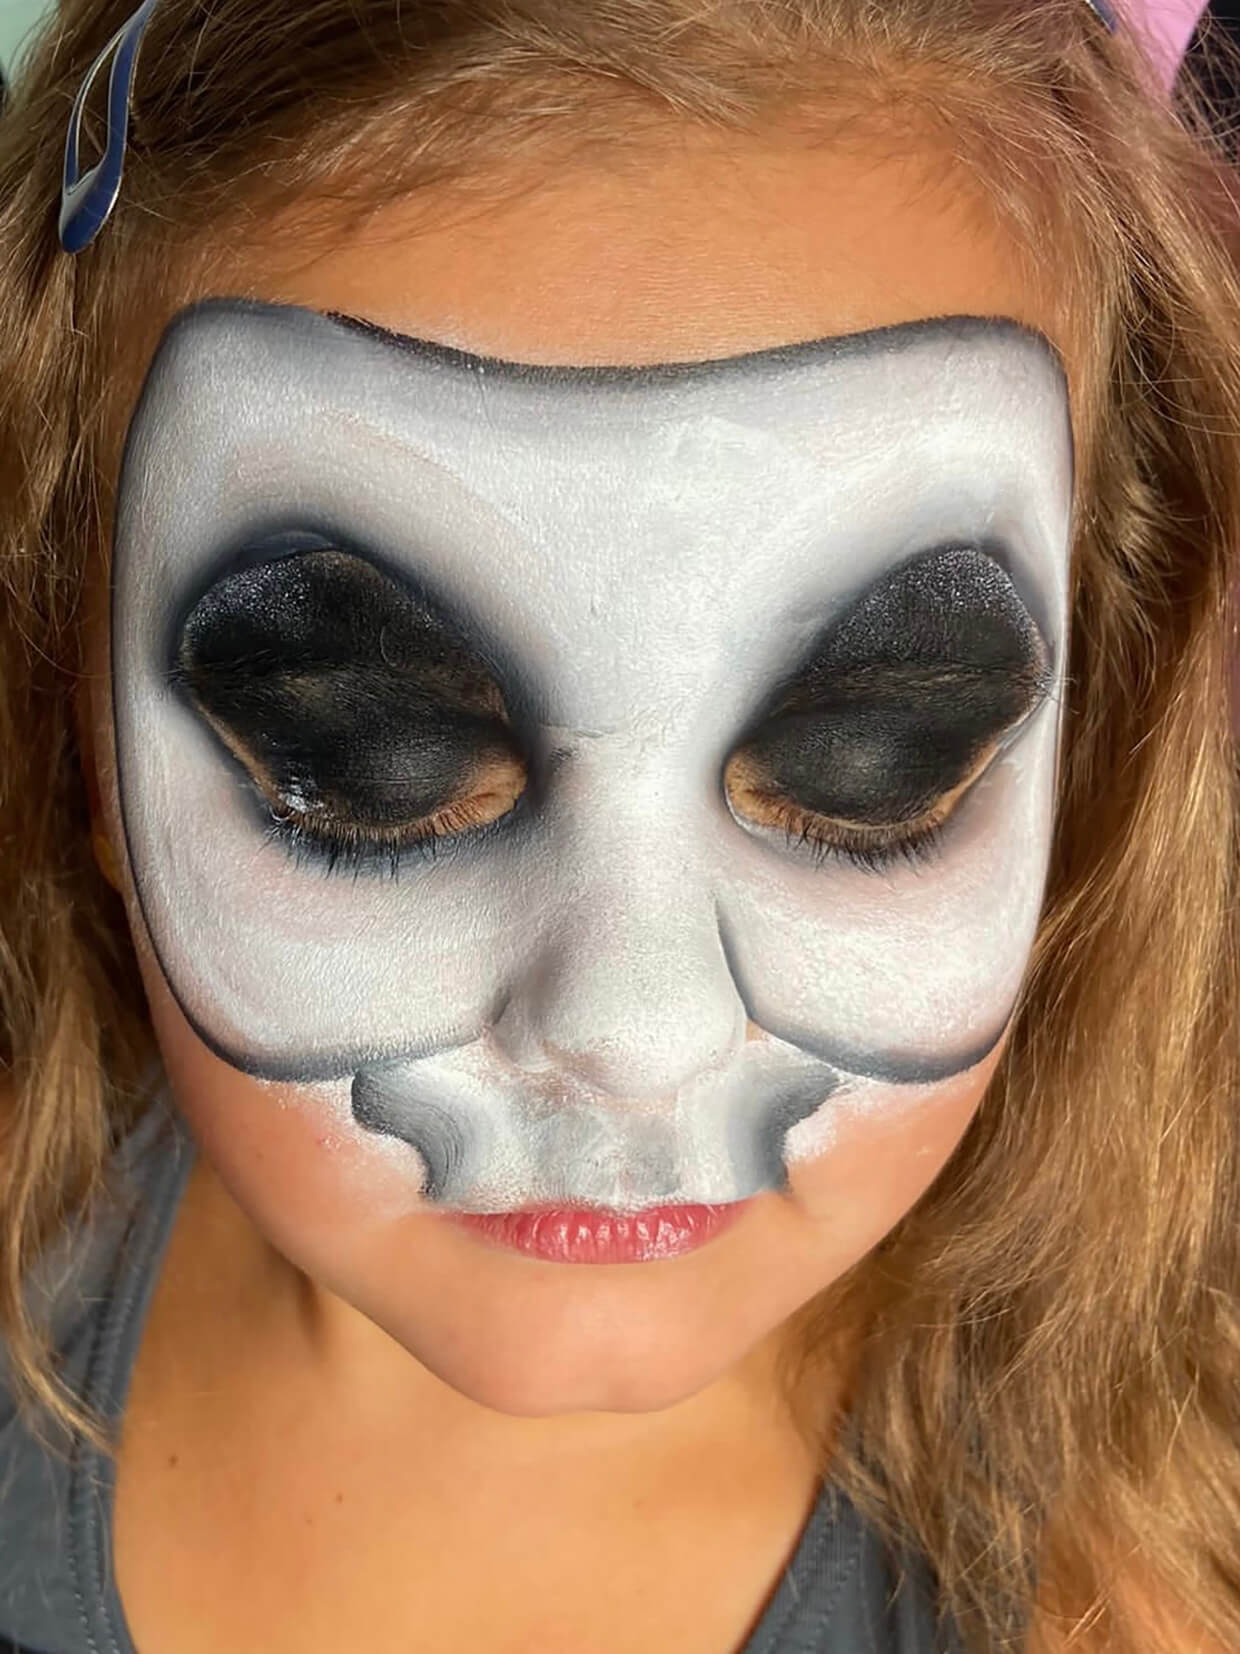
Using the same brush and the skull one-stroke, placing the black facing outwards on the brush, create two curves going from the mouth up to the black line of the skull’s cheekbone.
Step 6
Adding the skeleton teeth
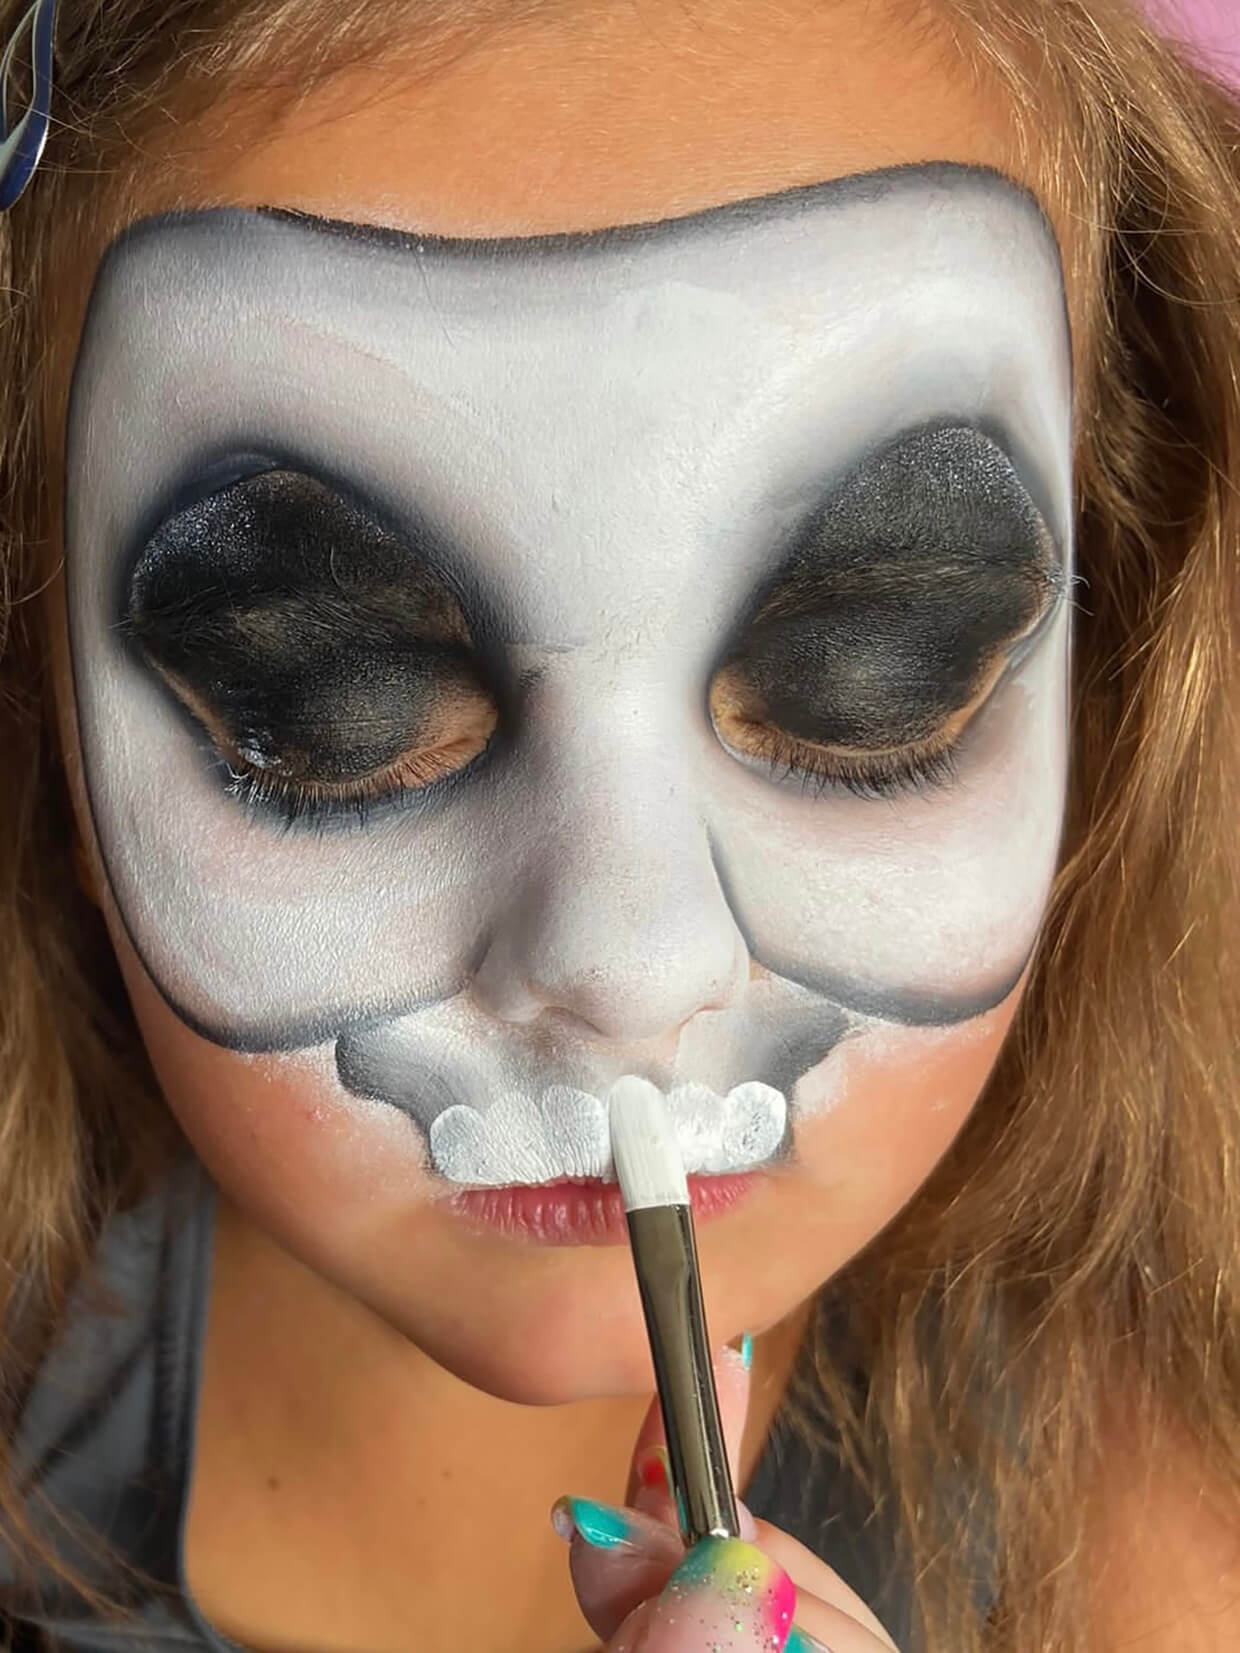
Load the small Filbert brush (here I am using a small Filbert no 8) and run along the lip, pressing the brush down once, then lift it off the skin to create a small, rounded shape for the teeth.
Top tip: Start in the middle, then work your way outwards on either side to get an even mouth.
Step 7
Paint the nose
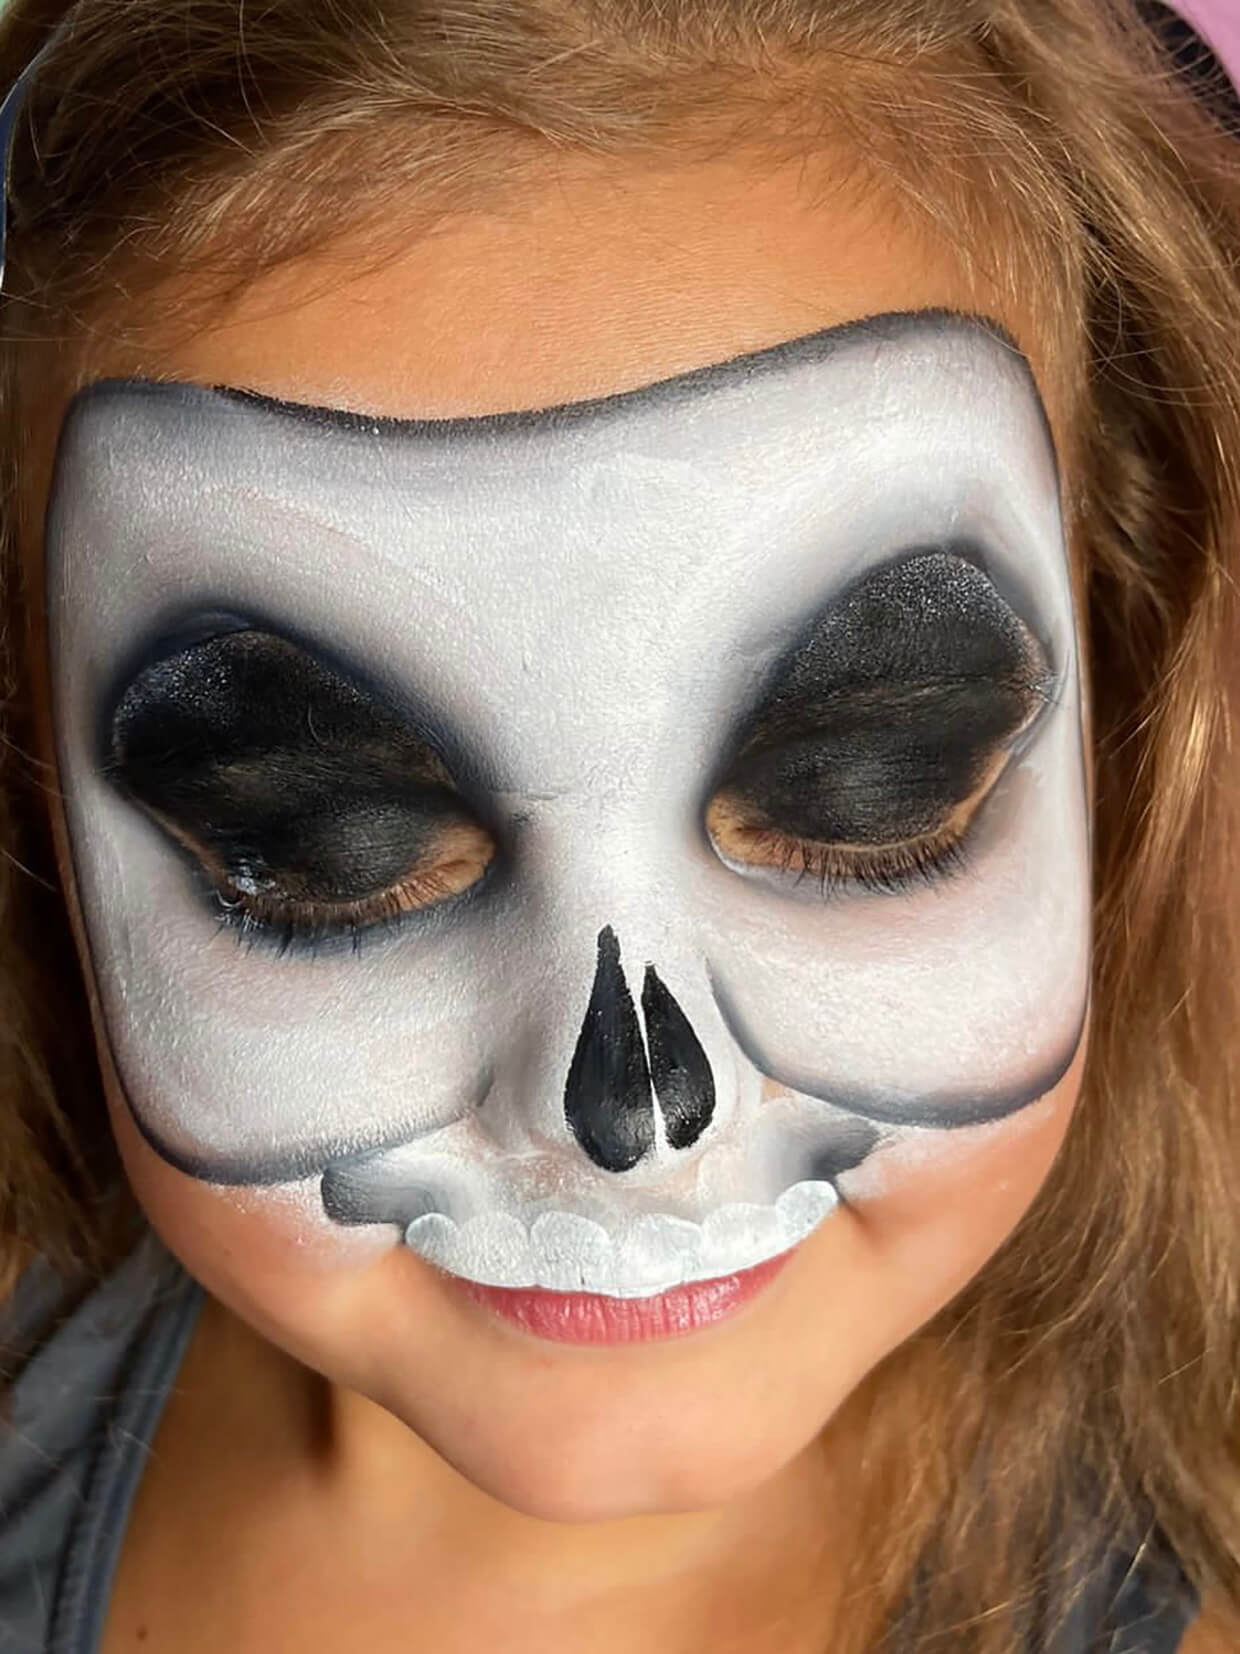
Use the black face paint and the round no 3 brush to paint the skull nose. Paint two rounded triangular shapes on the nose.
Top tip: To make it look more effective, paint one side slightly bigger than the other.
Step 8
Define the skeleton teeth
Use the same brush, rinse and reload more black paint.
Start just above the eyebrow area and paint in a ‘C’ motion creating a ‘hook’ shape over the eye then follow the black over the eye. This will create a simple detail to the skull.
Once you have done this over both eyes, continue with the same brush and create lines in-between the teeth.
Step 9
Add the final touches to your skeleton face paint
Optional step: Add extra definition by painting black under the cheekbones to make them more prominent.
