Budget craft room storage idea

Turn old chest drawers into an innovative space-saving idea for pants and socks, or all your craft goodies. It just takes a coat of paint!

Try our magazines – get 6 issues from just £9.99!

Published: December 31, 2021 at 6:09 am

Storage is an essential part of easy living in the modern home but can also prove very costly and sometimes, not too pleasant on the eye! 
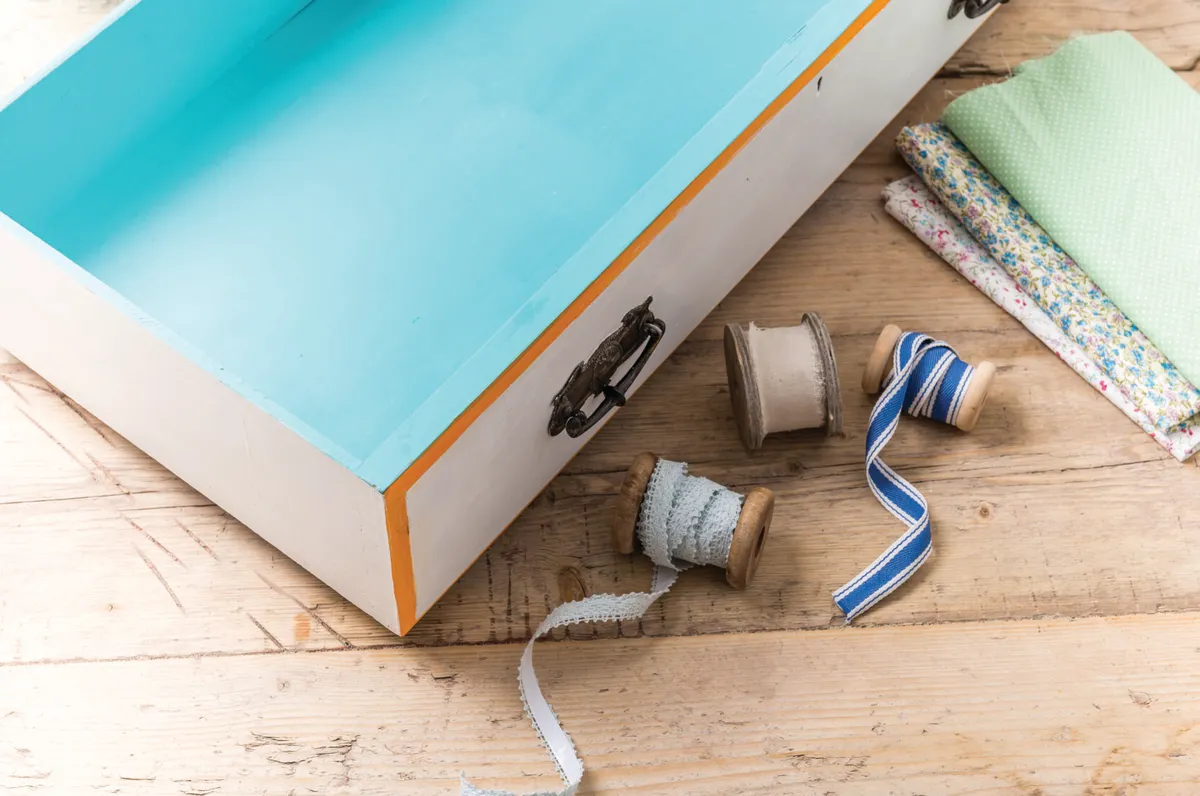
Sprucing up old drawers you were about to throw away will add a touch of gorgeous colour and quirkiness to the ever-important under bed storage tucked away neatly in your bedroom. Adding wheels to the bottom of your drawer allows quick and easy access to whatever you’re storing, making organising your crafting tools, toiletries or accessories a complete doddle. Choose a colour scheme that matches your bedroom or one that adds an amazing pop of colour. You could even line the inside with fabric! Don’t be afraid to mix up styles and ideas in order to create something truly unique.

Budget craft room storage idea - detail

Check out our other upcycling projects for more inspiration, we love these upcycled jam jars, or if you love sewing and quilting, how about making these gorgeous DIY storage baskets from your favourite fabrics?

We love seeing what you make, so don’t forget to share your upcycling or craft projects with us on Instagram, Facebook or Twitter, too!

You will need

  • Old wooden drawer with handles
  • 4 x small-sized mount caster wheels and 8 screws to fit
  • Drill and 4mm drill bit
  • Screwdriver
  • Sandpaper
  • Masking tape
  • Wood primer (white)
  • Wood paint (we're using orange and turquoise)
  • Paintbrush
Budget craft room storage idea - portrait

Budget craft room storage idea: tutorial

Step 1

Give your drawer a good rub down with sandpaper and remove any dust and debris with a damp cloth.

Step 2

Using a paintbrush, apply a coat of primer directly to the entire drawer. Leave this coat to dry for the recommended time stated on the tin.

Step 3

Stick masking tape around the outside edge of the drawer. Apply two topcoats to the inner drawer in your chosen colour. Make sure you leave the recommended drying time in between coats as stated on the tin. Peel off the masking tape carefully and touch up any smudges by wiping them away with a damp cotton bud.

Step 4

While the first coat on the inside of the drawer is drying, you can make a start on the outside. Our designer has chosen to use a white silk topcoat for the outside as it is inconspicuous, will go with any room and is easy to wipe down. Be careful around the handles of the drawer, if you get paint on the metal it is easier to remove it when wet with a cotton wool bud.

Step 5

Once both coats on the inside and outside are thoroughly dry, lightly apply masking tape to make a border framing the front of the drawer. Be careful not to press the tape too firmly in place as it could lift the white topcoat from underneath. Brush contrasting paint within the frame.

We’ve used bright orange paint to complement the turquoise paint.

Step 6

Once dry, turn your drawer upside down and position the wheels on the underside, one in each of the four corners. Make sure you are attaching them on wood so that they are the same level as each other, allowing the drawer to roll with ease.

Step 7

Use a pencil to mark the holes that need drilling to secure the wheels. Drill 15mm into your drawer on each of the eight holes and screw in the caster wheels to finish your masterpiece!

Budget craft room storage idea – portrait


We hope you’ve enjoyed this upcycling tutorial on this fab budget craft room storage idea. If you’re always finding balls of yarn around the house, check out these brilliant yarn storage hacks, written by yarn expert Matt Spiers.