You can never have enough storage solutions, and these DIY storage baskets by Sarah Ashford are a great way of keeping all your sewing supplies looking neat and tidy. This free storage basket pattern also includes instructions for how to make a smaller basket as well as the larger one, which is prefect for keeping all your little odds and ends safe.
You will need
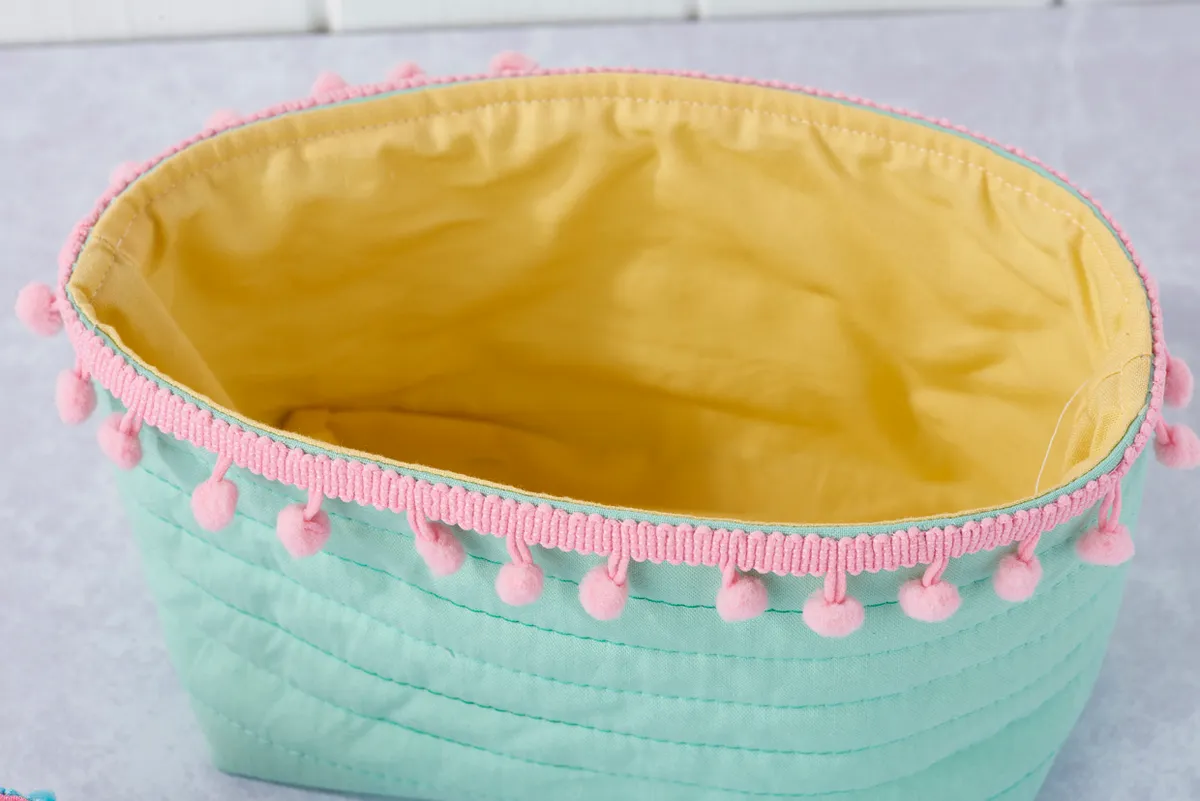
Large basket:
- Main fabric: two (2) 11in x 7in pieces
- Lining fabric: two (2) 11in x 7in pieces
- Medium weight interfacing: two (2) 11in x 7in pieces
- Batting: two (2) 11in x 7in pieces
- Pompom trim: 1yd
Small basket:
- Main fabric: two (2) 51/2in x 31/2in pieces
- Lining fabric: two (2) 51/2in x 31/2in pieces
- Medium weight interfacing: two (2) 51/2in x 31/2in pieces
- Batting: two (2) 51/2in x 31/2in pieces
- Pompom trim: 1/2yd
Notes
Seam allowances are 1⁄4in, unless otherwise noted.
- Press seams to one side, unless otherwise instructed.
- RST = right sides together.
Fabrics used
All fabrics are Kona Cotton Solids by Robert Kaufman in Pond, Banana, Punch and Bubblegum.
Free storage baskets pattern