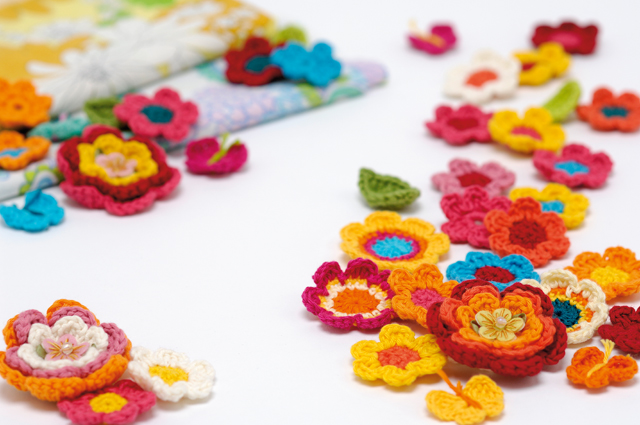
A crochet rose is quite unlike any other crochet flower, as it's all in the final assembly part where it comes together. It's essentially just a flat piece of crochet that is rolled into a spiral – easy once you know how!
We'll show you how to crochet a rose in this tutorial, which is perfect for using as a crochet brooch or as an embellishment on your favourite accessory. Once you've made our rose crochet pattern, when not move on to making a multi-layered flower with our How to crochet a flower tutorial.
You will need
- Red yarn of your choice (we'd suggest a DK yarn for a realistic size rose)
- A 4mm hook
- A tapestry/yarn needle
Abbreviations
You can find a full list of all abbreviations we use in our abbreviations and conversions guide.
This free rose crochet pattern is written in UK terminology but you can easily convert it to US terms using the guide.
If you're new to crochet, you might find it helpful to check out our how to crochet for beginners guide before starting this crochet rose.
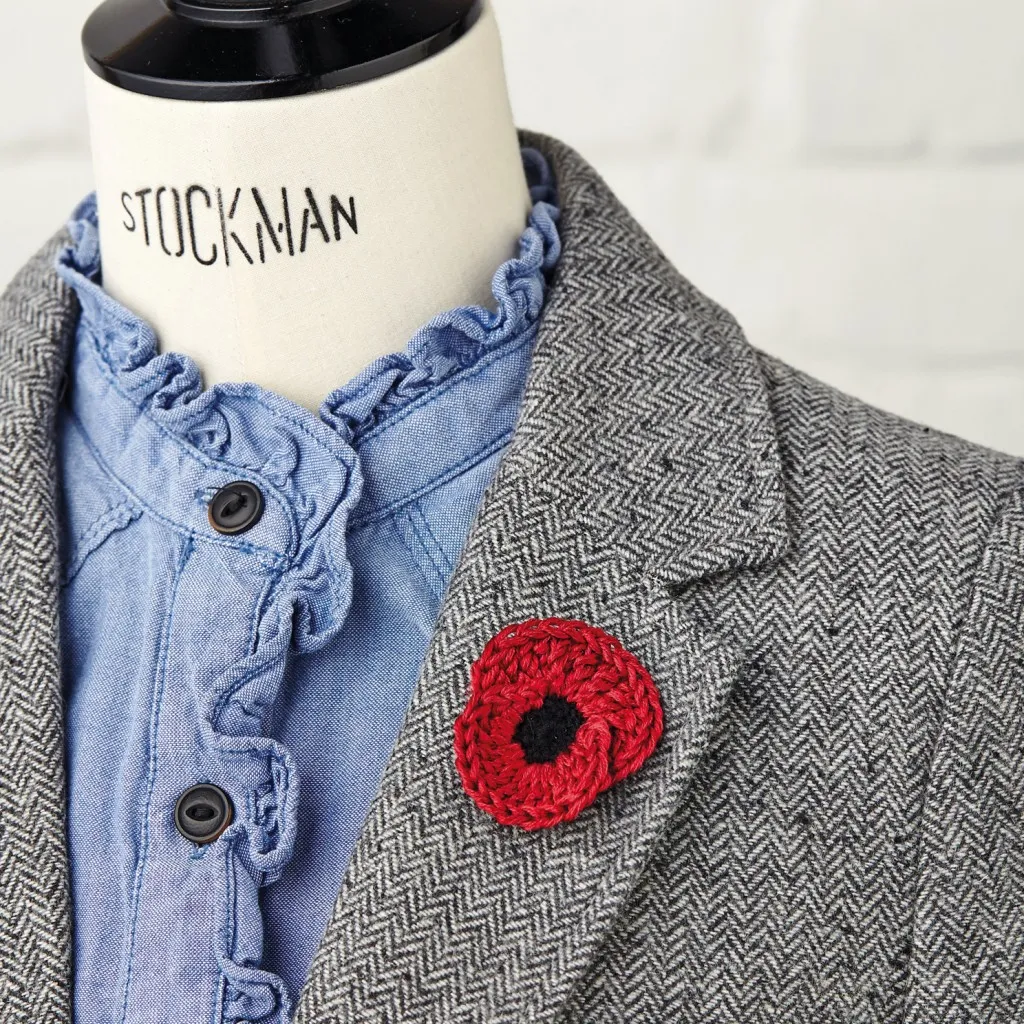
We will remember them
Don't forget to pay your respects with a poppy for Remembrance day. Check out our free crochet poppy pattern.