How to crochet waffle stitch

The crochet waffle stitch is a great way to add some texture to your crochet!

6 issues of Simply Crochet magazine for £14.99|Save 72%

Published: January 25, 2021 at 9:00 am

Crochet waffle stitch is a fantastic way to add a textured grid pattern to your crochet fabric, and as it only uses treble and post stitches, it's easier than you might think. Similar to basket weave stitch, once you've done your first few rows you can really get into a rhythm with it, and it's great for adding a bit of extra detail to projects like scarves and cushions. You can use any yarn to make waffle stitch, but keeping your stitches tight and close together will help define your waffle stitch.

To make the waffle stitch you will need to know how to make a FPtr (Front Post treble). We've included a brief description below but you can also check out our full tutorial on how to crochet post stitches

FPtr: Yrh, inserting hook around post of stitch from front to back to front, yrh, pull through stitch, yrh, pull through two loops, yrh, pull through two remaining loops.

Don’t forget if you’re not familiar with any of the terminology used in this tutorial, you can always check our our guide to abbreviations and conversions.

You can also check out our video on how to crochet waffle stitch that was part of our Hook 'n' Learn crochet-along
How to crochet waffle stitch

You will need:

  • Yarn
  • Crochet hook

Step 1

Chain a multiple of 3 sts (we’ve used 15 in our example).
Row 1 (WS) Tr in 4th ch from hook and each ch across, turn.

how_to_waffle_crochet_stitch_01

Step 2

Row 2 (RS) Ch3 (counts as tr throughout), *tr in each of the next 2 sts, FPtr around the next st; repeat from * to the last 3 sts, tr in each of the last 3 sts, turn.

how_to_waffle_crochet_stitch_02
Pictured – Ch3 and tr in first 2 sts

how_to_waffle_crochet_stitch_03
Pictured – insert hook around the post of the next stitch to make FPtr, inserting your hook from the front of the work.

how_to_waffle_crochet_stitch_05
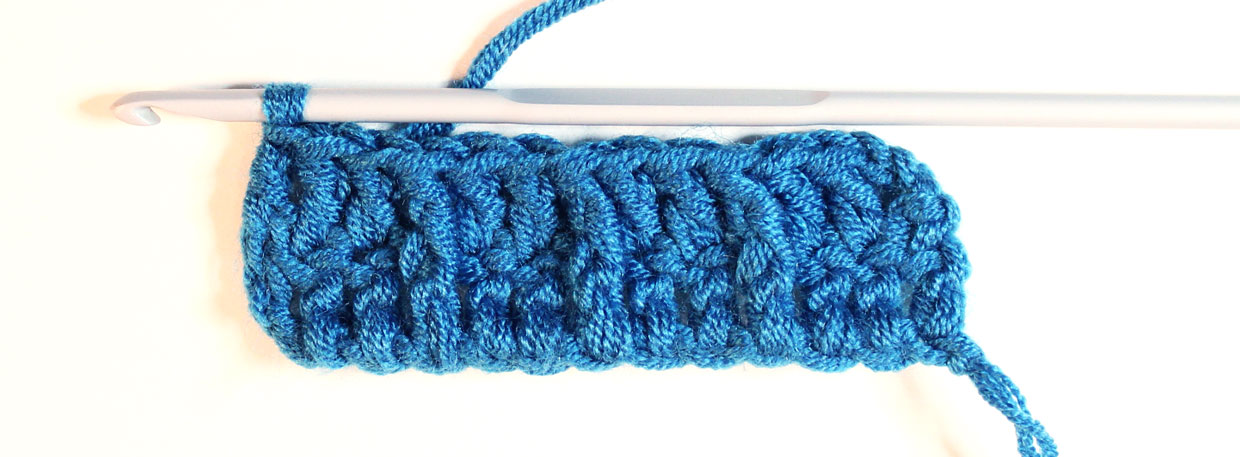
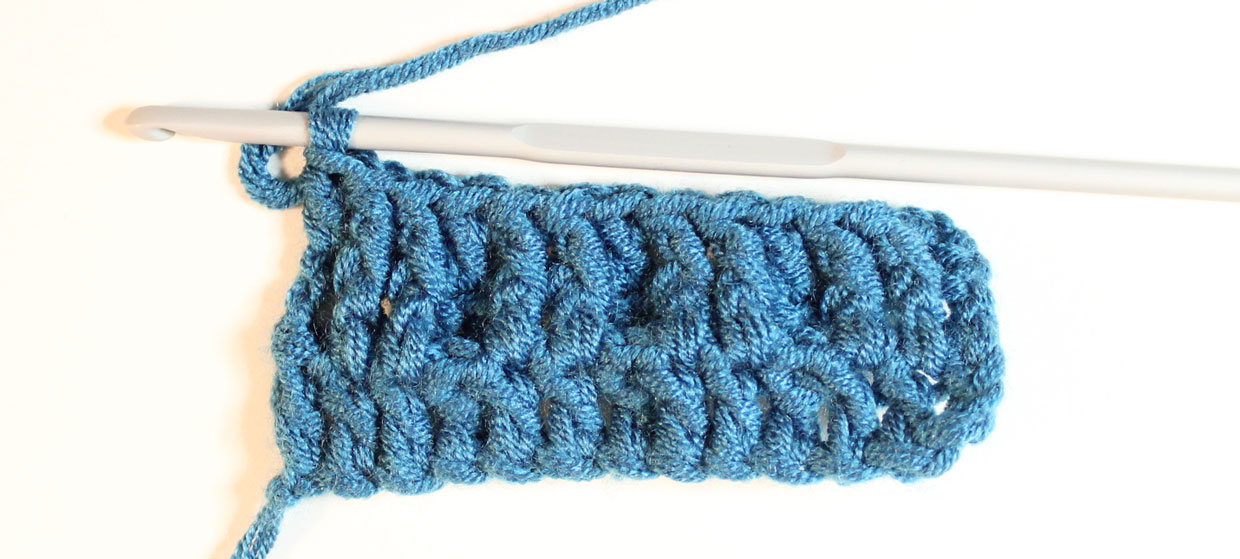
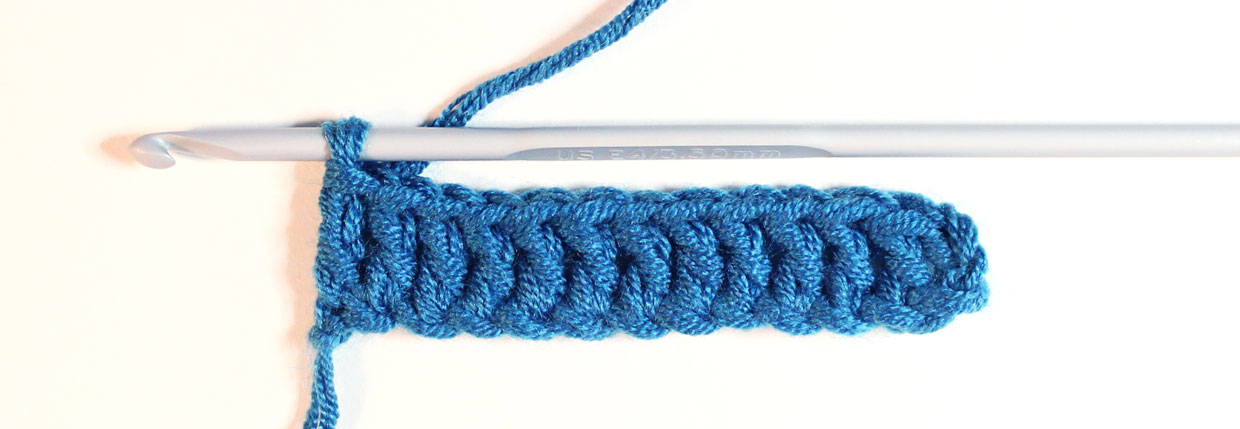
Pictured – completed row 2, notice how your 3 FPtr’s stand out


Step 3

Row 3 Ch3, *FPtr around each of next 2 sts, tr in next st; repeat from * to end, turn.

how_to_waffle_crochet_stitch_06
Pictured – Ch3, FPtr in 2 sts and tr in next st


how_to_waffle_crochet_stitch_07
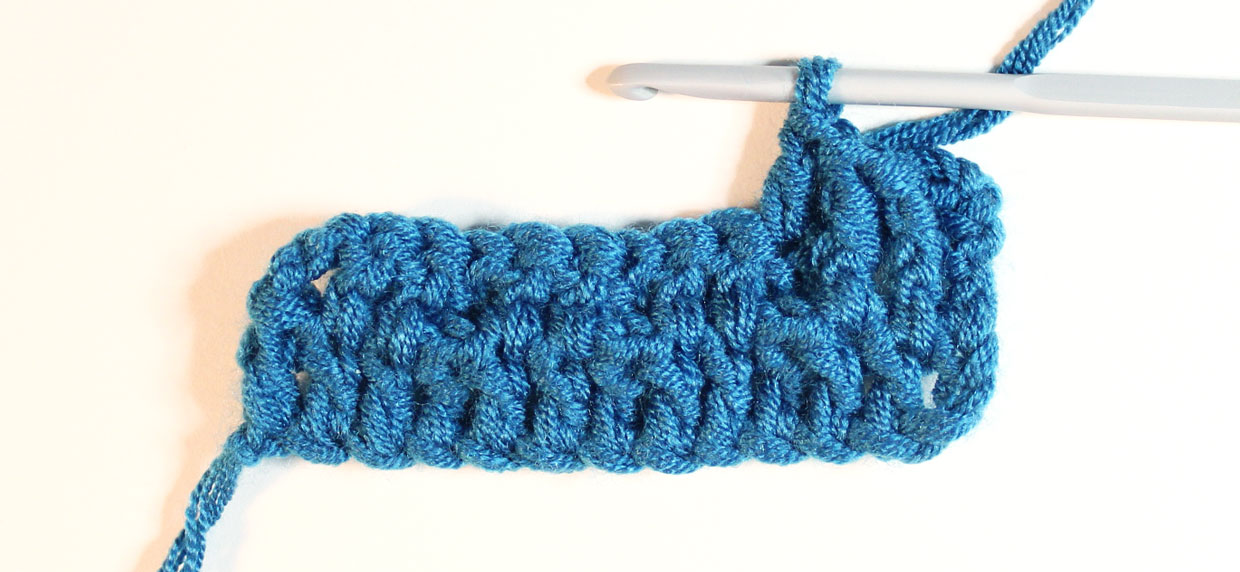
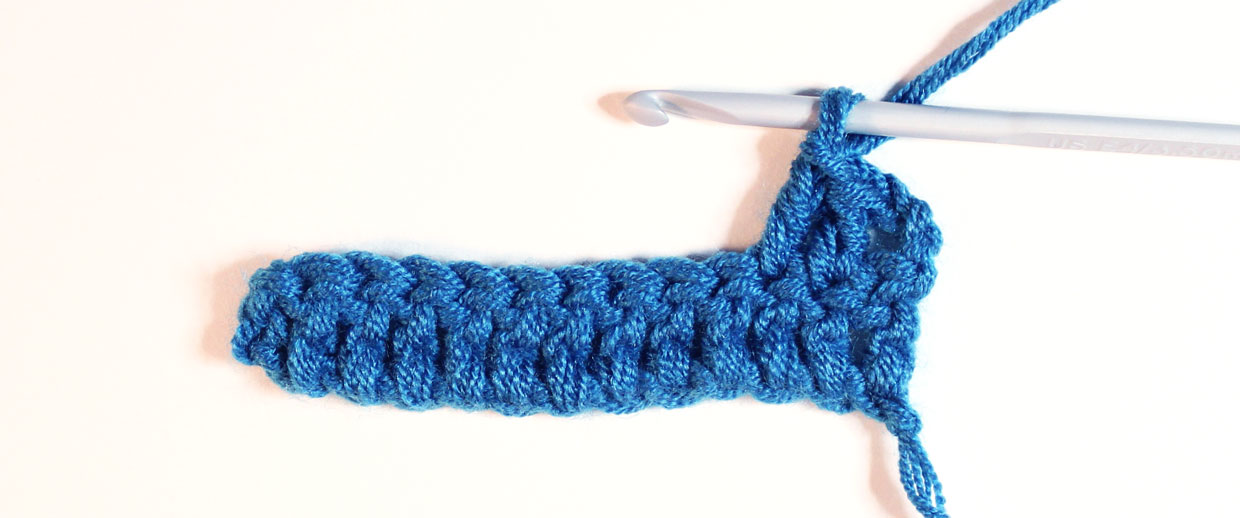
Pictured – Completed Row 3, this is your WS facing

Step 4

Repeat Rows 2-3 until work is desired length. Fasten off and weave in ends.

how_to_waffle_crochet_stitch_08
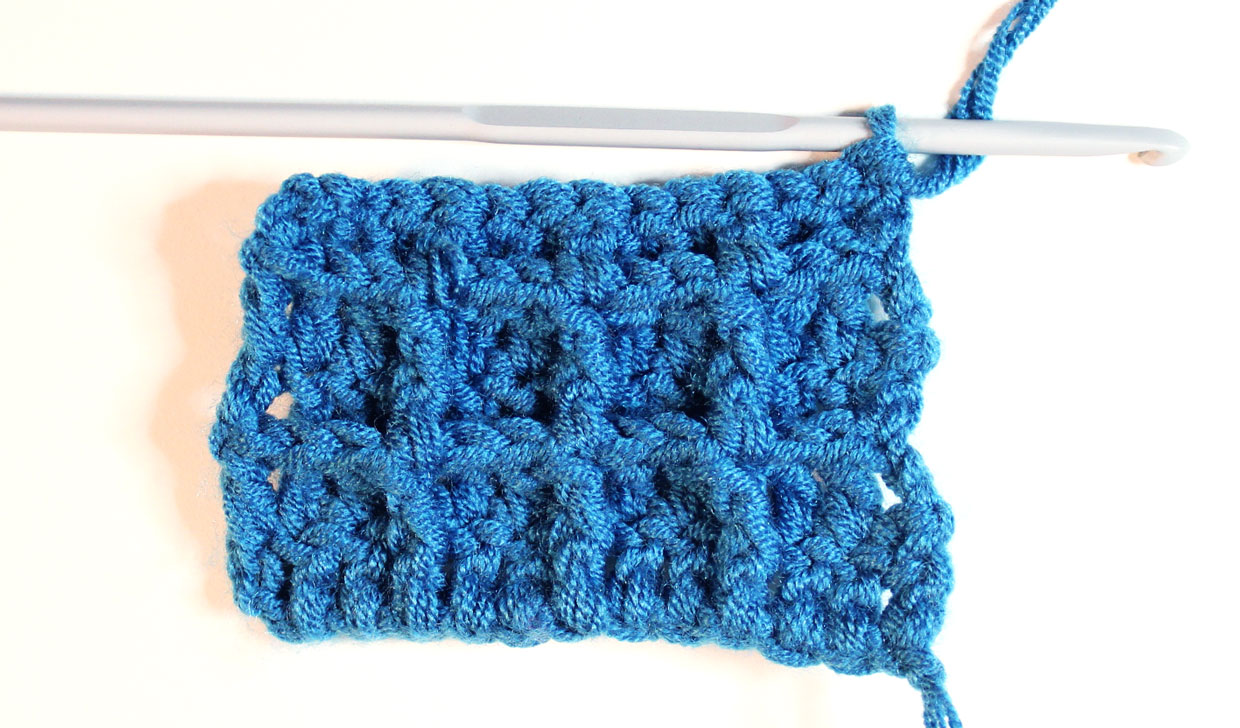
Pictured – Once you have worked at least 5 rows your waffle texture will become more obvious.

If you enjoyed this crochet waffle stitch tutorial, you might also enjoy learning how to crochet popcorn stitch or how to do mosaic crochet. And if you’re new to crochet, make sure to check out our crochet guide for beginners for loads of helpful info!