How to increase stitches in knitting: m1l, m1r, kfb and more
Increases add to the number of stitches in your knitting. Find out how to work four popular increase methods with Jim Arnall-Culliford's guide.

Published:
There are many ways to increase stitches in knitting, just as there are with how to decrease in knitting. All of them add new stitches to those already on the needle, making your knitting wider, as Jim Arnall-Culliford explains below.
Here are the stitches you’ll learn in our guide on how to increase stitches in knitting:
Left leaning increases
Right leaning increases
Decorative increases
How to increase stitches in knitting
Single increases (such as kfb and M1R) are the most commonly used. This is when two new stitches are worked into one existing stitch or you work into the strand lying between two stitches.
Sometimes patterns may require double increases, where you work three new stitches into one existing stitch.
You might feel a little overwhelmed by how many methods there are to increase stitches in knitting, but the main difference between all of the variations is whether you knit or purl, or lean the stitches to the left or right.
These subtle alterations are what makes all the difference to the overall knitted fabric.
Increases are often used to shape items such as garments, but they can also be used in a decorative manner.
The yarn over (yo) creates a hole in the fabric and is mostly used in lace knitting. Kfb (knit front and back) creates a small bump that looks like the bump of a purl stitch, but can be hidden in the surrounding pattern.
How a stitch pattern looks can be drastically altered by the knitting increase method you use. You might find that one increase works well with a particular pattern while another does not.
This is important when shaping garments as one type of technique can look quite obvious in the finished garment, while another will blend in more subtly.
Patterns usually say the increase they wish you to work so it helps to have a few at the ready.
How to add a stitch in knitting with M1
M1 simply means ‘make one’, or increase a stitch, and typically refers to the M1L (make one left) or M1R (make one right) knitting increase methods.
M1L tends to be thought of as the default M1 stitch, but if the pattern doesn’t specify which to use you can choose whichever one you prefer – or another method entirely!
Be aware, though, that M1L and M1R lean in different directions, the former to the left and the latter to the right.
You might not mind which way your increases lean, but for some patterns it can have an impact on the overall effect.
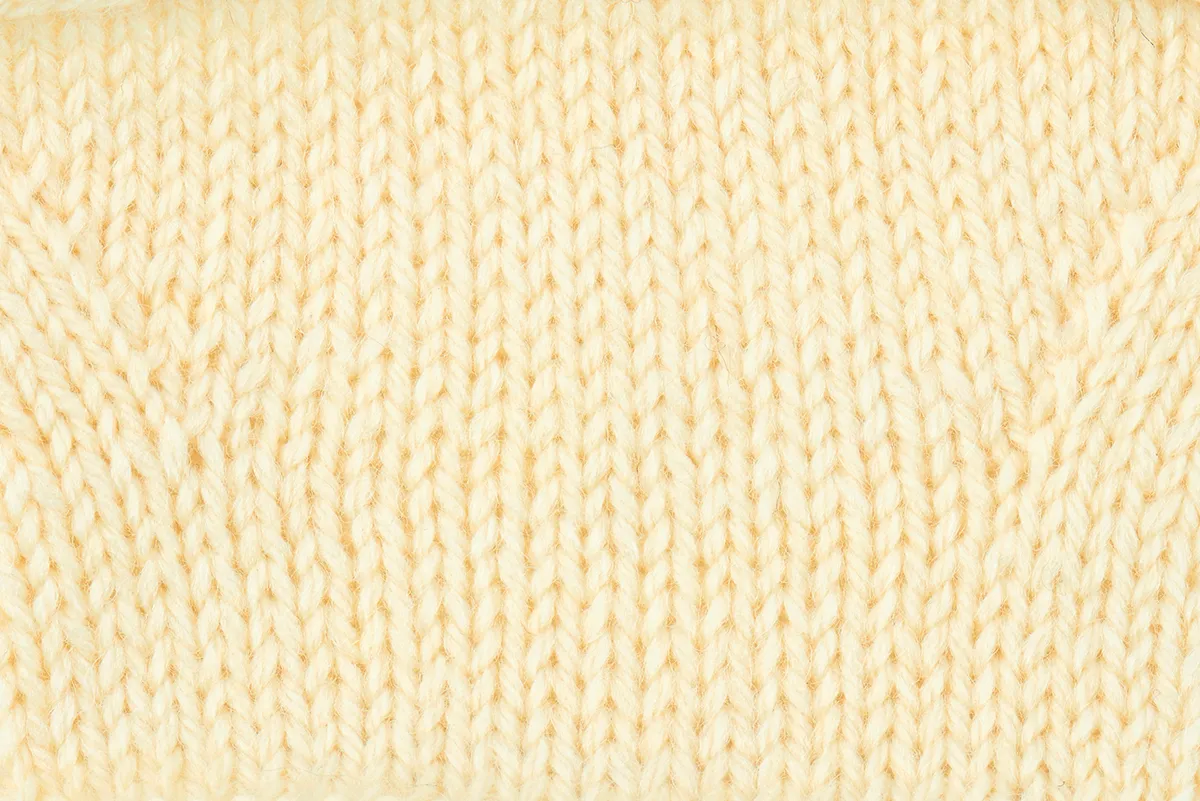
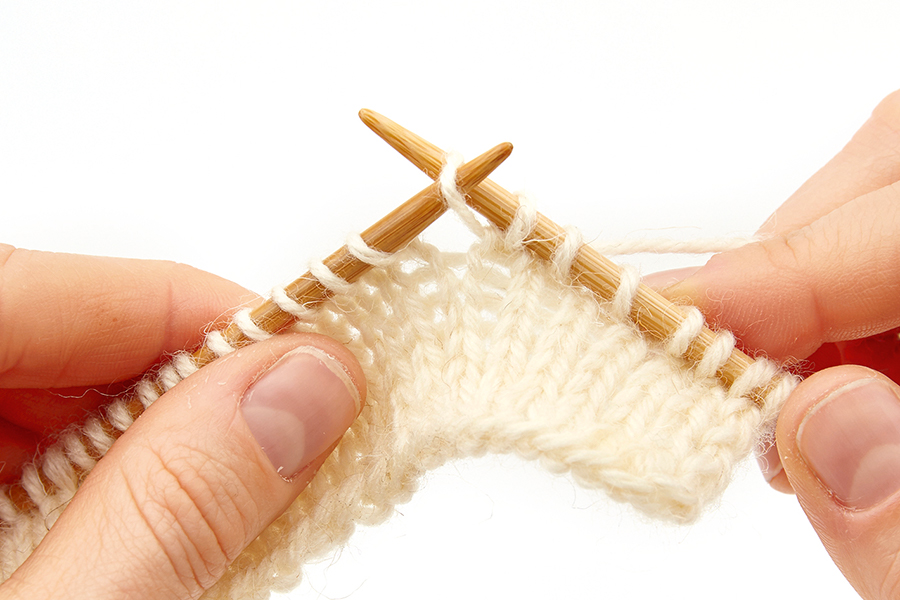
M1L knitting increase (make one left)
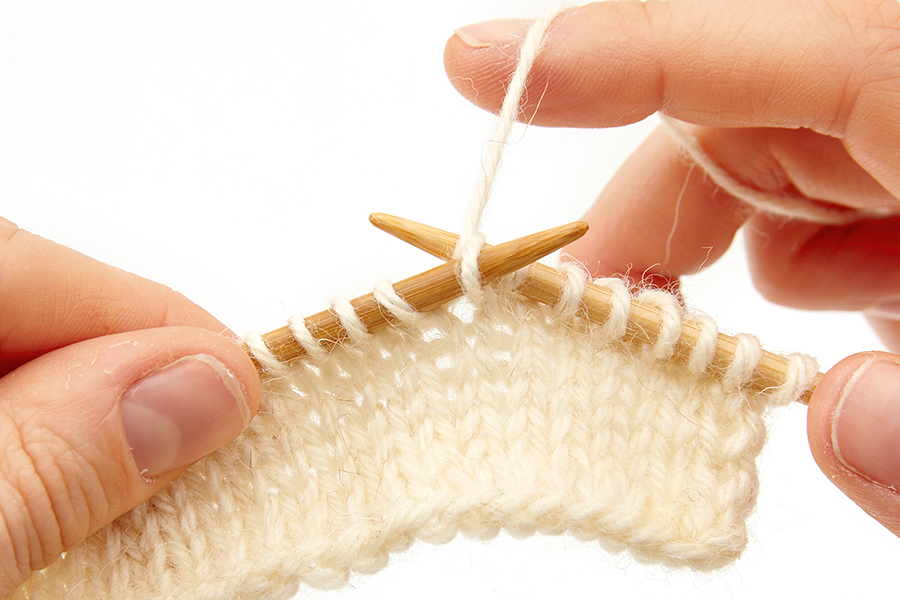
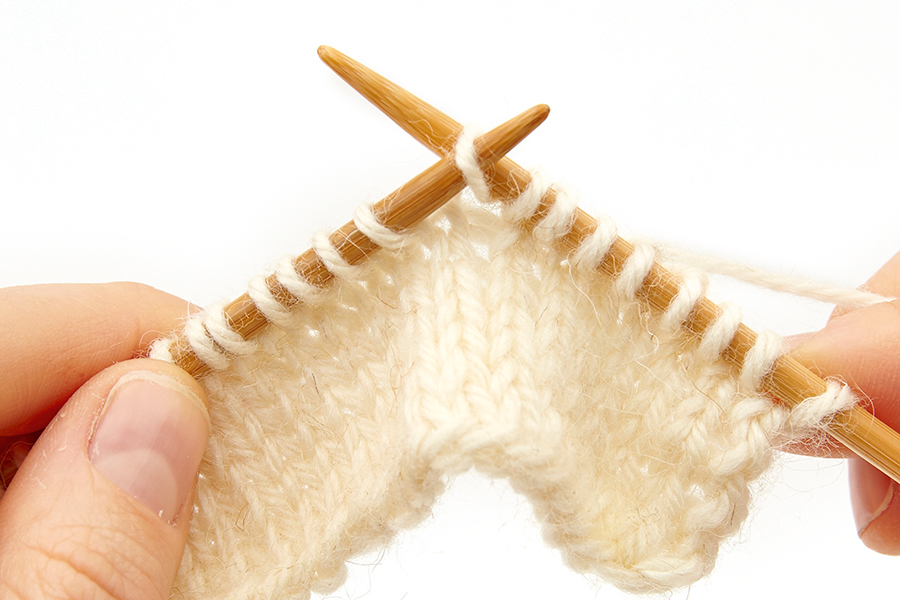
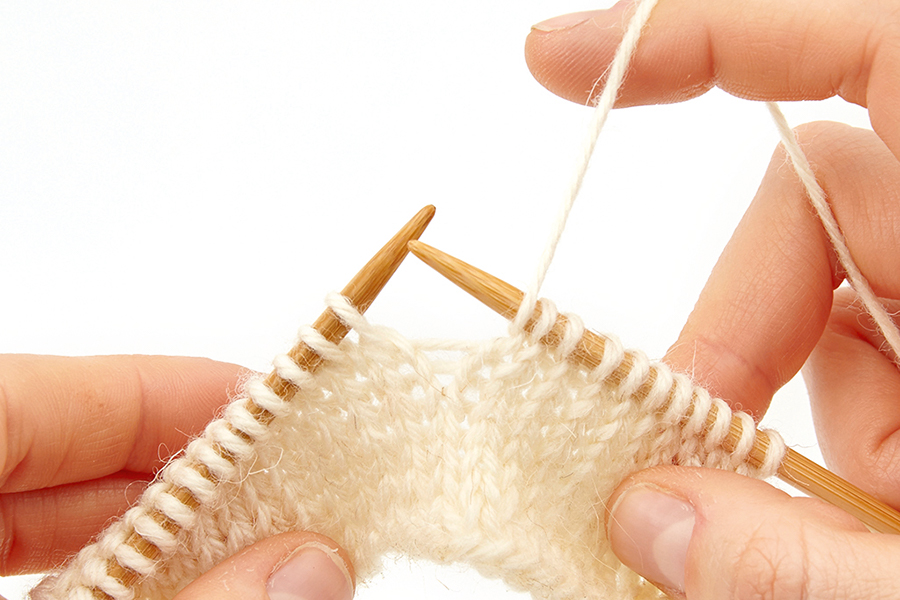
This method makes one new stitch by picking up the strand between two stitches on the previous row. It’s called M1L (make one left) due to it leaning to the left, but it’s also known simply as M1.
It’s essential that you pick up and knit the strand the right way round otherwise you’ll end up with a hole in your work.
You Will Need
- Yarn
- Knitting needles
Step 1
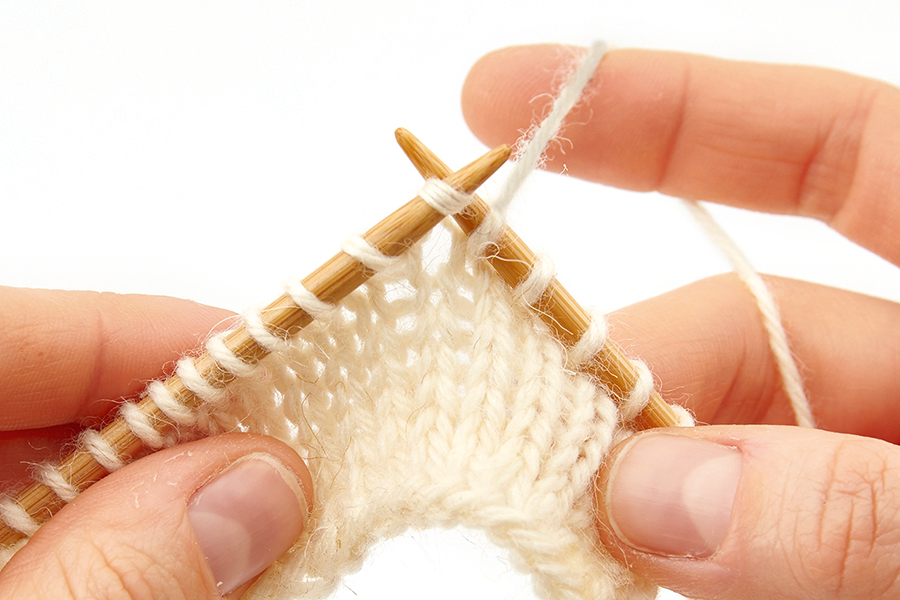
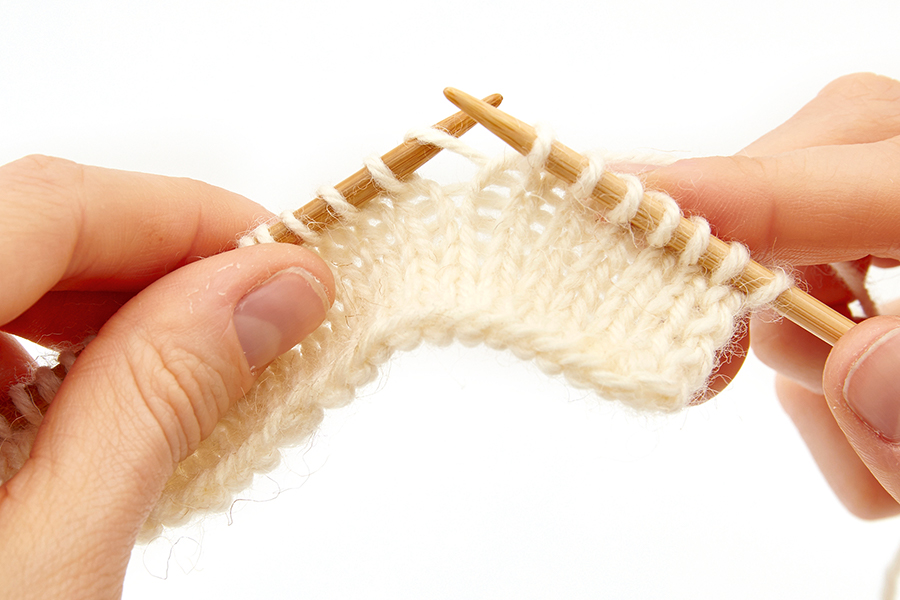
Hold your needles so the tips are a little way apart with the stitches close to the tips. You’ll see a horizontal strand of yarn in between the stitches. Pass the tip of the left-hand needle underneath the strand from front to back.

Step 2
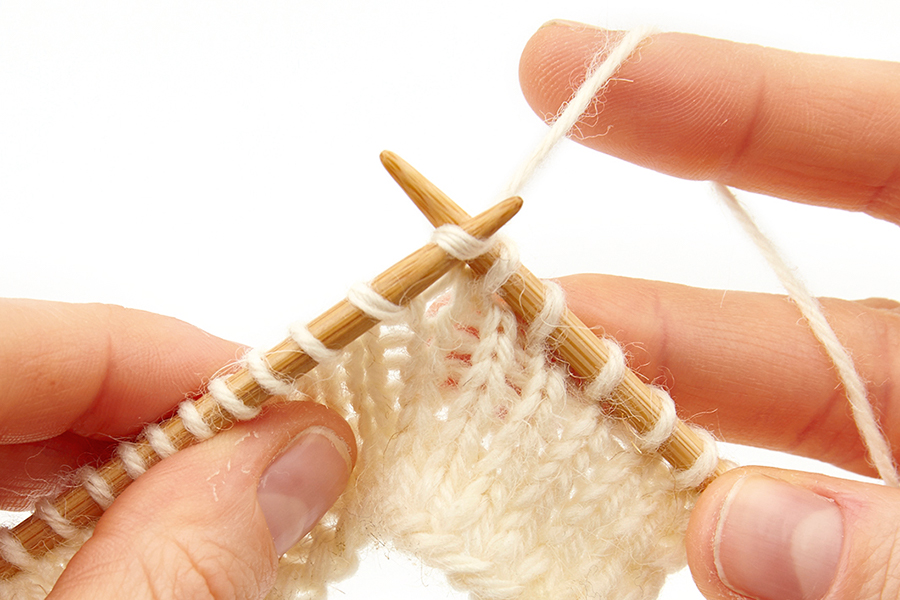
Insert the right-hand needle into the back of the loop you now have on the left-hand needle.

Â
Step 3
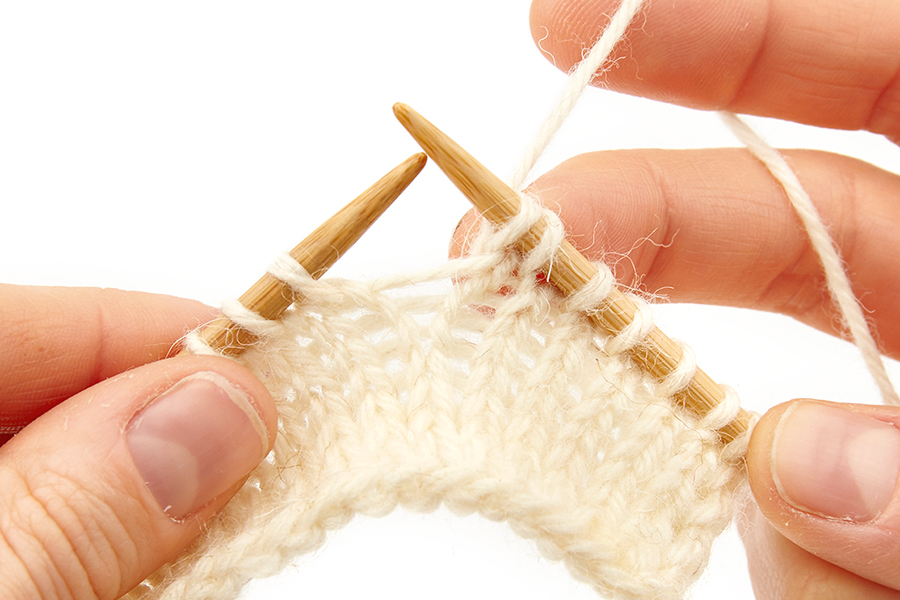
Wrap the yarn around the right-hand needle and knit.

Â
Step 4
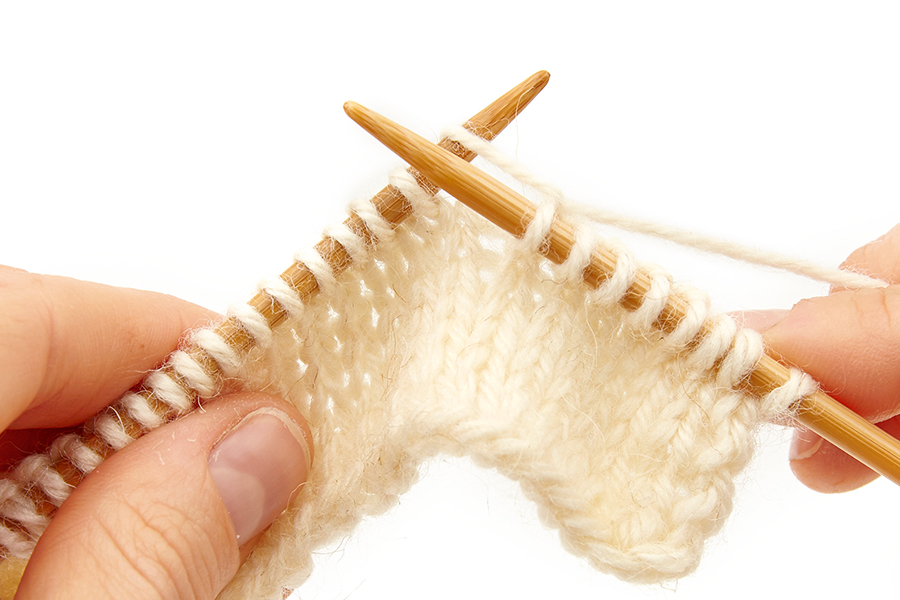
Draw the right-hand needle through, taking the new stitch with it. Slide the loop from the left-hand needle.

M1R knitting increase (make one right)
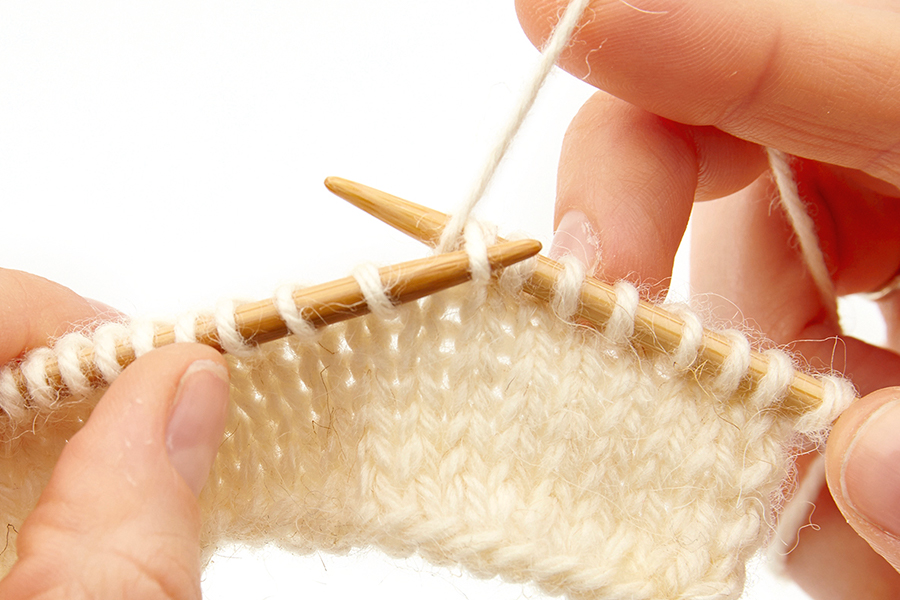
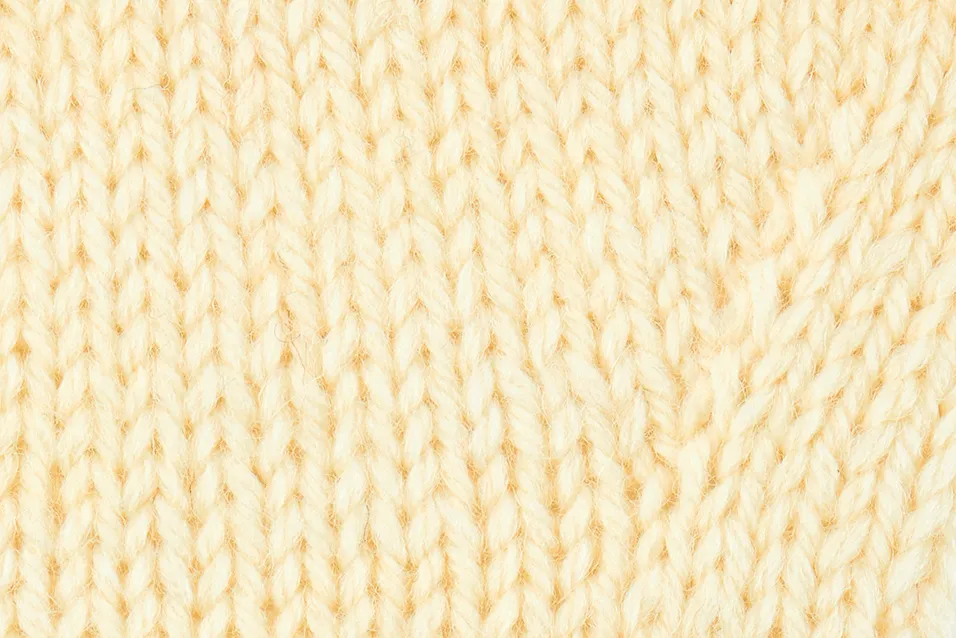
This also increases your stitch count by one but leans to the right instead, mirroring the standard M1L. It’s therefore worked in the opposite way.
Again, it’s important that you pick up and knit the strand in the right way otherwise you could end up with a hole, or with the stitch the wrong way around.

Step 1
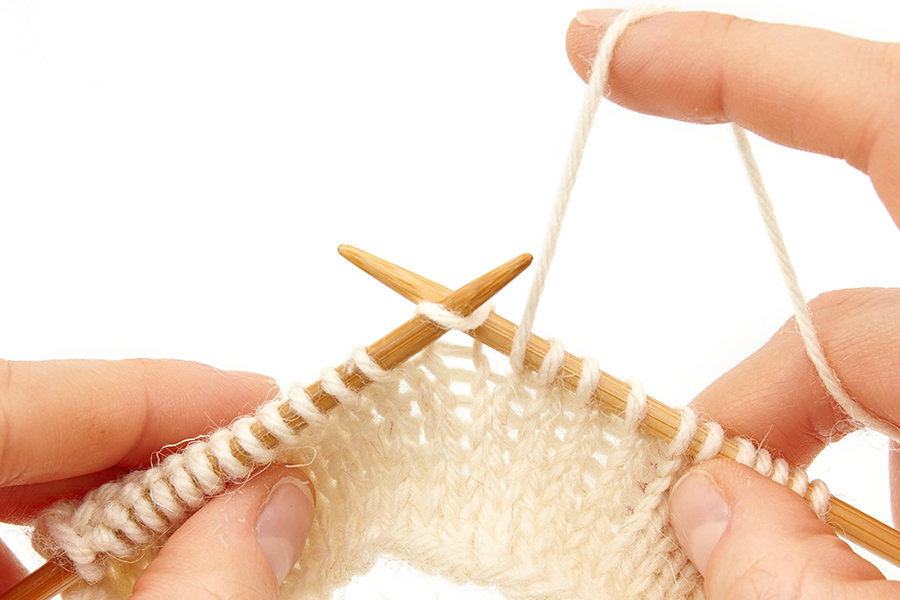
Hold your needles so the tips are a little way apart with the stitches close to the tips. You’ll see a horizontal strand of yarn in between the stitches. Pass the tip of the left-hand needle underneath the strand from back to front.

Step 2
Insert the right-hand needle into the front of the new loop as though to knit. You may need to move the loop near to the needle tip to give you the room to fit the needle in.

Step 3
Wrap the yarn around the right-hand needle as you would for a knit stitch.

Step 4
Draw the right-hand needle through, taking the new stitch with it. Slide the loop from the left-hand needle.

All about knitting patterns
Need help following your pattern? Find out all you need to know in our guide on how to read knitting patterns.

How to increase stitches with KFB (knit front and back)
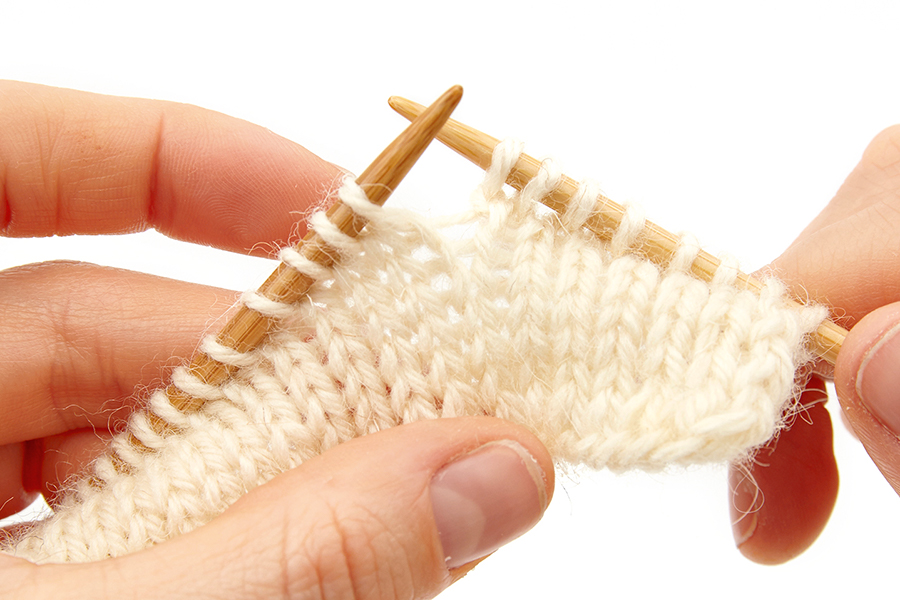
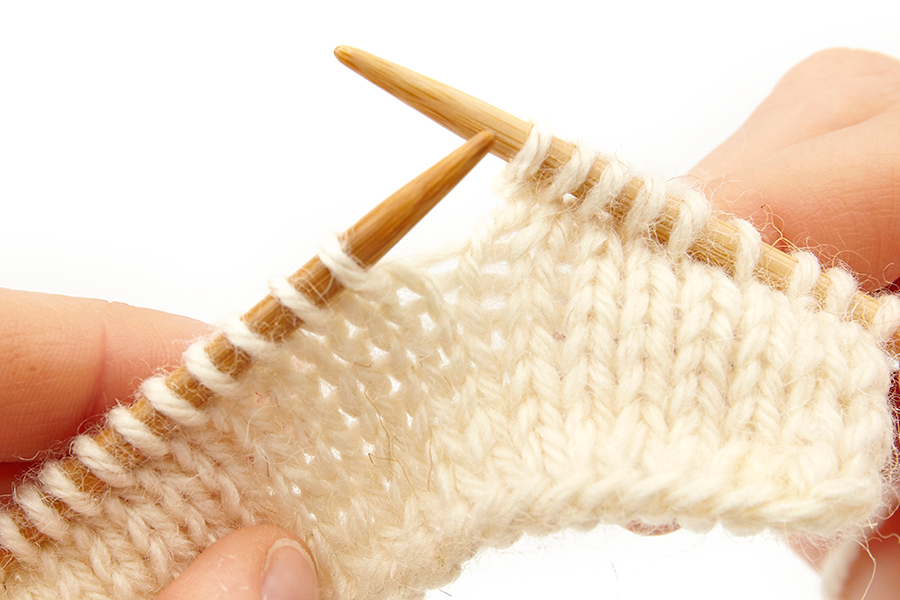
This increase method is easy to work: just knit into the front and back loop of the same stitch to create a textured effect.
You don’t have to worry about getting things mixed up with a kfb – just follow the instructions in the name.
This increase does not create a hole, but it does leave a slightly bumpy texture from twisting the stitch around. It’s perfect for increasing in garter stitch, as the new stitch will be very hard to see.

Step 1
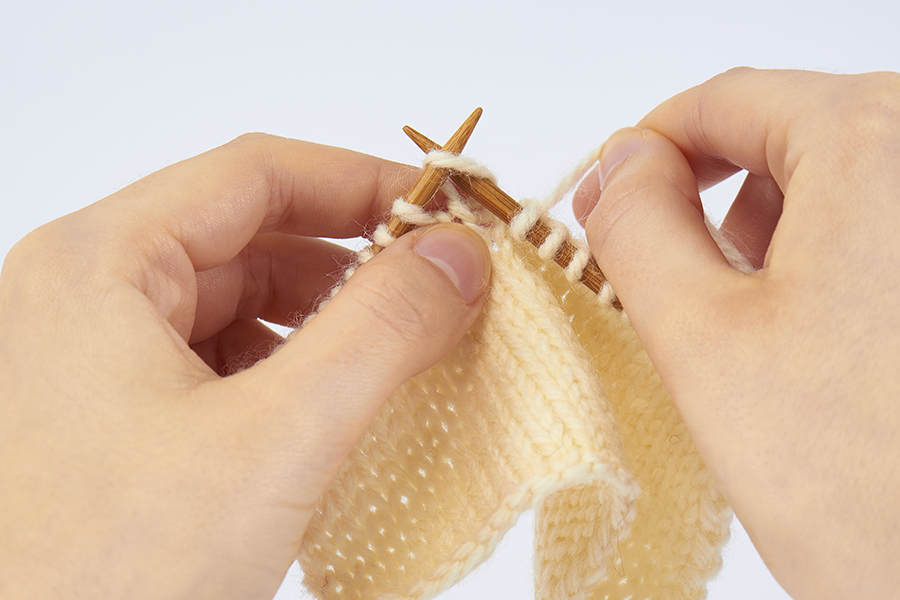
Knit the next stitch, but do not slip the loop from the left-hand needle.

Step 2
Insert the right-hand needle into the back loop of the stitch just worked.

Step 3
Wrap the yarn around the right-hand needle and knit.

Step 4
Draw the right-hand needle through, taking the new stitch with it. Slide the loop from the left-hand needle.

How to increase stitches with a yarn over
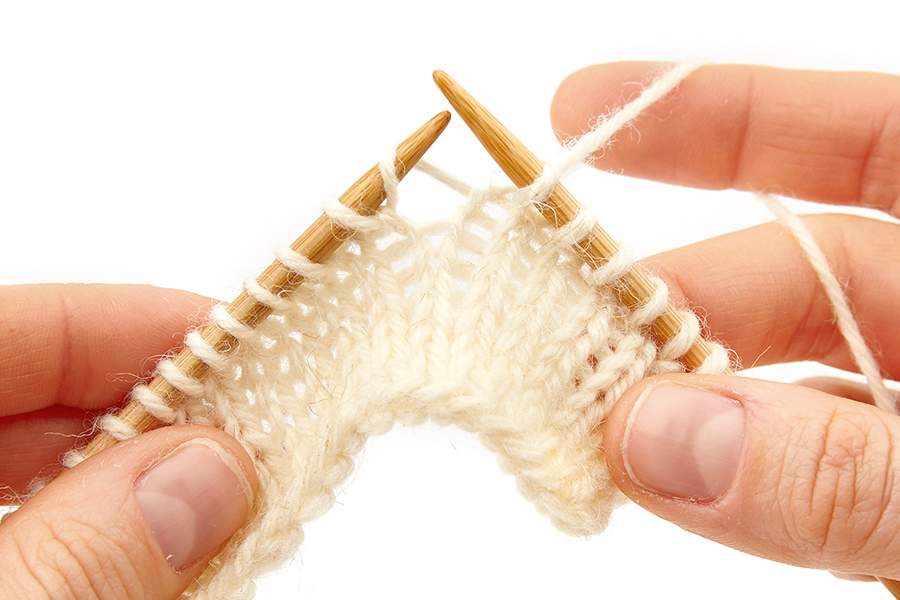
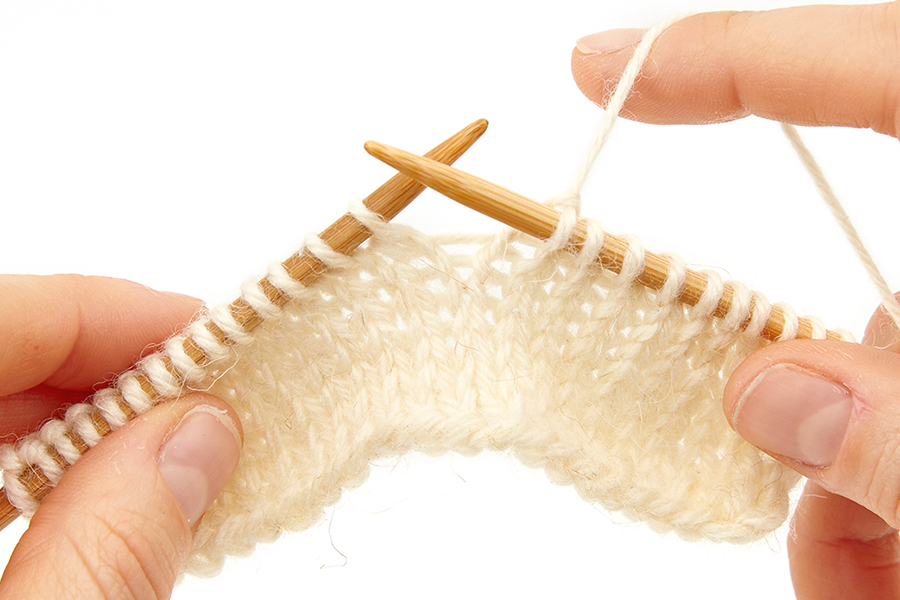
The yarn over (yo) method of adding a stitch is mainly used in lace patterns as it leaves a decorative hole in the fabric.
With a yarn over, it’s really important to get the wrapping of the yarn the right way around – on the knit side you’ll take the yarn from the back to the front and over to the back again, ready to knit the next stitch.
If you want to work a yo increase, but don’t want the hole, knit the yarn over stitch through the back loop on the next row.
Find out how to add a stitch in knitting with a yarn over using our step-by-step guide below.

Step 1
Hold your work with the needle tips near each other and the yarn at the back, as though ready to knit.

Step 2
Bring the yarn between the needle tips and then over the right-hand needle from the front to the back.

Step 3
Insert the right-hand needle into the next st and knit it. Finish your row as usual.

Step 4
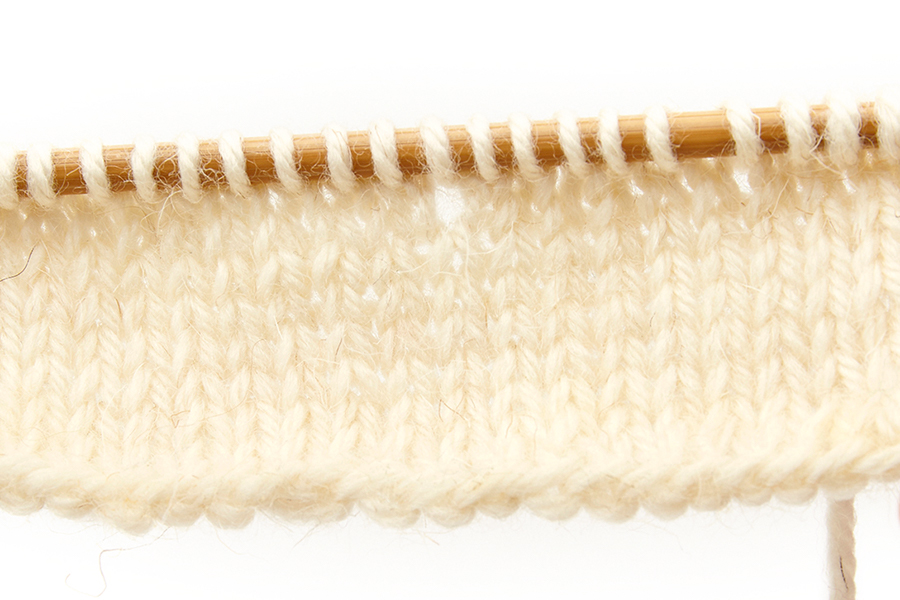
When you have finished the next row, you’ll see a hole created by the yarn over.

How to increase stitches in knitting at beginning of row
The ways to increase in knitting given above generally work best when used at least one stitch in from the edge, or towards the middle of a row.
If your pattern asks you to increase at the beginning of a row, or increase at the end of a row, you’ll usually need to use a cast on technique instead.
Two popular cast ons to use for this purpose are the thumb method and knit-on method.
Which one you choose will depend on how many stitches you need to add and where, so if you’re unsure try both and see which you prefer.

Try different ways to increase stitches in knitting
There are numerous ways to increase stitches in knitting, all with different uses, so have a go at the methods mentioned here and see which ones you prefer.
Having a few techniques at your fingertips is really handy when you come across a pattern that suggests you choose your favourite!
Learn how to decrease in knitting
Now you know your knitting increases, it’s time to learn your decreases too! Find out how to decrease in knitting with Gathered’s guide to k2tog, ssk and many more.