Purl stitch: how to purl in knitting
Purling is easy when you know how! Just reverse the action of making plain knit stitches to create one of the most important stitches you'll learn.

Published:
Once you’ve learned how to do a knit stitch, you’ll find the purl stitch easy peasy. To make purl stitches, you just reverse the action of making plain knit stitches.
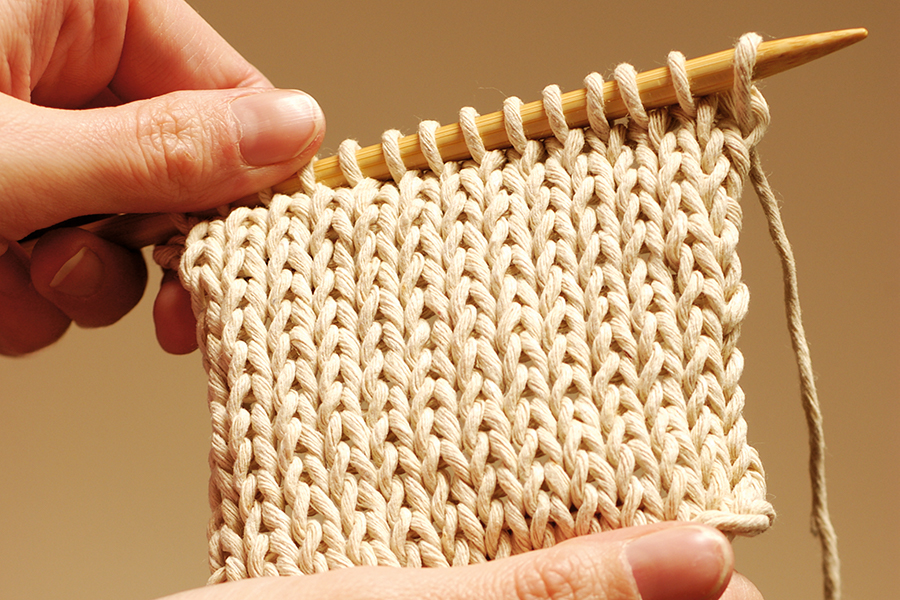
To practise the basic purl stitch, cast on some stitches onto your left needle (if you’re right-handed). We recommend you use double knitting (DK) yarn, a pair of 4mm needles and about 22 stitches to practise with. Follow the instructions below, then once you get to the end of the first row, all your stitches will be on the right-hand needle. Swap the needles over and you’ll be ready for the second row.
If you alternate rows of knitting and purling like this, you’ll create stocking stitch. If you purl every row, because purl stitches are like knit stitches worked in reverse, you’ll create garter stitch!
How to do a purl stitch
You Will Need
- Yarn
- Knitting needles
Step 1
Insert needle from right to left

Holding the needle with all the stitches in your left hand, and ensuring that the yarn is at the front of your work, insert the right-hand needle from right to left through the front loop of the stitch, as shown.
Step 2
Wrap the yarn around

Wind the yarn around the tip of the right-hand needle from right to left, in an anti-clockwise motion, constantly keeping a slight tension on the yarn.
Step 3
Catch the loop of yarn

Now move the right-hand needle back through the stitch, behind the left-hand needle, ensuring that you catch the loop of yarn that you’ve wound around the needle. This creates a stitch on your right needle.
Step 4
Take the stitch off the left needle

Pushing the point of the right needle a little further through the stitch you’ve created, pull the original stitch up and off the left-hand needle. That’s your first purl stitch! Repeat steps 1-4 across the row.
Purling will feel different because you’re working at the front of the needles rather than at the back, so keep going until you feel happy that you’ve got it and you’re comfortable with the technique. 28 rows is a good number and should form a square.
Don’t worry if it looks uneven or messy – simply undo your stitches, cast on some more and have another go. With a bit of practice you’ll be creating neat, even purl stitches in no time!
As with many knitting techniques, there’s more than one way to work a purl stitch. Another method is the Norwegian purl, which involves holding the working yarn in your left hand and is often used in Continental knitting. If you don’t get on with the technique above, why not give it a try?
How to start knitting
Create your first stitches with our easy-to-follow beginner knitting guides.
- Complete guide to knitting for beginners
- How to make a slipknot
- How to cast on knitting
- How to cast off knitting
- How to decrease in knitting
