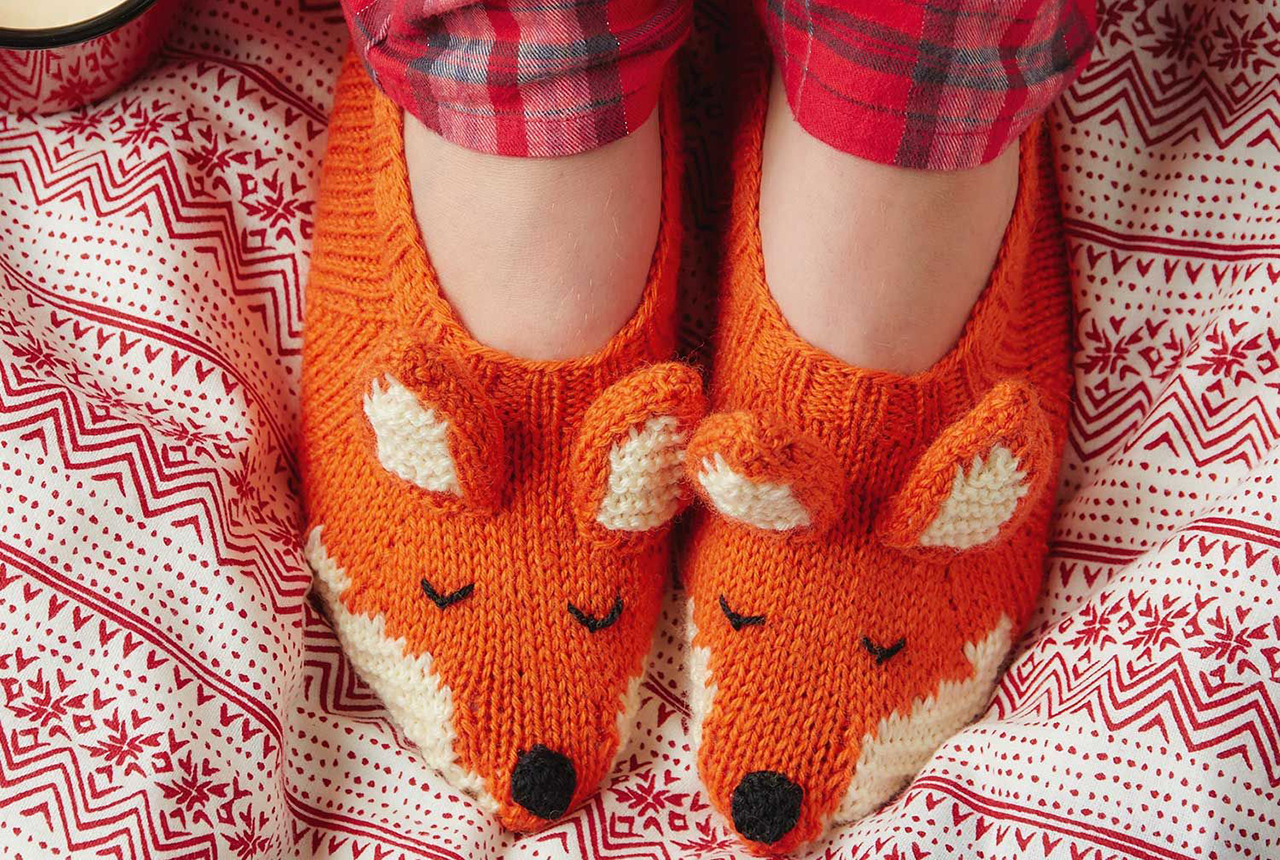
Pattern
Step 1
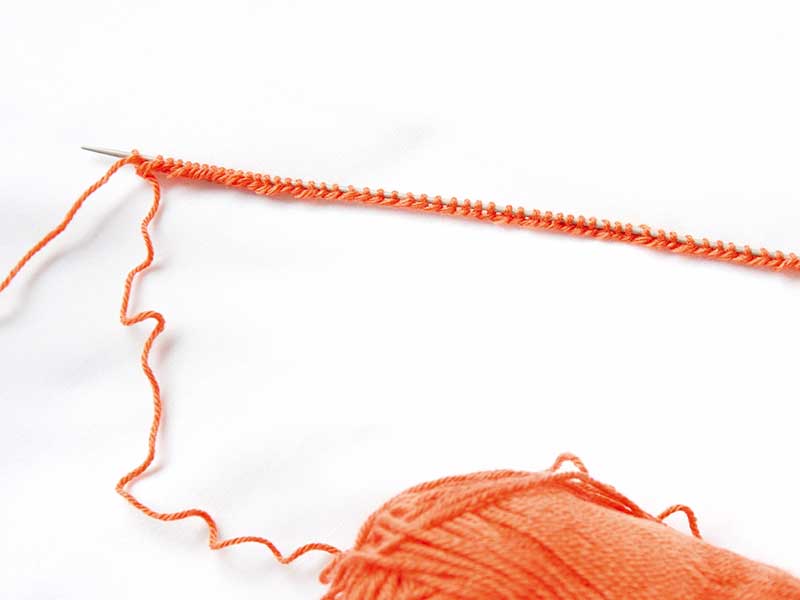
Using the long tail cast on method and 2.5mm needles cast on 72 sts in M, this will form the first row of knitting. Work all stitches in M until otherwise stated. The first 8 rows of the pattern are worked in a 2 x 2 rib, with the cast on row counting as ‘Row 1’.
Pattern
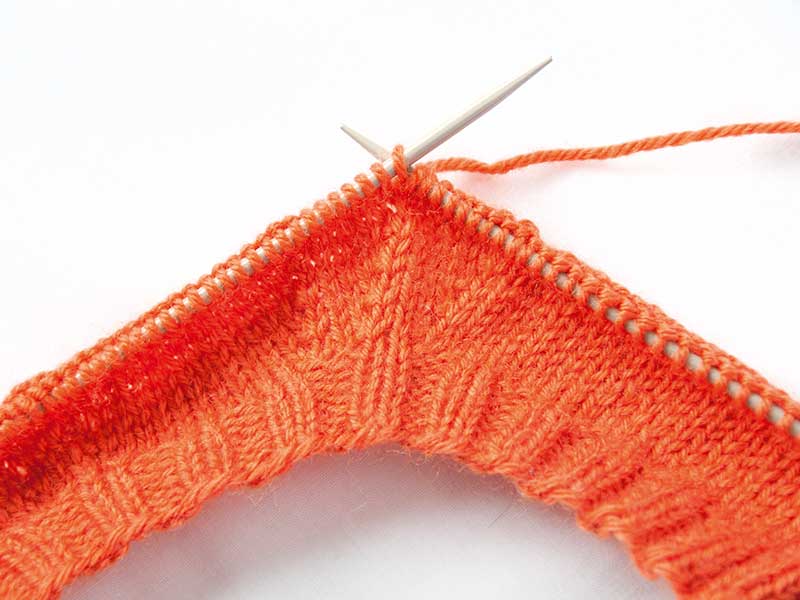
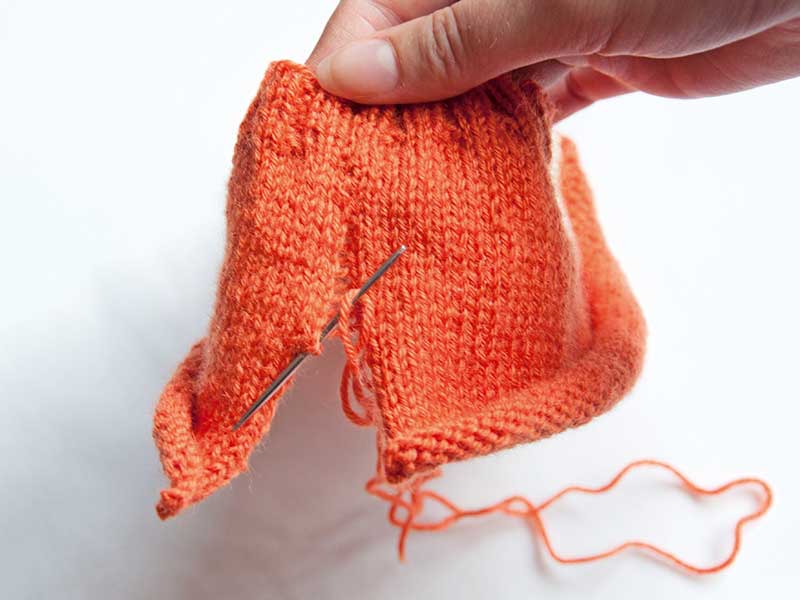
Row 2 *k2, p2; repeat from * to end
Rows 3 to 8 repeat Row 2 Change to 3.5mm needles. To form the shape of the slipper, three sts are increased either side of the central part; there are 27 sts either side of the increase sections and 6 sts in the centre. You’ll see how they are formed after the first couple of rows.
Row 9 k27, (kfb, k1) three times, k6, (k1, kfb) three times, k27 [78 sts]
Row 10 (and all even rows unless otherwise stated) p
Row 11 k27, (kfb, k2) three times, k6, (k2, kfb) three times, k27 [84 sts]
Row 13 k27, (kfb, k3) three times, k6, (k3, kfb) three times, k27 [90 sts]
Row 15 k27, (kfb, k4) three times, k6, (k4, kfb) three times, k27 [96 sts]
Row 17 k27, (kfb, k5) three times, k6, (k5, kfb) three times, k27 [102 sts]
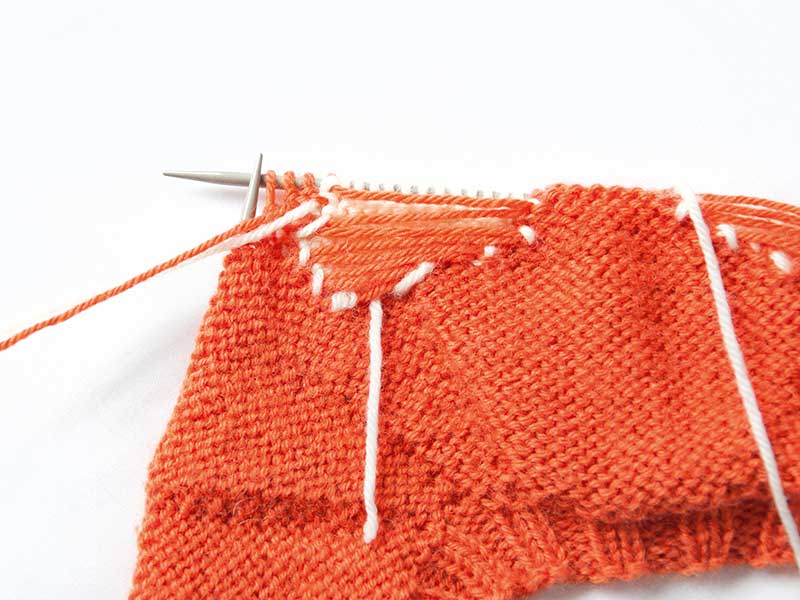
Row 18 purl, adding scrap yarn markers (colour A) on the 43st and 54nd stitches and scrap yarn markers (colour B) on the 59th and 70th stitches. These are a small amount of yarn tied to the instructed stitches and will be used as a guide later when placing the features.
Row 19 k27, (kfb, k6) three times, k6, (k6, kfb) three times, k27 [108 sts]
Row 21 k27, (kfb, k7) three times, k6, (k7, kfb) three times, k27 [114 sts]
Row 23 k27, (kfb, k8) twice, kfb, k22 adding scrap yarn markers (colour D) on the 5th and 8th stitches and scrap yarn markers (colour E) on the 15th and 18th stitches, (kfb, k8) twice, kfb, k27 [120 sts]
Changing colour
Step 1
When changing colour either use the intarsia method or carry the yarn along the back of the piece. We carried the orange across the cream colour changes, attaching a second thread of cream yarn on the other section when needed. Be sure to keep the yarn loose or it’ll pull the piece. The contrast colour is added where the pattern changes, using M for the main colour and C for the contrast. The cream cheeks are knitted in garter st (knit on each row), however when adding the cream on the wrong side, purl it, then change to knit for the already formed cream sts, as the pattern instructs. This ensures no ‘wrong side’ garter bumps are added on the right side of the piece.
Pattern
Step 1
Row 25 k27M, kfb in M, k9M, kfb in M, k4M, k5C, kfb in M, k24M, kfb in M, k5C, k4M, kfb in M, k9M, kfb in M, k27M [126 sts]
Row 26 p44M, k5C, p4C, p20M, p4C, k5C, p44M
Row 27 k44M, k11C, k16M, k11C, k44M
Row 28 p44M, k11C, p2C, p12M, p2C, k11C, p44M
Row 29 k44M, k14C, k10M, k14C, k44M
Row 30 p45M, k13C, p1C, p8M, p1C, k13C, p45M
Row 31 k46M, k13C, k8M, k13C, k8M
Row 32 p47M, k12C, p8M, k12C, p47M
Row 33 k48M, k11C, k8M, k11C, k48M
Row 34 p49M, k10C, p8M, k10C, p49M
Row 35 k50M, k9C, k8M, k9C, k50M
Row 36 p51M, k8C, p8M, k8C, p51M
Row 37 k52M, k8C, k6M, k8C, k52M
Row 38 p53M, k7C, p6M, k7C, p53M
Row 39 k54M, k7C, k4M, k7C, k54M
Row 40 p55M, k6C, p4M, k6C, p55M
Row 41 cast off in M and weave in the loose ends.
Ears, front panels (make two)
Step 1
Using the long tail cast on method and 3.5mm needles cast on 12 sts in M, this will form the first row.
Row 2 p
Row 3 k3M, k6C, k3M
Row 4 p3M, p6C, p3M. Repeat the last two rows three more times.
Row 11 k1M, skp in M, k1M, k4C, k1M, k2tog in M, k1M [10 sts]
Row 12 p3M, p4C, p3M
Row 13 k1M, skp in M, k1M, k2C, k1M, k2tog in M, k1M [8 sts]
Row 14 p3M, p2C, p3M
Row 15 work all sts in M from here on. k1, skp, k2, k2tog, k1 [6 sts]
Row 16 p
Row 17 k1, skp, k2tog, k1 [4 sts]
Row 18 p
Row 19 cast off and weave in the loose ends.
Ears, back panels (make two)
Step 1
Using the long tail cast on method and 3.5mm needles cast on 12 sts in M, this will form the first row.
Row 2 p
Rows 3 to 10 work in st st (k one row, p one row)
Row 11 k1, skp, k6, k2tog, k1 [10 sts]
Row 12 p
Row 13 k1, skp, k4, k2tog, k1 [8 sts]
Row 14 p
Row 15 k1, skp, k2, k2tog, k1 [6 sts]
Row 16 p
Row 17 k1, skp, k2tog, k1 [4 sts]
Row 18 p
Row 19 cast off and weave in ends.
Tail
Step 1
Using the long tail cast on method and 3.5mm needles cast on 12 sts in M, this will form the first row.
Row 2 and all even rows p
Row 3 *kfb, k2; repeat from *to end [16 sts]
Row 5 *kfb, k3; repeat from * to end [20 sts]
Row 7 *kfb, k4; repeat from * to end [24 sts]
Row 9 k
Row 11 k
Row 13 k
Row 15 work all stitches in C from here on, *k4, k2tog; repeat from * to end [20 sts]
Row 17 *k3, k2tog; repeat from * to end [16 sts]
Row 19 *k2, k2tog; repeat from * to end [12 sts]
Row 21 *k1, k2tog; repeat from * to end [8 sts]
Row 23 *k2tog; repeat from * to end [4 sts]
Row 24 cast off purlwise and weave in the loose ends.
Nose
Step 1
To make your fox slippers little noses use the long tail cast on method and 3.5mm needles cast on 12 sts in black, this will form the first row.
Row 2 p
Row 3 *k2tog; repeat from * to end [6 sts]
Row 4 p
Row 5 *k2tog; repeat from * to end [3 sts]
Row 6 cast off purlwise and weave in the loose ends.
Making up
Step 1
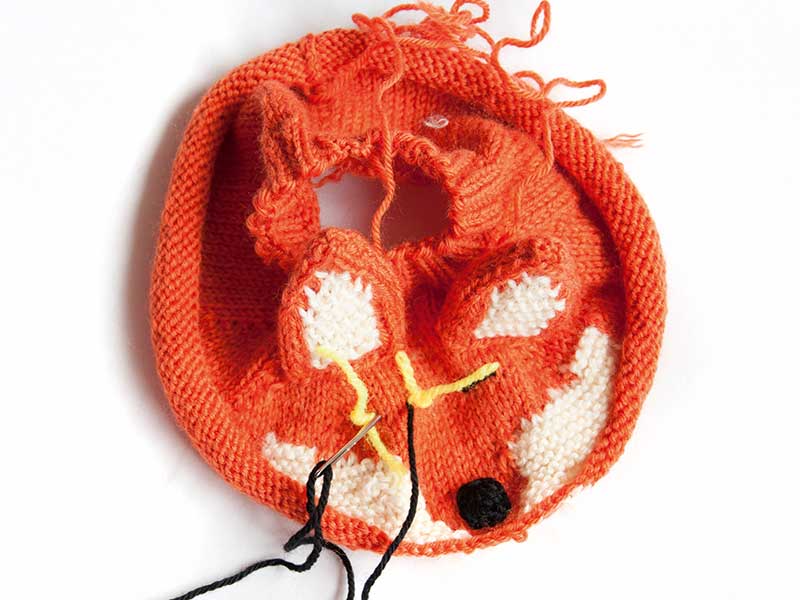
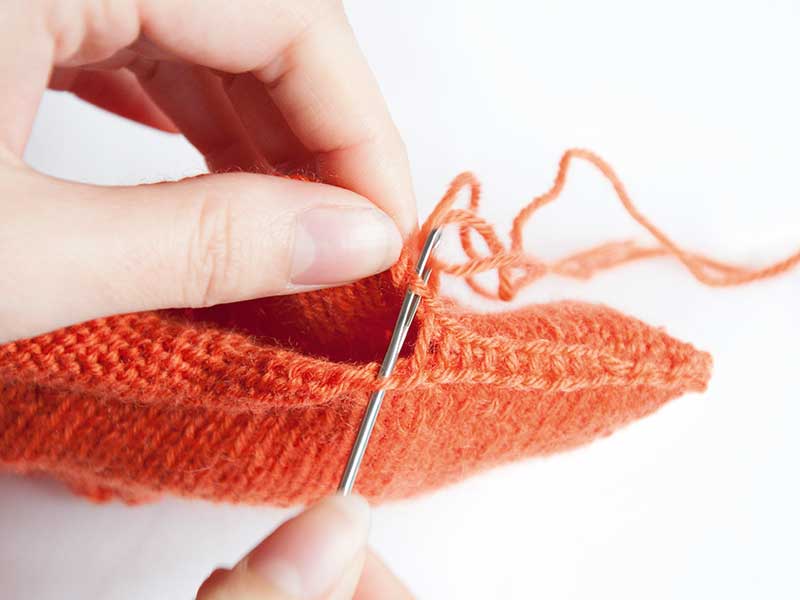
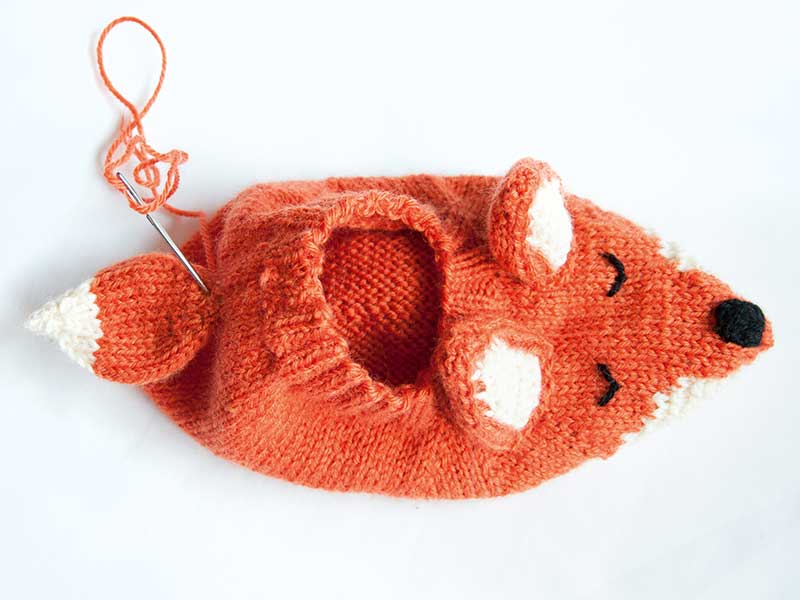
Lay the slipper flat and place the two sides together, forming an oval. Then sew up the back seam, from the cast on edge to the cast off edge. Sew up using a mattress stitch in M. Take a front ear piece and back ear piece and place wrong sides (WS) together. Pin and sew up in a mattress stitch in M, leaving the cast on edges open. Repeat for the second ear. Take the tail and match the two edge seams WS together. Pin and sew up from the cast on edge to cast off edge using a mattress stitch in M.
Step 2
Use the scrap yarn markers as a guide for placing the fox’s features. Take the first sewn up ear and place between the set of Colour A scrap markers. Pin and sew into place using M. Then repeat for the second ear, placing it between the Colour B scrap markers and sewing into place. Remove the markers.
Step 3
Embroider each eye on to the face between the scrap yarn Colour D and E markers. Do this by loosely sewing a straight line in the black yarn from marker to marker, then loop it downwards to form the eye. Add small stitch at the bottom of the loop to secure it in place and weave in the loose ends. Remove the markers. Place the nose at the centre of the snout, leaving a little space at the end for your fox slippers to be sewn up. Sew into place using black yarn then weave in the loose ends.
Step 4
Lay the fox slippers so the cast off edge is facing up. Then pin it together. When sewing up this seam just sew from the outer stitch of the cast off edge to the other outer cast off edge in M. Pull it tightly after a few stitches, but be careful not to pull it too tightly as the soles of your fox slippers need to stay flat and comfortable. Weave in all the loose ends.
Step 5
Place the tail a third of the way down from the cast on edge on the back of the seam of the slipper. Sew into place using M and weave in the loose ends. Viola! One pair of cosy fox slippers for adults – you could make matching pairs for your cubs, too.


