Step 1


Cut out all felt fox pattern pieces from the templates. Line up the edge of the head gusset with one of the body sides and sew together, starting at the nose and working down towards the nape of the neck. Repeat with the other body side.
Step 2

Use the erasable pen to mark the leg darts onto both underside pieces as per the template. Sew the pieces together along the top curved edge using whipstitch.
Step 3

Fold the felt under along the line marked and sew up the four leg darts along the curved dashed line using backstitch. Make sure to sew through both layers of felt.
Step 4

Line up the legs of the underside piece and the legs of the body side pieces with wrong sides (WS) together and pin in place.
Sew the edges together, leaving both the bottom of the front legs and the straight edge of the back open. The seam from the nose to the underside forms the fox’s chin.
Step 5

Gently push small pieces of stuffing into the furthest part of each piece, taking care to fill out the tip of the toes and nose. Use the opening at the bottom part of the front legs to fill these. Close up the open seams and sew the front foot pads to the bottom of each front leg using ladder stitch.
Step 6


Mark the placement line shown on the template onto the orange tail pieces with erasable marker, then backstitch the white tail tips onto both the tail pieces. Place the pieces with WS together and whip stitch around the curved edges, leaving an opening at the end. Stuff, making sure to fill the tip of the tail.
Step 7

Sew a simple running stitch around the edge of the tail piece. Pull it tight to gather the thread, then knot off to secure. Pin the tail to the body and sew in place with ladder stitch as shown.
Step 8

Glue the white and orange parts of the ear together and sew onto the fox’s head using ladder stitch. Making sure it’s sitting symmetrically, attach the white bib to the front of the fox using fabric glue or small stitches.
Mark on the fox’s eyes, nose, whiskers and fur detail as per the template. Using three strands of embroidery thread, add the nose using satin stitch, then add small stitches sewn on top of each other for the eyes. Use straight stitch to sew the mouth, whiskers and fur.
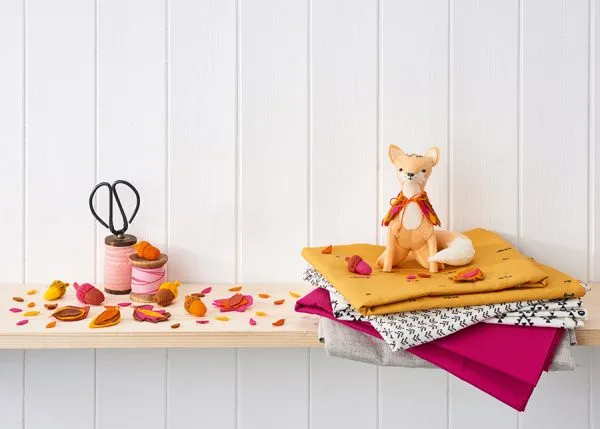
Making the accessories for your felt fox
Step 1

To make the cape, cut out the cape and 35-40 cape leaves from the templates here. Lay a row of leaves along the bottom edge, attaching with fabric glue. Add a row above that slightly overlaps, then repeat until the cape is covered. Sew a length of embroidery thread either side of the neck of the cape to create a tie.
For more fox projects check out these makes:
Step 2

If you’d rather give your fox a leafy chest, cut out several small cape leaf shapes. Attach a row of leaves just up from the bottom of the white bib with fabric glue. Add a row above that slightly overlaps, then repeat until the bib is covered.
Step 3


To make an acorn, cut out either the small or large acorn pieces from the templates. Sew the acorn body pieces together along the curved edge using whip stitch, leaving the top open. Stuff, then put to one side. Sew a running stitch around the edge of the acorn cap, then pull to gather it slightly.
Step 4

Place the gathered cap over the acorn body, then pull the thread until it sits snugly over the top. Stitch around the edge to secure.
Step 5

Roll the stalk piece along the length and sew using whipstitch to form the acorn stem. Attach to the centre of the acorn cap using ladder stitch.
Step 6

To make the layered leaves, cut out all three pieces of each leaf from the templates. Place on top of each other in size order with the smallest on top, then sew down the middle using running stitch. To create a stalk effect, leave a tail of thread at the bottom when cutting.