How to make a cross stitch elf tree decoration

Join the festive frolics with our cheeky elf tree decoration designed by Heather Nugent. We show you how to make the 3D bauble using the exclusive kit with your issue of The World of Cross Stitching.

6 issues of The World of Cross Stitching magazine for £9.99|Save 75%

Published: October 30, 2021 at 6:31 am

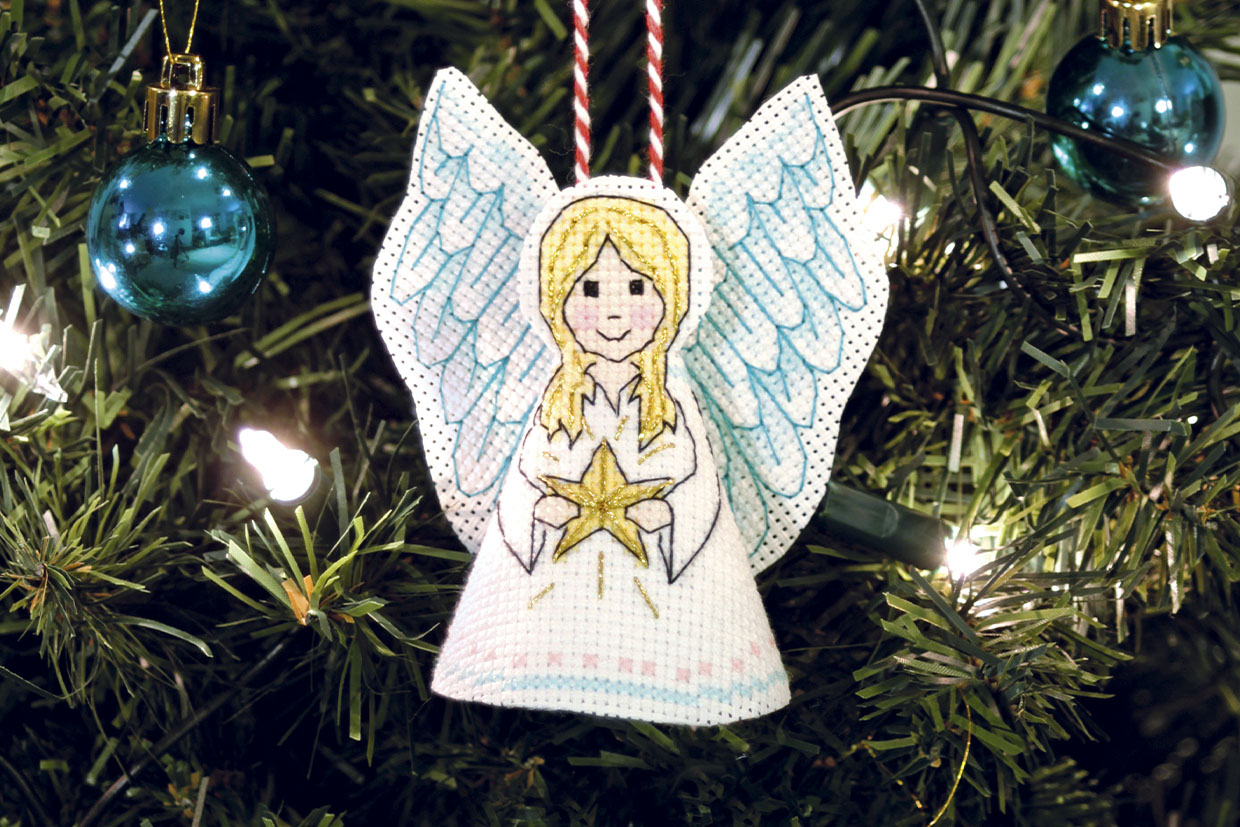
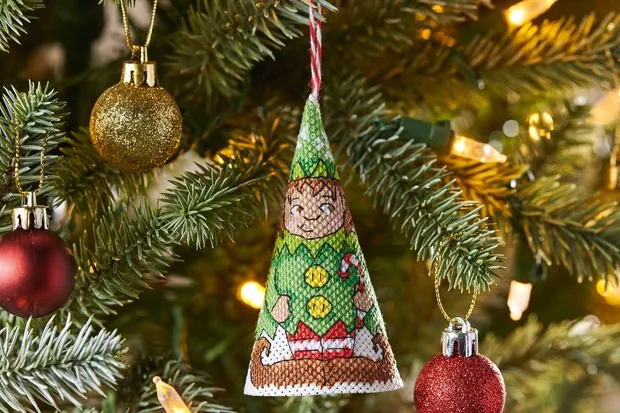
Every year,  The World of Cross Stitching launches a 3D cone decoration, just in time for Christmas! For 2023, in issue 340, a cool snowman joined the team (if you missed out, you can still buy back issues). And to keep adding to your collection, we’ve included the chart and instructions for the jolly elf bauble kit from 2021. This festive friend was originally introduced in an exclusive cross stitch gift with issue 314 (Special 2021).

This project is perfect for beginners and you’ll have it stitched and ready for your Christmas tree in no time! Here, we show you how to stitch and make the tree hanging.

If you haven't yet created your cross stitch and want some advice or guidance on the best techniques and top tips for getting started be sure to head over to our guide on how to cross stitch.

You will need:

  • 14-count plastic Aida
  • Stranded cotton: White, pink, yellow, red, brown, light brown, dark green, green, light green, beige, black
  • Size 24 tapestry needle
  • Red baker’s twine
  • Elf cross stitch chart and key

Elf cross stitch video tutorial:

You will need:

  • 14-count plastic aida
  • Stranded cotton
  • Baker's twine
  • Tapestry needle

Total time:

15 hours including cross stitch

Step 1

Use a ruler to find the centre of the plastic aida and start stitching the centre of the design from there.

Step 2

Once you’ve finished stitching, cut a border of one square around the edge of the stitched design, following the cutting line on the chart as a guide. Round off the bottom in a continuous cut for a nice smooth edge.

cross stitch elf

Step 3

Create a loop with your baker’s twine and tie the ends together in a double knot.

cross stitch elf

Step 4

Bend the plastic aida to line up the straight edges. Starting at the bottom of the presents, use whipstitch to stitch the edges together, working towards the top of the elf’s hat. (You may wish to change the colour of the thread as you go to match the design.) As you get close to the top, insert the baker’s twine with the knot inside the cone, then continue whipstitching to the top and secure the thread ends.

cross stitch elf

Step 5

Now hang on your Christmas tree!

Elf tree decoration kit

Get the set of 3D cross stitch decorations

If you loved making this elf cross stitch decoration, you’ll enjoy collecting and stitching the whole set of 3D baubles for your Christmas tree – find a friendly Santa (issue 288, Christmas 2019), angelic angel (issue 301, Christmas 2020), cheeky elf (issue 314, Special 2021) and Rudolph the reindeer (issue 325, Nov 2022) and cool snowman (issue 340, Xmas 2023) of The World of Cross Stitching.

Do more festive cross stitch with Gathered

We also have the angel cross stitch decoration available to stitch.

angel cross stitch