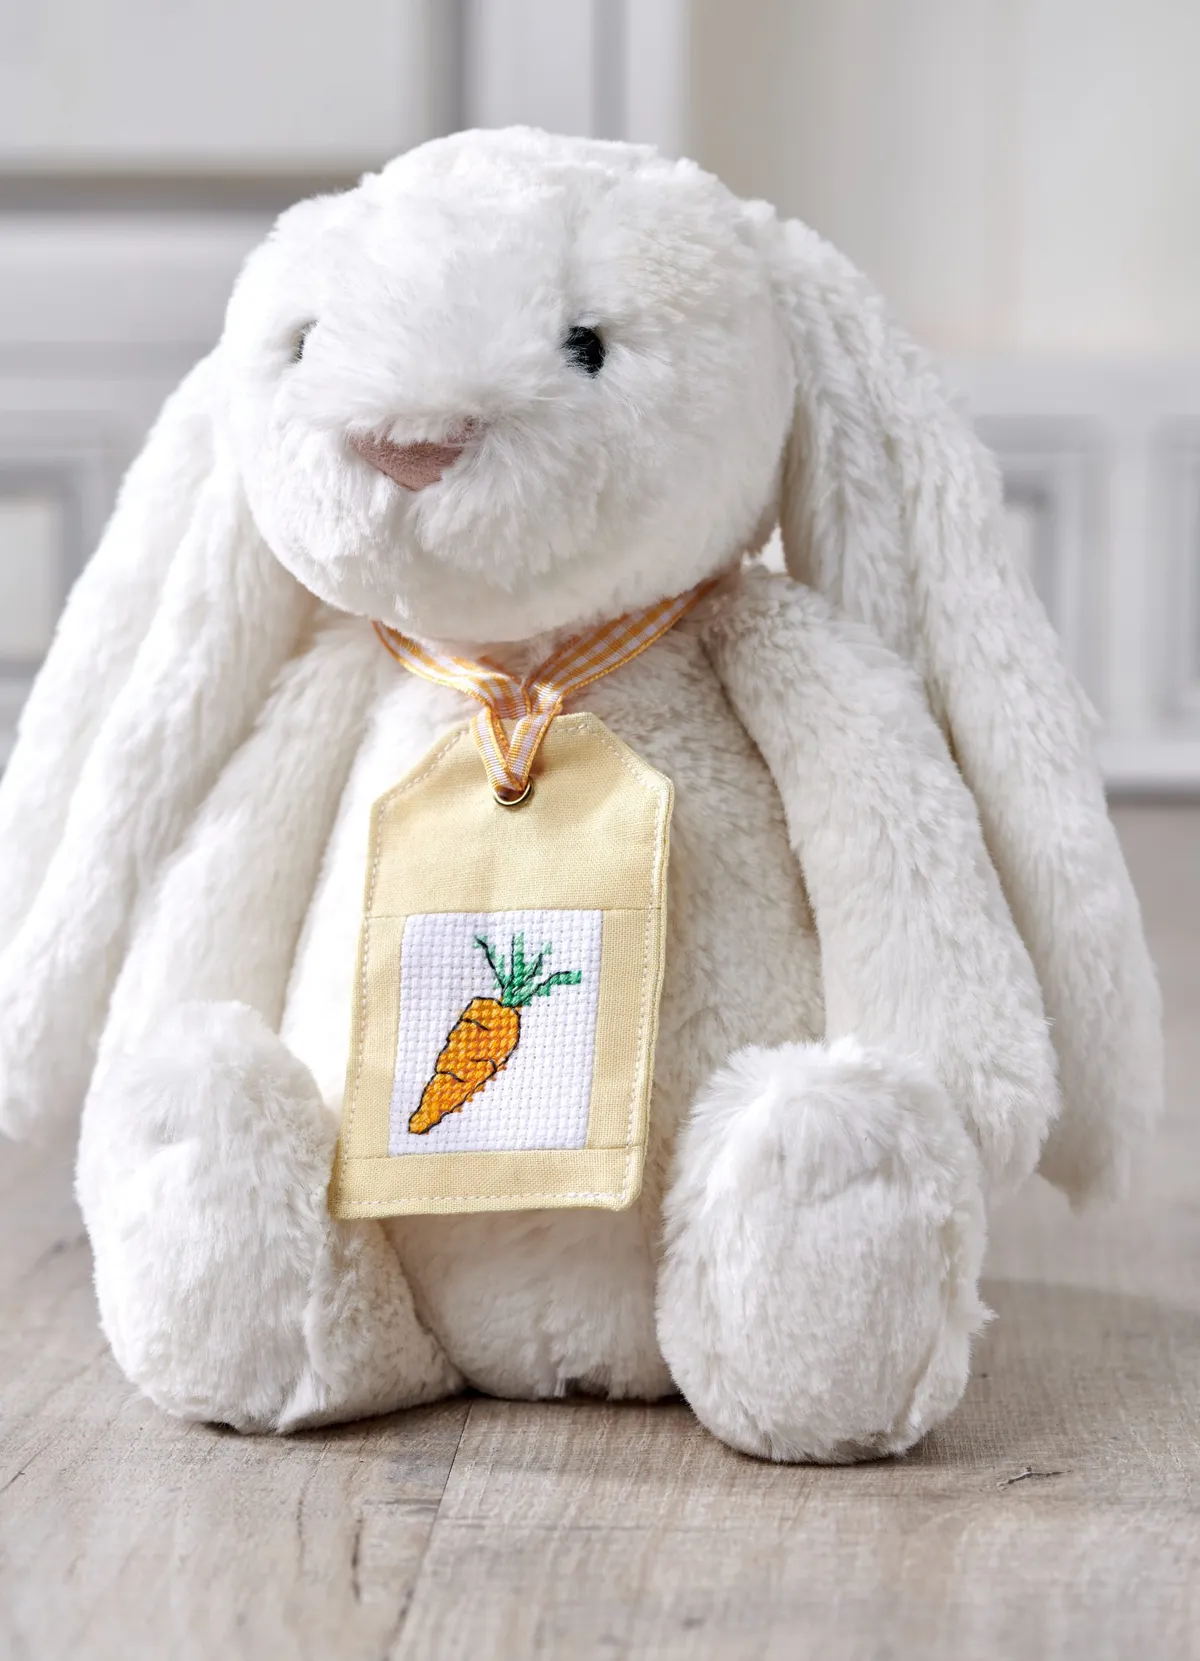
Follow our easy-sew tutorial to turn your stitching into a reusable fabric gift tag.
We've used a simple carrot motif from the Farmyard Design Library in The World of Cross Stitching issue 293 (May 2020) but you can use any small motif or backstitch greeting to make your fabric tag.
Main image: The World of Cross Stitching issue 293, designed by Lucie Heaton.
How to make a fabric tag:
Step 1
Cut out your stitching with a 1.5cm (½in) border. Cut two fabric side panels the same height as your stitched piece and 3cm (1¼in) wide. Stitch the fabric side panels in place, with right sides facing and a 1cm (¼in) seam, then press open.
Step 2
Cut out a top fabric panel measuring 6cm (2¼in) high x the width of your stitched panel and a bottom panel measuring 3cm (1¼in) high x the width of your stitched panel. Stitch both fabric panels in place, with right sides facing and a 1cm (¼in) seam, then press open.
Step 3
On the reverse of your front panel, mark out your desired tag shape and then trim with a 1cm (¼in) seam allowance. Cut out a back fabric panel to match.
Step 4
Place the front and back panel together, with right sides facing, and then stitch together along your marked seam line, leaving a 3cm (1¼in) gap for turning. Snip away excess fabric from the corner seams, turn through and press.
Step 5
Sew a line of stitching around the outer edge of the tag, this will close up the gap but also gives the tag a neat finish.
Step 6
Mark the position of the eyelet by finding the central point of the width of tag – do this by measuring the width and then dividing it by 2. Then mark this point approximately 1.5cm (½in) down from the top of the tag. Cut a small hole through both layers of fabric to help the eyelet penetrate and then insert your eyelet using your preferred method (we used eyelet pliers). Finish with ribbon of your choice.

