
Paper cutting has become a hugely popular craft over the last few years. It involves carefully cutting out a design through a piece of paper with a sharp knife. The areas of the paper left are the light areas of the design and the cut-out areas become the darker contrast which then can be layered on top of any coloured background.
Paper cutting is a little fiddly to get used to (like a lot of crafts!). But once you have the right tools that you’re comfortable using it becomes a very relaxing and mindful craft. Start with a simple design first and when you get a feel for the movements required when paper cutting you will gain confidence and really see improvements.
There are lots of paper cutting templates available online to help start you on your paper cutting journey. We even have a collection of 31 paper cutting templates here on Gathered.
If you love drawing then why not have a go a creating your own design? The beauty of any design as it can be personalised if required, making an ideal gift, particularly for a wedding, birth or special birthday.
You need very few materials and tools to try paper cutting, and you may have most of them in your crafty stash already. The creative possibilities within this craft are endless, all achieved with just a knife and a sheet of paper.
First I'm going to show you which materials you need. Then I have a step-by-step paper cutting tutorial for you!
What materials do you need for paper cutting?
Paper!
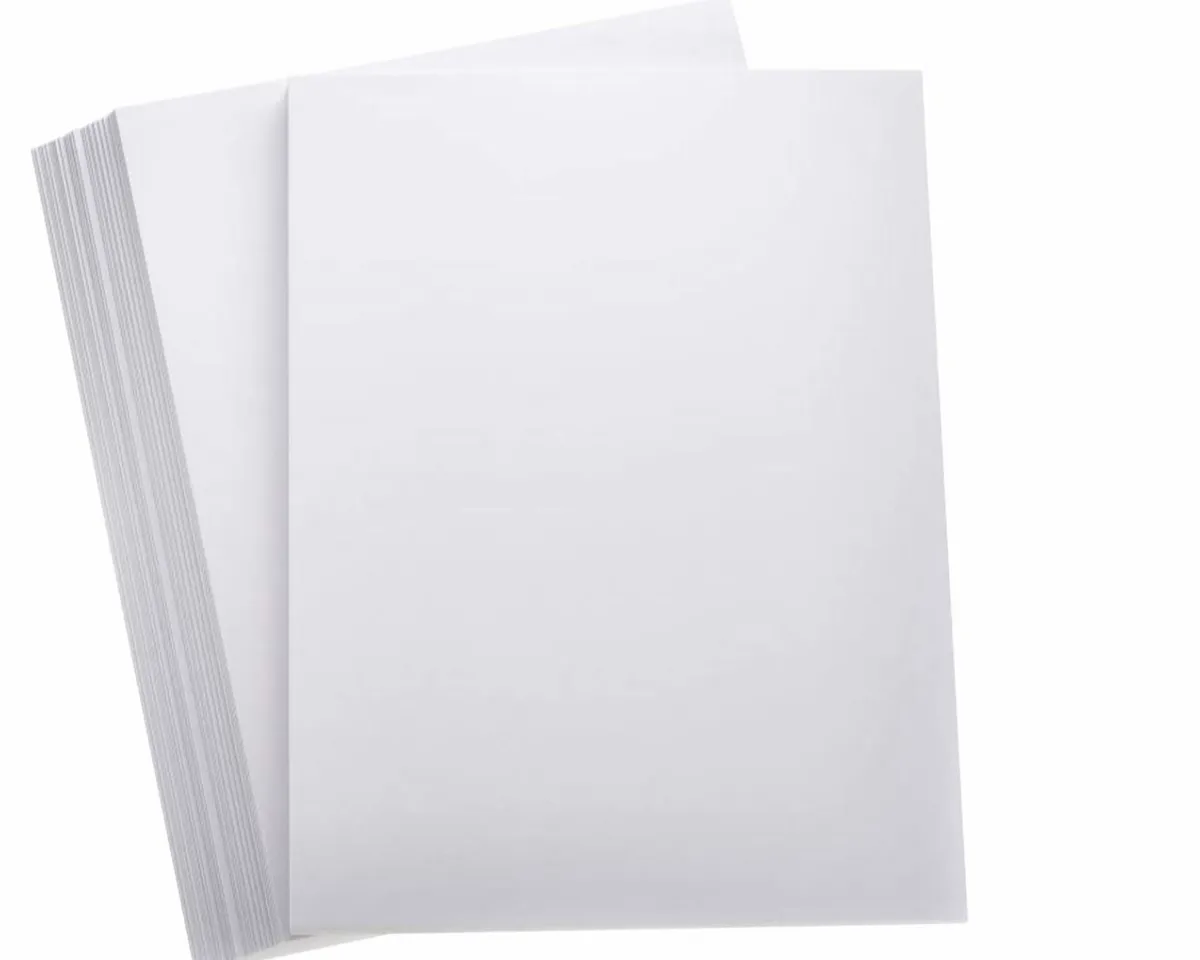
First things first, you’ll need some paper! A smooth, durable paper is what you need, ideally of around 160 GSM (grams per square metre). The more GSM, the heavier the paper).
This will allow the knife to cut through the paper easily while reducing the risk of tearing. Anything more than 200 GSM will be difficult to cut through and may make your hand ache from pressing so hard on the knife.
Knife
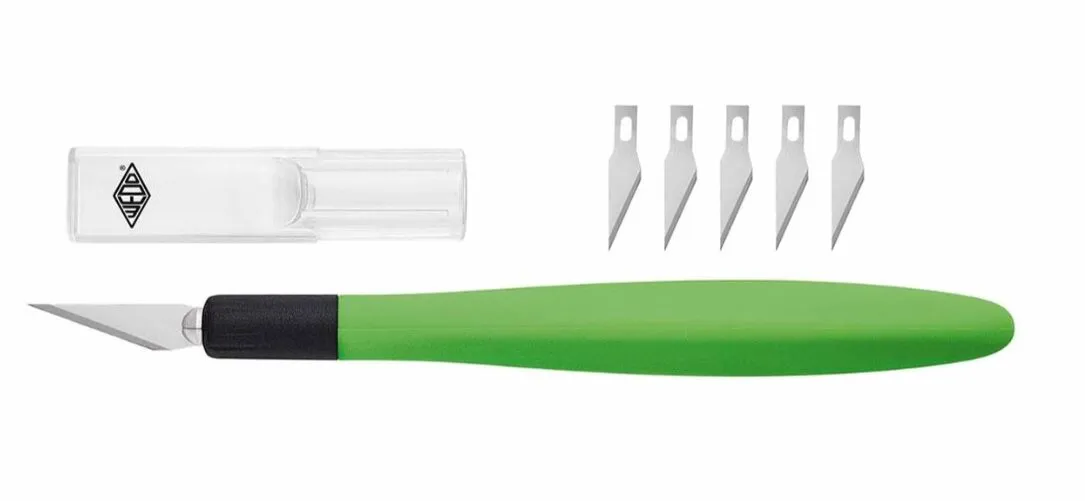
A thin but sturdy knife will be required, ideally one that comes with replacement blades. The key to achieving a neat finish when paper cutting is making sure your knife is super-sharp so it can be manoeuvred easily through the paper and not leave rough edges or tears.
Cutting Mat
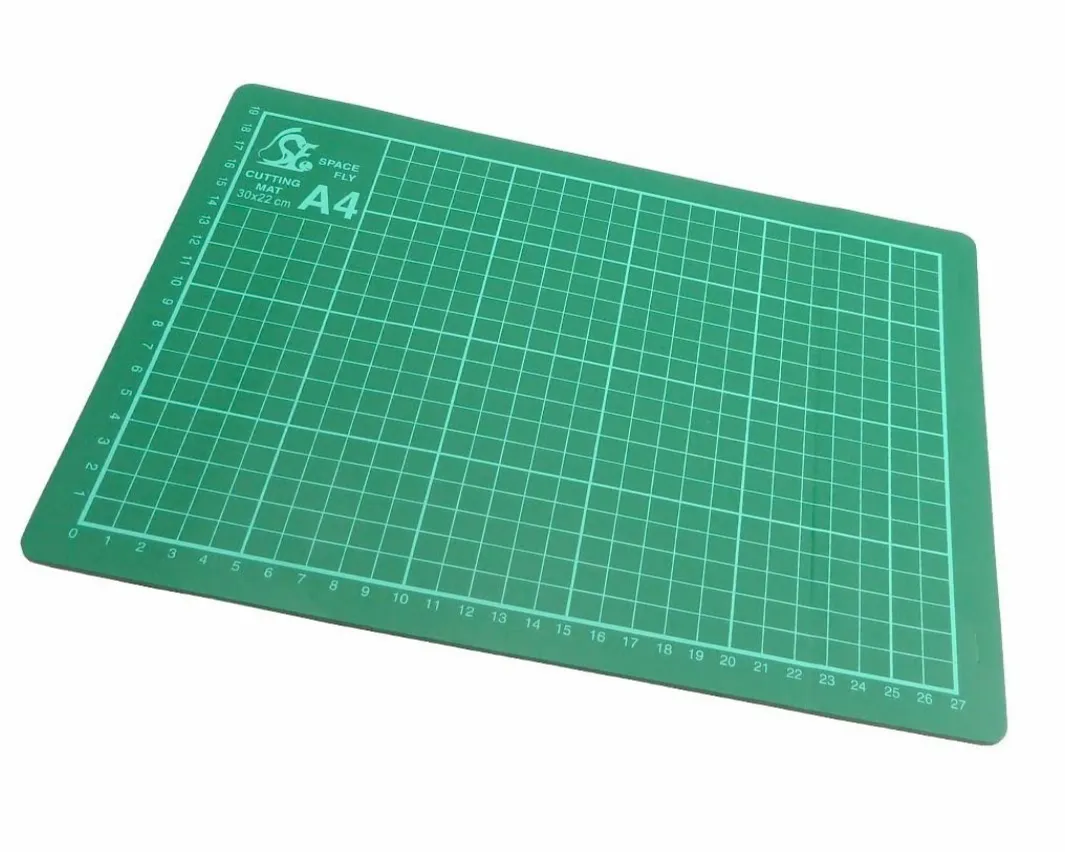
To avoid damaging your work surface you’ll need a cutting mat to protect it. A self-healing cutting mat will provide a slip-free work surface and will help keep the paper secure by stopping it from slipping. As it's self-healing, it will be extremely durable and can be used time and time again.
Metal Ruler
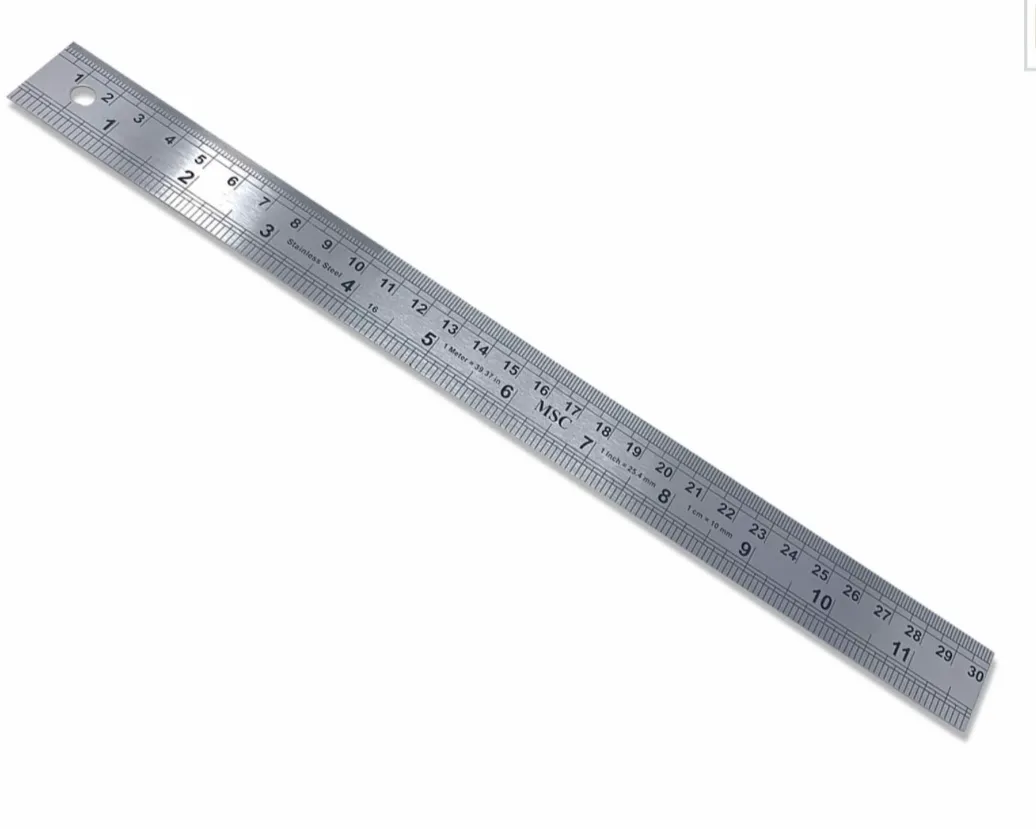
A metal ruler will help achieve a neat, accurate finish to any areas of the design that have straight lines that need cutting. A metal ruler can’t be accidentally cut into by the knife and so won’t get damaged.
Tracing Paper
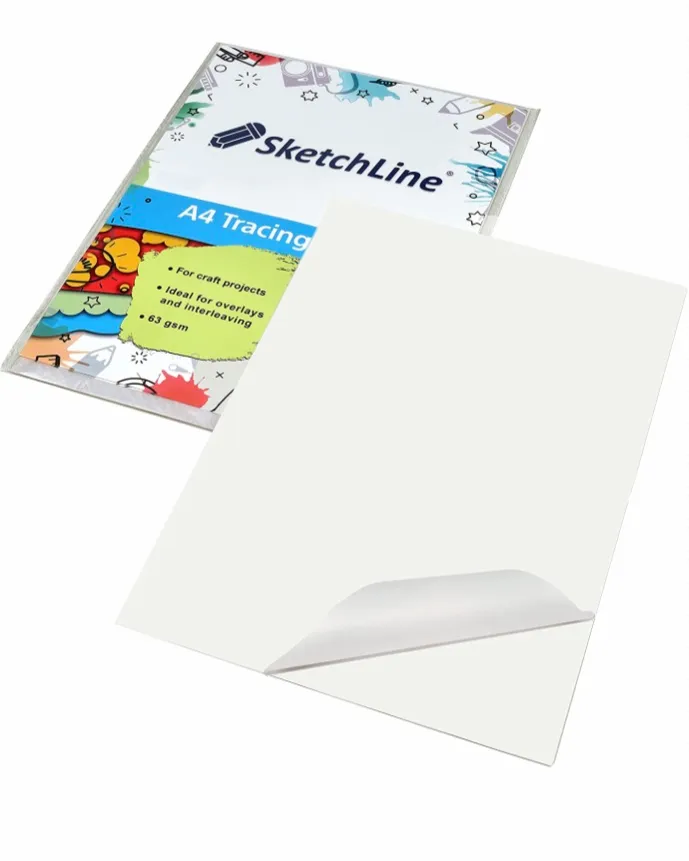
High transparency tracing paper will allow the design to be copied easily and accurately. The smooth surface will mean a pencil will work neatly over it.
Alternatively, a paper cutting blade kit

This comprehensive 65 piece kit is a great paper cutting starter kit. It contains plenty of blades to keep you paper cutting for months, plus three craft handles, a self-healing cutting mat and a metal ruler.
How to create paper cut art
You will need:
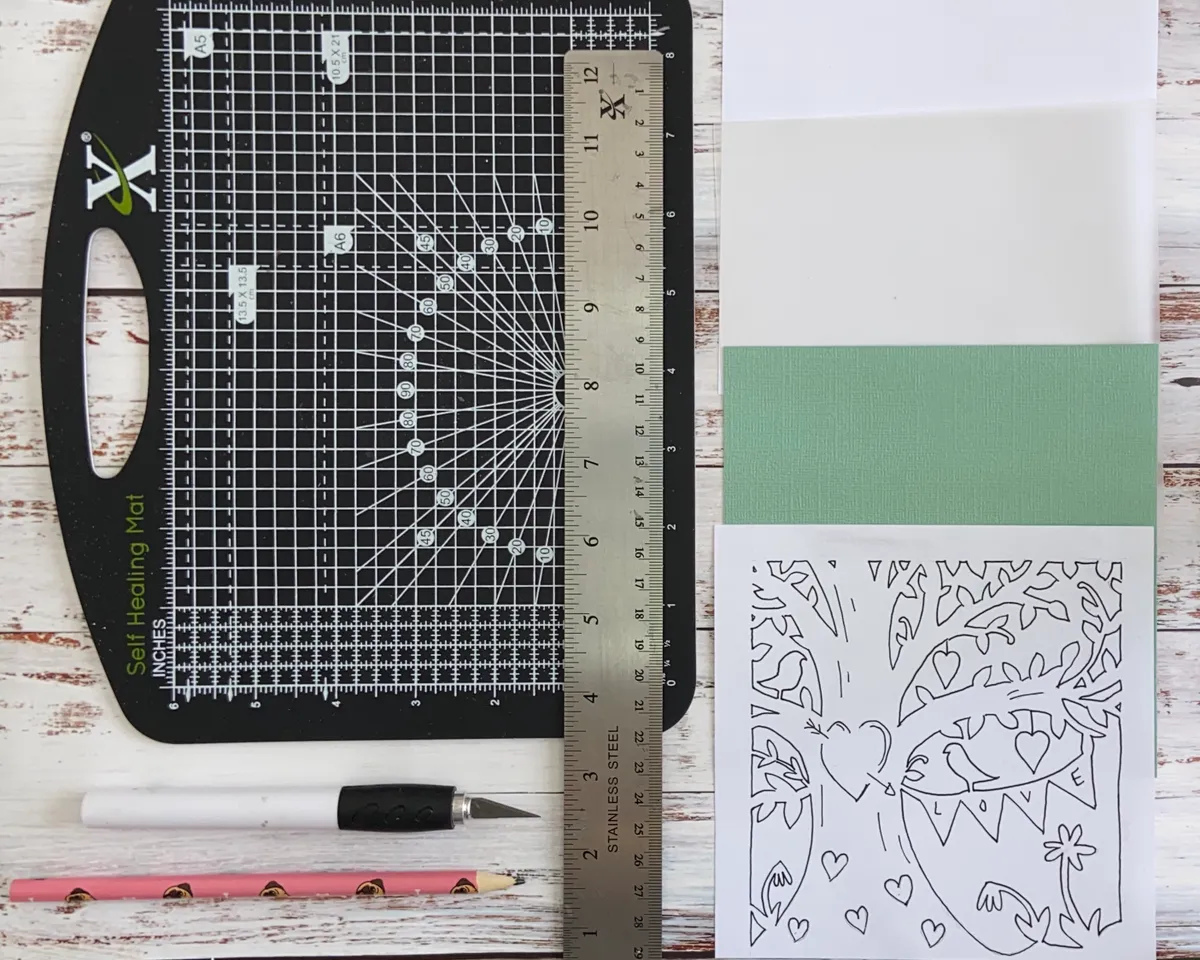
- Cutting mat
- Paper
- Tracing Paper
- Green paper
- Free tree template
- Metal Ruler
- Knife
- Pencil
- Frame
Tips
- Always move the knife towards you with a light, even pressure. The harder you press, the more likely you are to make a mistake.
- Trim away all the small, delicate areas first, starting in the centre and working outwards.
- Use your spare hand to hold the paper close to the area you are cutting to give the paper extra strength and avoid any tears.
- If you don’t want to use your design in a frame, adhere the design to coloured card then make it into a card instead.
Tree paper cutting tutorial
Step 1
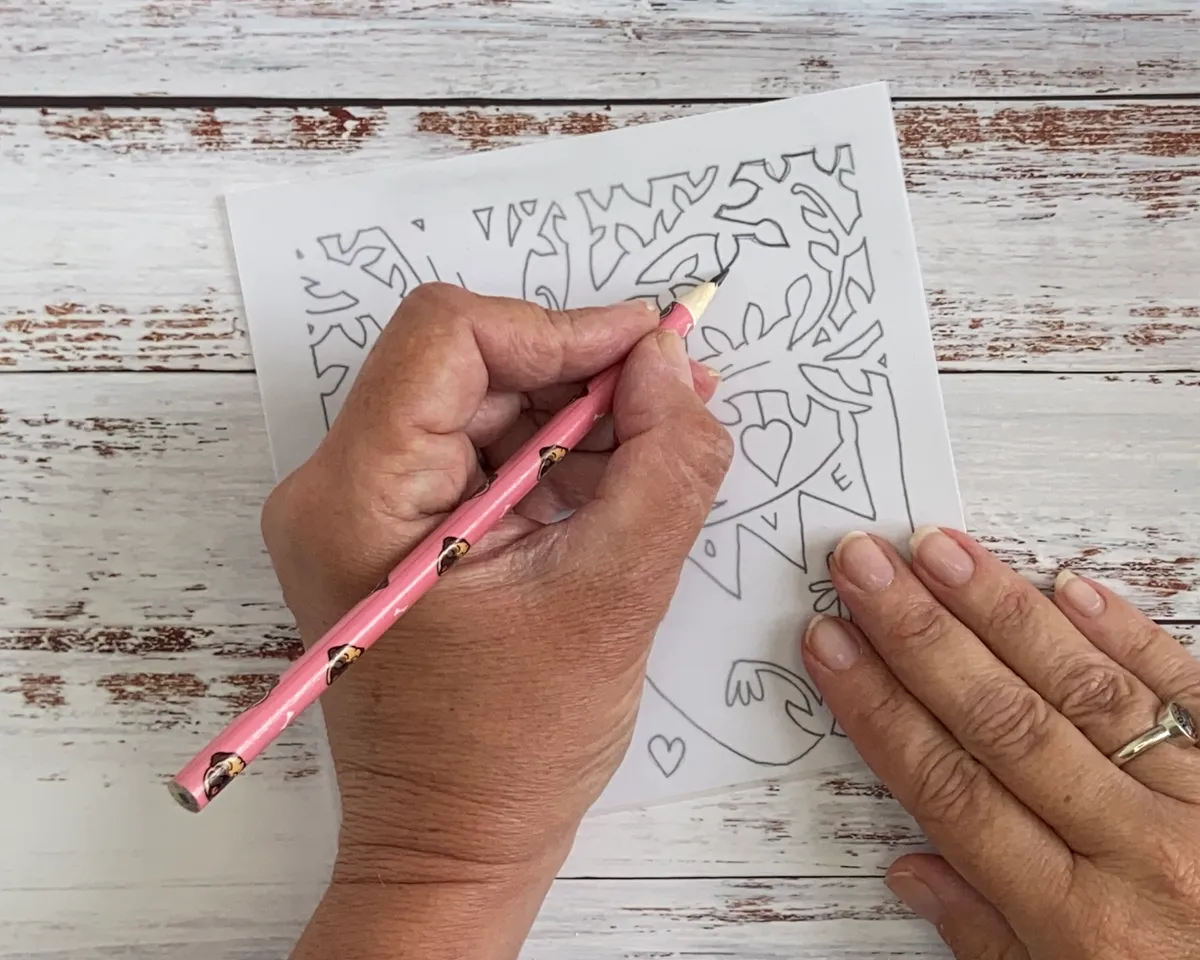
Draw a design onto white paper or print out a paper cutting template. Lay tracing paper on top then trace the design with a sharp pencil.
Step 2
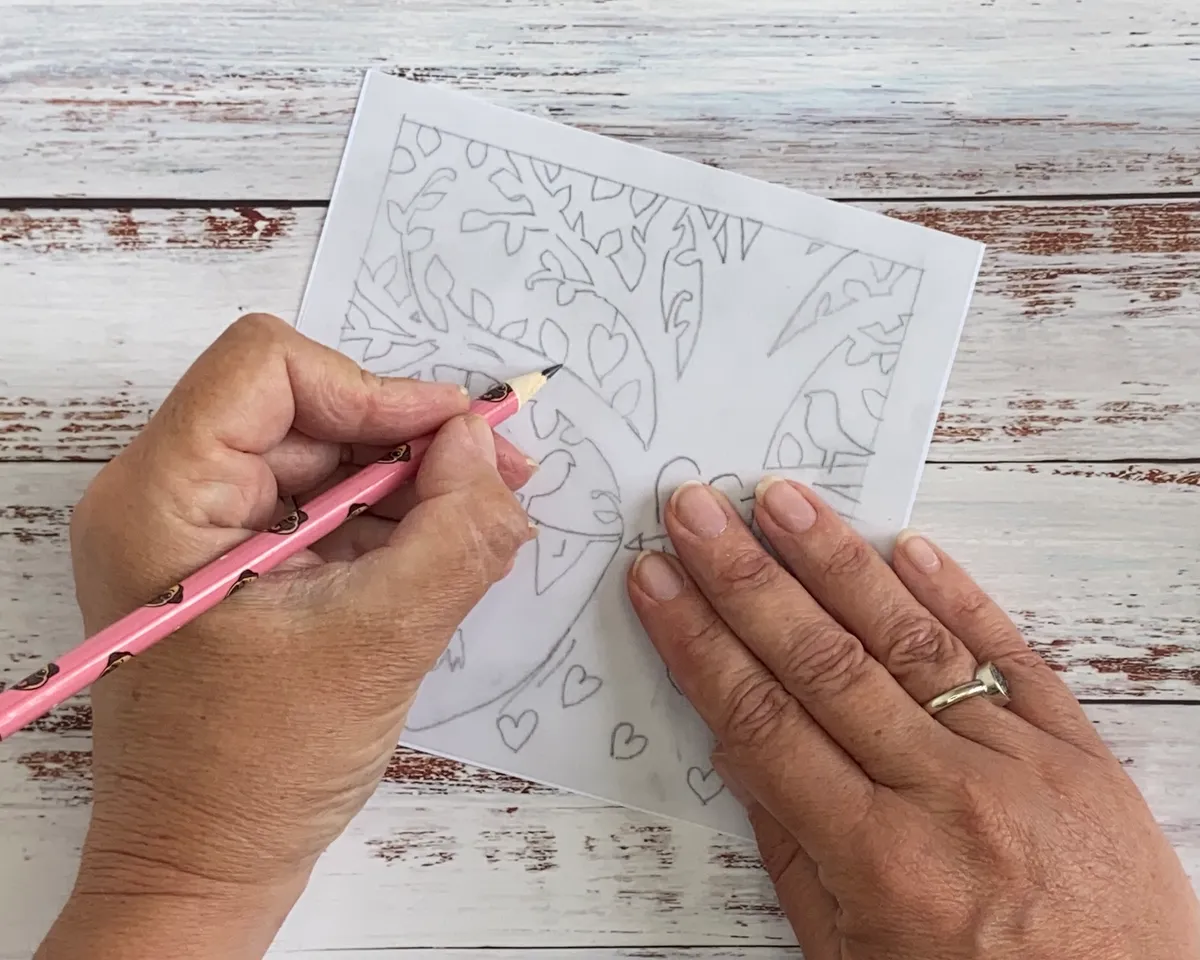
Trim a piece of paper cutting paper to the size required. Lay the traced design face-down on top then trace over it again with a sharp pencil. The design will be cut out back to front, but it means there won’t be any pencil marks to rub out at the end.
Step 3
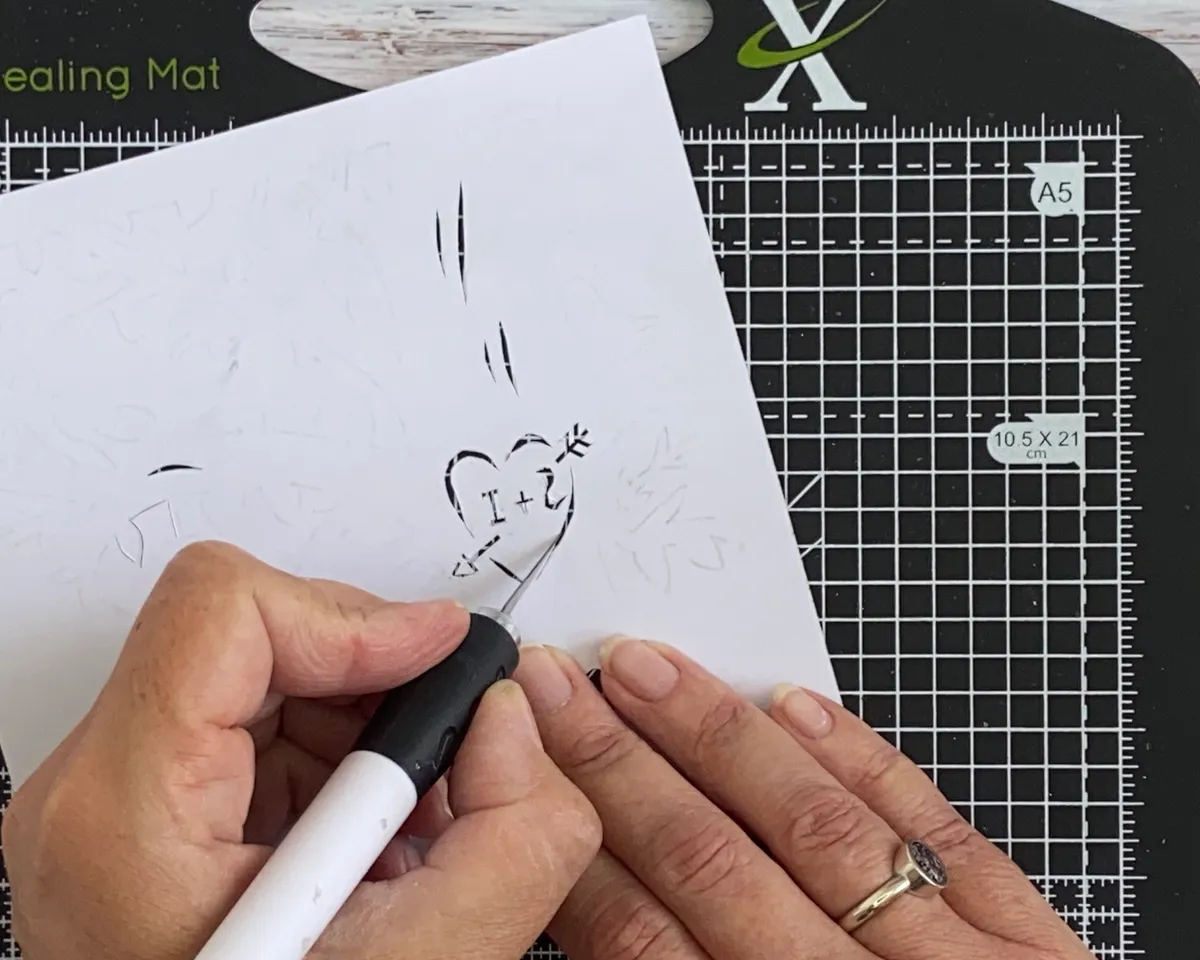
Start cutting out the design, working from the centre and going outwards. Start with the smallest cut areas first as once the larger areas have been cut out the paper will be a lot more delicate when being cut.
Step 4
Cut around any curved areas by placing the tip of the knife at the start point of the line. Slowly move the knife along the pencil line and use your spare hand to move the paper at the same time.
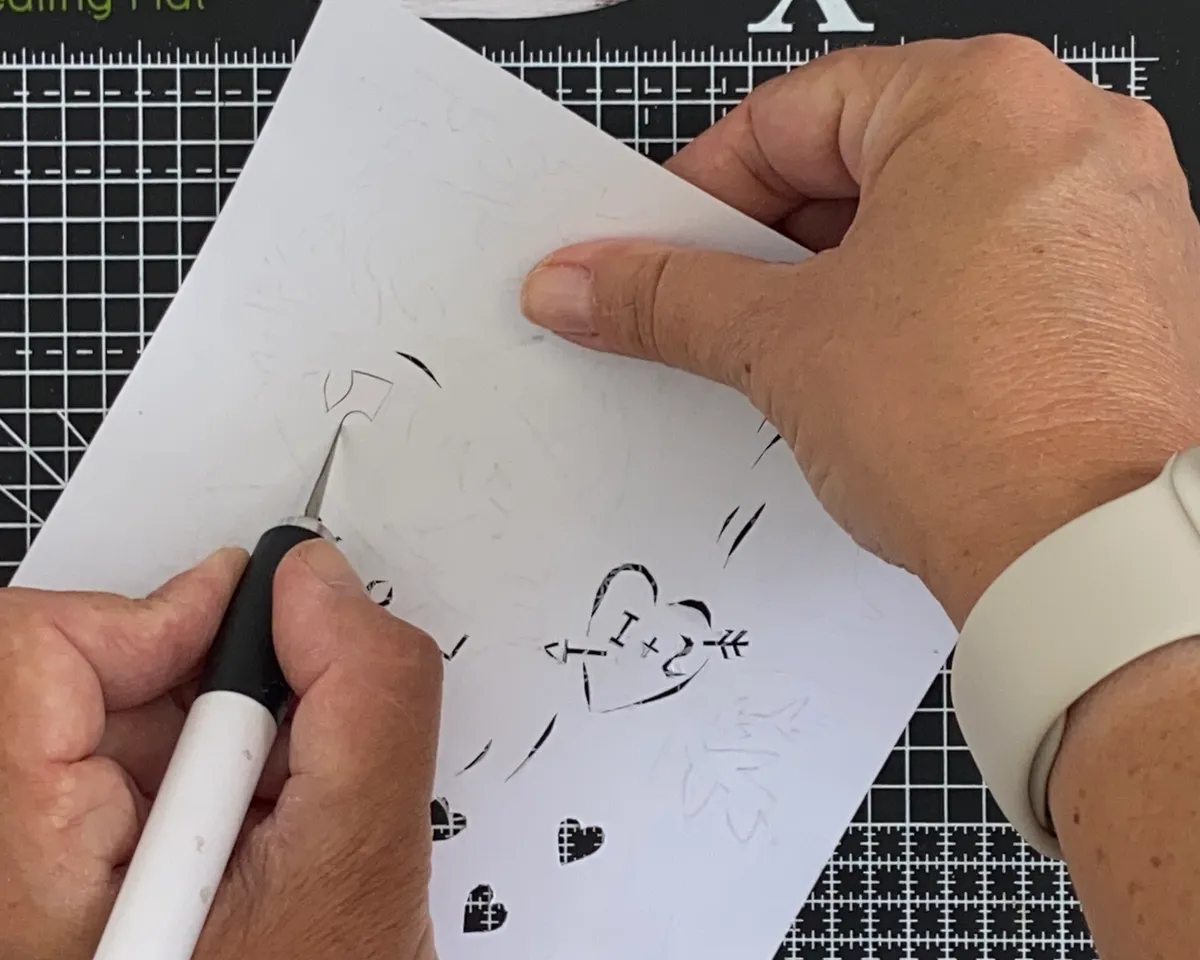
Step 5
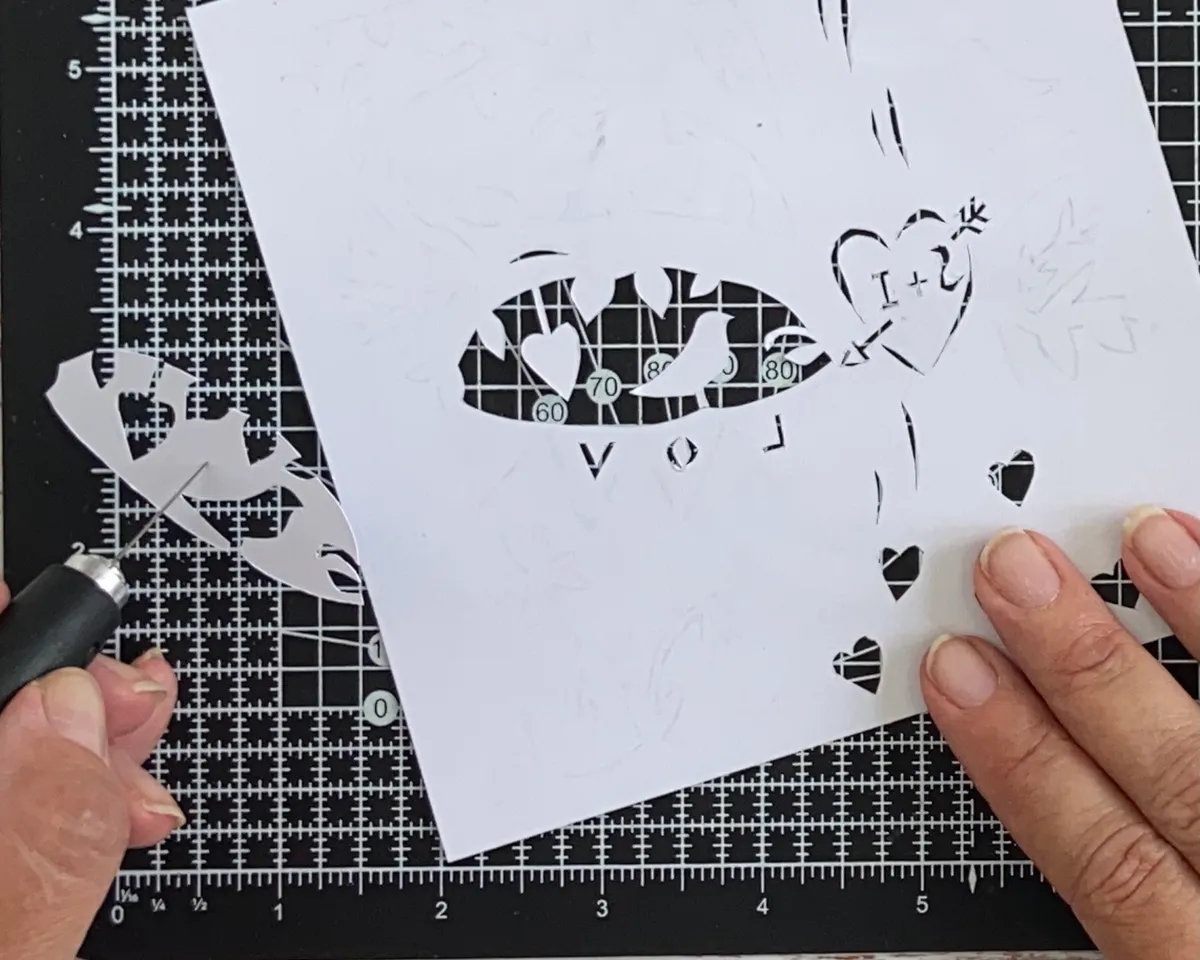
Keep cutting around the design working from the centre outwards. Use the tip of the knife to pierce through any paper piece that’s been cut around so it can be removed from the tip.
Step 6
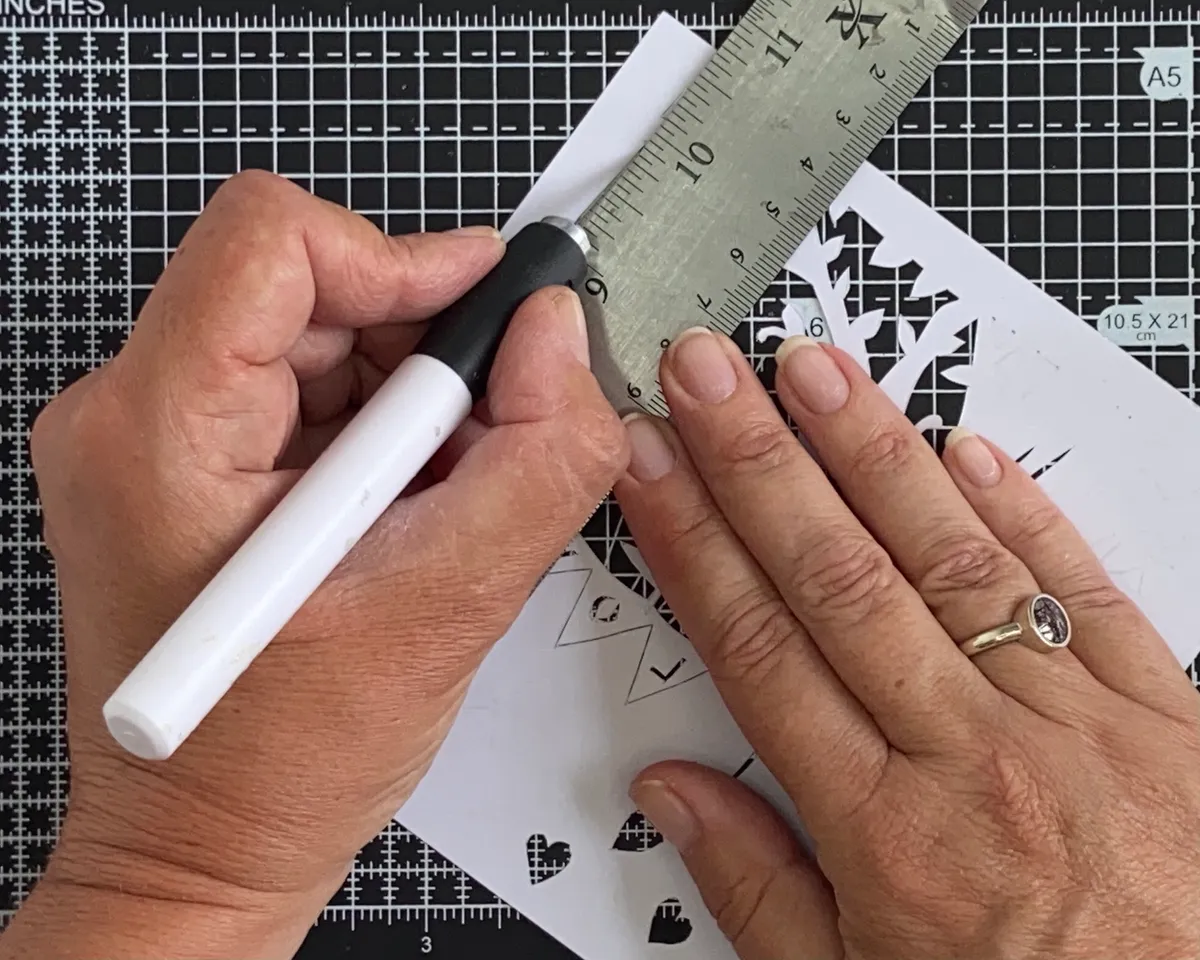
Use a metal ruler with the knife to cut down any straight parts of the design.
Step 7

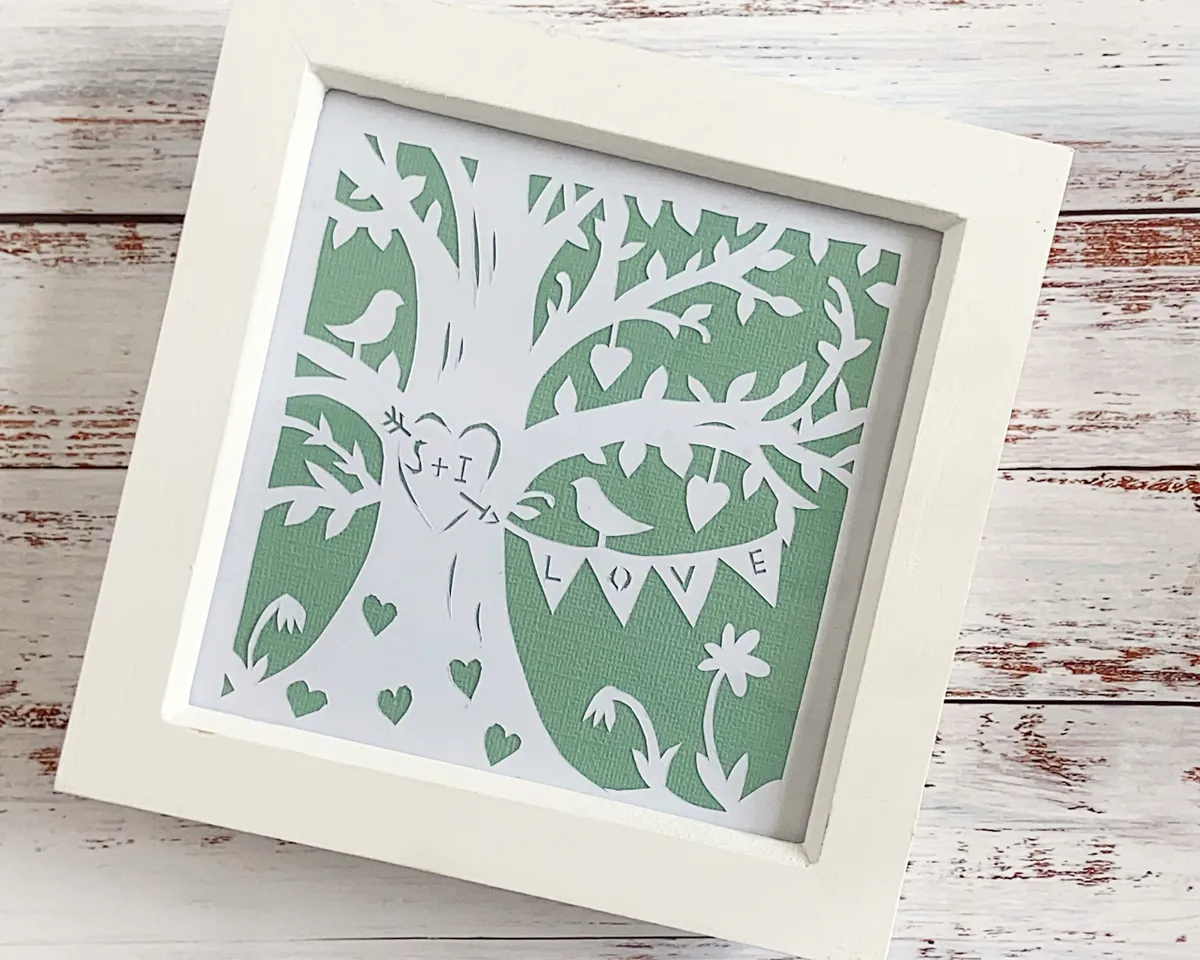
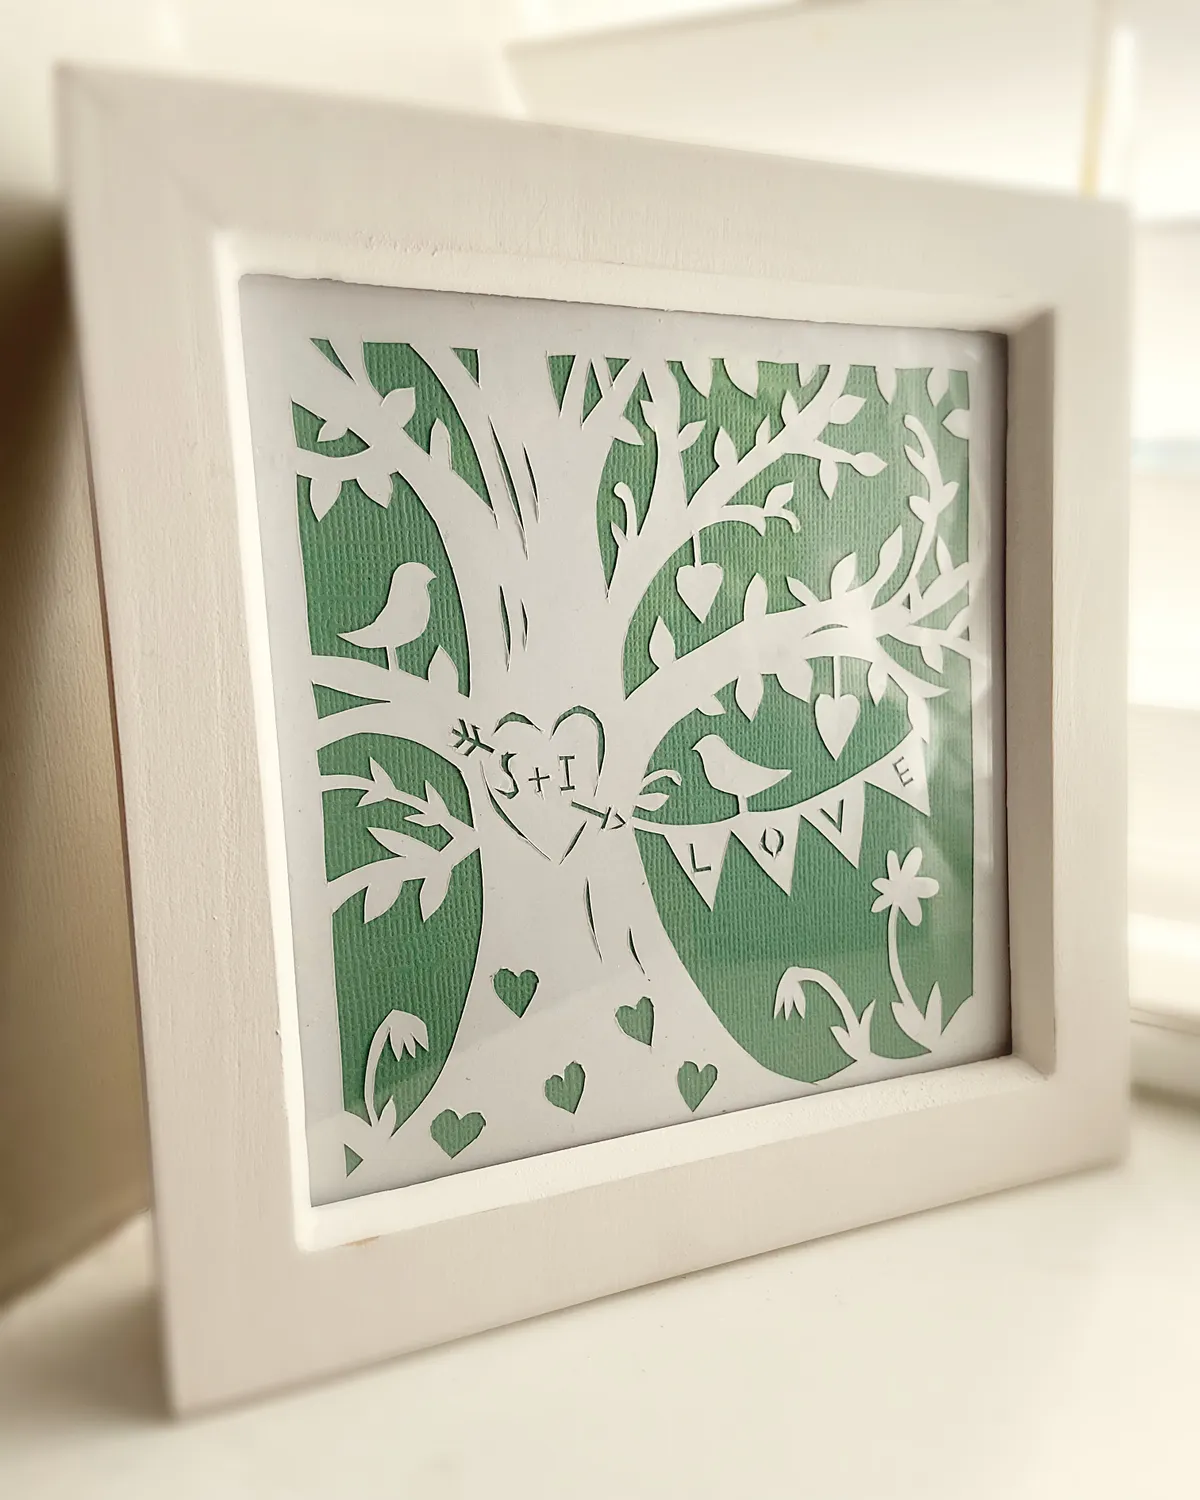
Trim the card in your chosen colour then lay the paper cut design on top before placing it in a frame.
Your paper cut piece is finished!

Paper cutting produces beautiful, intricate results
You just need a few tools to get started with paper cutting, many of which you may already have in your stash. It may feel a little fiddly to start with but we're sure you'll get the hang of it, and once you do you'll be itching to try more complex designs!
Caught the papercraft bug? Read on!
If you're looking for more fun papercraft tutorials then check out our guide to how to make origami lanterns. Fold your way to success with these attractive paper wonders.


