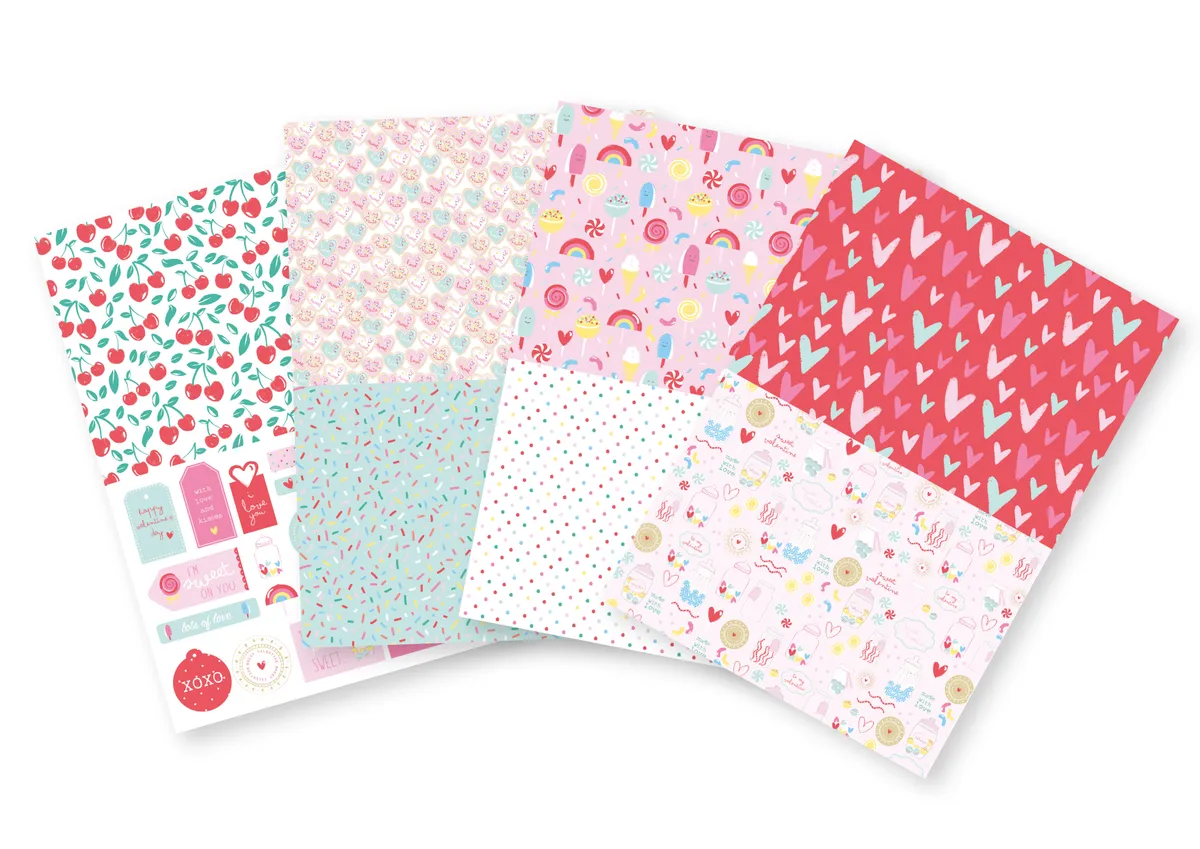
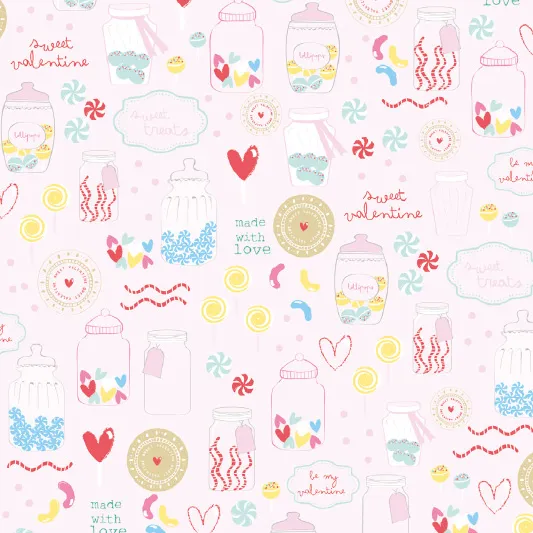
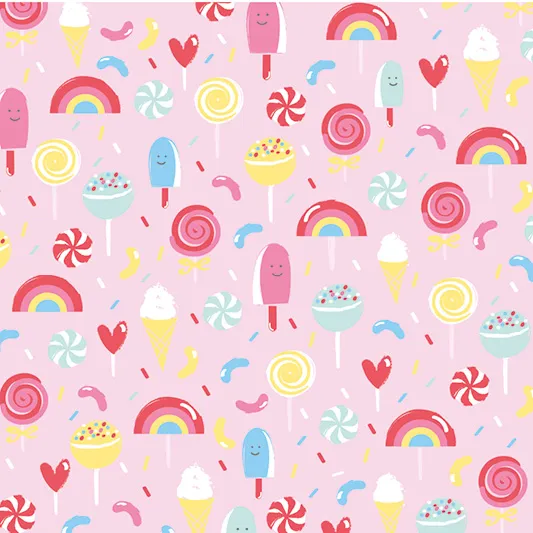
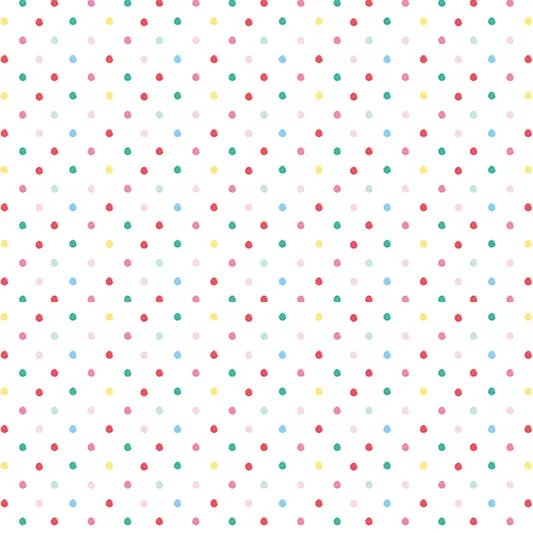
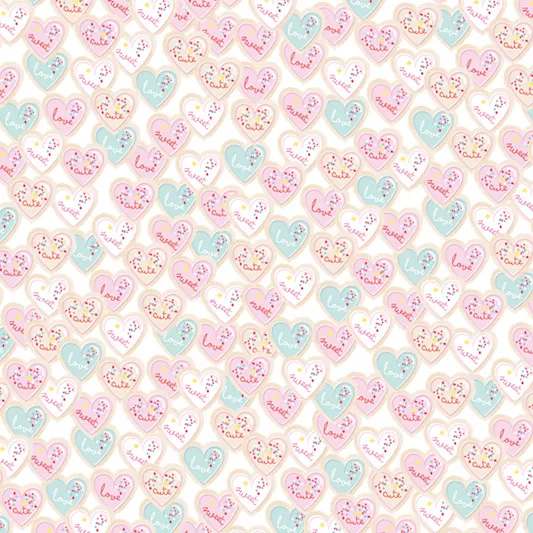
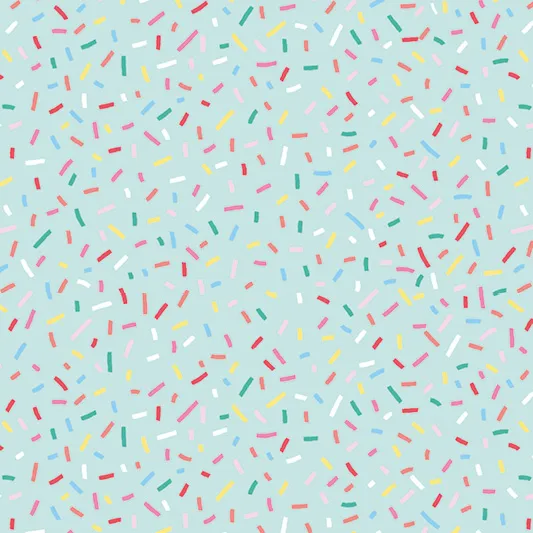
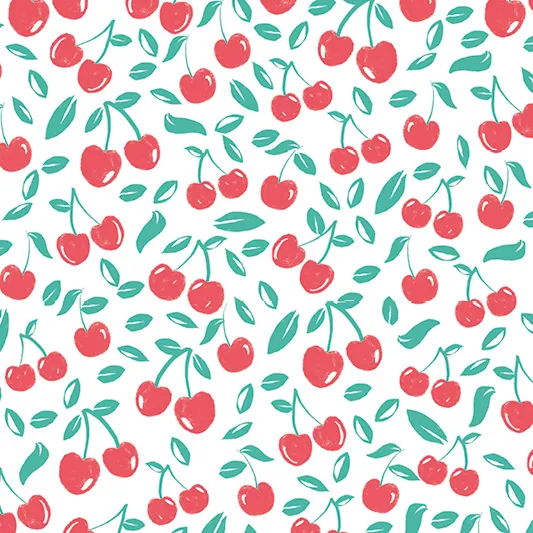
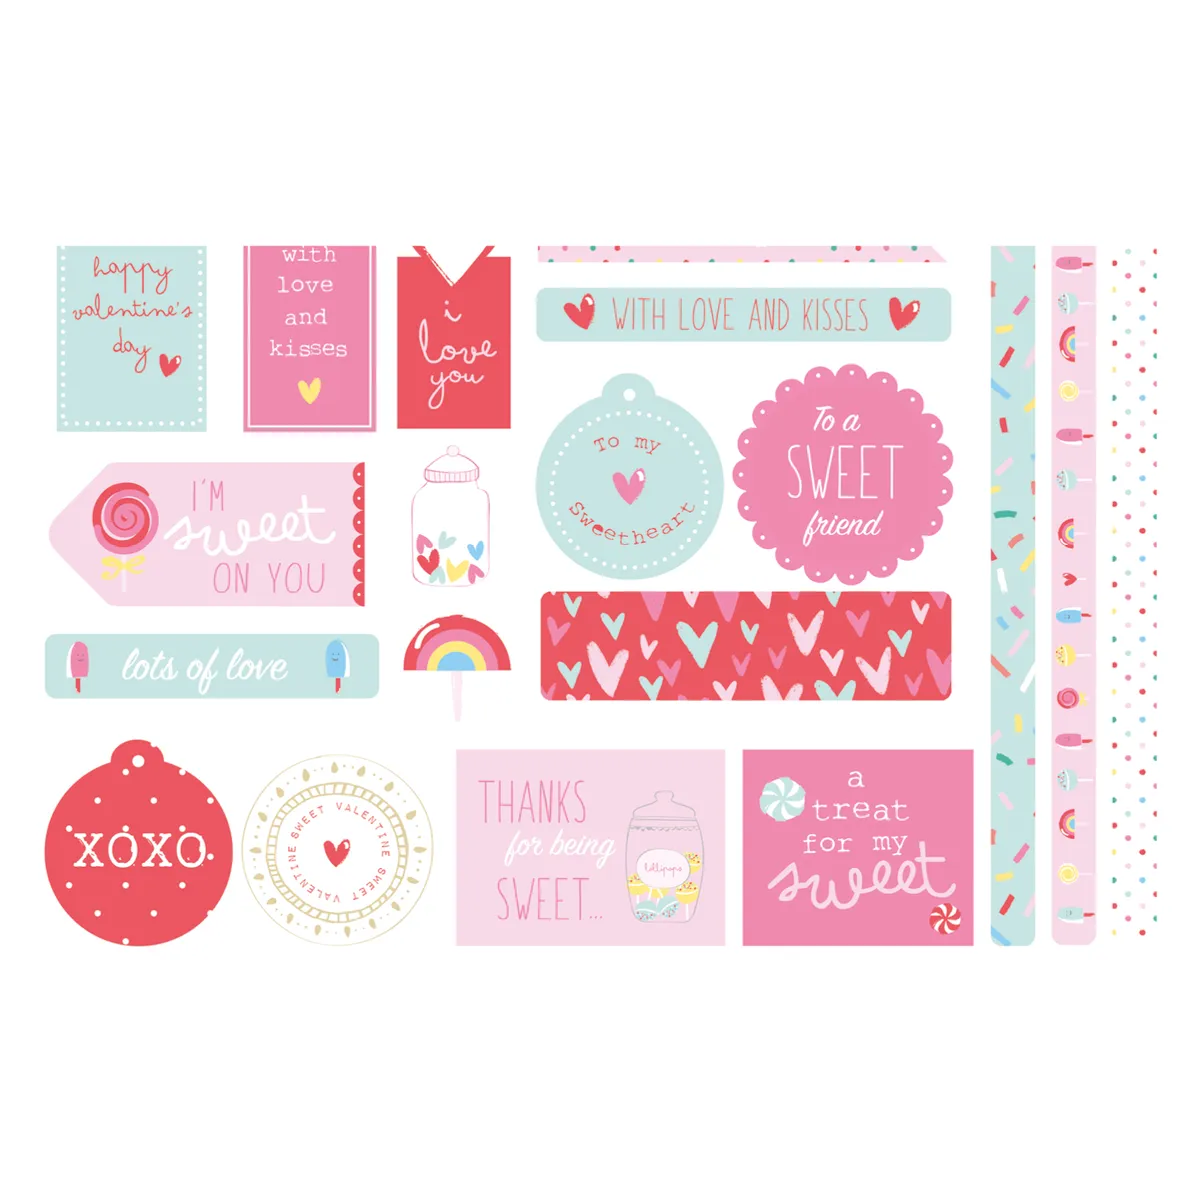
Treat your crush to a pick and mix of sweets and treats with the My Sweet Valentine patterned papers from issue 205 of Cardmaking & Papercraft. Designed by Elizabeth Beveridge, these patterned papers come in a dreamy colourway of pinks, reds and pale blues, and are perfect for giving your loved one a DIY valentine card come February 14th. The collection includes seven patterned papers and lots of toppers and sentiments to add to your romantic makes. Download your Sweet Valentine papers to get started!
We'd love to see what cards you've made with the patterned papers, so be sure to share your makes on our Facebook page or Instagram! You could have more craft fun with our heart template printables, too.
Try these easy card ideas
1. Sweet Valentine
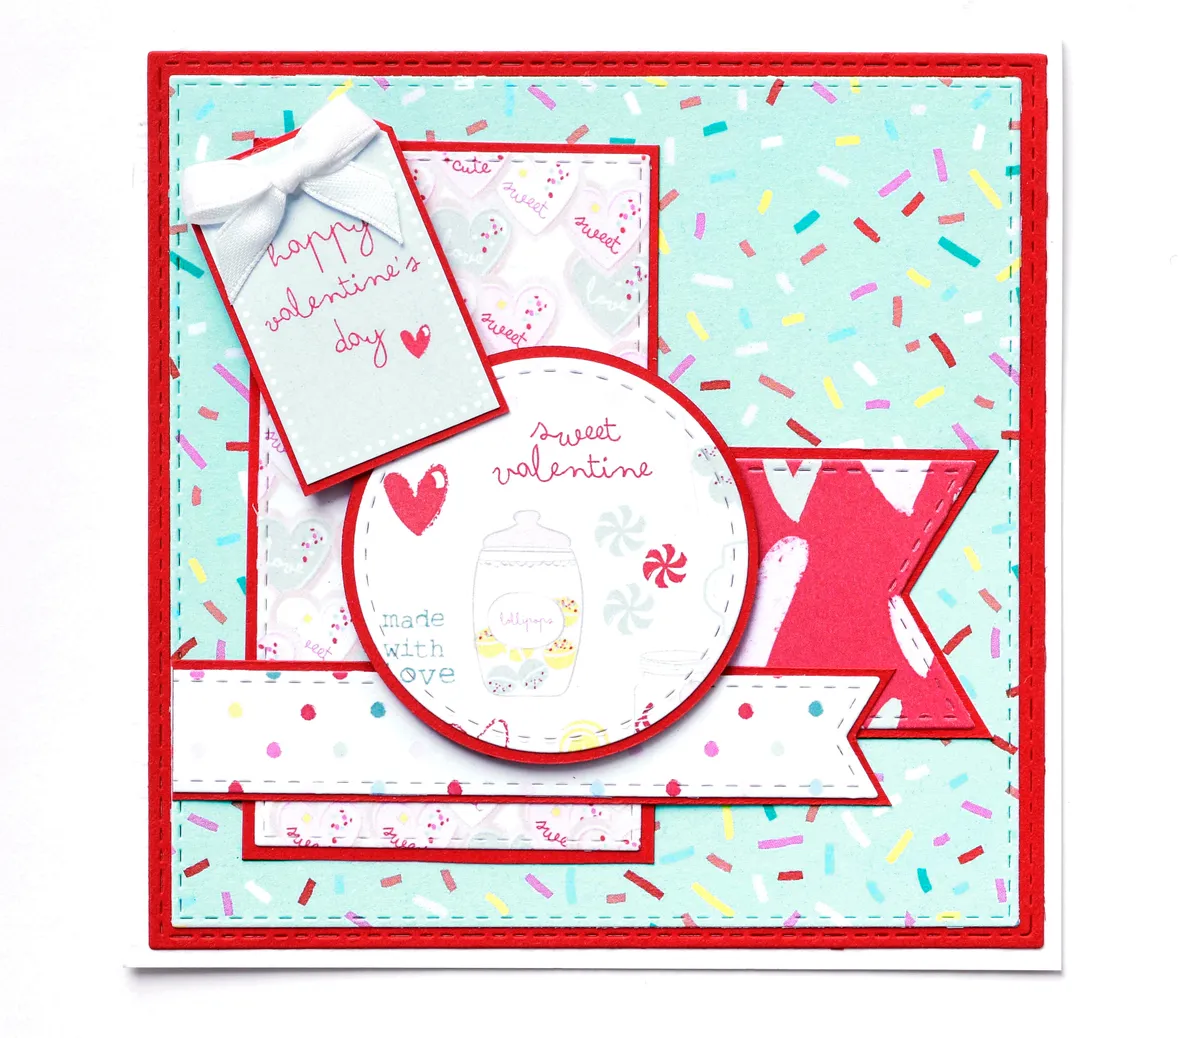
- Layer a 110mm square of sprinkles paper onto red card and attach to a 120mm square white base.
- Trim a 50 x 90mm rectangle, a 50mm circle and 90x15mm and 60 x 35mm pennants from patterned papers. Layer each piece onto red card and attach to the base, using foam pads for the circle.
- Trim the ‘Happy Valentine’s Day’ tag, layer onto red card and then attach to the base with a foam pad. Add a white ribbon bow, to finish.
2. Thanks
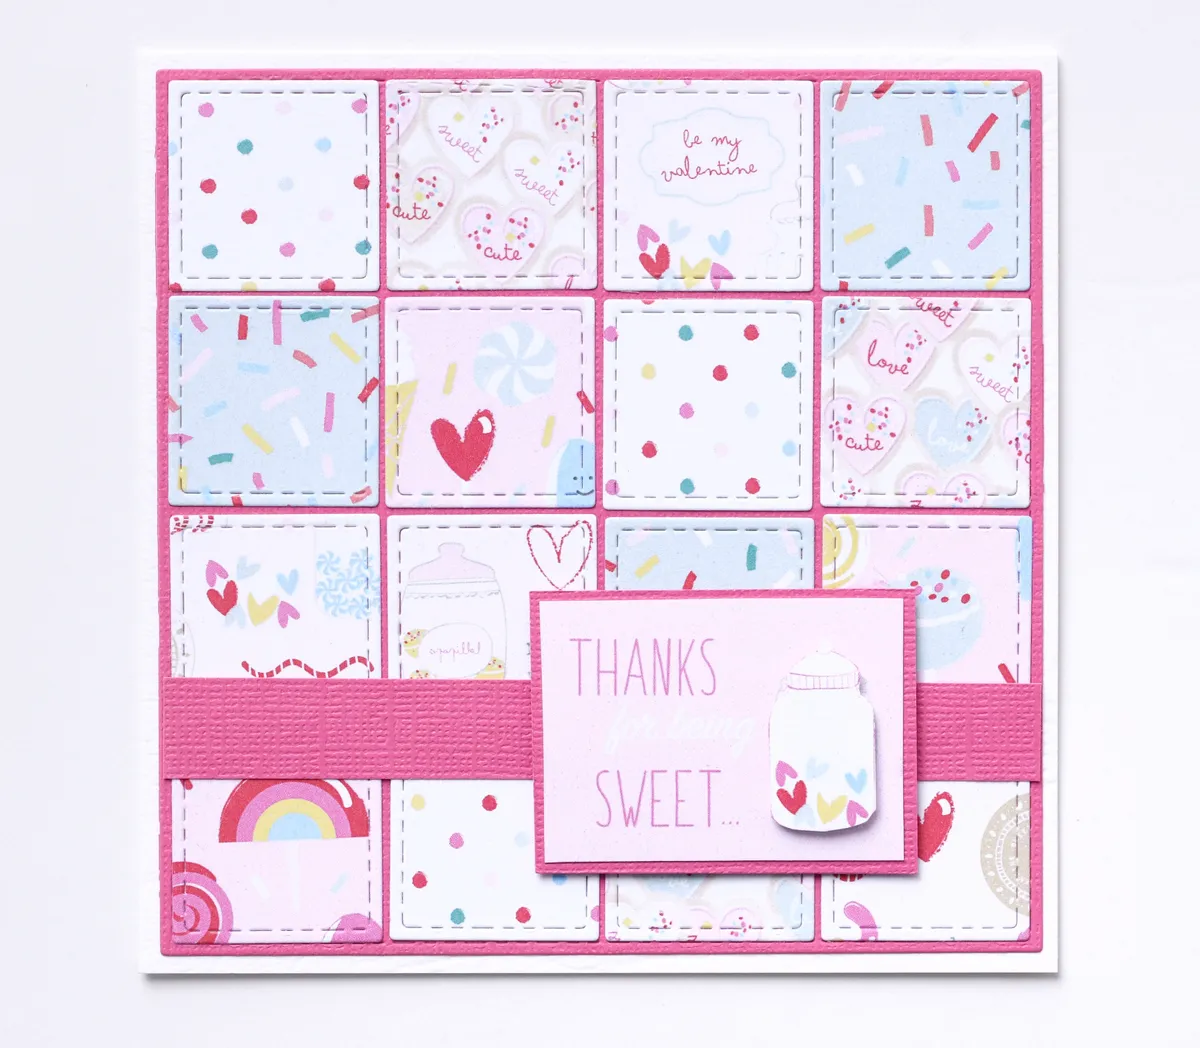
- Trim 16 22mm squares from different patterned papers.
- Attach each square to a 115mm square of pink card to create a patchwork effect. Attach the panel to a 120mm square base.
- Attach a 120 x 13mm strip of pink card and a sentiment to the base. Attach the sweet jar to the base with foam pads.
3. To a sweet friend
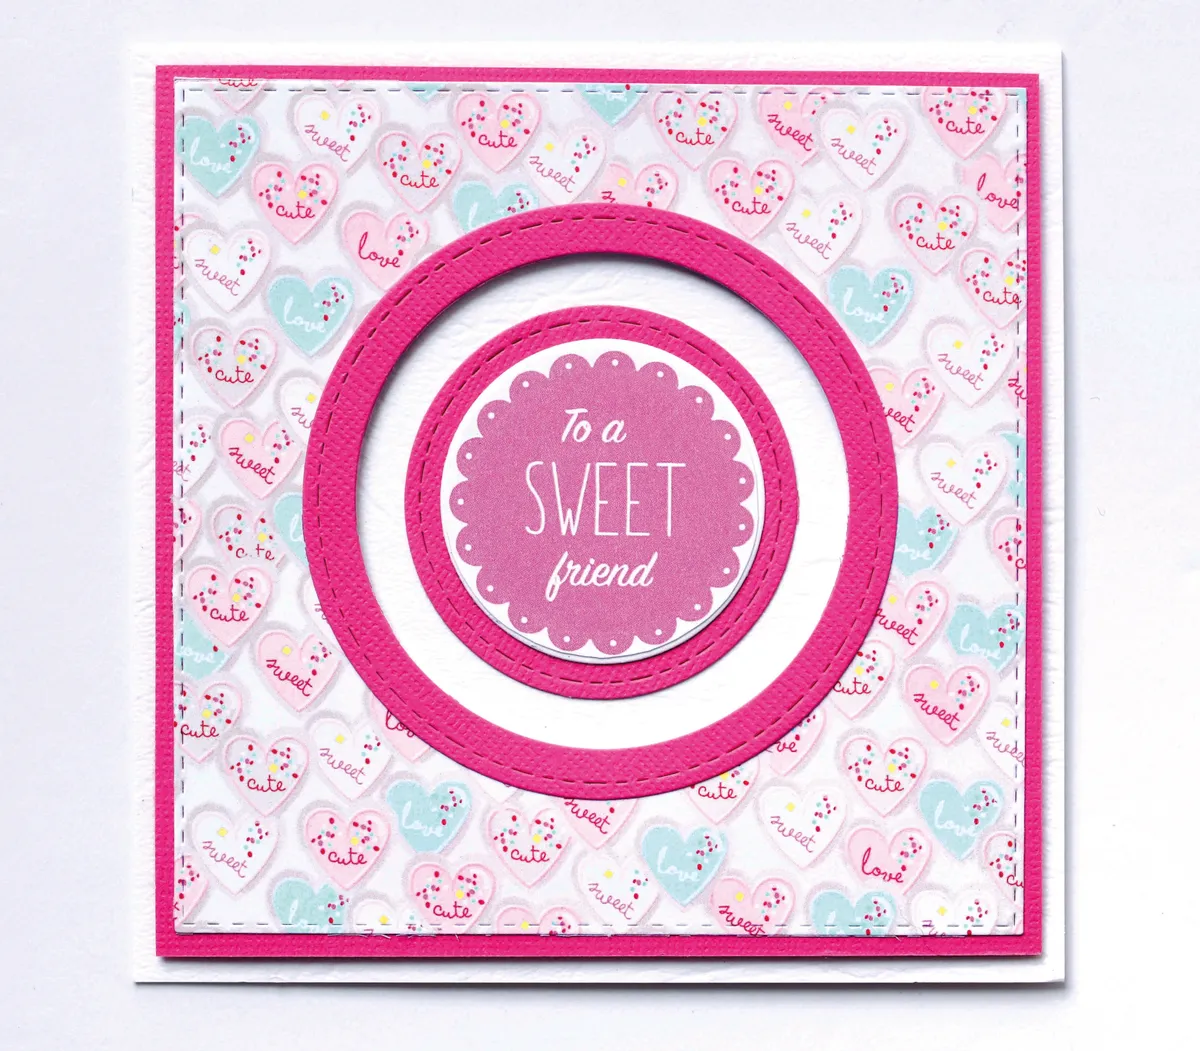
- Layer a 120mm square of love heart paper onto pink card and die cut a 65mm diameter circle into the centre.
- Add a die-cut circle frame around the aperture and attach to a 130mm square base using foam pads.
- Layer the sentiment onto pink card and attach to the centre of the base, as shown.
4. Love you
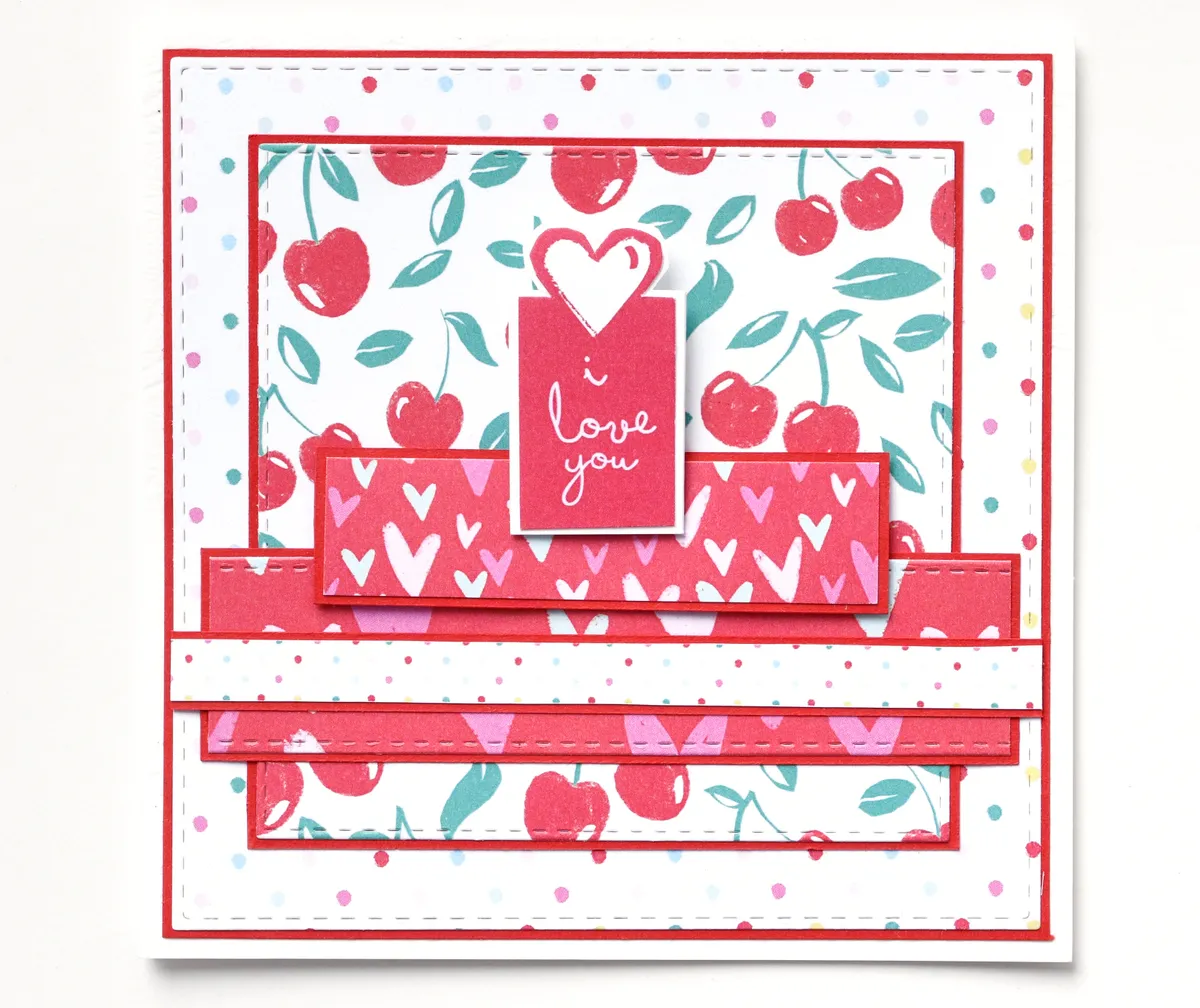
- Layer a 110mm square of spotty paper and a 90mm square of cherry paper onto red card and add to a 120mm square base.
- Trim a 110x25mm piece of red heart paper and the matching border and attach to the base, using foam pads for the border.
- Trim the dotty border strip, layer onto red card and add to the base, as shown. Add the ‘I love you’ sentiment onto white card and attach to the base using foam pads.
5. Love banner
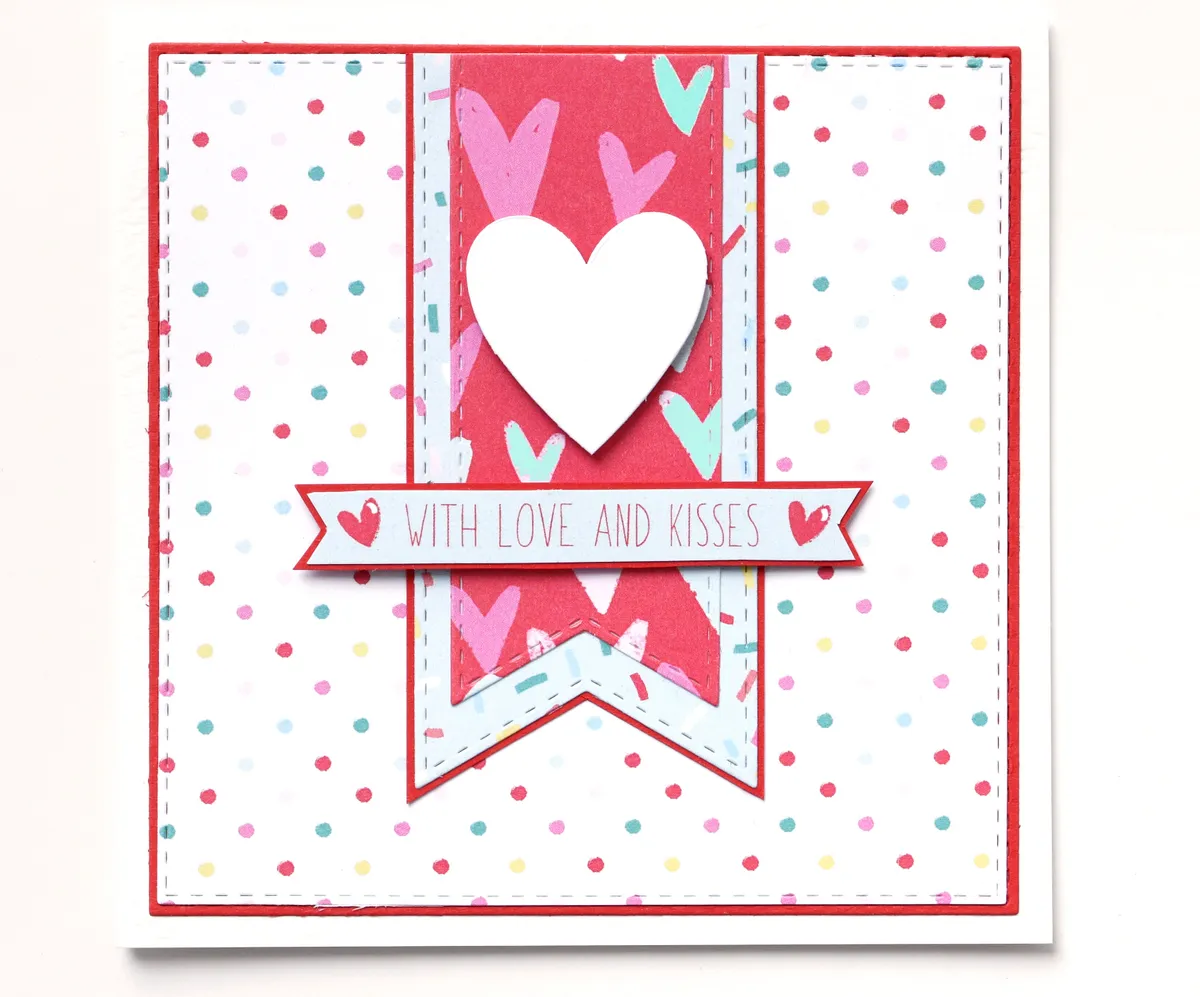
- Layer a 110mm square of spotty paper onto red card and attach to a 120mm square base.
- Trim a 35 x 90mm pennant from red heart-patterned paper, layer onto a 45 x 95mm pennant cut from blue sprinkles paper then layer onto red card. Attach the pennant to the base, as shown.
- Trim the ‘With love and kisses’ banner and layer onto red card. Die-cut a heart from white card and attach to the base using foam pads, to finish.
6. Love and Kisses

- Layer a 110mm square of sweet jar paper on to some red card and attach to a 120mm square base.
- Layer a 60mm square and a 70x30mm piece of sweet and ice lolly paper onto white card and attach to a 75 x 95mm piece of pink card. Attach to the base.
- Trim the sentiment tag and add to the base with a heart gem. Add a red bow, to finish.
Download your My Sweet Valentine patterned papers:
To download the papers, click on the link below the images and it will open in a new window. You can then save/download the collection.

My Sweet Valentine patterned papers - PDF
More DIY Valentine card ideas
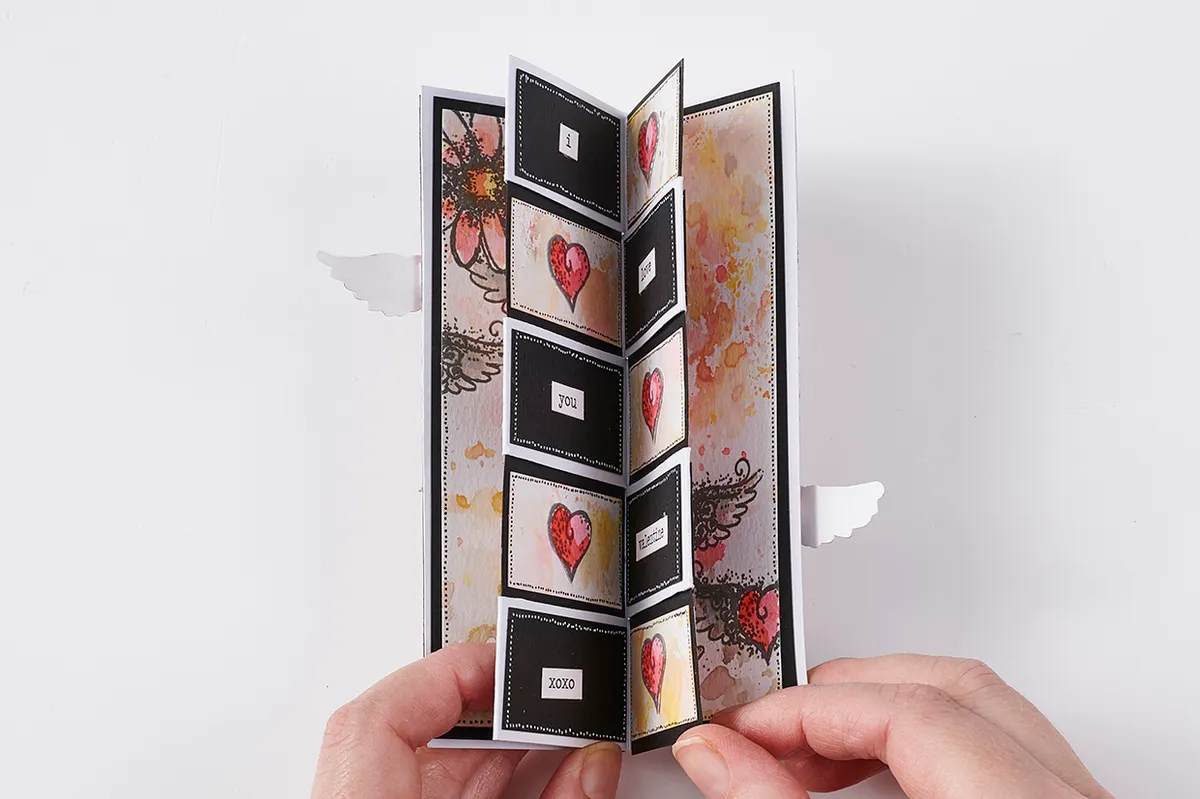
Fancy trying a more advanced card to delight your Valentine? Take a look at our video tutorial showing you how to make a secret message card, with a hidden central panel to hide your romantic sentiment. It's so easy to make with our video tutorial and free template!