
Whether you’re a paper-folding newbie or an origami queen, get set up for success with this easy paper folding project.
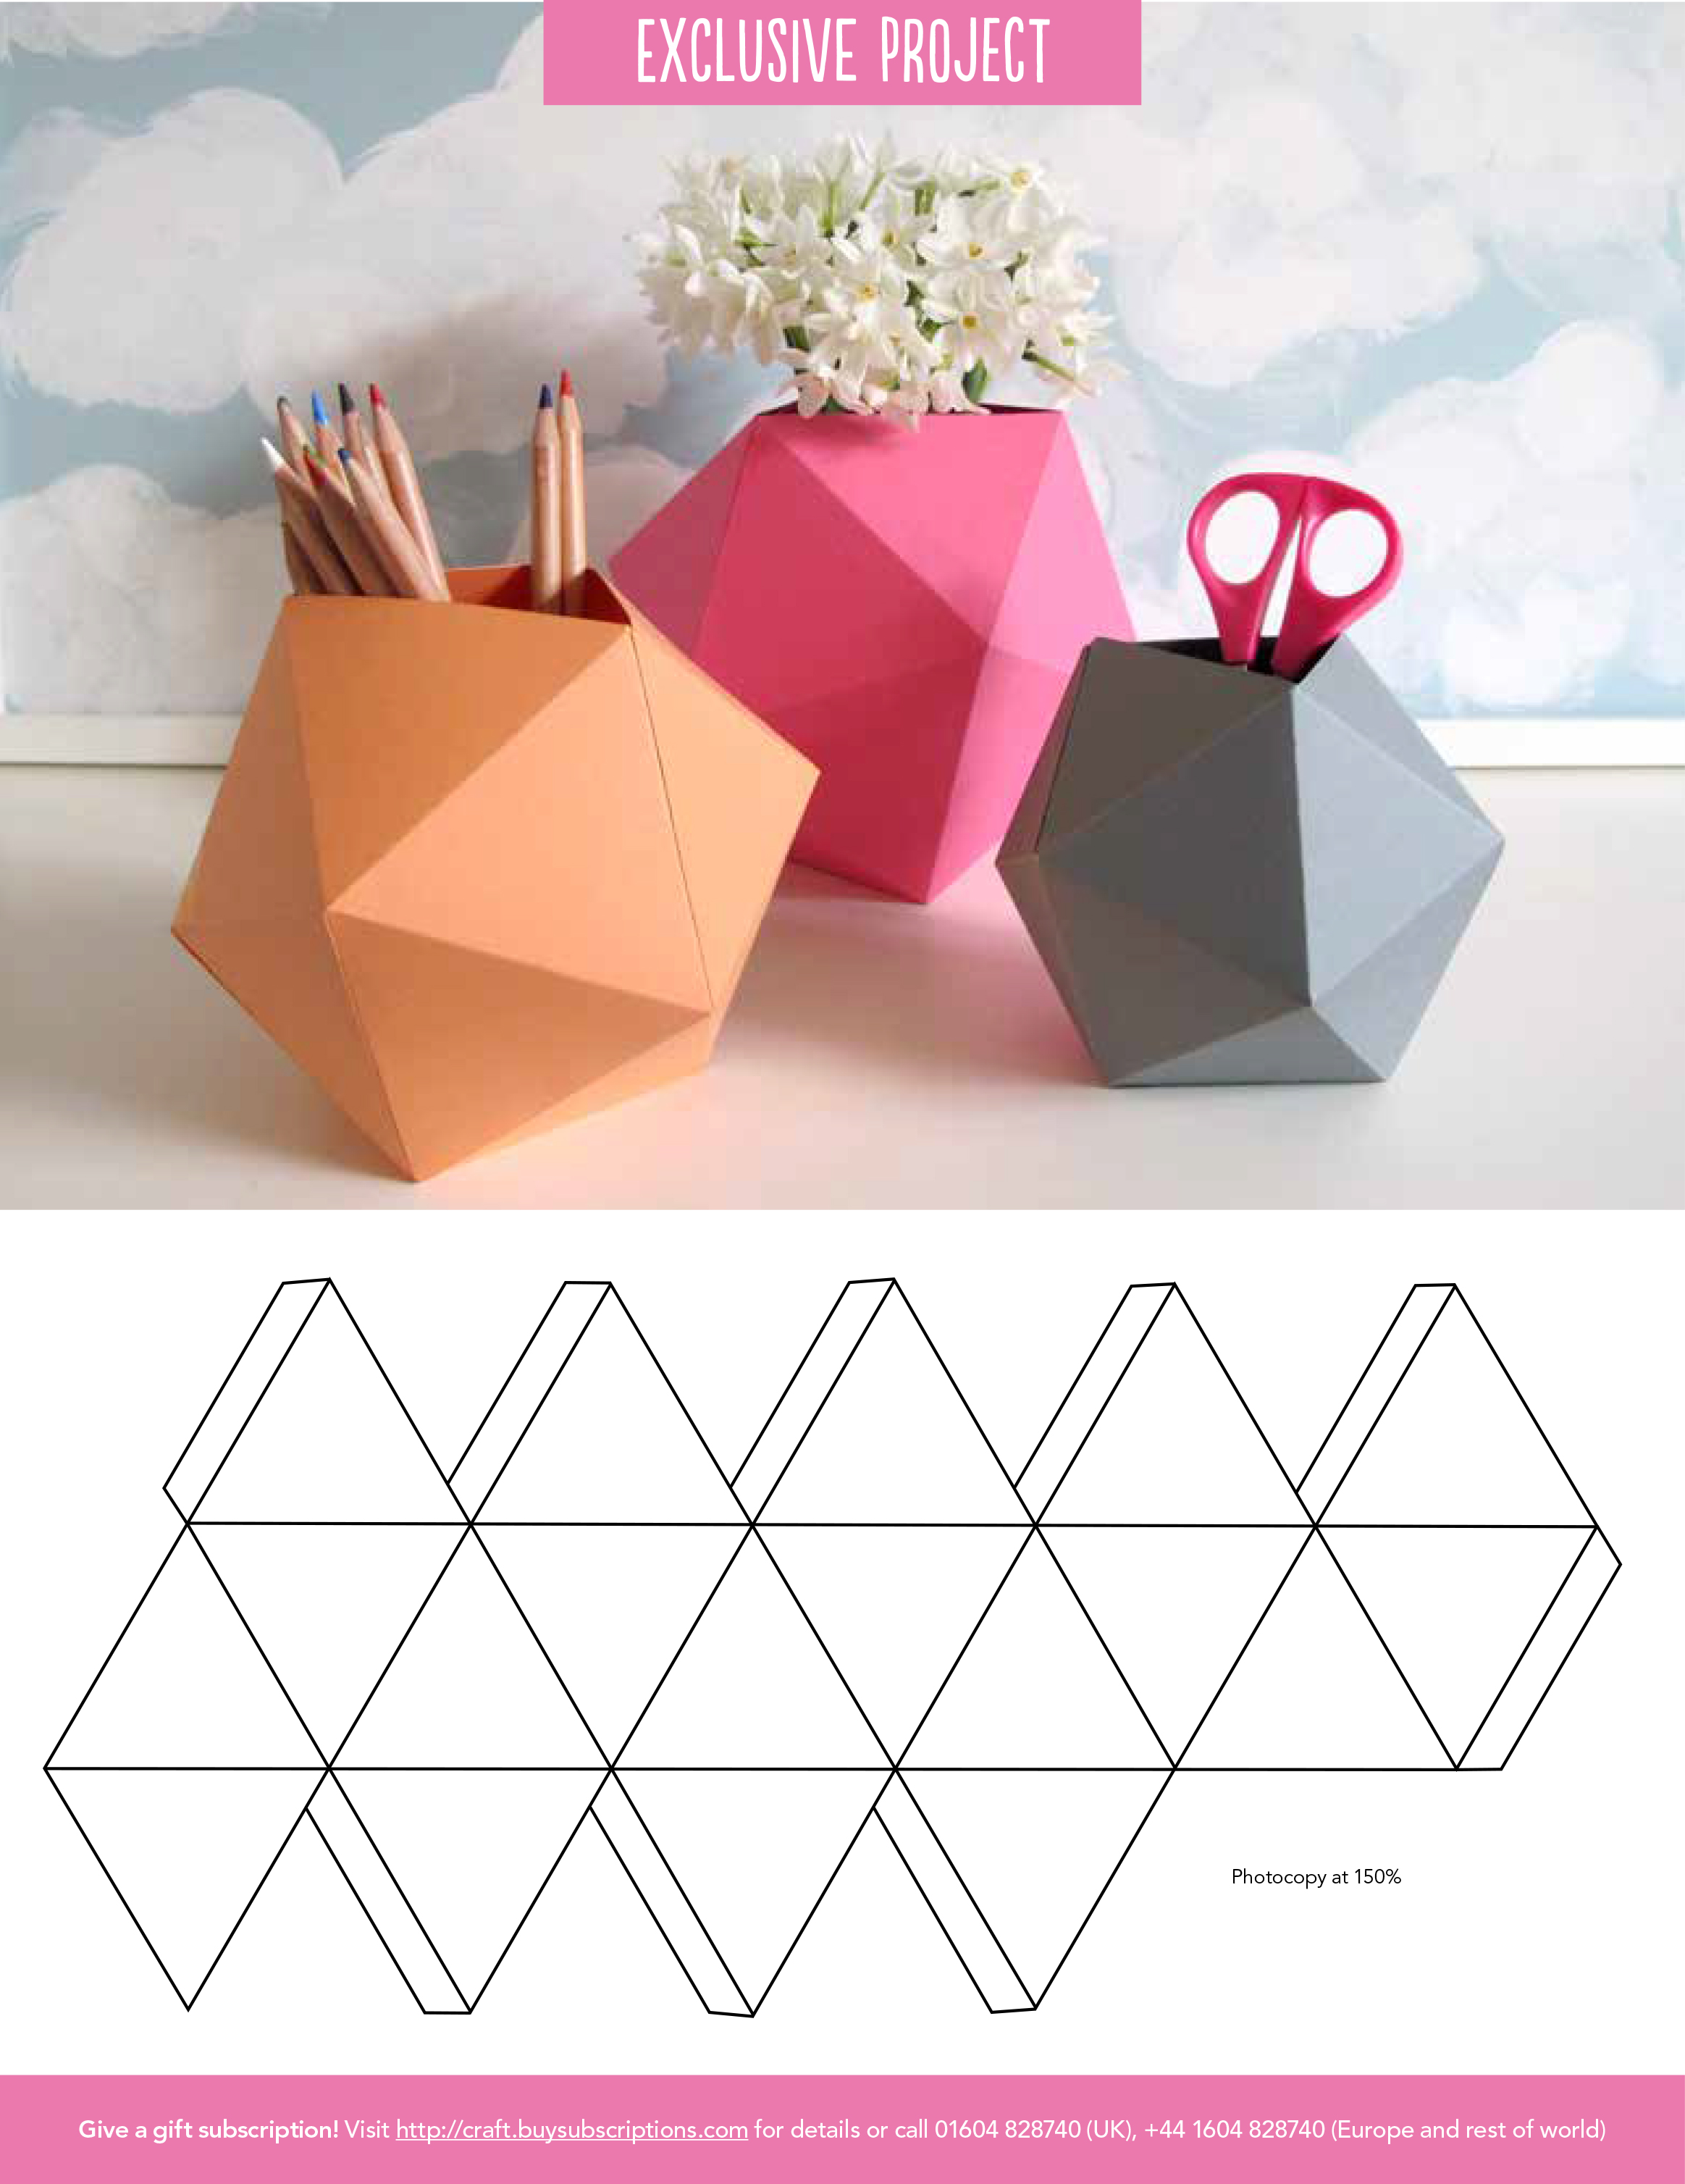
We’re big fans of dynamic shapes so we’ve created these gorgeous geometric pots that are perfect for sorting your office or workstation.
They’re great for giving a home to all those small things that make crafting possible – from pencils to scissors and paintbrushes. You could even use the DIY desk tidies to hold a posy of flowers.
We’ve given one example of the potential size, but you're free to scale it up and adapt the project as you need!
We've used Esther Curtis's inspired papers from the Artist’s Studio Collection to create our desktop tidies, which you can download for free on Gathered. We love the Back to School theme and vibrant colours – ideal to spruce up any desk!
These pots are so simple to make.
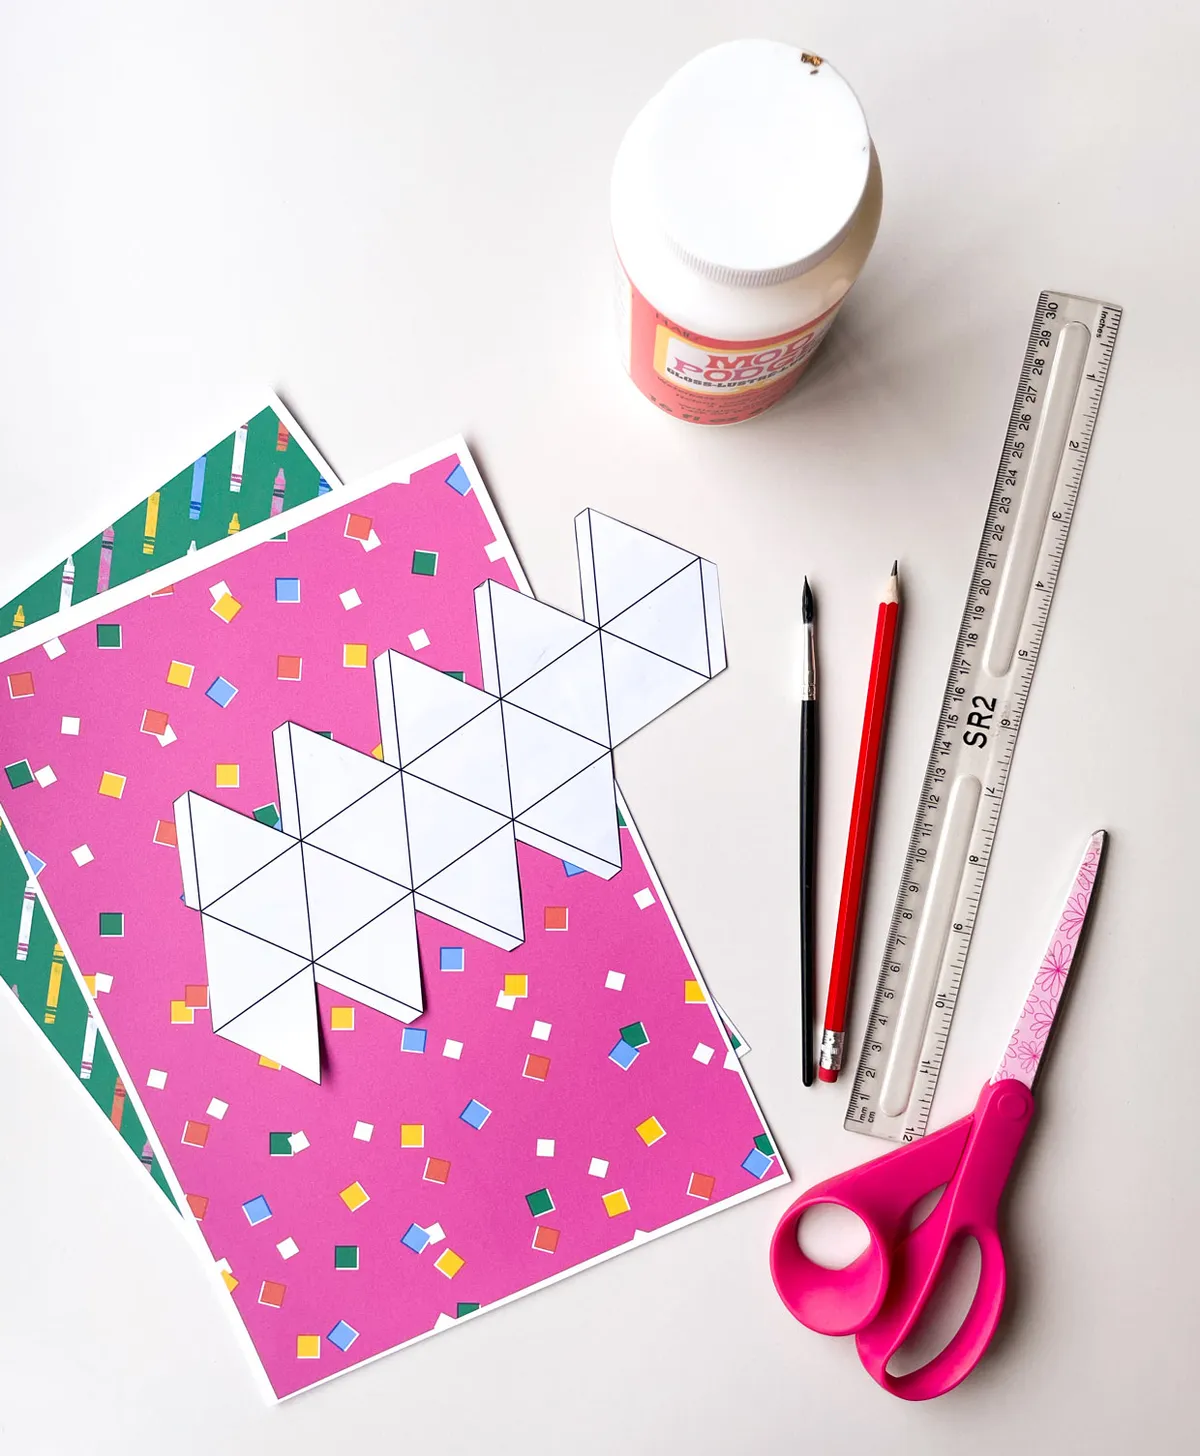
Just print off our template, choose your paper, cut, fold and glue!
And now, for the details:
What you need to create these desktop tidies
- 160gsm coloured paper
- Ruler
- Pencil
- Craft knife or Scissors
- Glue
- Template (you'll need to print this template at 150%)


