
The art of découpage is an easy technique that crafters of all abilities can enjoy to create unique pieces of art, where no two will ever be the same. So what is découpage? Découpage is a method used to cover objects with paper, before being sealed with a layer of varnish (or similar). Paper is ripped or cut into small pieces, then methodically layered onto an object - adhered into place using PVA or découpage glue. In this article, we take you through the basics of découpage, what items you need to get started, step-by-step tutorials and all the best products to buy for découpage.

Check out our upcycling projects and papercraft projects for more creative projects. We love this easy DIY découpage tray by Suzonne Stirling! We love seeing what you make, so don’t forget to share your craft projects with us on Facebook and Twitter, too!
What items can you découpage?
You can découpage almost anything! Places like Hobbycraft and Amazon make it easy to find inspiration, and you can buy pre-made paper mache items relatively inexpensively (for a pound or two) which are great for quick makes or to practise your skills before moving onto home decor pieces like tables (scroll down for our tutorial on how to découpage a table).
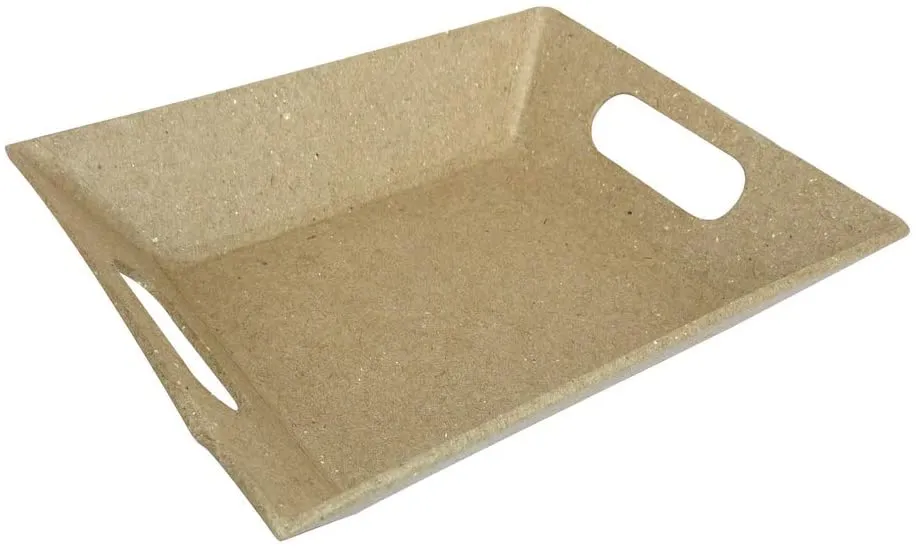
Buy now: £1.20 (Amazon)
What do you need to découpage an item?
You don't need any special tools to get started learning how to découpage, just some paper, PVA glue and something you want to découpage!
Paper
Thin paper is ideal, but you can use almost any type of paper depending on your project. You can use pictures from magazines, newspapers, wrapping paper, tissue paper or even your own photos. Personally - I love using old maps or old prints.
Here's a top tip: to stabilise the colours and stop the background from turning yellow, spray your papers with a spray fixative first!
If you prefer, there is a special découpage paper that you can buy, similar to tissue paper but sporting all kinds of lovely designs and patterns. You can buy découpage paper for any occasion and there is a huge range available. Scroll to the bottom of the article to see some of my favourite découpage papers!
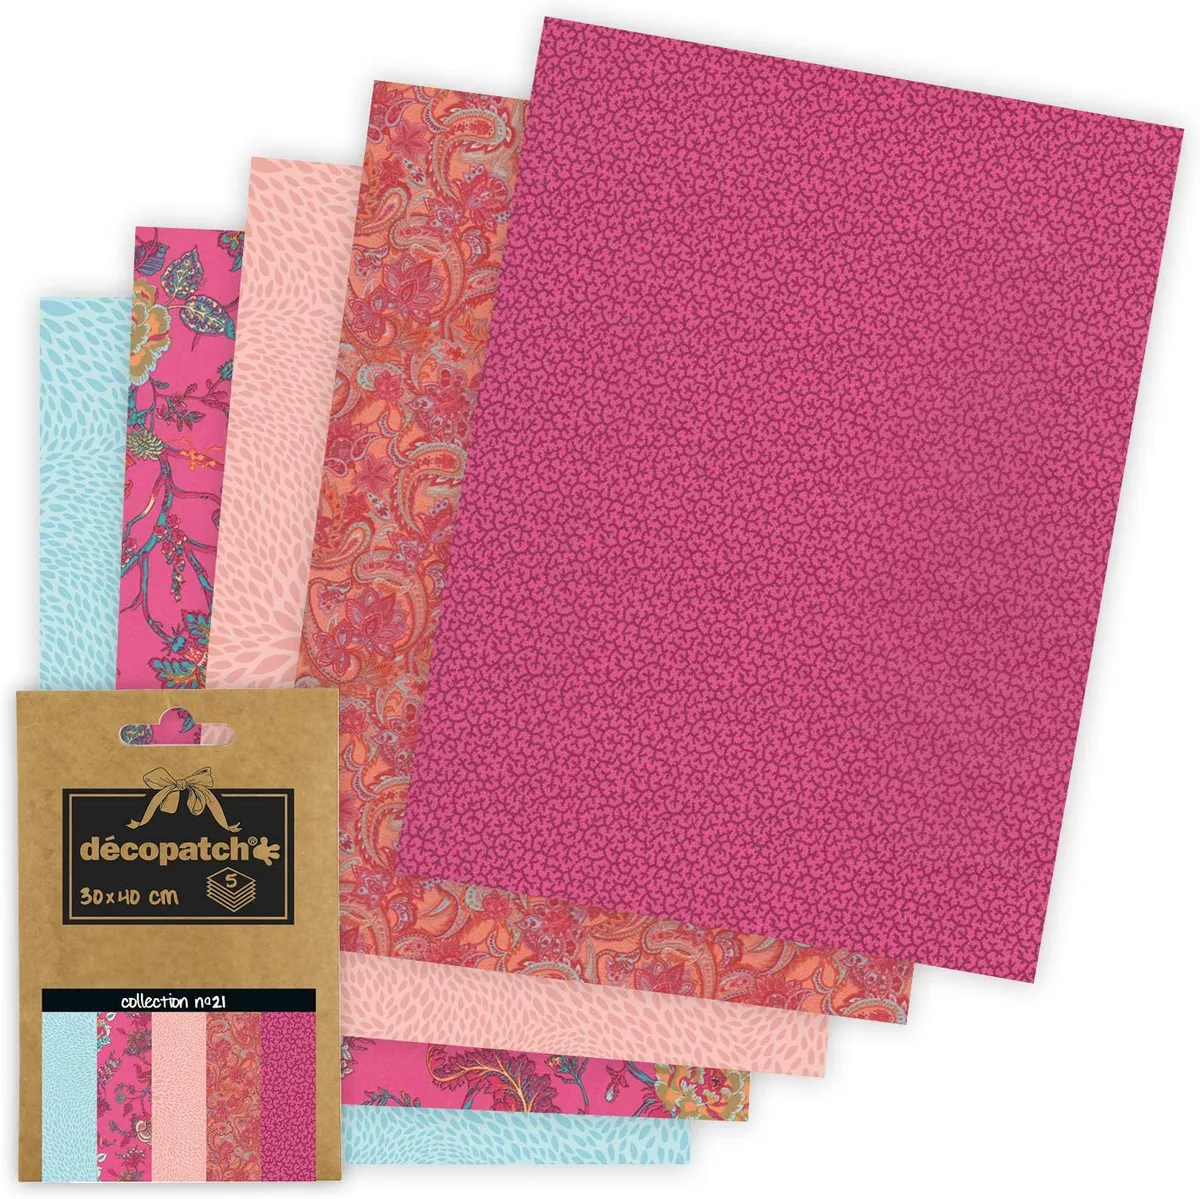
Buy now: £5 (Amazon)
Glue
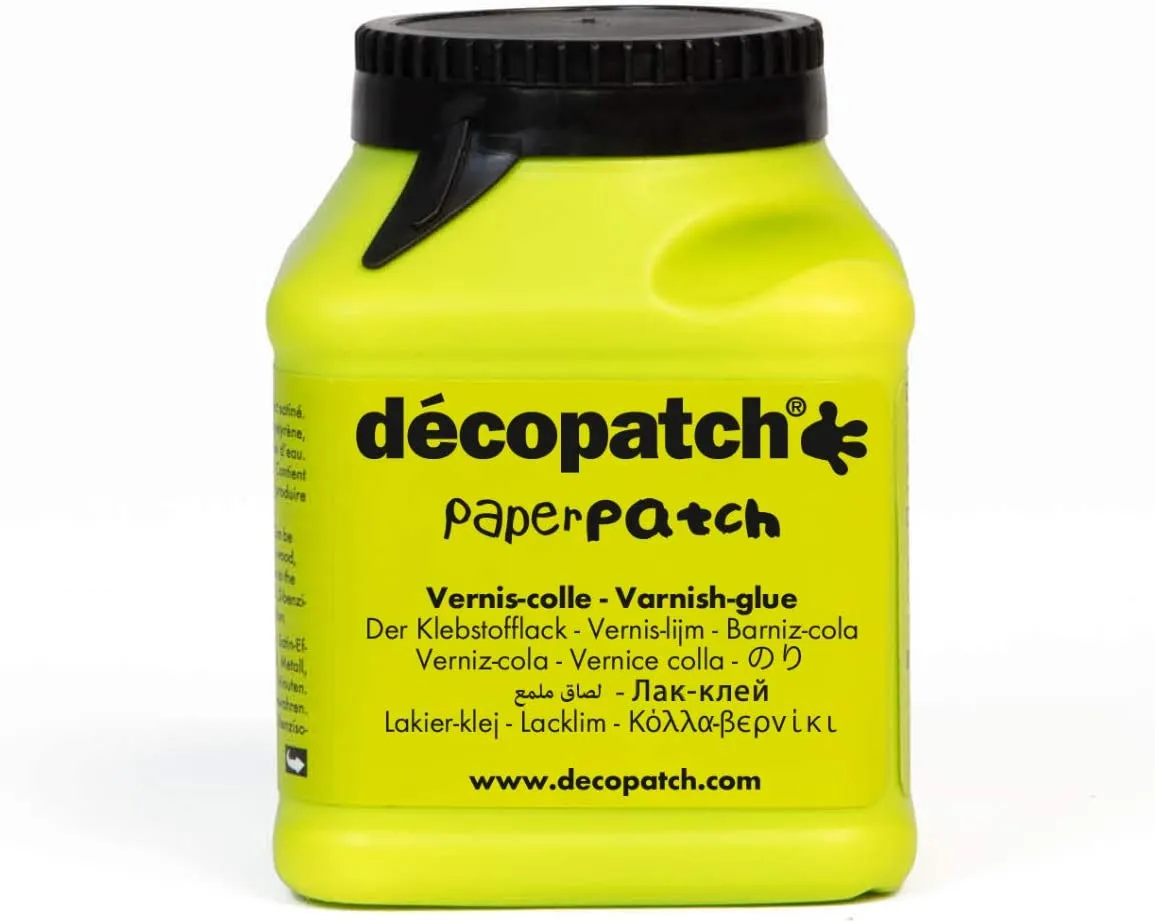
PVA glue is a great option for how to découpage. It's fairly inexpensive and dries hard and clear, so it also provides a good degree of protection to your finished piece. Wallpaper paste is also a very popular option as it makes the papers nice and pliable, so you can découpage around awkward shapes. If you want to take things up a notch, there are special découpage glues that you can buy, including sparkle glues, coloured glues, glues with a matte finish, glues with a satin finish and even glues for an outdoor finish. Most découpage glue has a milky, opaque look when wet - this ensures you'll get an even coverage and not miss any spots.

Buy now: £8.99 (Amazon)
Brush
To apply découpage paper, you'll need a slightly different type of brush. You can use ordinary paintbrushes, of course, however, you will find it easier if you opt for a brush that has stiff, quite short bristles. By using a dedicated découpage brush, you'll find it easier to work the paper into all the nooks and crannies, as well as into corners and around edges.
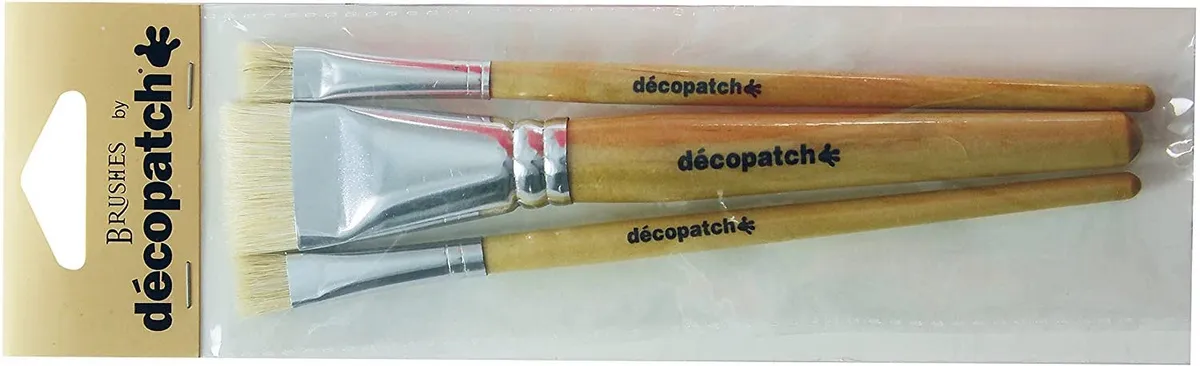
Buy now: £5.50 (Amazon)
Varnish
To protect your work and seal the surface of the paper, many crafters choose to varnish their items. Using a water-based varnish is ideal as it is solvent-free, and using a water-based varnish means you won't destroy any of your brushes, and you can clean your brushes with water.
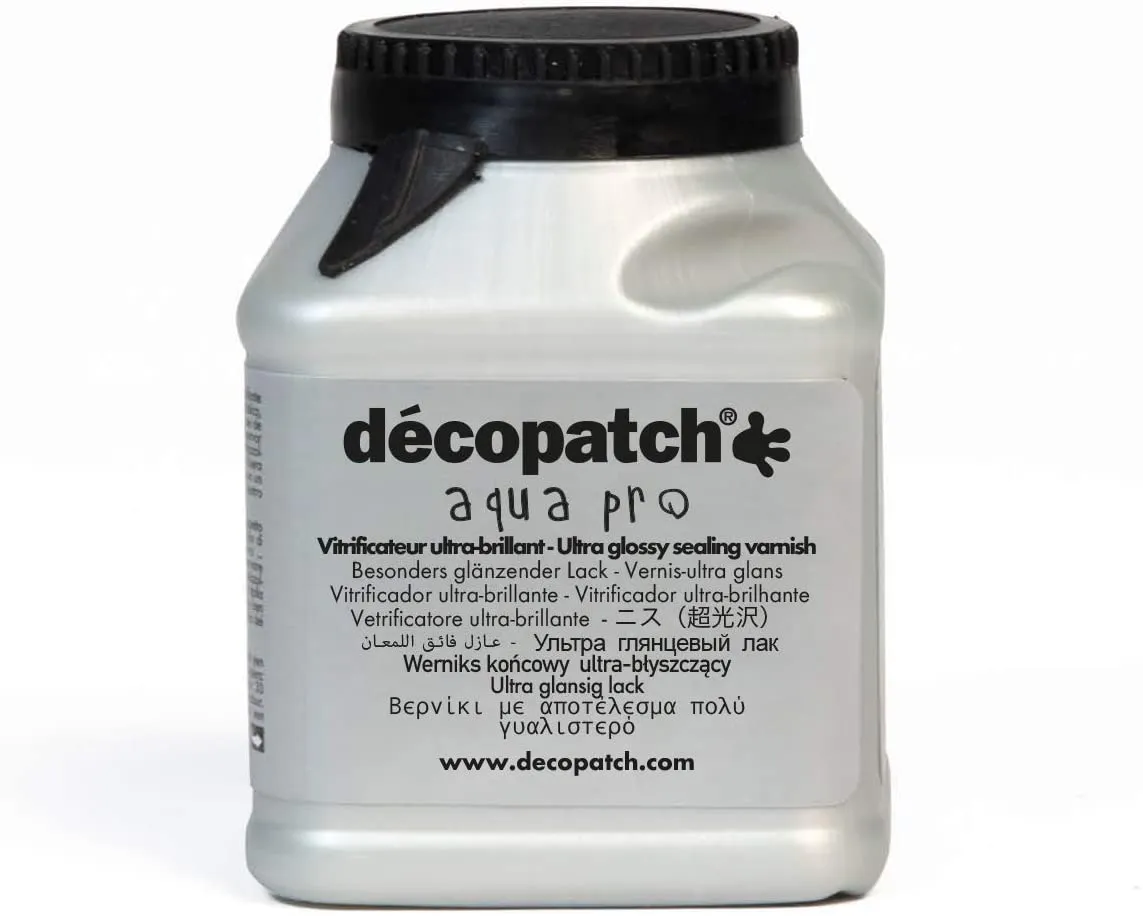
Buy now: £9.54 (Amazon)
What is découpage glue?
So what is découpage glue? Do you need a special type of glue to be able to do découpage? The good news - not at all! You can use good old PVA glue, wallpaper adhesive or specially made découpage glue. It's down to personal choice. Personally, I like the range of découpage glue available from Décopatch, as they have lots of different finishes available, depending on what look you want to go for in your project. If you're planning on washing your découpaged item, it's a good idea to look for some dishwasher safe découpage glue. However - you must wait until the glue has cured before putting it in the dishwasher, and always place it on the top rack. Scroll down for the best découpage glue!
How to make découpage glue
Make your own homemade découpage glue in just three easy steps! You'll need some PVA glue, water, a bowl to mix in, and something to mix with.
Step 1
To make your DIY découpage glue, first pour some PVA glue into a bowl.
Step 2
Add some water to the bowl to dilute the PVA glue.
Step 3
Mix the PVA glue and water together so that it develops a creamy consistency. And that's it! You've made your own homemade découpage glue.
Where to buy découpage glue
Where to buy découpage glue? If you're making your own DIY découpage glue from PVA glue, then head on over to any craft store, stationery shop or art shop - they will have PVA glue. Alternatively - browse the arts and crafts aisle in your local supermarket next time you do your weekly shop, and you can often pick up big bottles of PVA glue from places like Walmart, Tesco and Sainsburys for a few quid. Alternatively, places like Amazon have a huge range of découpage glue, as well as PVA glue if you're making your own DIY découpage glue. Here are some of the best découpage glue you can buy:
Dishwasher safe découpage glue
Buy now: £12.99, Amazon

If you're découpaging crockery that you might want to wash - this is the découpage glue for you. Remember to put your items on the top shelf in the dishwasher, and wait until the glue has fully dried before washing it.
Décopatch glue - standard
Buy now: £8.99, Amazon
This découpage glue is the go-to for many crafters. It's reliable and does the job well.
Glossy Décopatch glue
Buy now: £5.99, Amazon
If you want a glossy finish to your découpage projects, this découpage glue from Decopatch is great.
Décopatch glue with glitter
Buy now: £3.90, Amazon
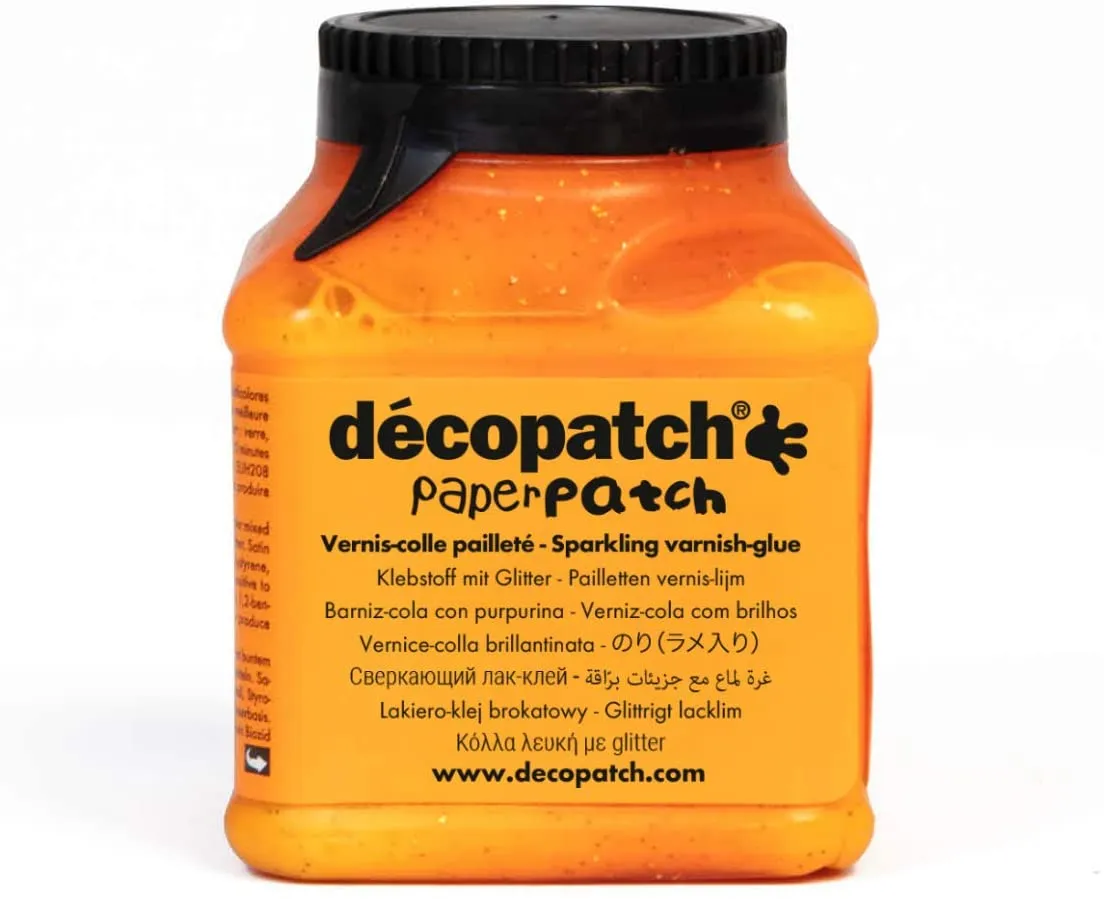
What more can we say? This découpage glue is essentially glitter glue, but for découpage projects. Just make sure you keep the lid on tight after it's opened - or you'll end up with a gloopy mess around the top (speaking from experience!).
How to découpage for beginners: the basics
Depending on the item, it may be necessary to prepare the surface first.
Removing old paint
If there is old, flaking paint on the item you want to découpage, try to remove as much of this as possible before you start. Scrape off the paint with a paint scraper, or if there is a lot of stubborn paint that needs removing, use a paint stripper in a well-ventilated area.
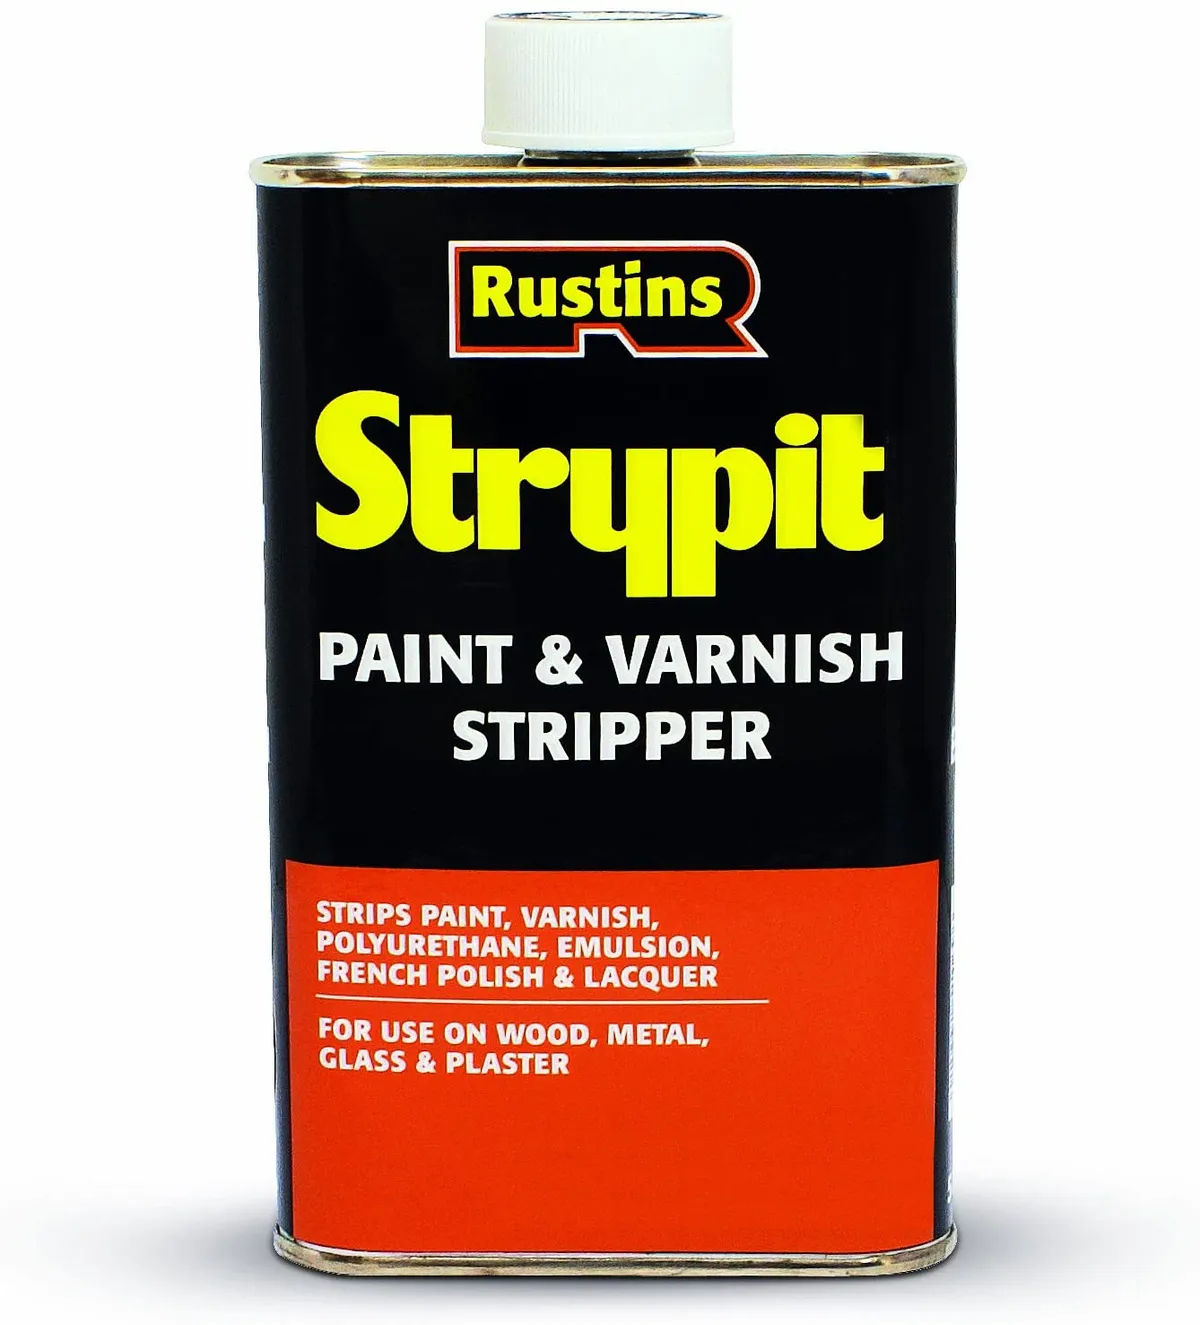
Buy now: £6.97 (Amazon)
Preventing woodworm
If you are upcycling an old piece of furniture or any wooden object then there is a possibility that it might have woodworm. So look so tiny holes - this is a good indication that there has been woodworm in the past. Even if the woodworm are not active, it's a good idea to treat wooden surfaces with a woodworm killer before you start. You can tell if woodworm are active, by the presence of something called frass. Frass is a fine, powdery dust that surrounds the holes, and is created by the boring action of the larvae as they burrow into the wood (woodworm are the wood-eating larvae of many beetle species).
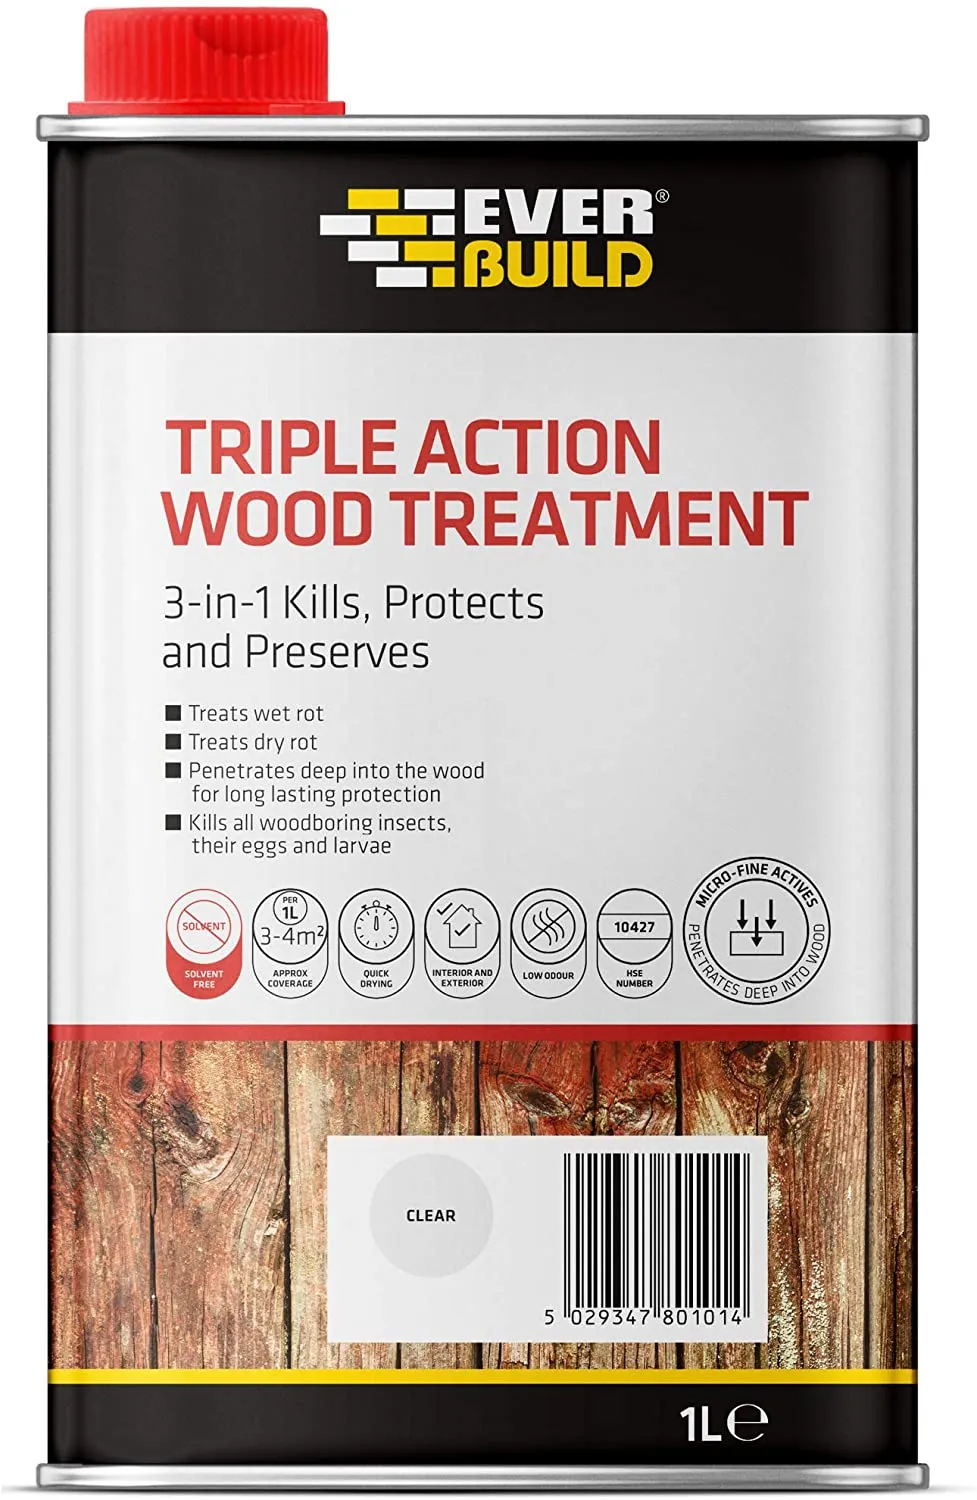
Buy now: £8.15 (Amazon)
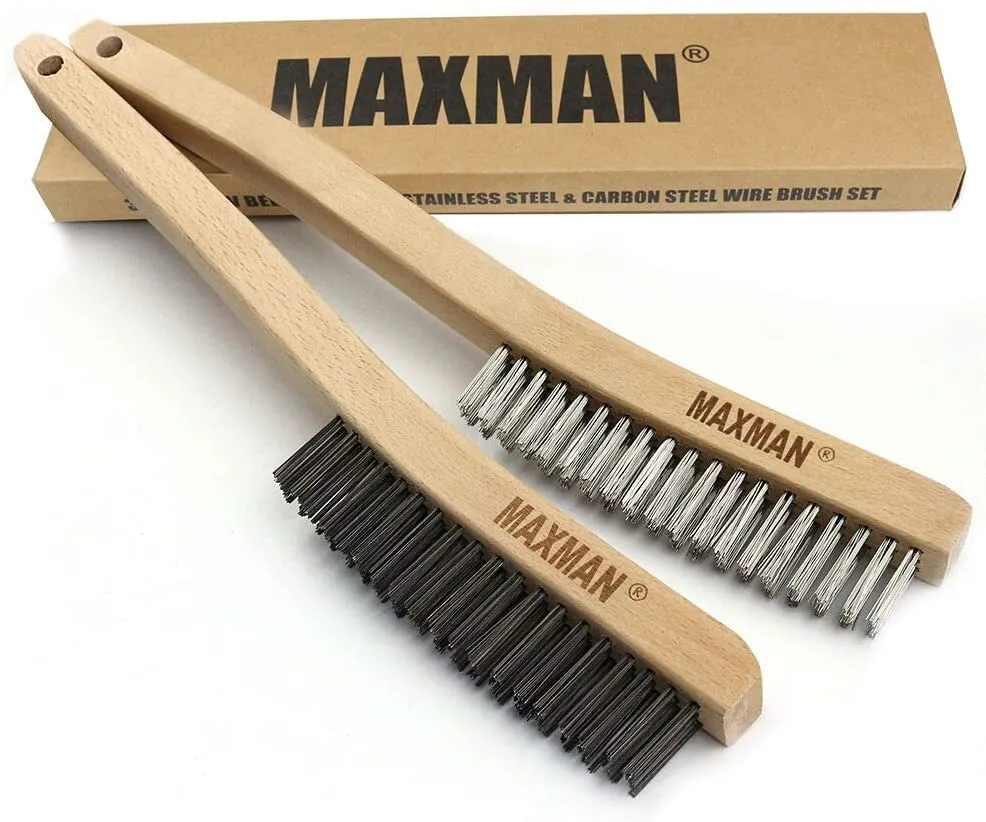
Dealing with rust
If you are adding découpage papers to metal, it's a good idea to treat the metal surface for rust before you start. If there is visible rust, grab a stiff wire brush and scrub across the surface to remove what you can. Coat the item with some rust remover and allow it to dry fully before wiping down with white spirit. Remember to ventilate your workspace, or work outside when you do this! Repeat this process until all the rust is gone. If any holes appear (don't worry!), simply add a spot of car repair filler to fill the holes (you'll be covering them up anyway) and rub down. Instructions vary per manufacturer, so check the instructions on the product.
Buy now: £12.89 (Amazon)
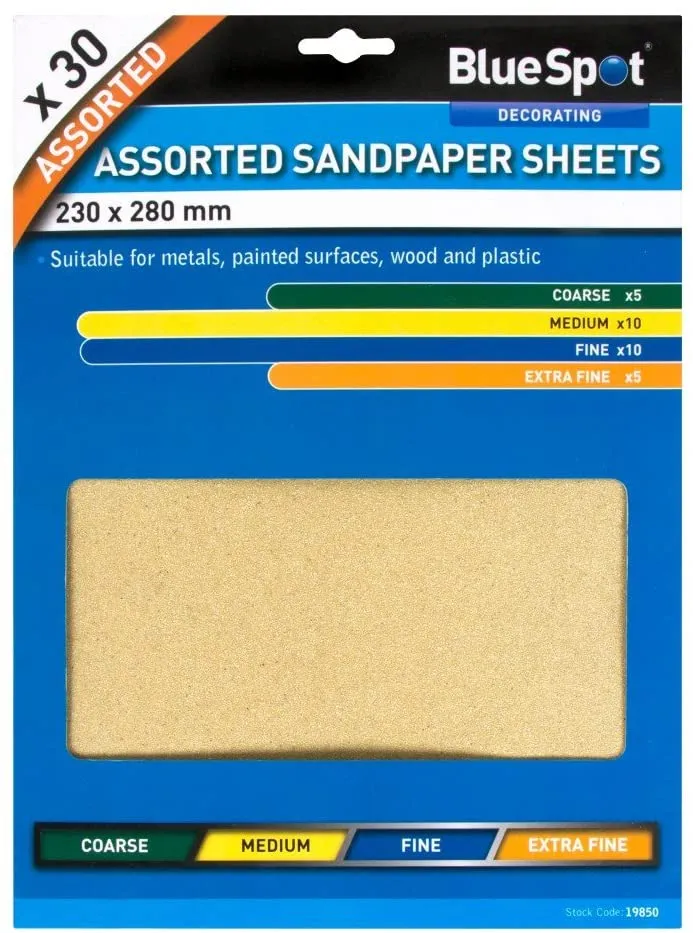
Sanding down a surface
If you're upcycling an old piece of furniture, give it a good wash to clean away any grub that has accumulated over the years. If it's made of wood, you'll want to sand down a surface using progressively finer-grained sandpaper for a smooth finish. Get rid of snags, splinters and general uneven-ness using coarse or medium grain sandpaper, then work down to fine-grained sandpaper to create a smooth surface that you can apply your undercoat, and découpage paper onto.
Buy now: £4.31 (Amazon)
Adding an undercoat
In order to show the colours of the papers to their best advantage, it's a good idea to paint the surface before adding the découpage papers. You can do this with basic white acrylic paint, or if you're working on pitted wooden surfaces, applying a layer of gesso will help to smooth down the surface and make it easier to work on.

Buy now: £4.67 (Amazon)
Try this easy découpage project
In this tutorial, you'll learn the basic process of how to découpage, and as an added bonus, in this découpage tutorial for beginners, we also show you how to create a crackled effect using a two-step method. You’ll end up with a beautiful decoration you’ll be proud to display in your home!
Here's a top tip: painting or blending distress ink over your finished item when it’s completely dry will enhance the vintage look.

You Will Need
- Paper mache item (to découpage)
- Découpage papers
- White acrylic paint
- Brush (stiff with short bristles)
- Glue (pva or similar)
- First Edition Deco Maché Antique Crackle Base Coat & Top Coat


