How to layer patterned papers
After the tricky part of choosing your patterned papers, we show you how to layer your papers together to leave a clean, professional finish.

Published:
One of the greatest things about making your own cards is getting to choose which colour scheme your card will be, which you can determine with your coloured card or patterned papers.
We show you to layer your patterned papers together, to create defined borders that will take your cardmaking to the next level. Once you’ve got your head around these layers, you can transfer your skills to scrapbooking, journalling or even to decorate photo albums.
Shopping List:
- Card or patterned papers
- Craft knife
- Metal ruler
- Craft mat
- Corner rounder punch (if you want rounded corners on your layers)
- Double-sided tape or glue
- Foam pads (if required)
Step 1
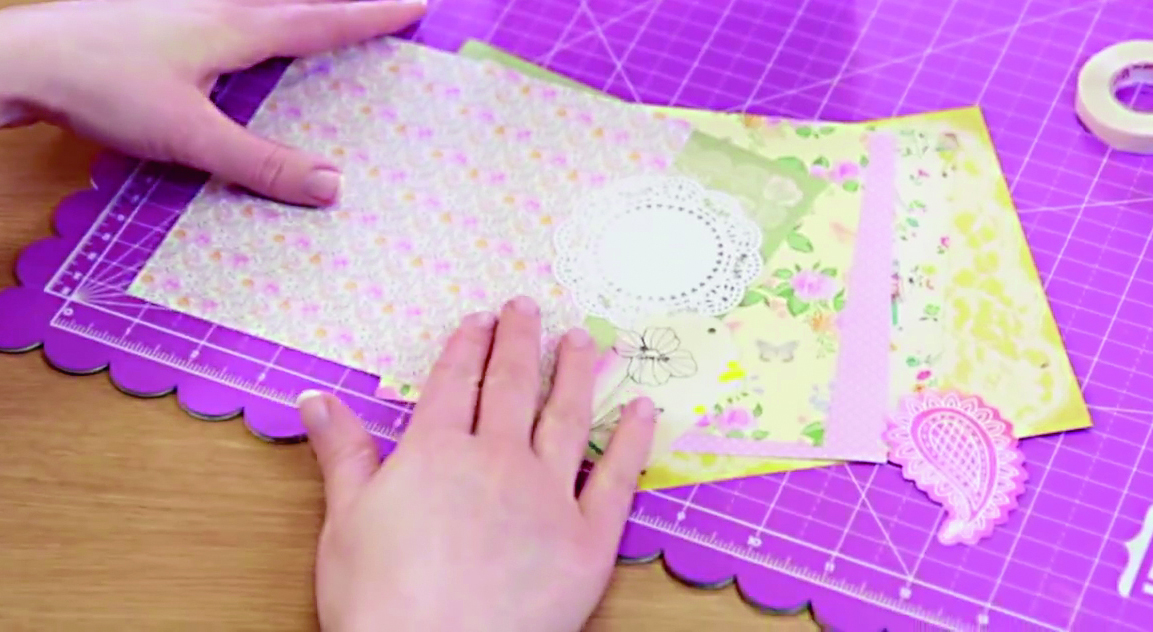
Choose two patterned papers and a focal point (like a topper or greeting) for your card. For easy colour matching, choose from a paper set or pad.

Step 2
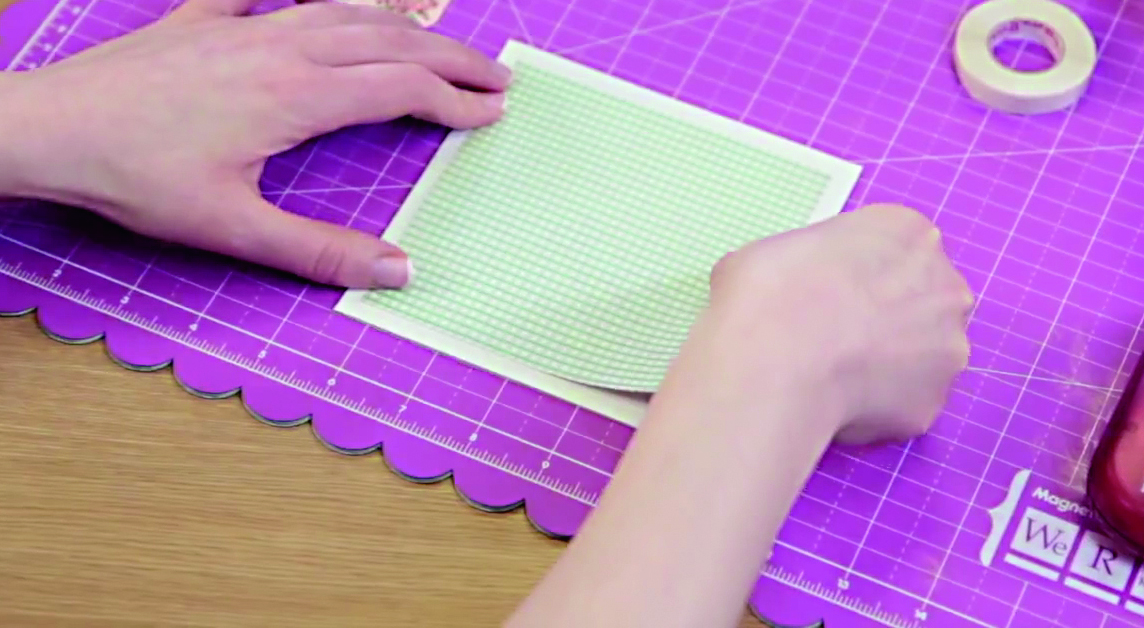
Trim one patterned paper so it’s slightly smaller than the front of your card blank, and stick in place using a glue runner or double-sided tape.

Step 3
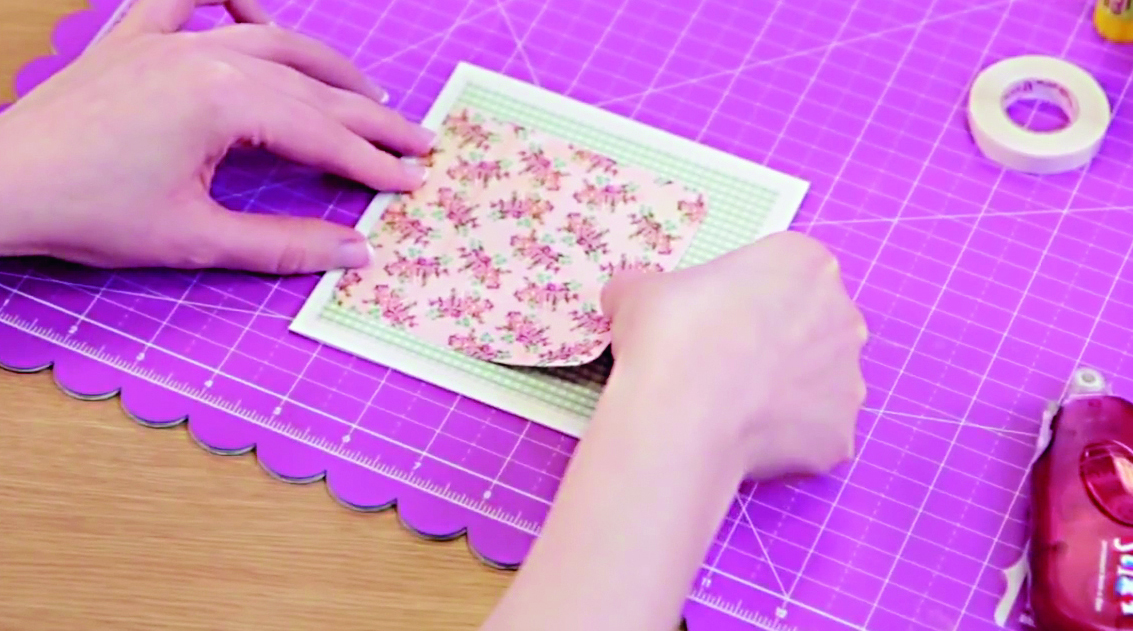
Cut a smaller panel from your second paper. Round the corners using scissors or a corner rounder punch, and attach to the card front. Place it to one side, or in the middle if you prefer.

Step 4
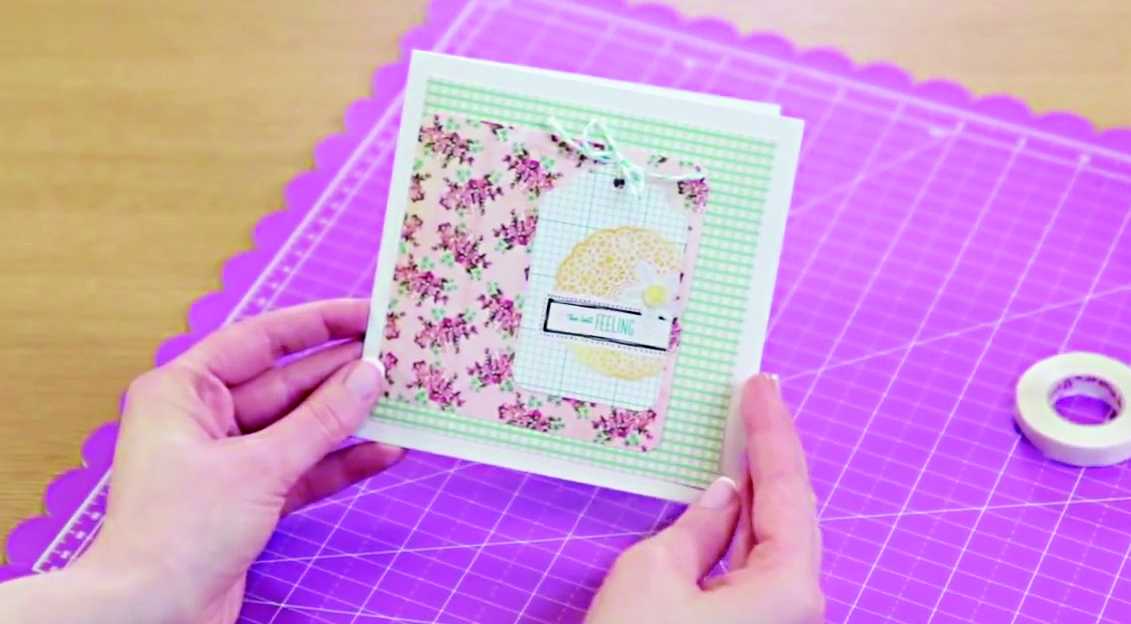
Add your focal point to finish the card! We’ve chosen a greeting tag, but any pretty topper will work. For more impact, raise the layers on foam pads.

Why not use some of our free printable patterned papers on your card? Take a look at our free stationary papers. Or how about these opulent free art nouveau patterned papers?