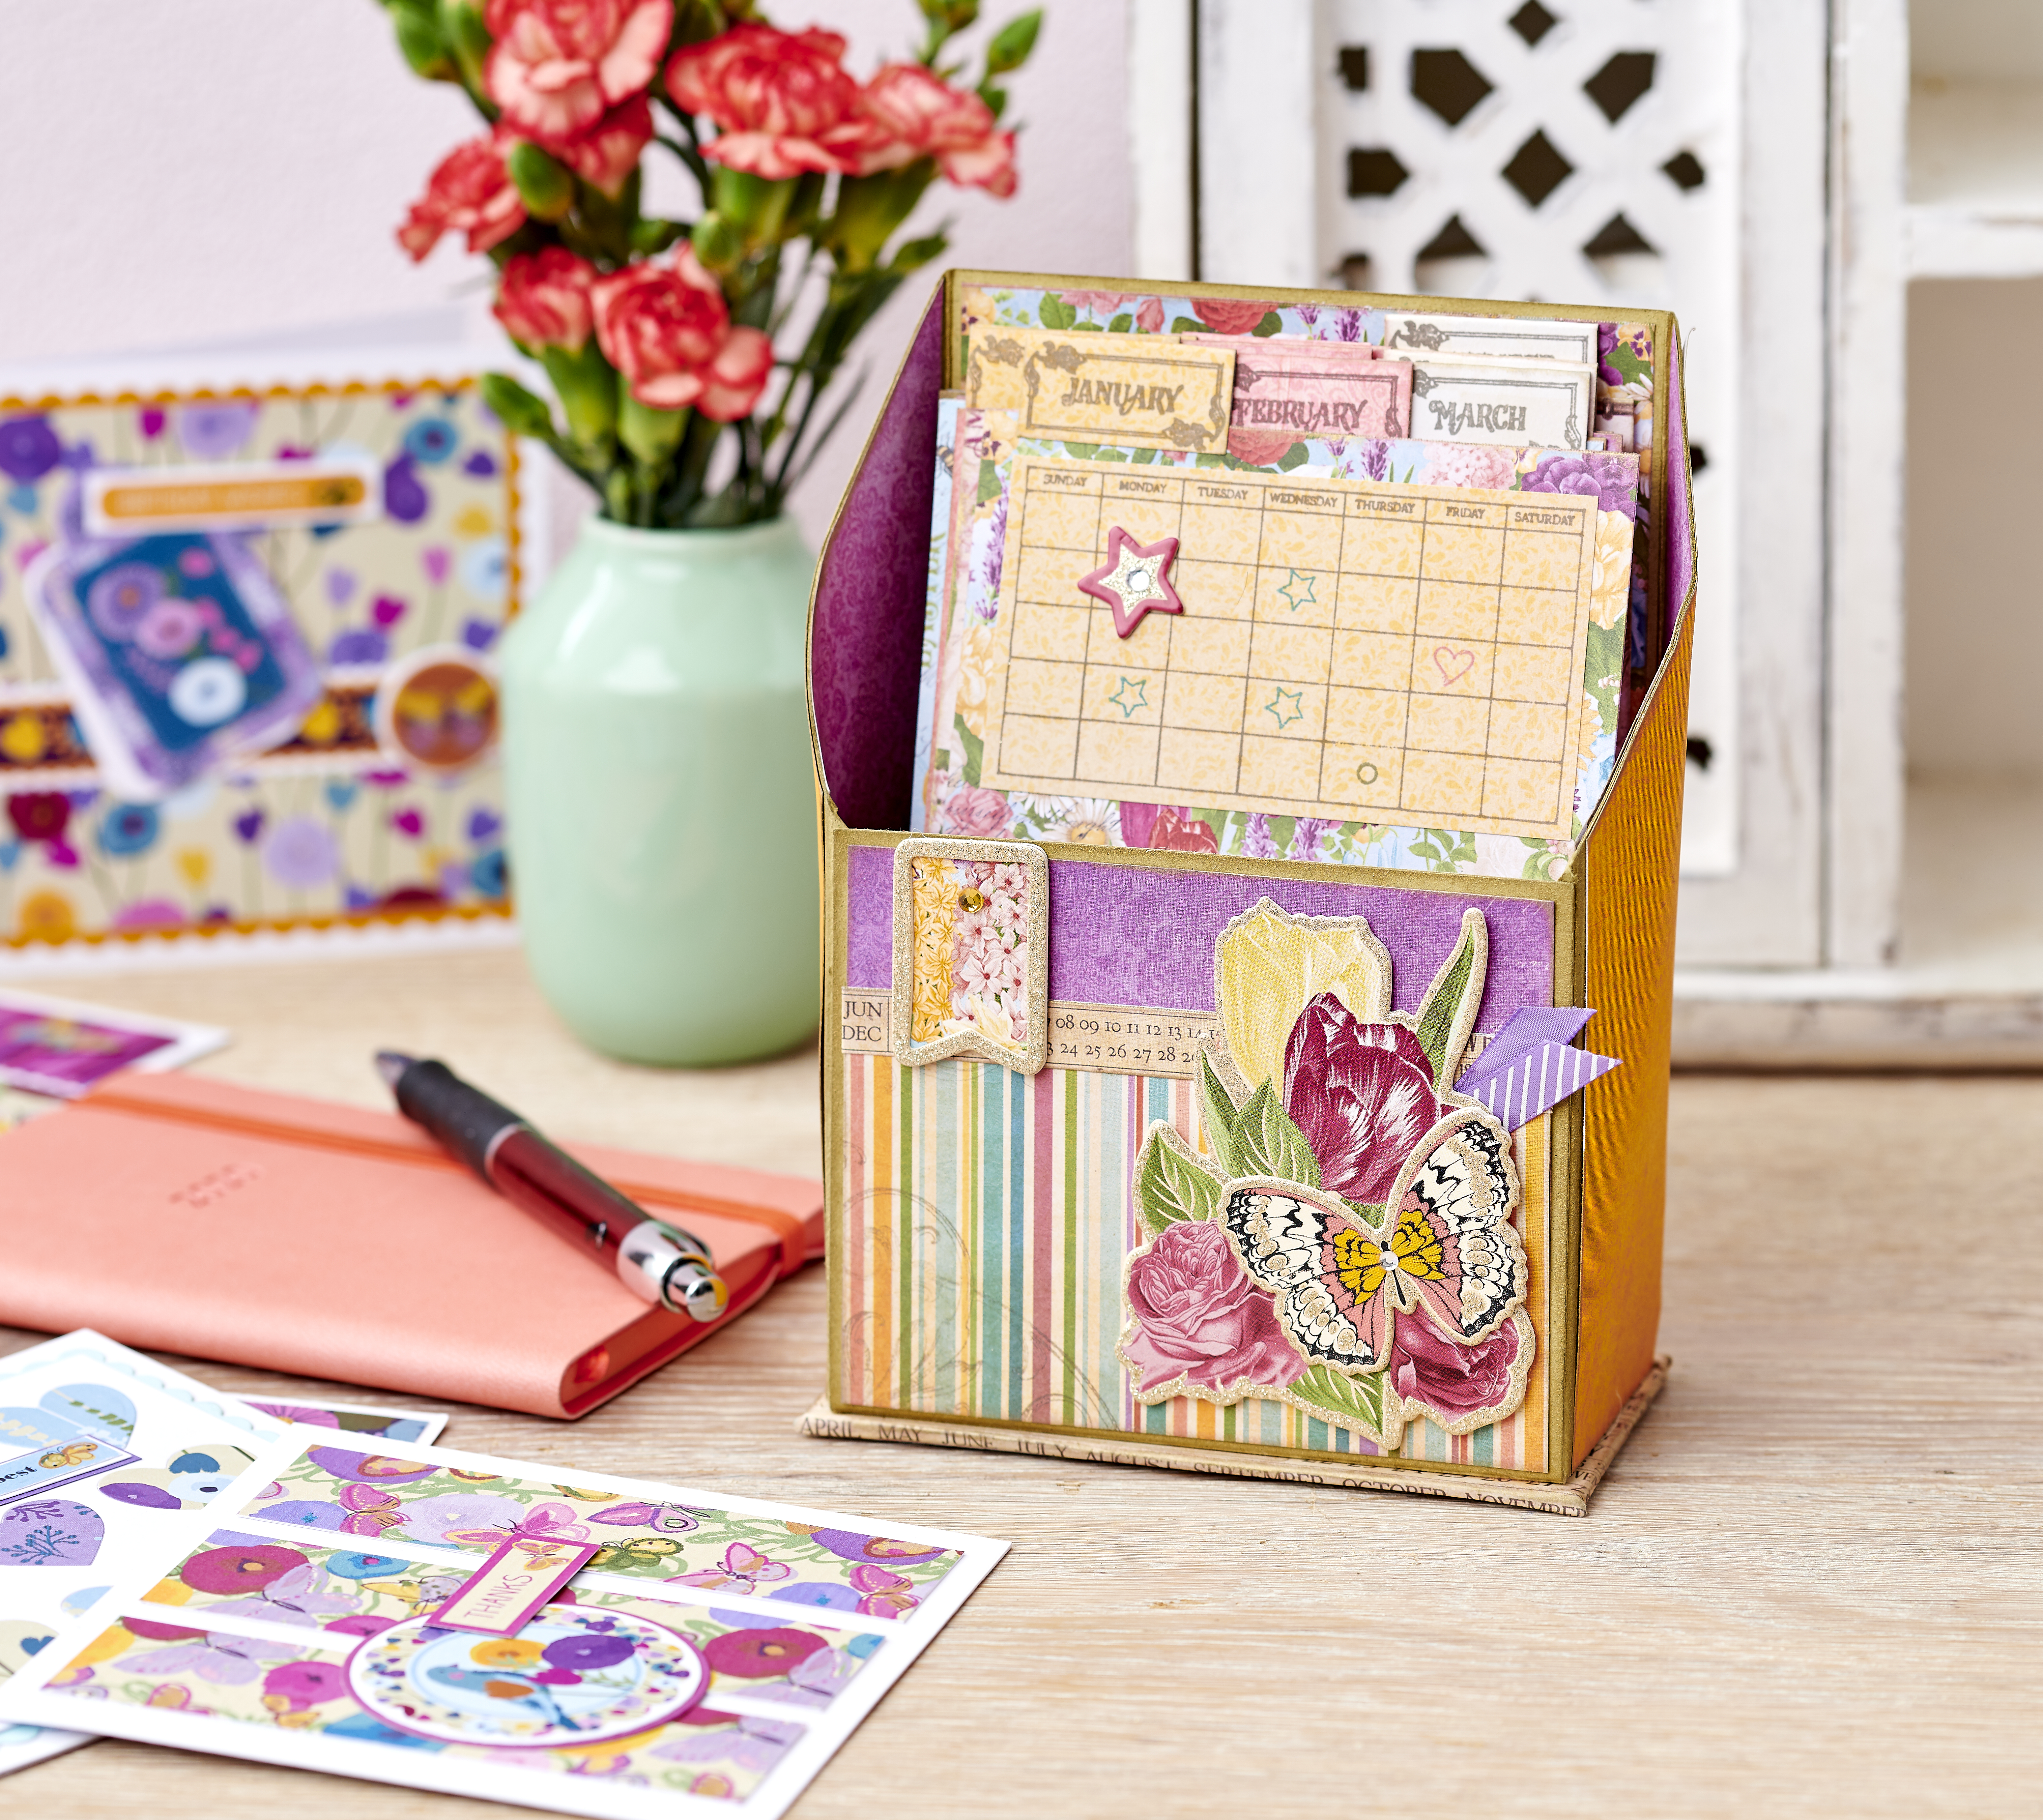
How to make a DIY card organiser

Never be lost for a birthday or anniversary card again with this gorgeous card organiser to store all your makes!

Try 6 issues of any craft magazine from just £9.99

Published: May 4, 2021 at 6:05 am

Get organised with this clever DIY card organiser! Organise your cards by month, so that when a certain person's birthday, anniversary or other important event rolls around - their card is all ready to go! If you have lots of events to cater for, or you like to batch make your cards, why not make two and secure back to back, with six months stored either side? Alternatively, just increase the depth of the box.

If you prefer, you could arrange the cards by occasion rather than by month – simply swap the month label for an occasion: Birthday, anniversary, new house, congratulations etc.

Short on patterned paper? Take a look at our ever-growing collection of free patterned papers, there are lots to choose from and there are lots of different themes. We love these vintage stationery papers! For more general card making, let us show you how to make cards and our favourite card-making kits.

We love seeing what you make with our free printable papers, so don’t forget to share your cards and papercraft projects with us on Facebook and Twitter, too!

You will need:

  • Patterned paper
  • Card
  • Mountboard (stiff card)
  • Toppers (something to decorate your card organiser with)
  • Stamp set
  • Ribbon
  • Ink pads

Step 1

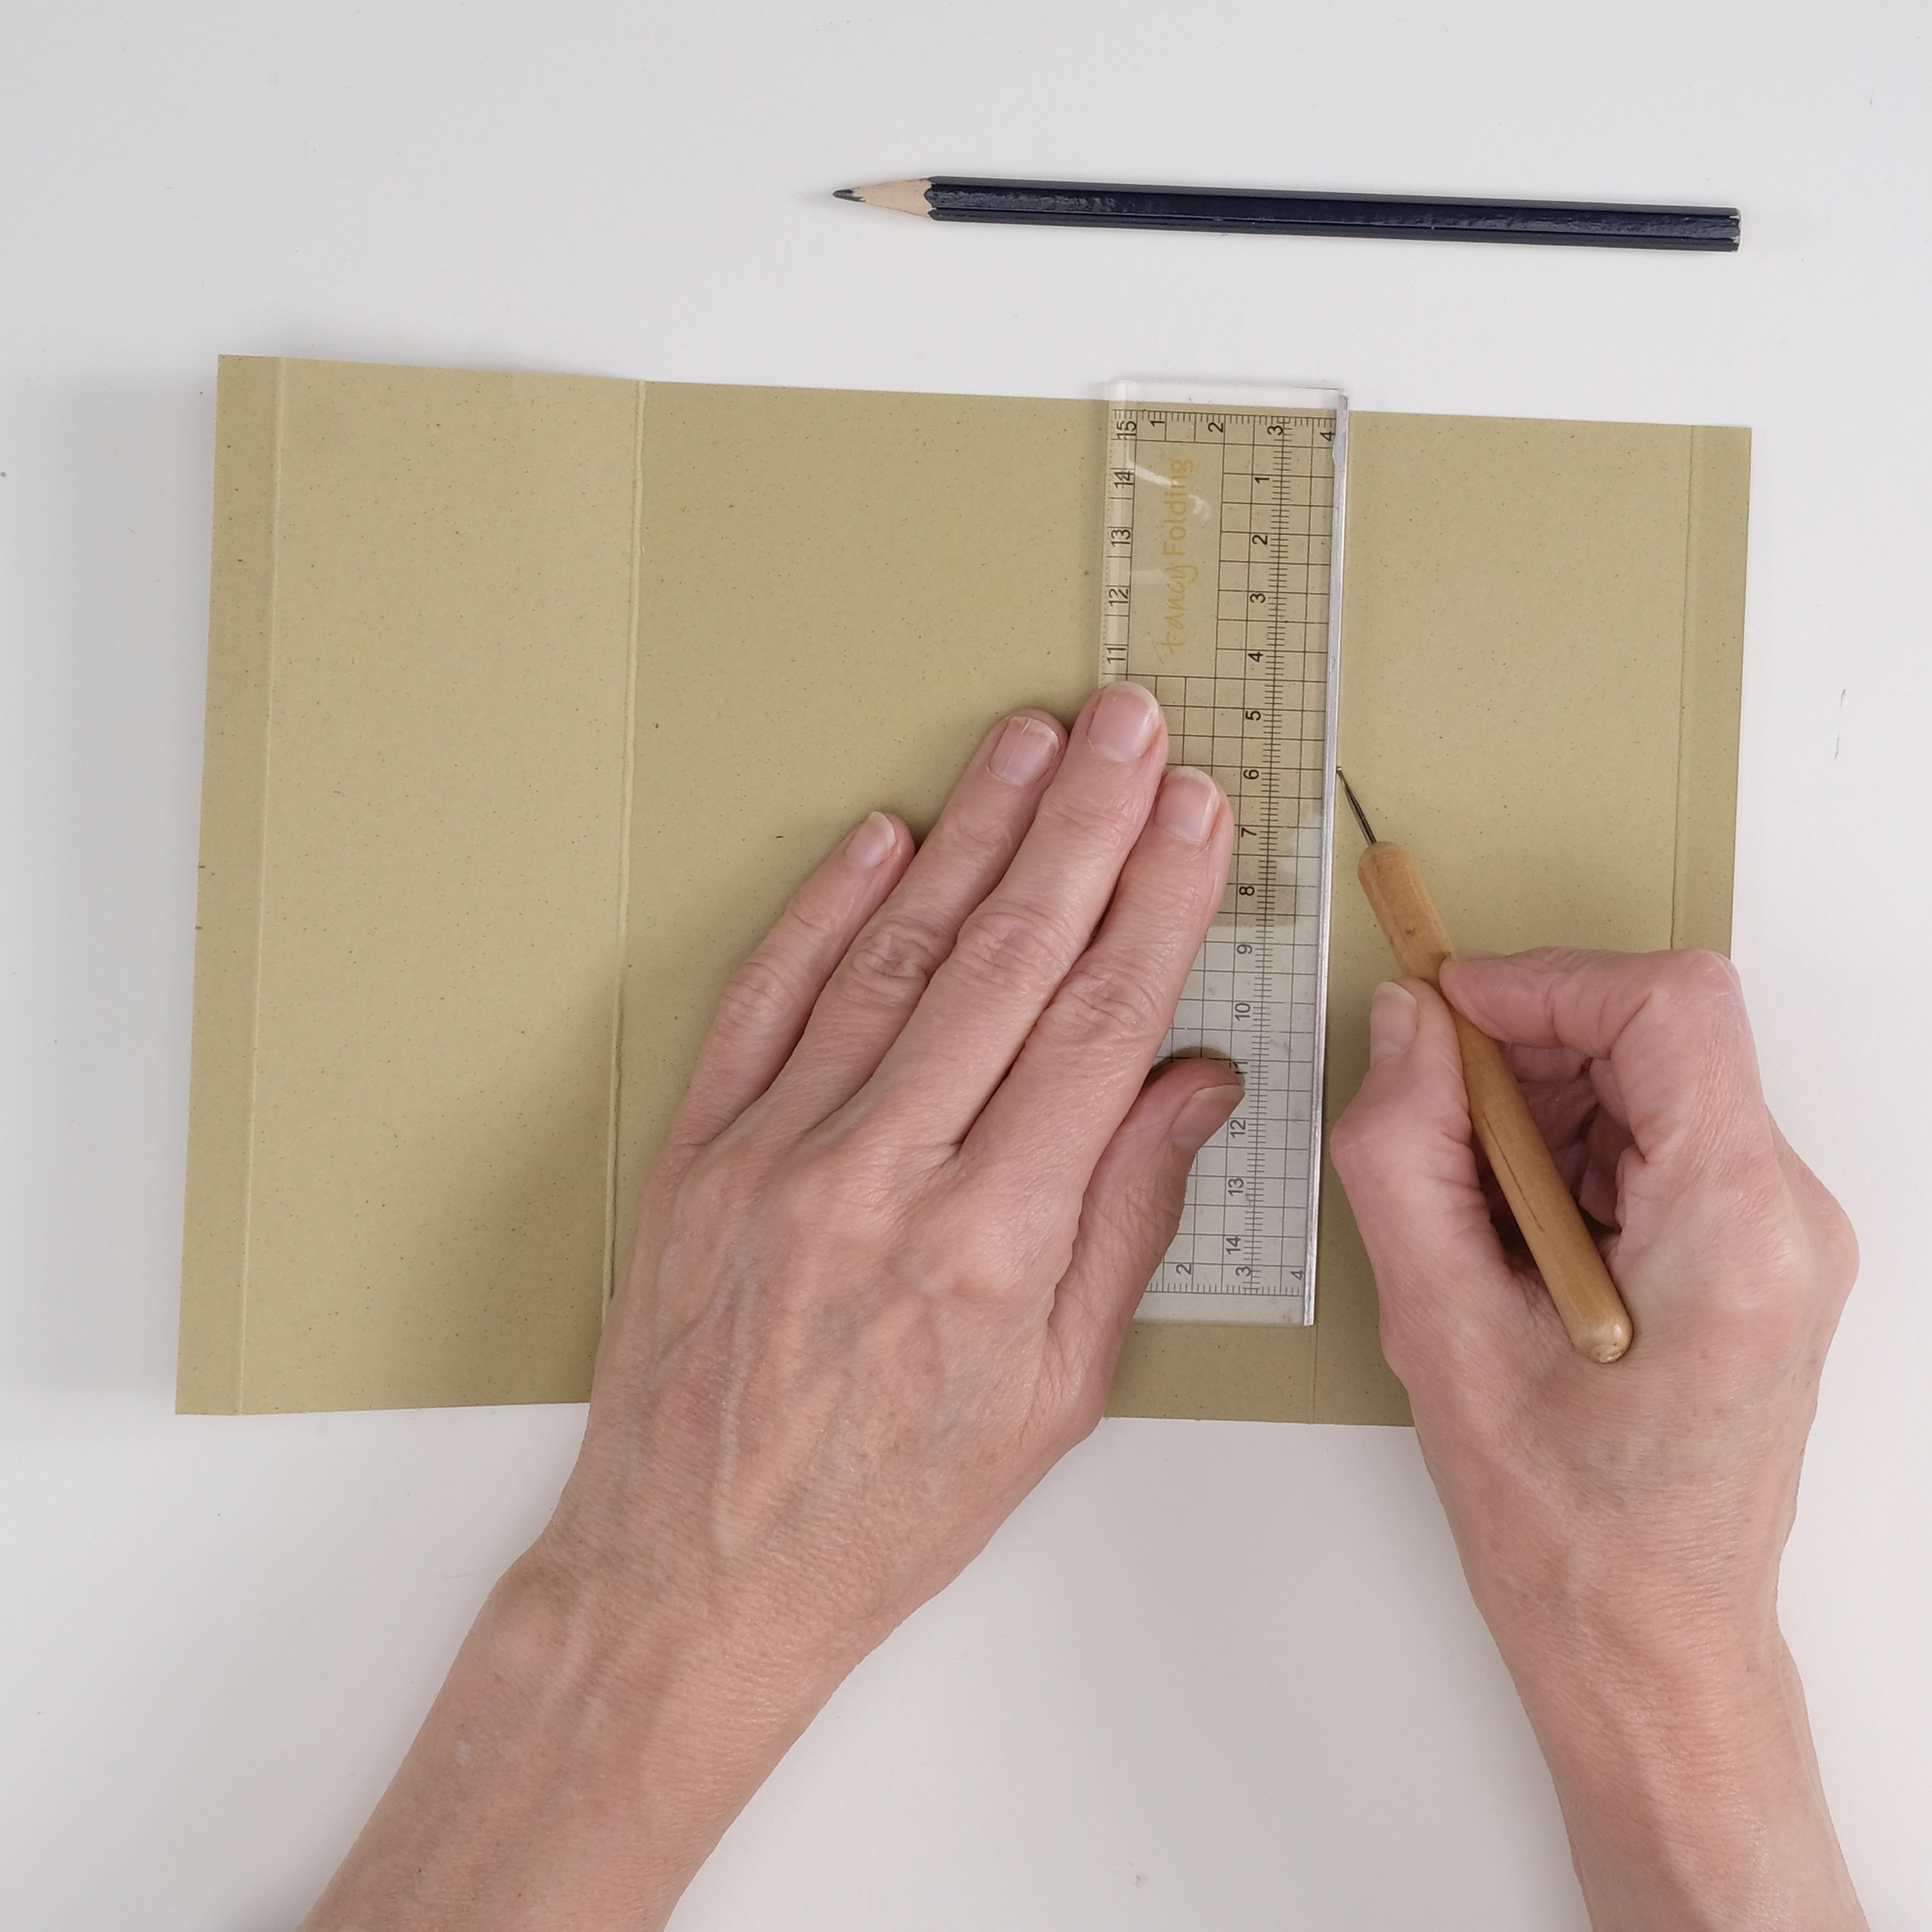
Cut some thick card to measure 260 x 175mm. Using a ruler and scoring tool, score and fold along the top edge of the panel at 10mm, 70mm, 190mm and 250mm.

DIY card organiser – step 1

Step 2

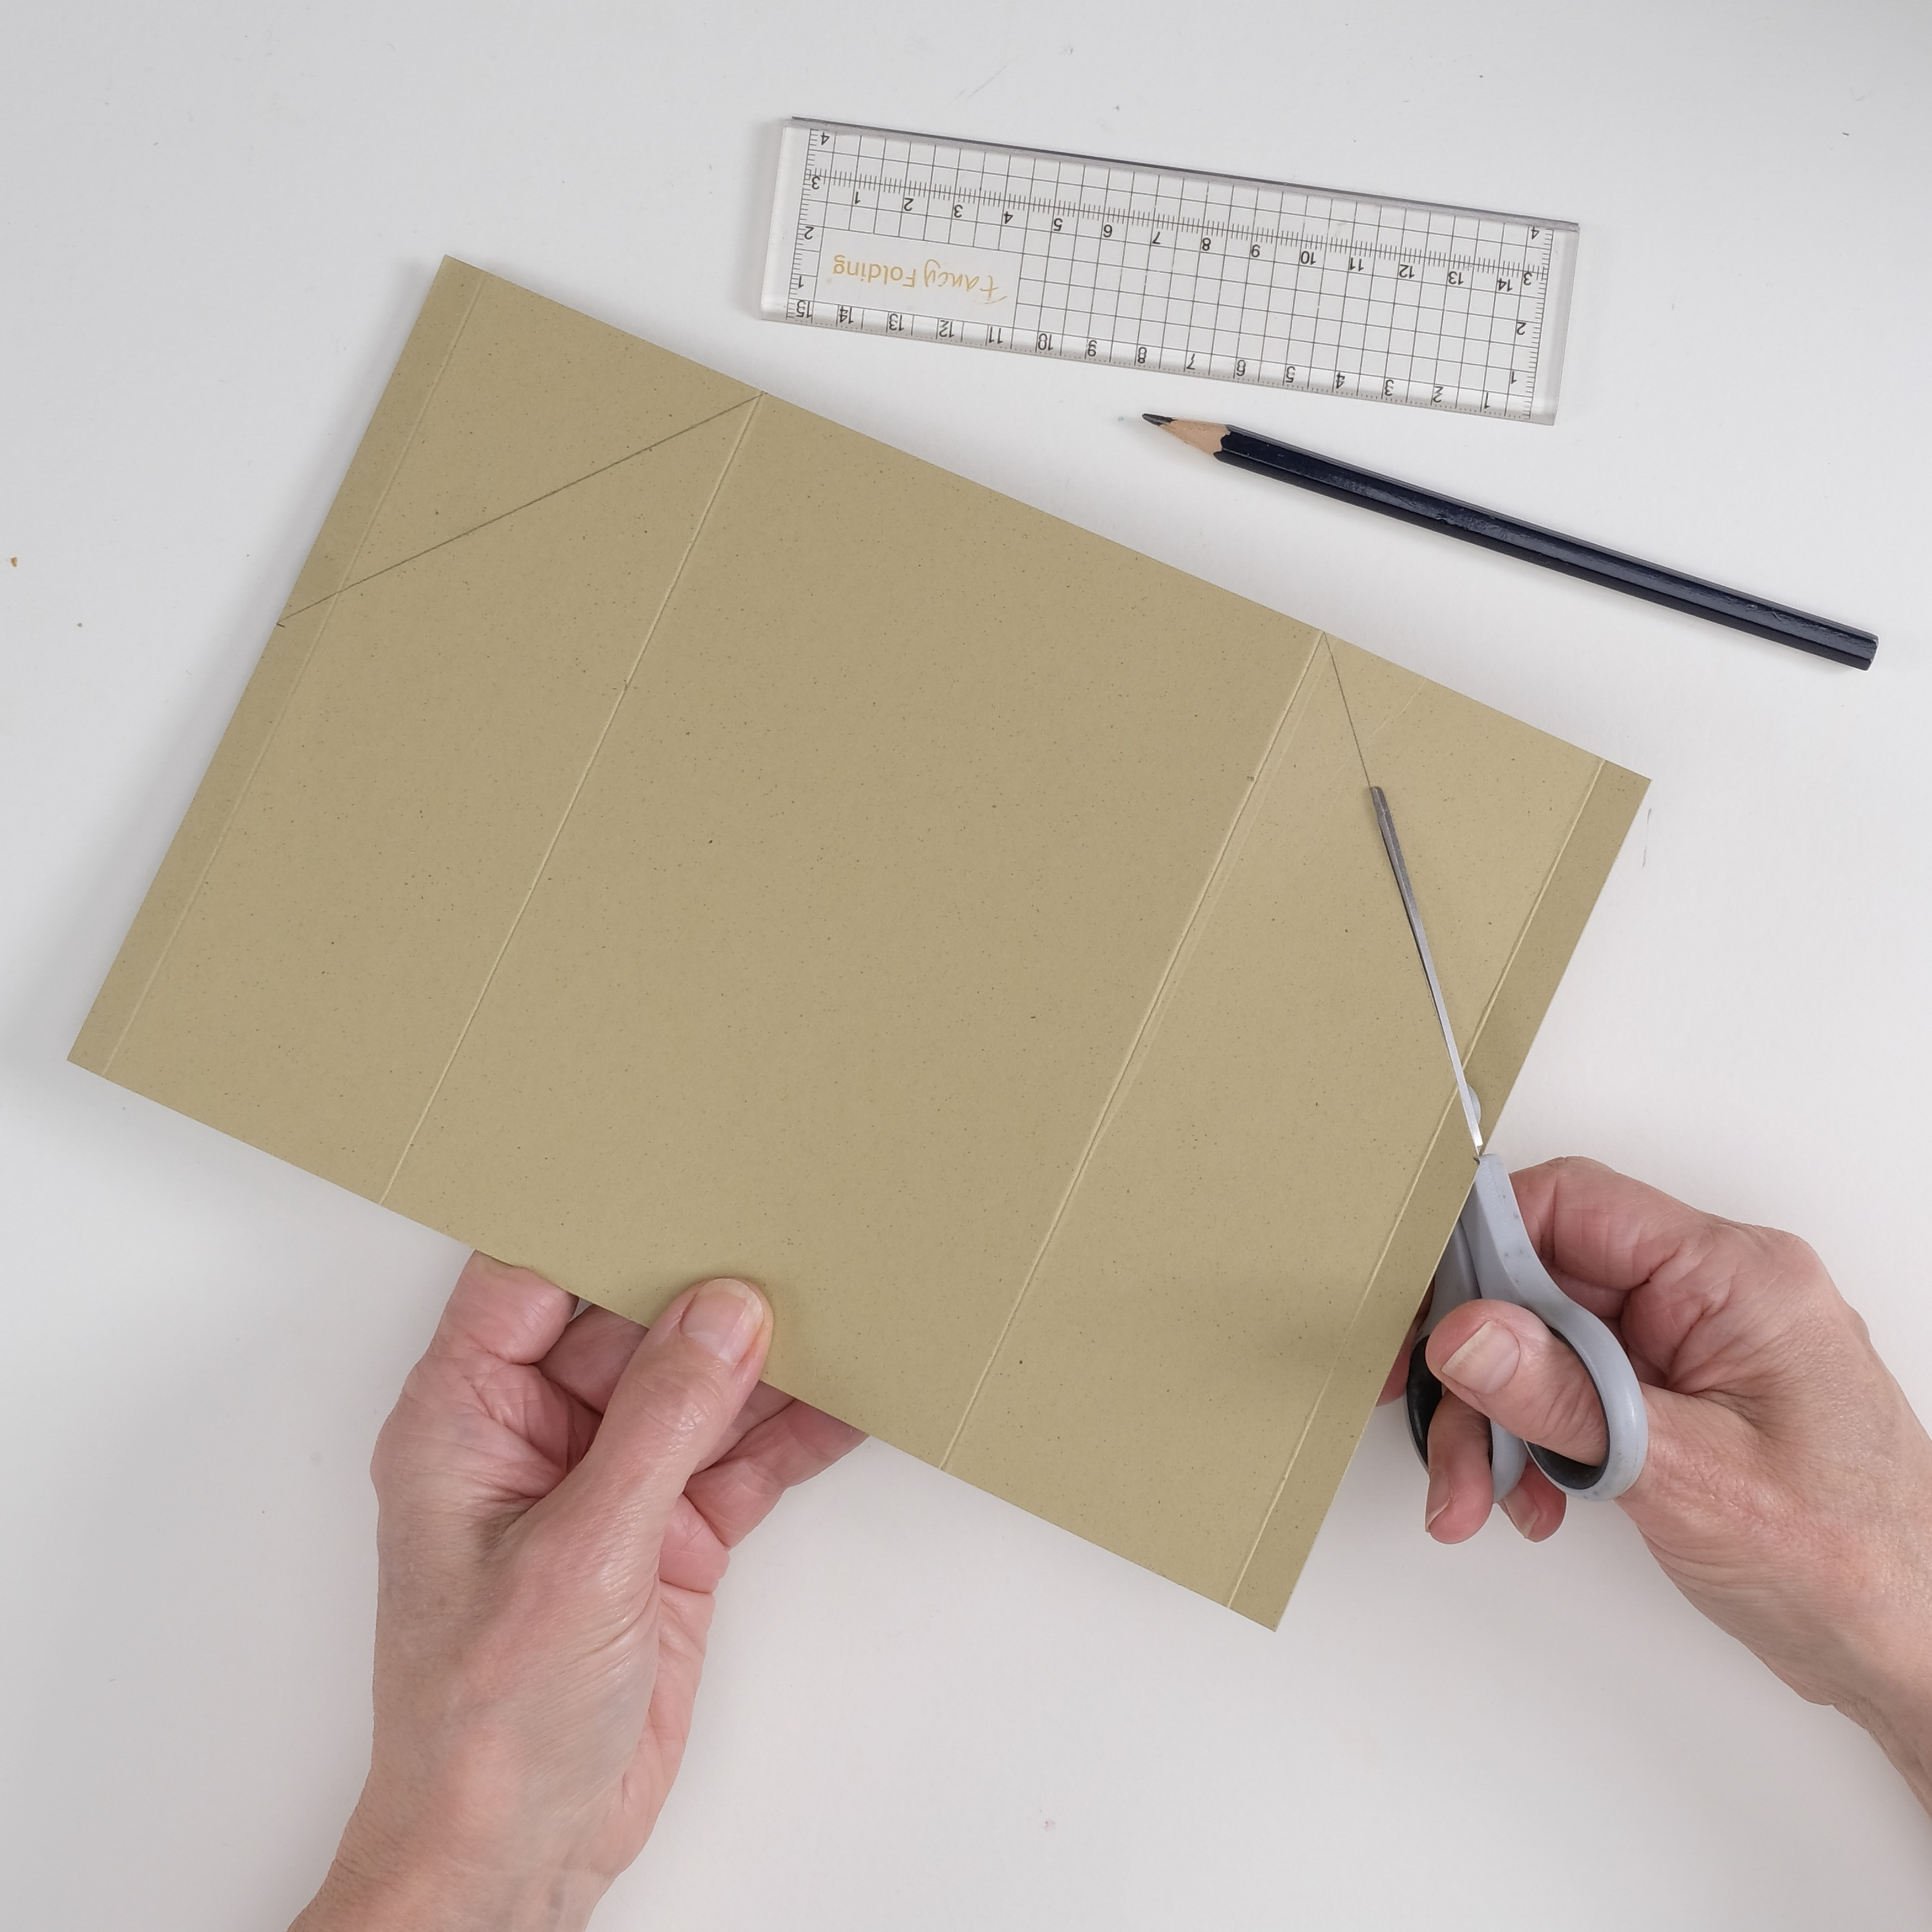
Mark a diagonal line from the two central folds to 80mm down either side of the mount board panel. Trim away the two triangles using a pair of scissors, as shown.

DIY card organiser – step 2

Step 3

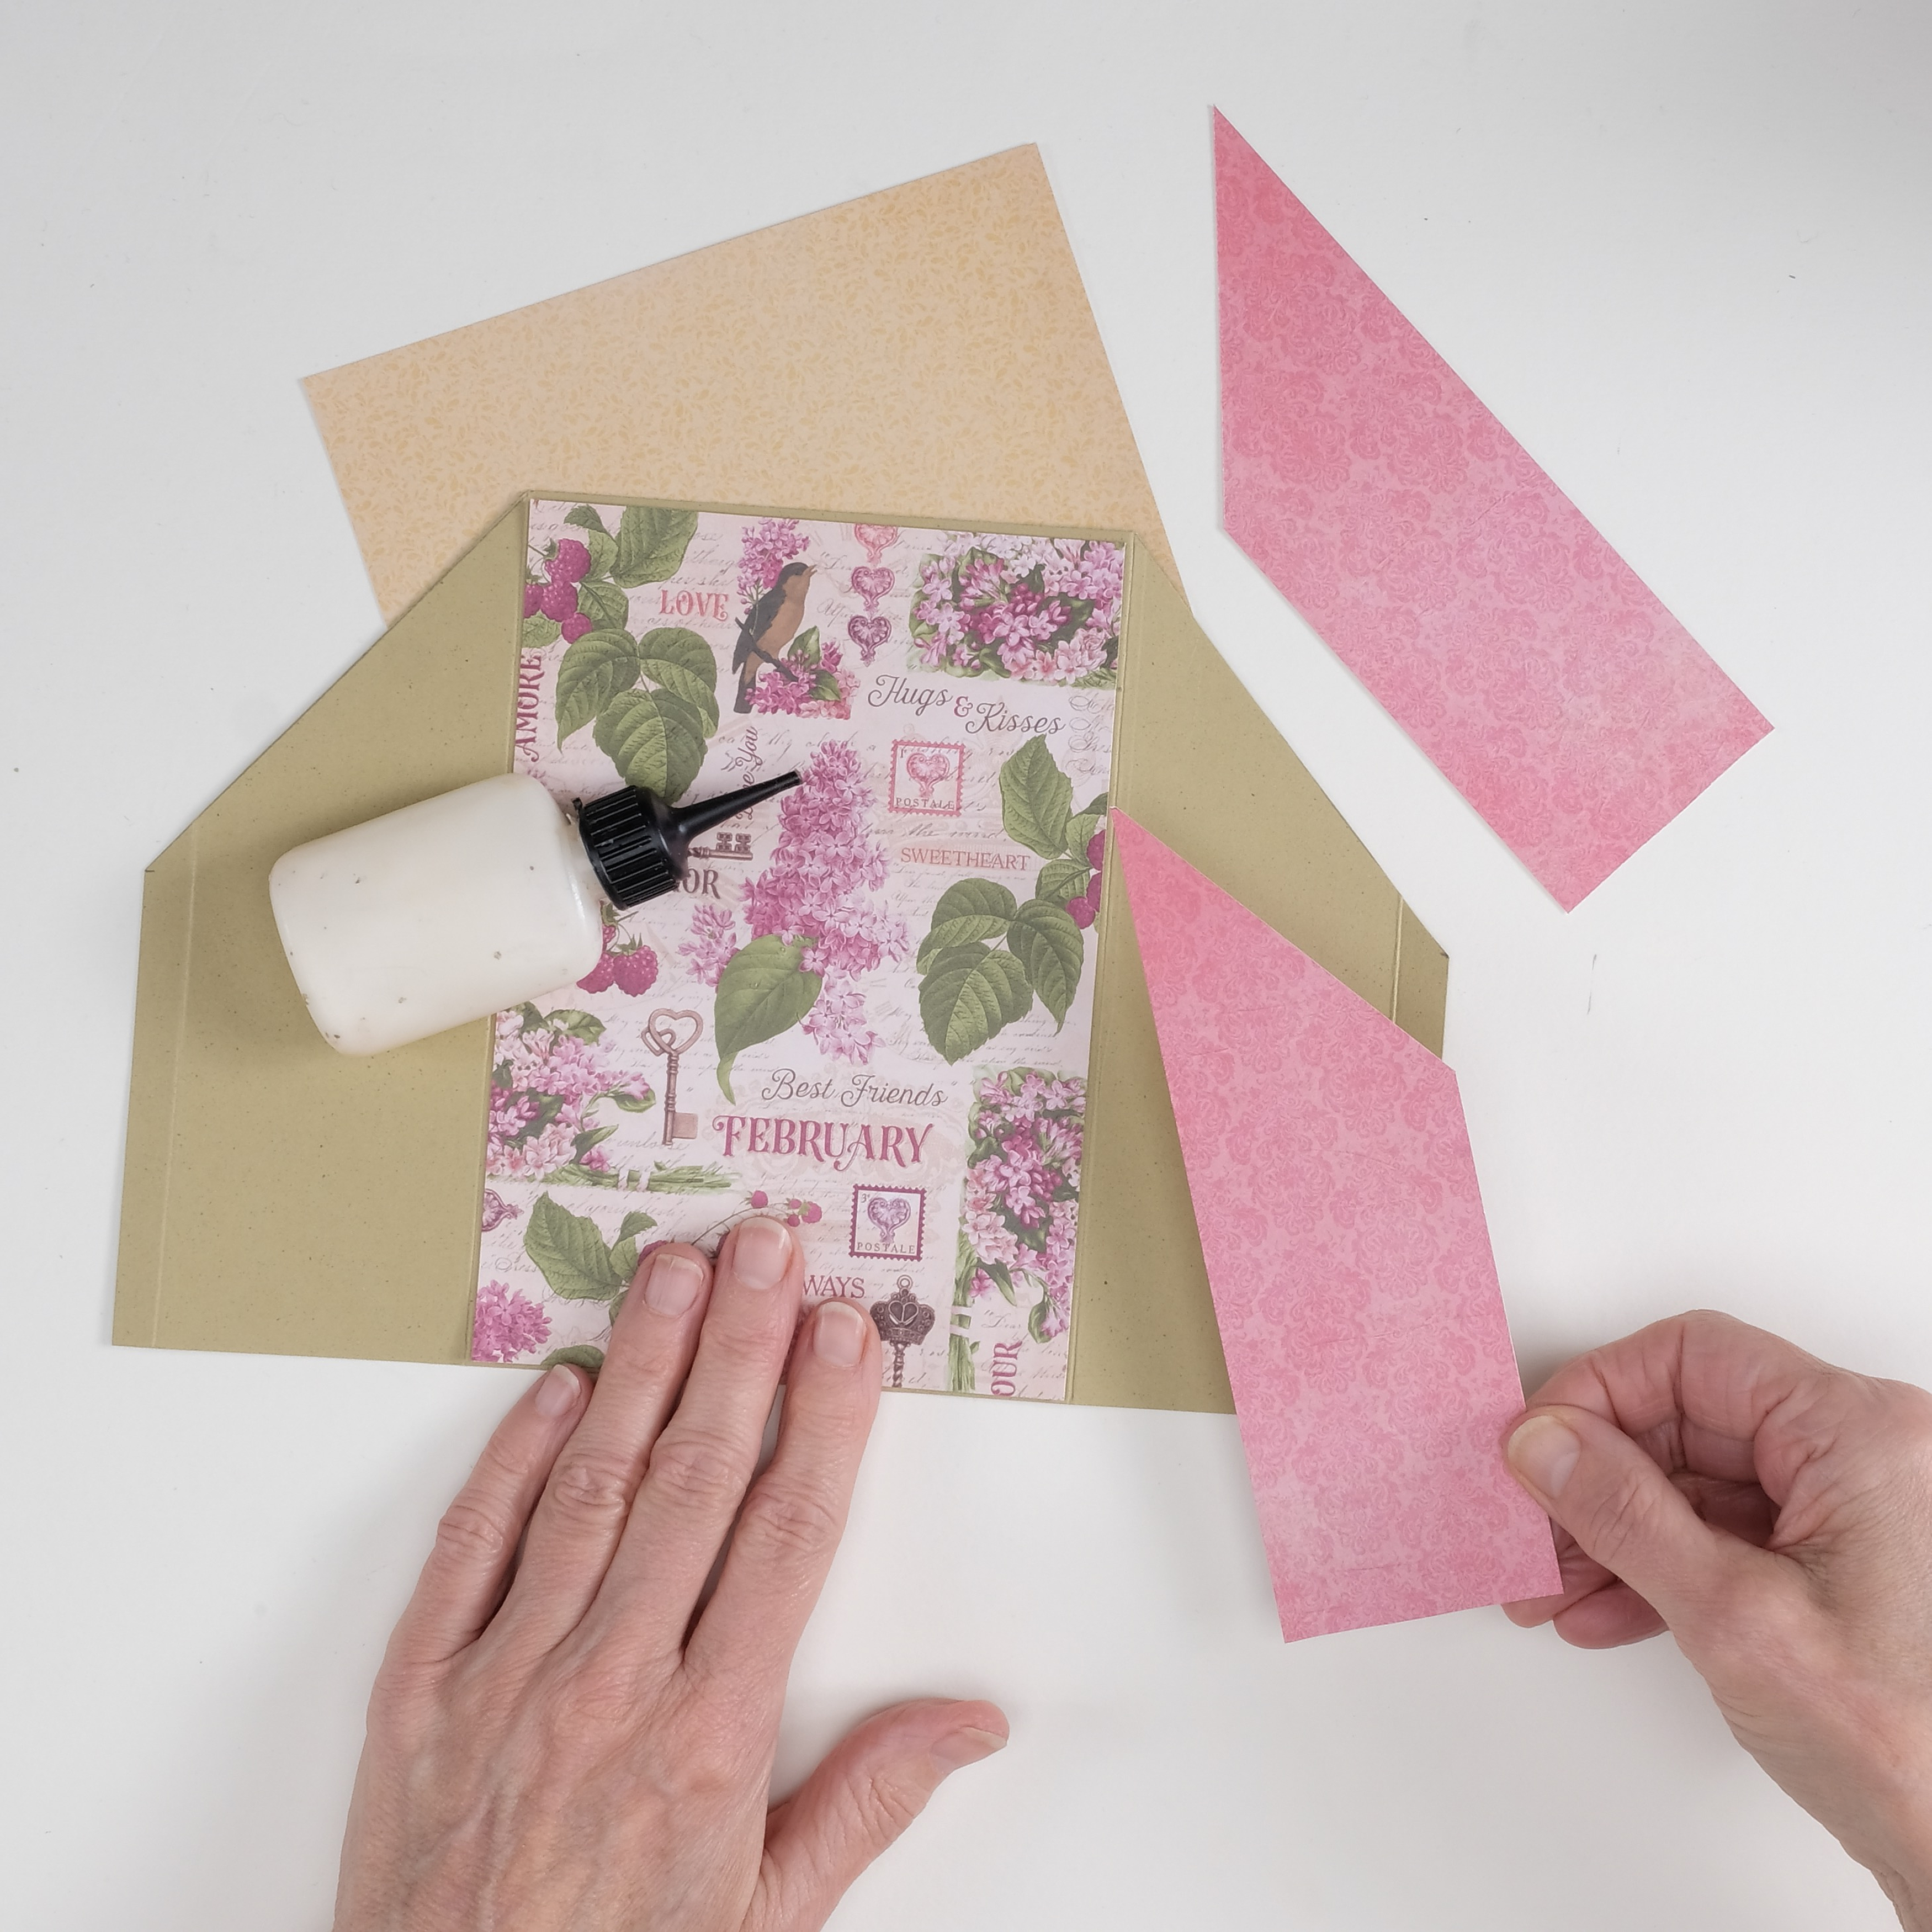
Cover the central panel with patterned paper, we’re using paper with a floral theme! Cover the side panels with a different patterned paper. Turn the panel over and cover the central panel and side panels with some paper.

DIY card organiser – step 3

Step 4

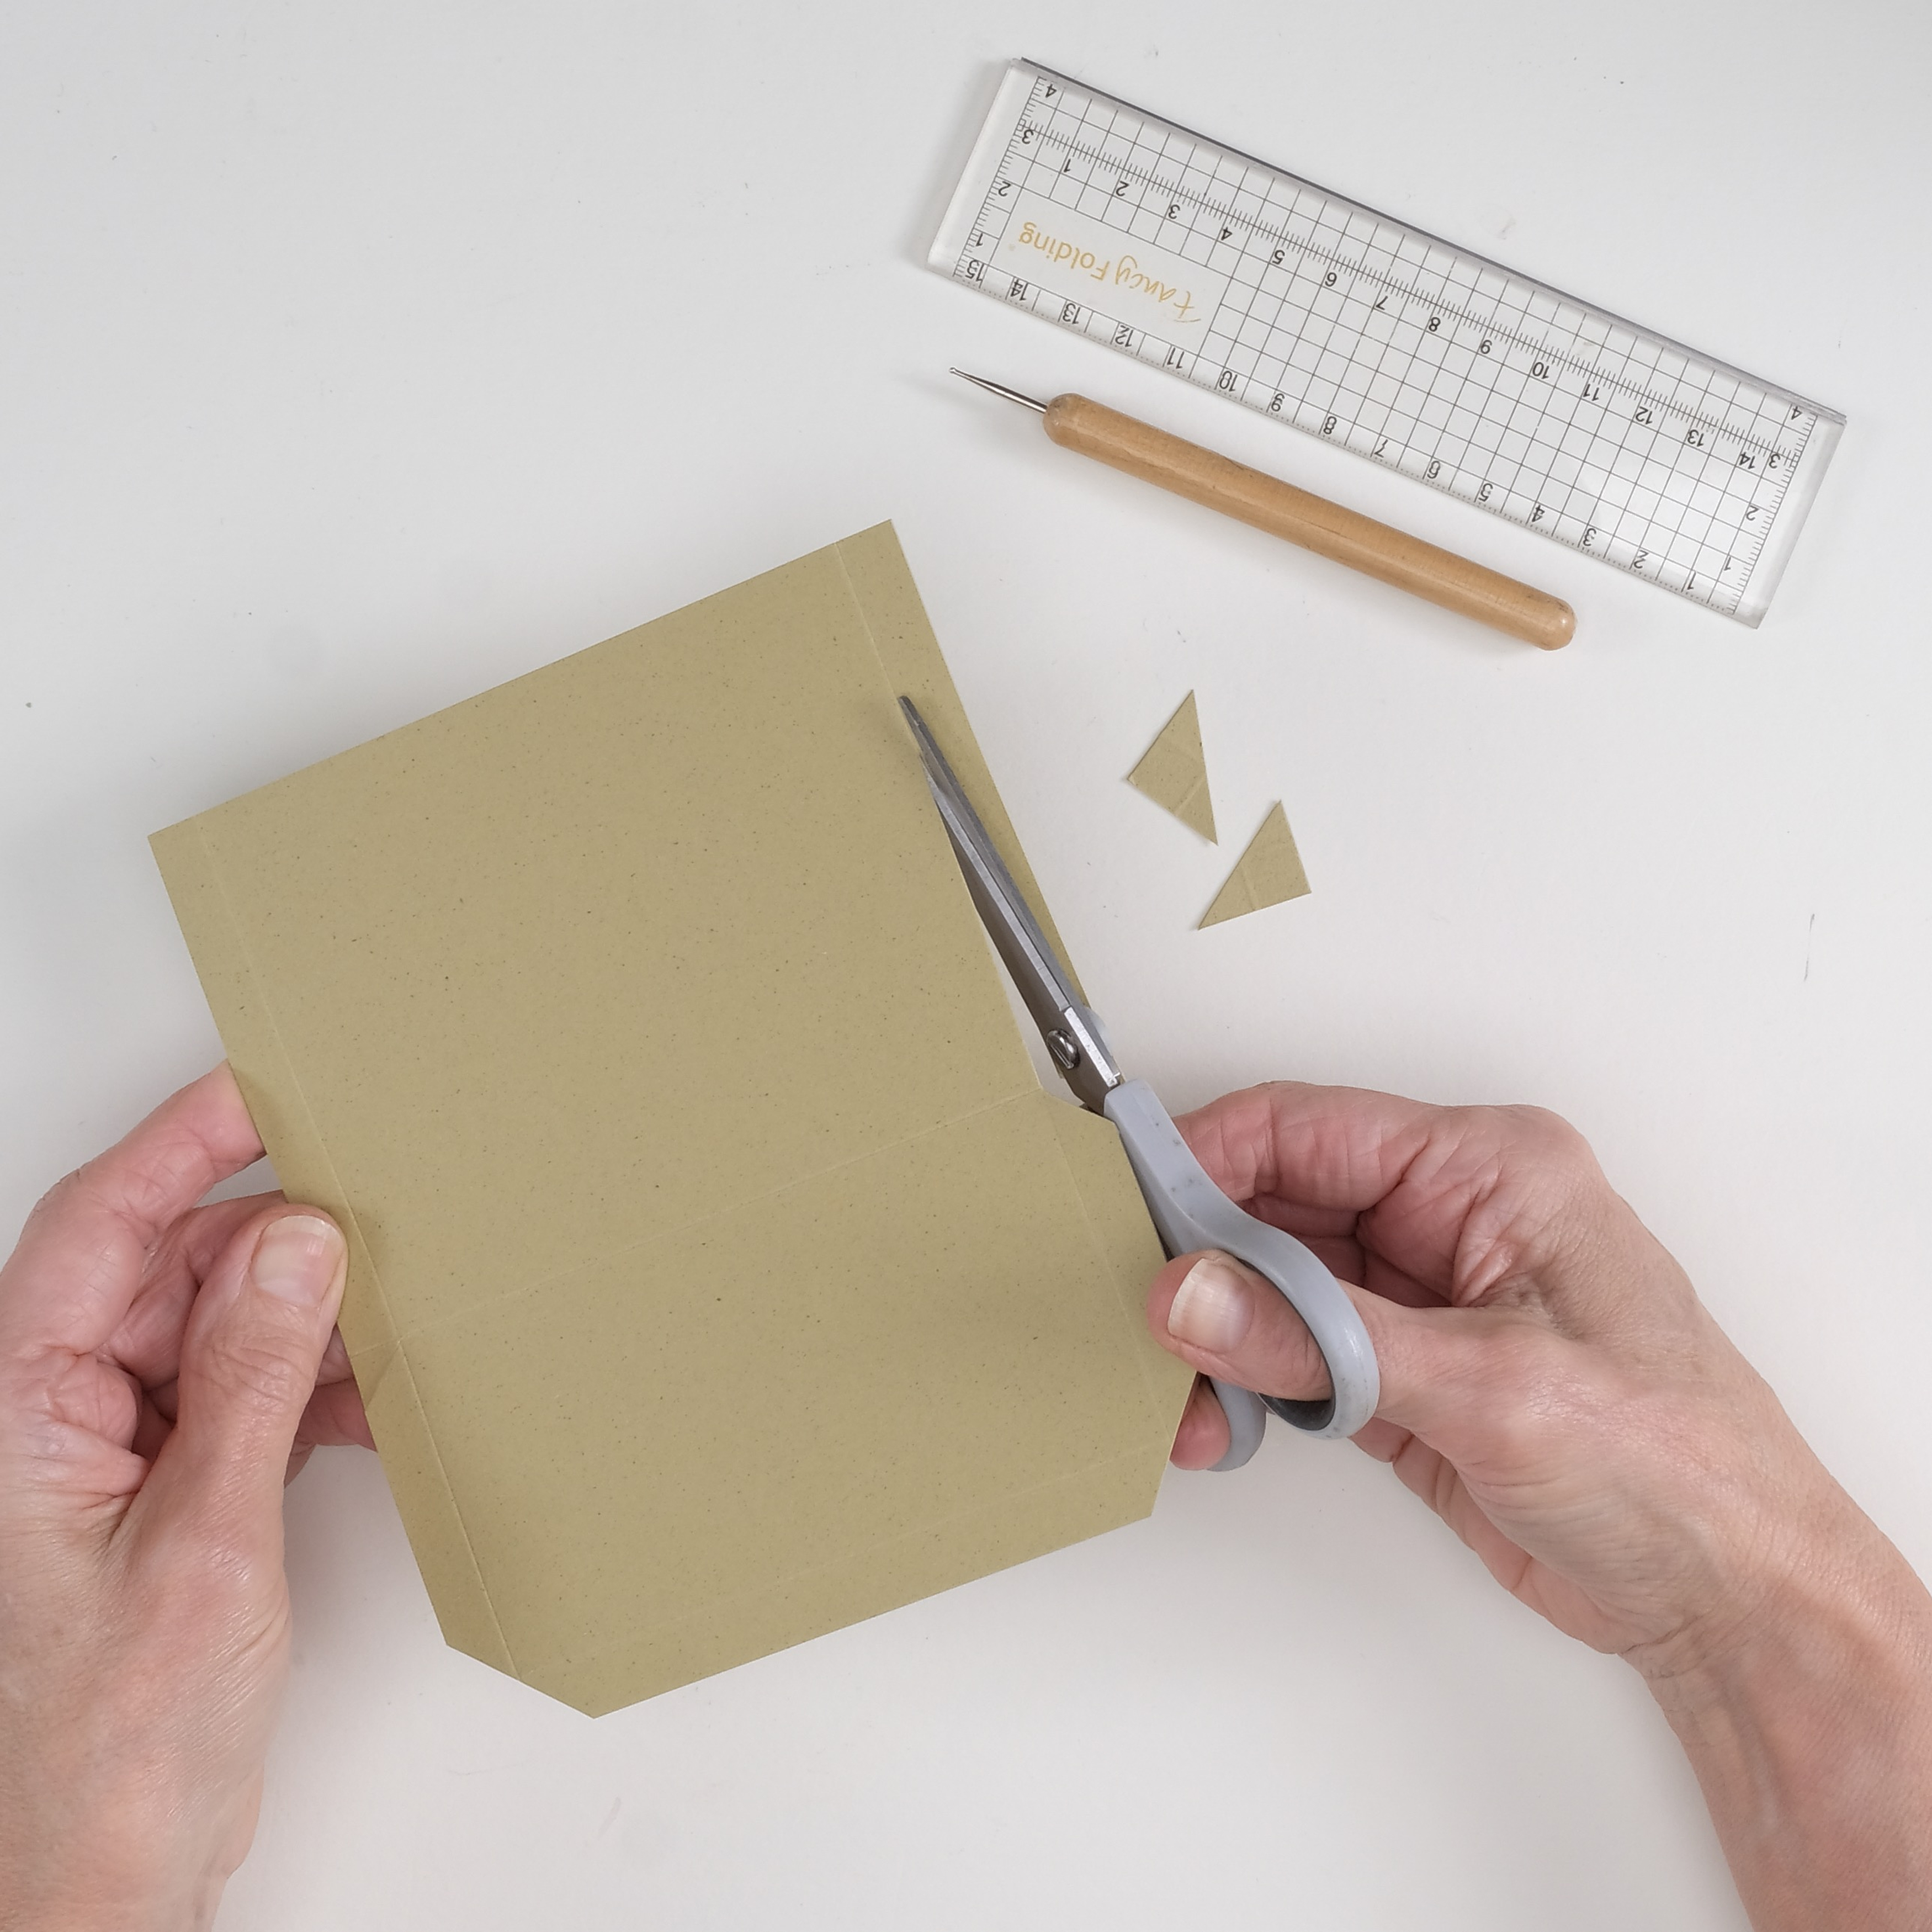
Score a 140 x 165mm piece of cardboard horizontally at 10mm and 70mm. Score across the panel from the side at 10mm and 130mm. Cut away two 10mm flaps from the top section.

DIY card organiser – step 4

Step 5

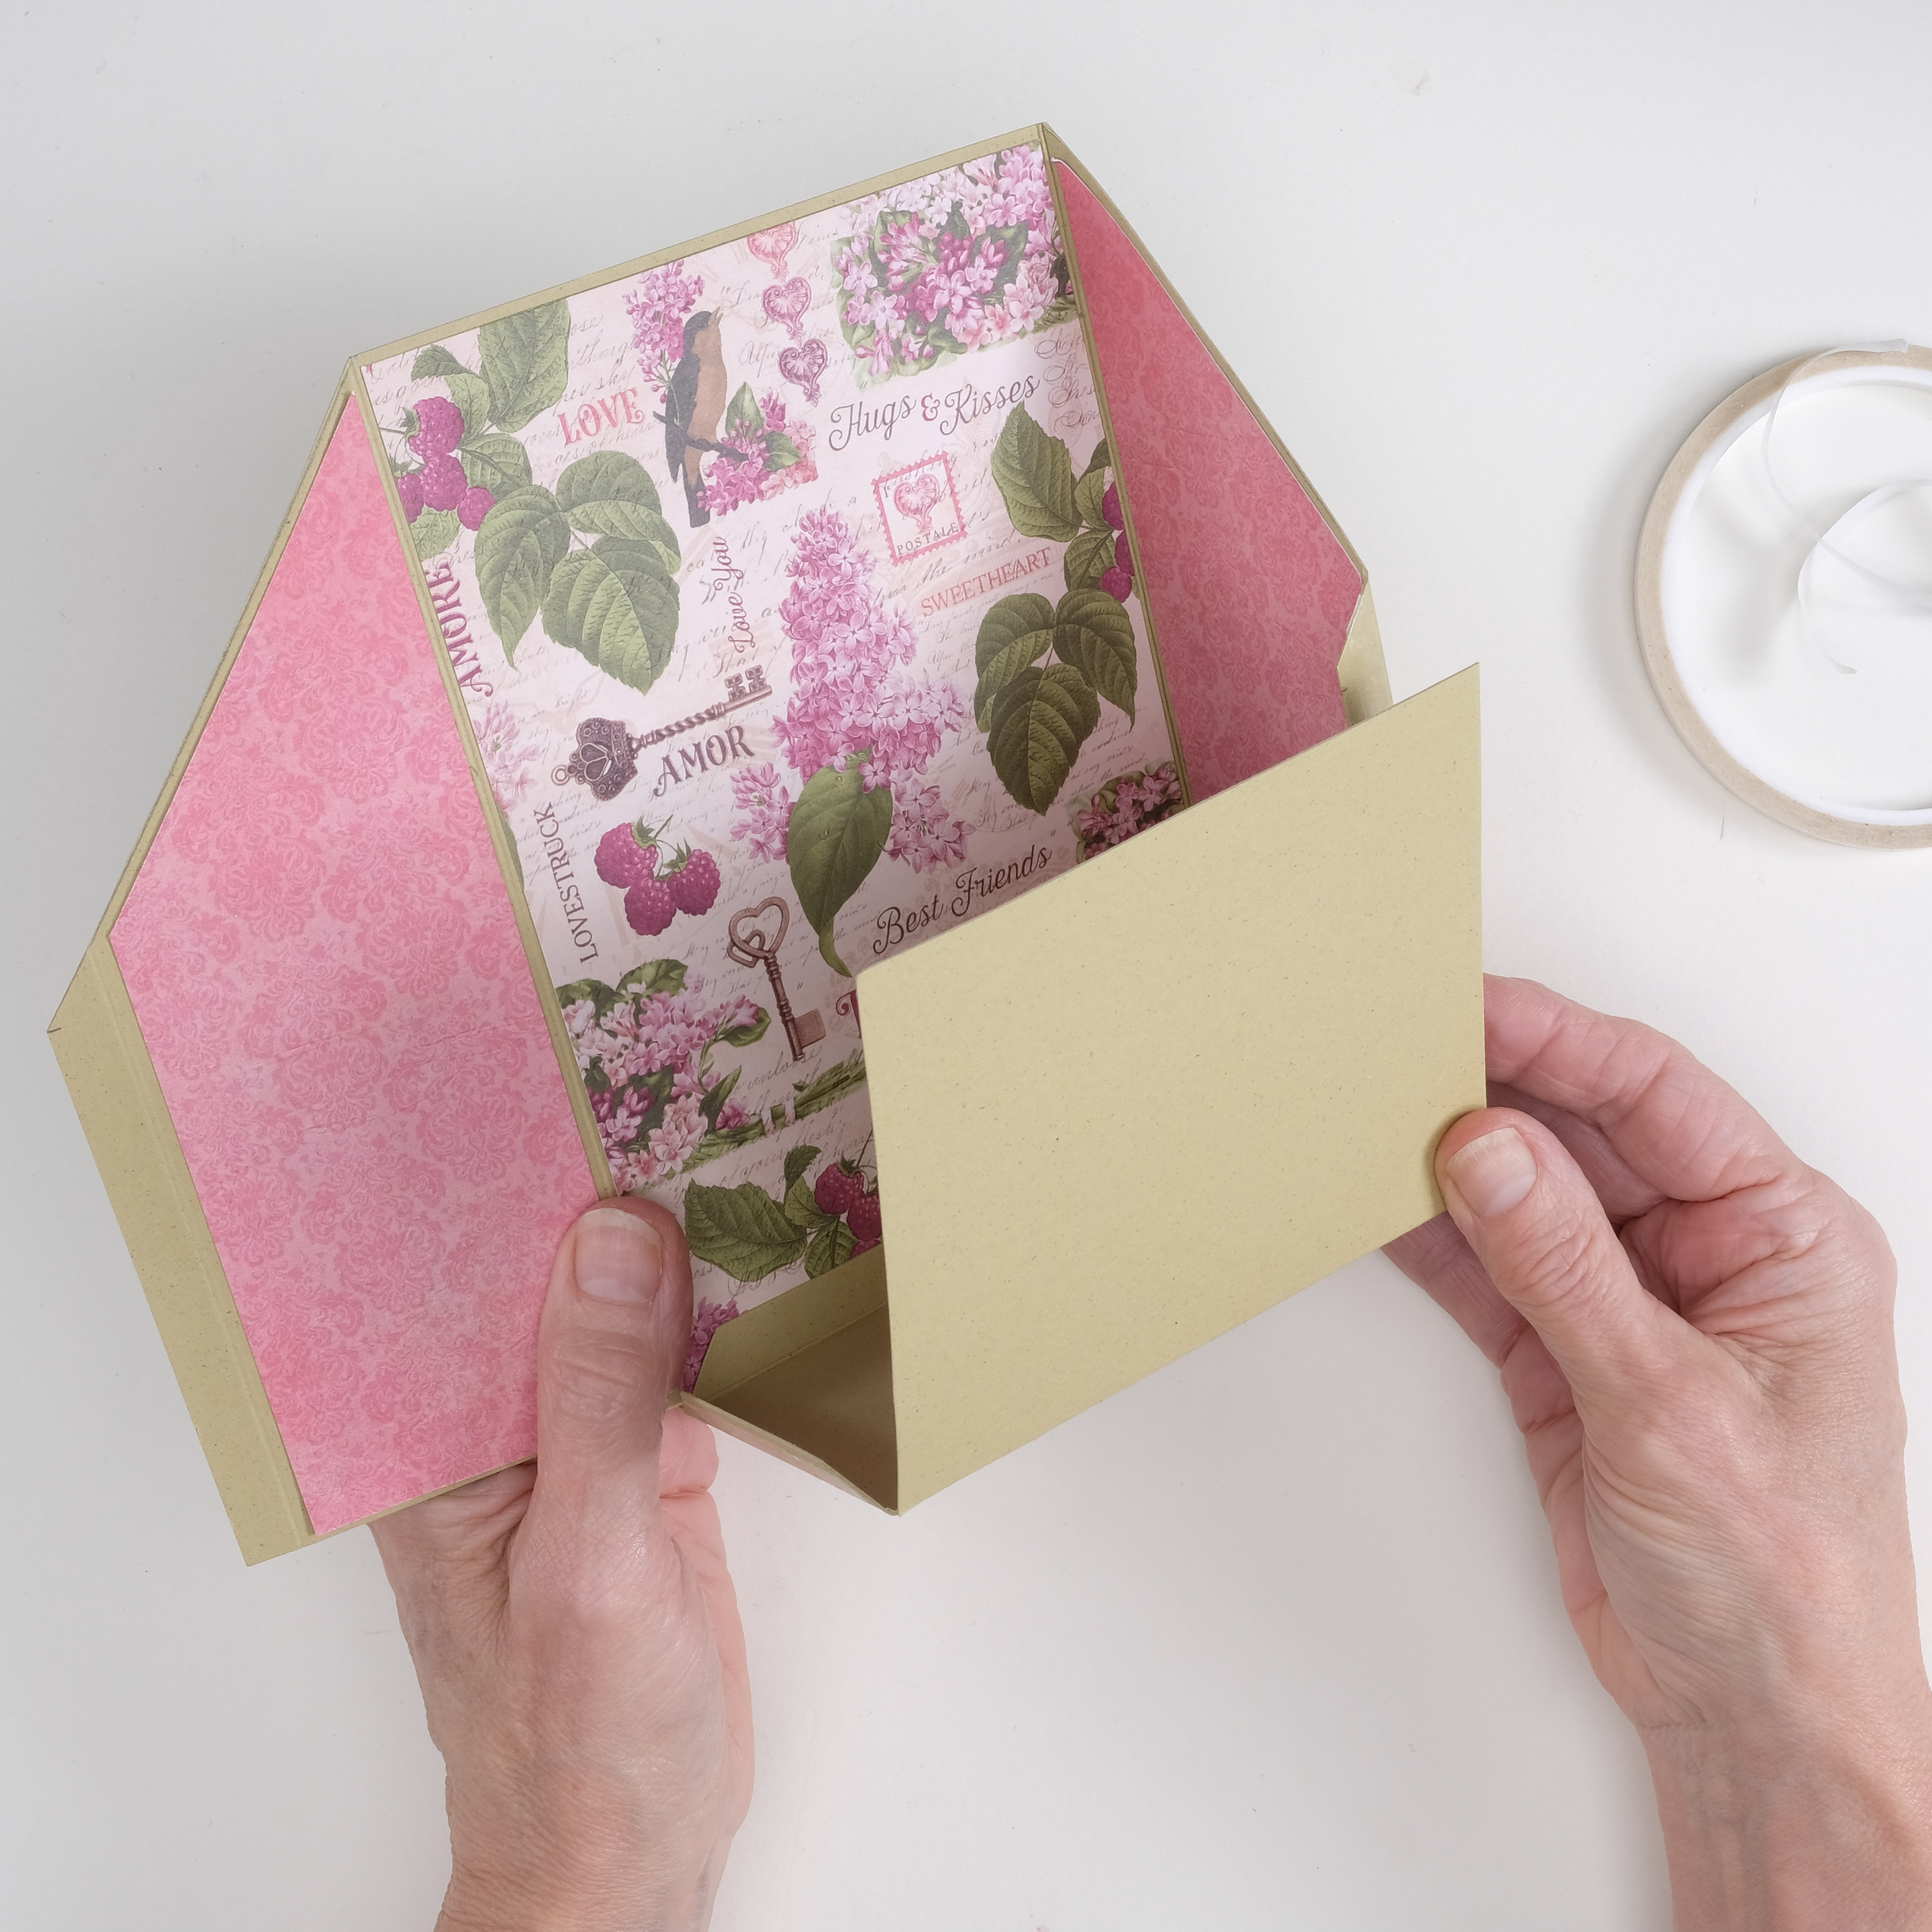
Add glue to the tabs on the organiser back and the organiser front and secure the two pieces together. Hold the organiser in place while the glue dries to ensure a strong hold.

DIY card organiser – step 5

Step 6

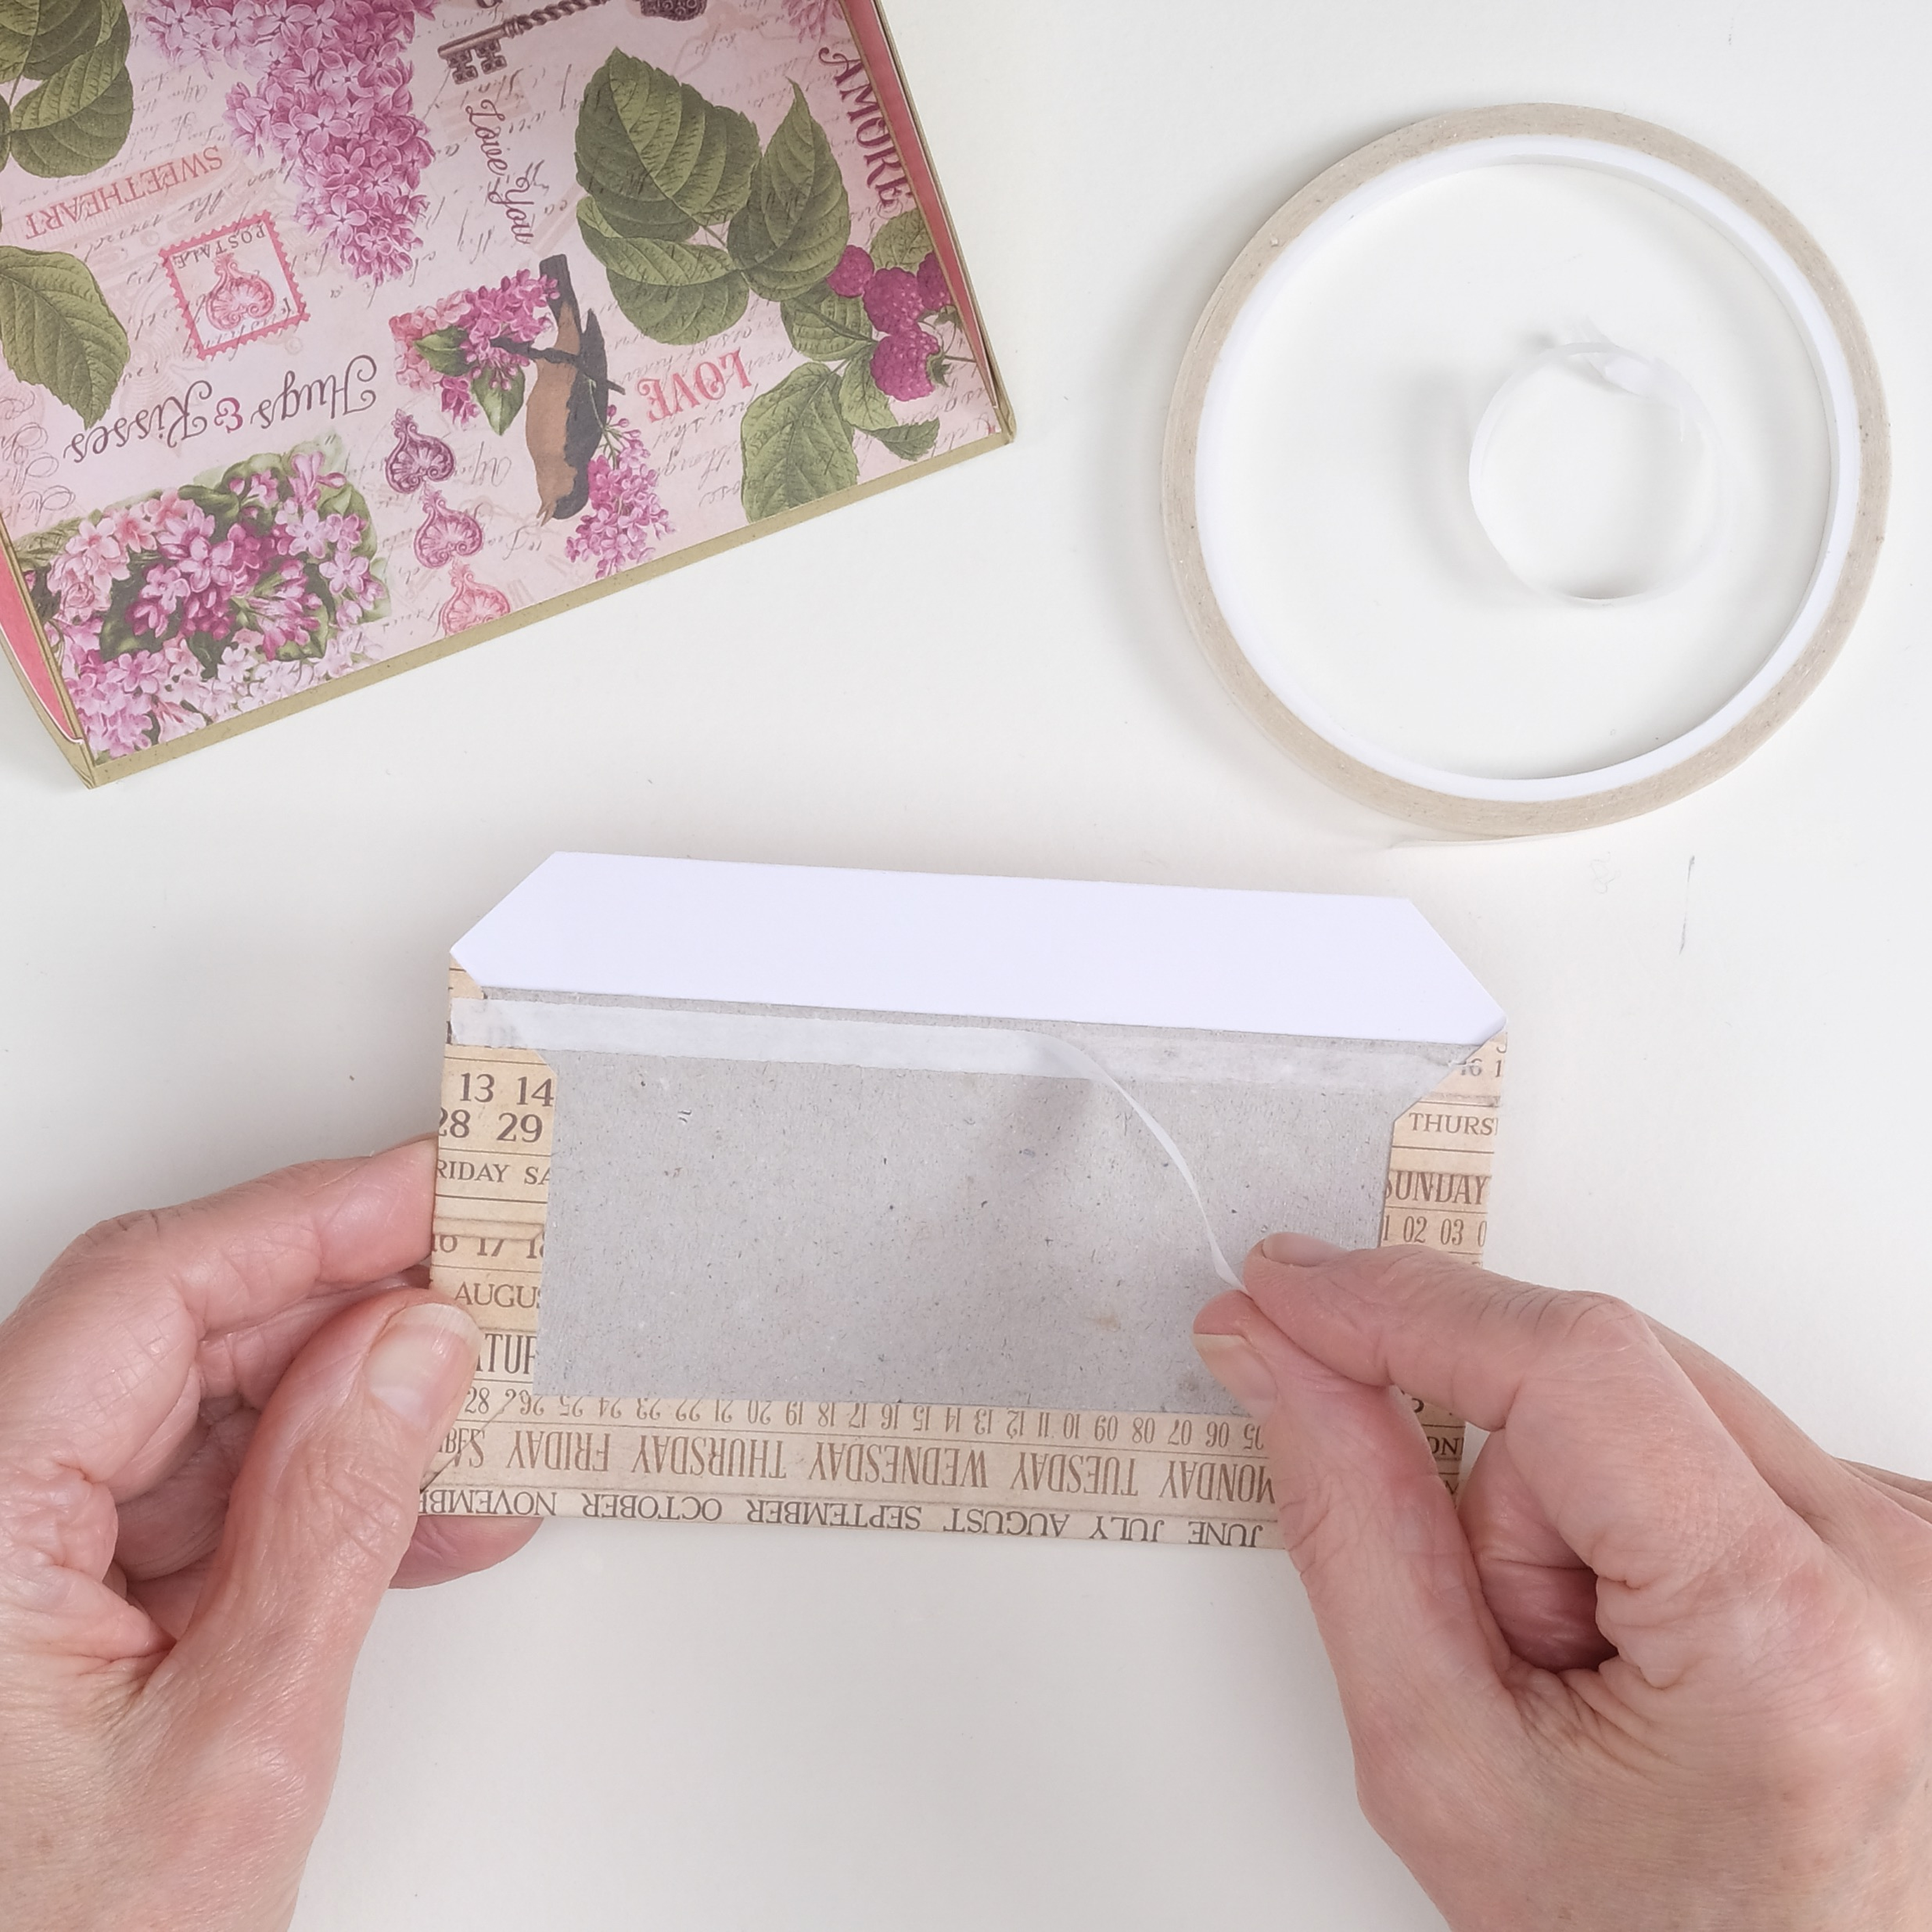
Make a base from a 130 x 70mm piece of mount board or thick cardboard. Cover the panel with patterned paper then attach to the base of the organiser using strong glue.

DIY card organiser – step 6

Step 7

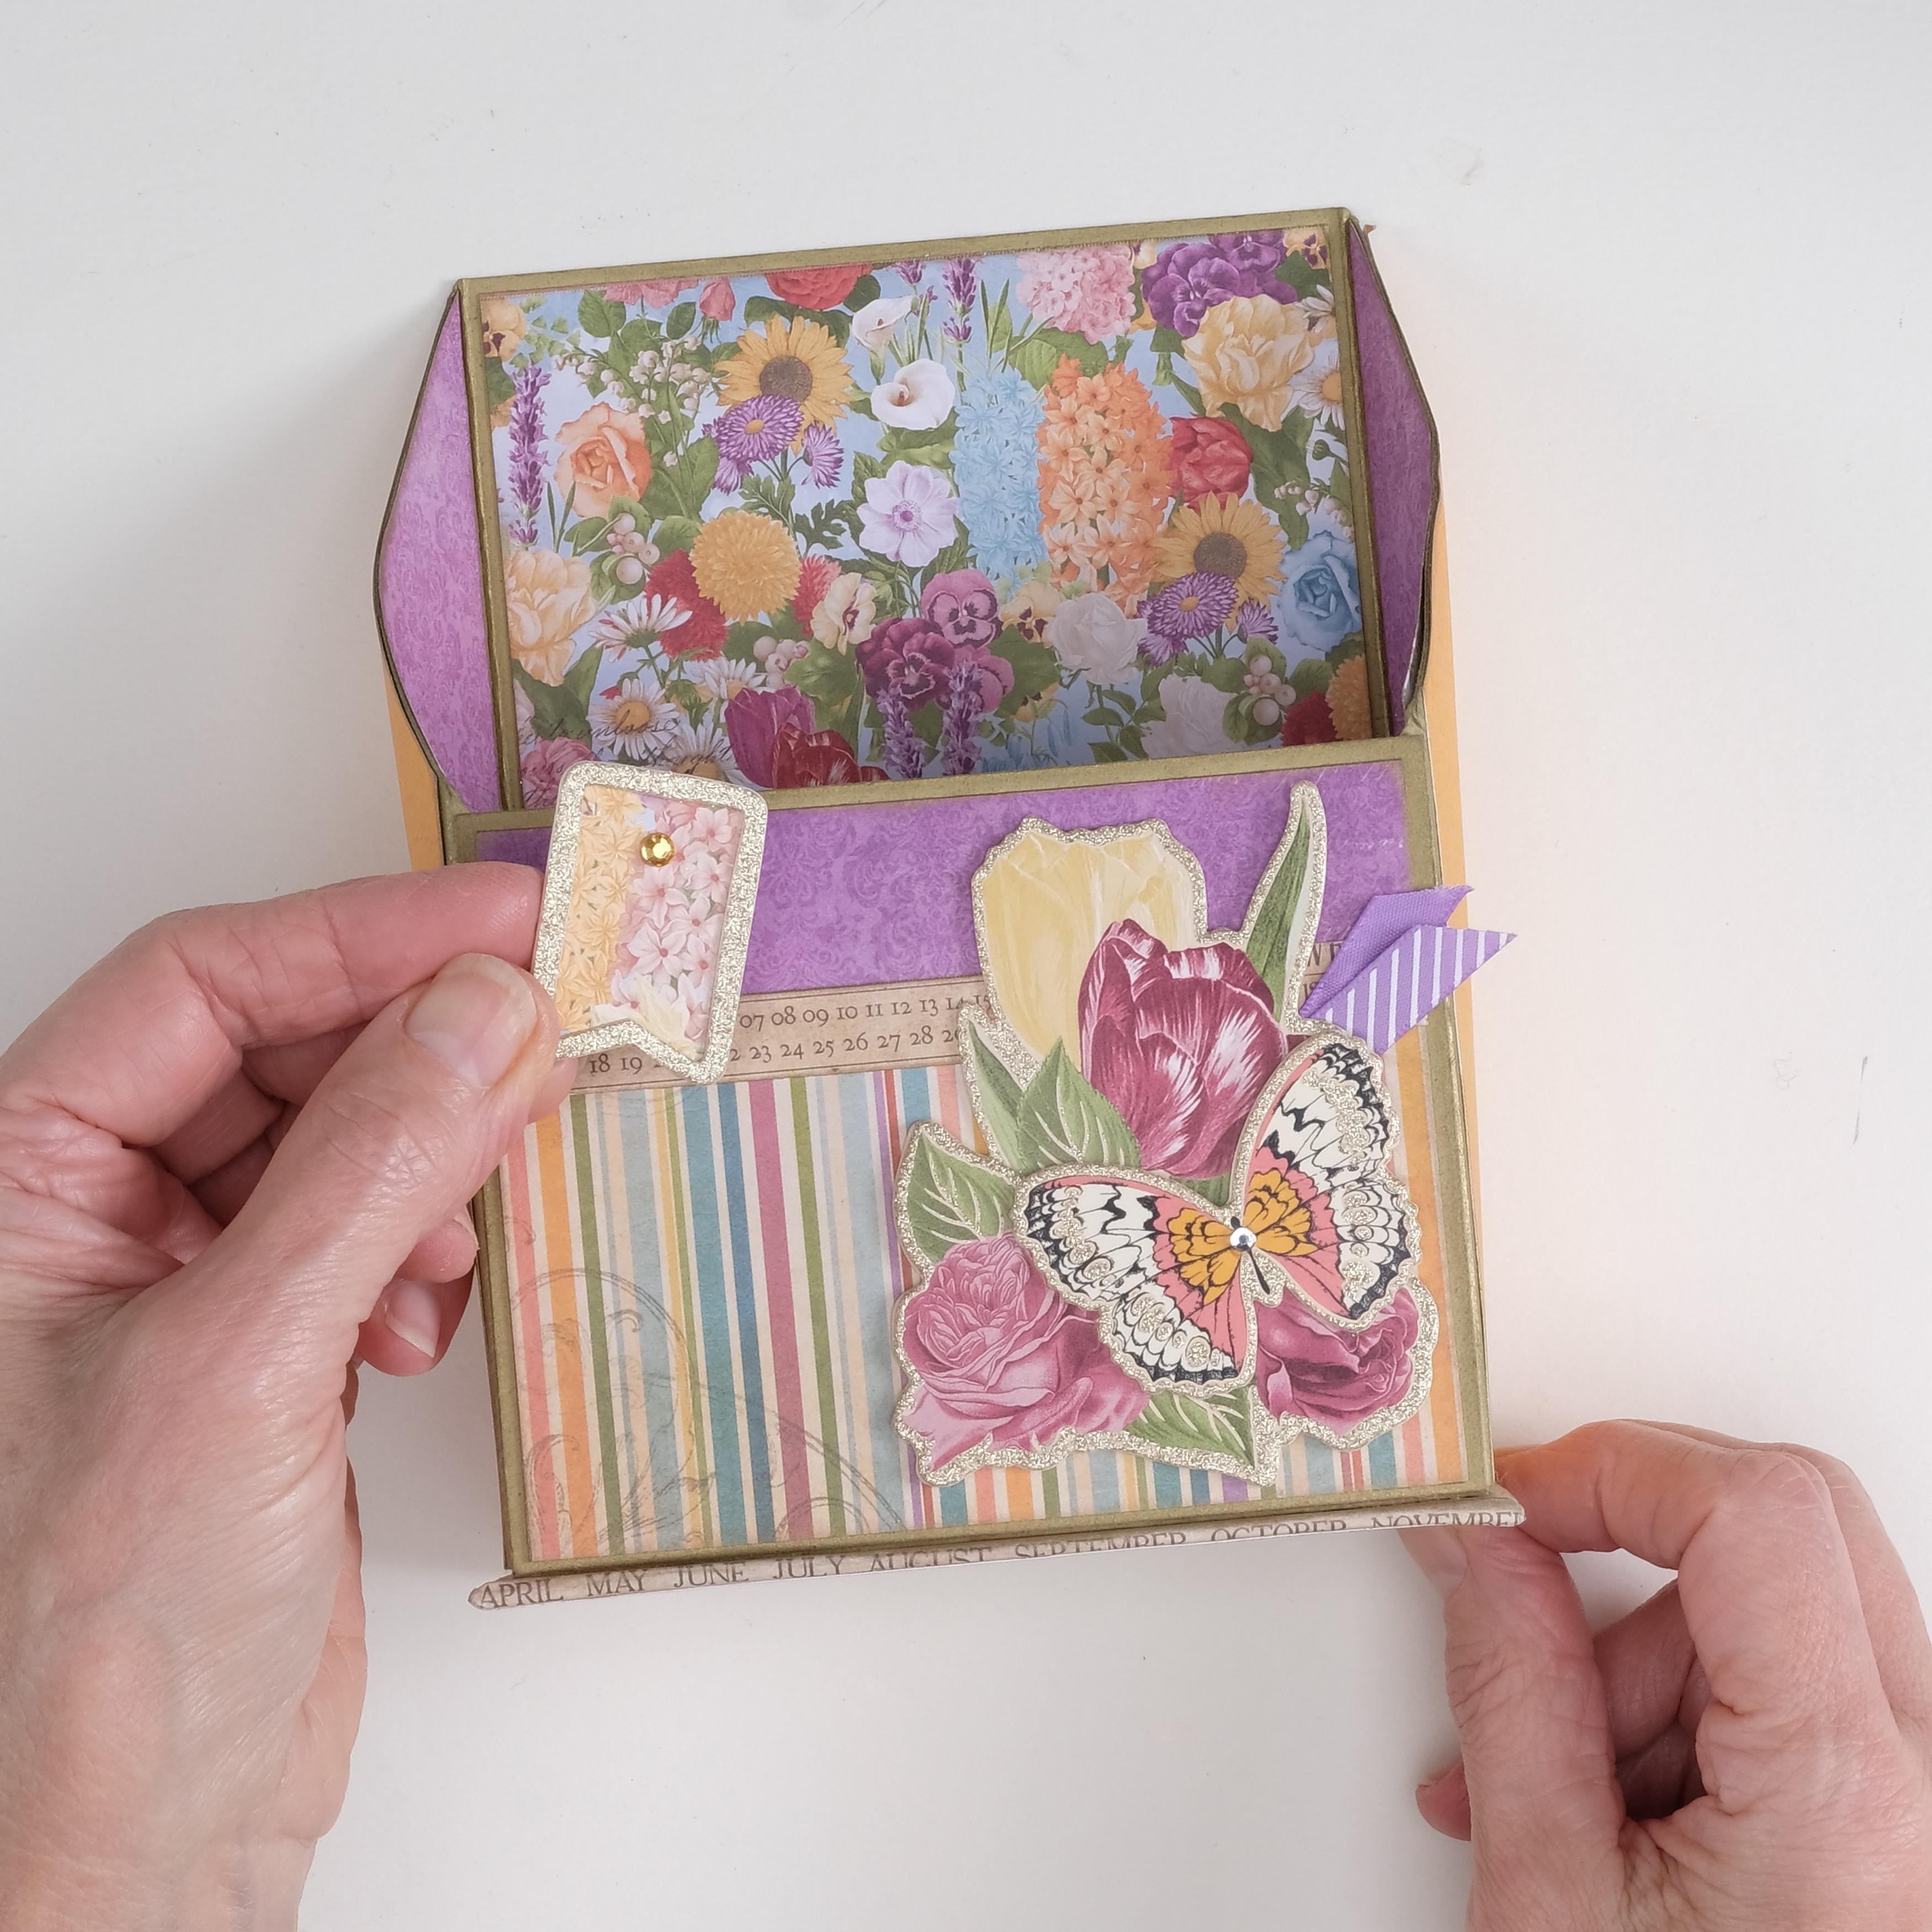
Now you can embellish your card organiser! We’ve added a calendar border and some ribbon tails behind some floral toppers. To stop the snipped ends of the ribbon from fraying, carefully paint them with a dab of clear nail polish.

DIY card organiser – step 7

Step 8

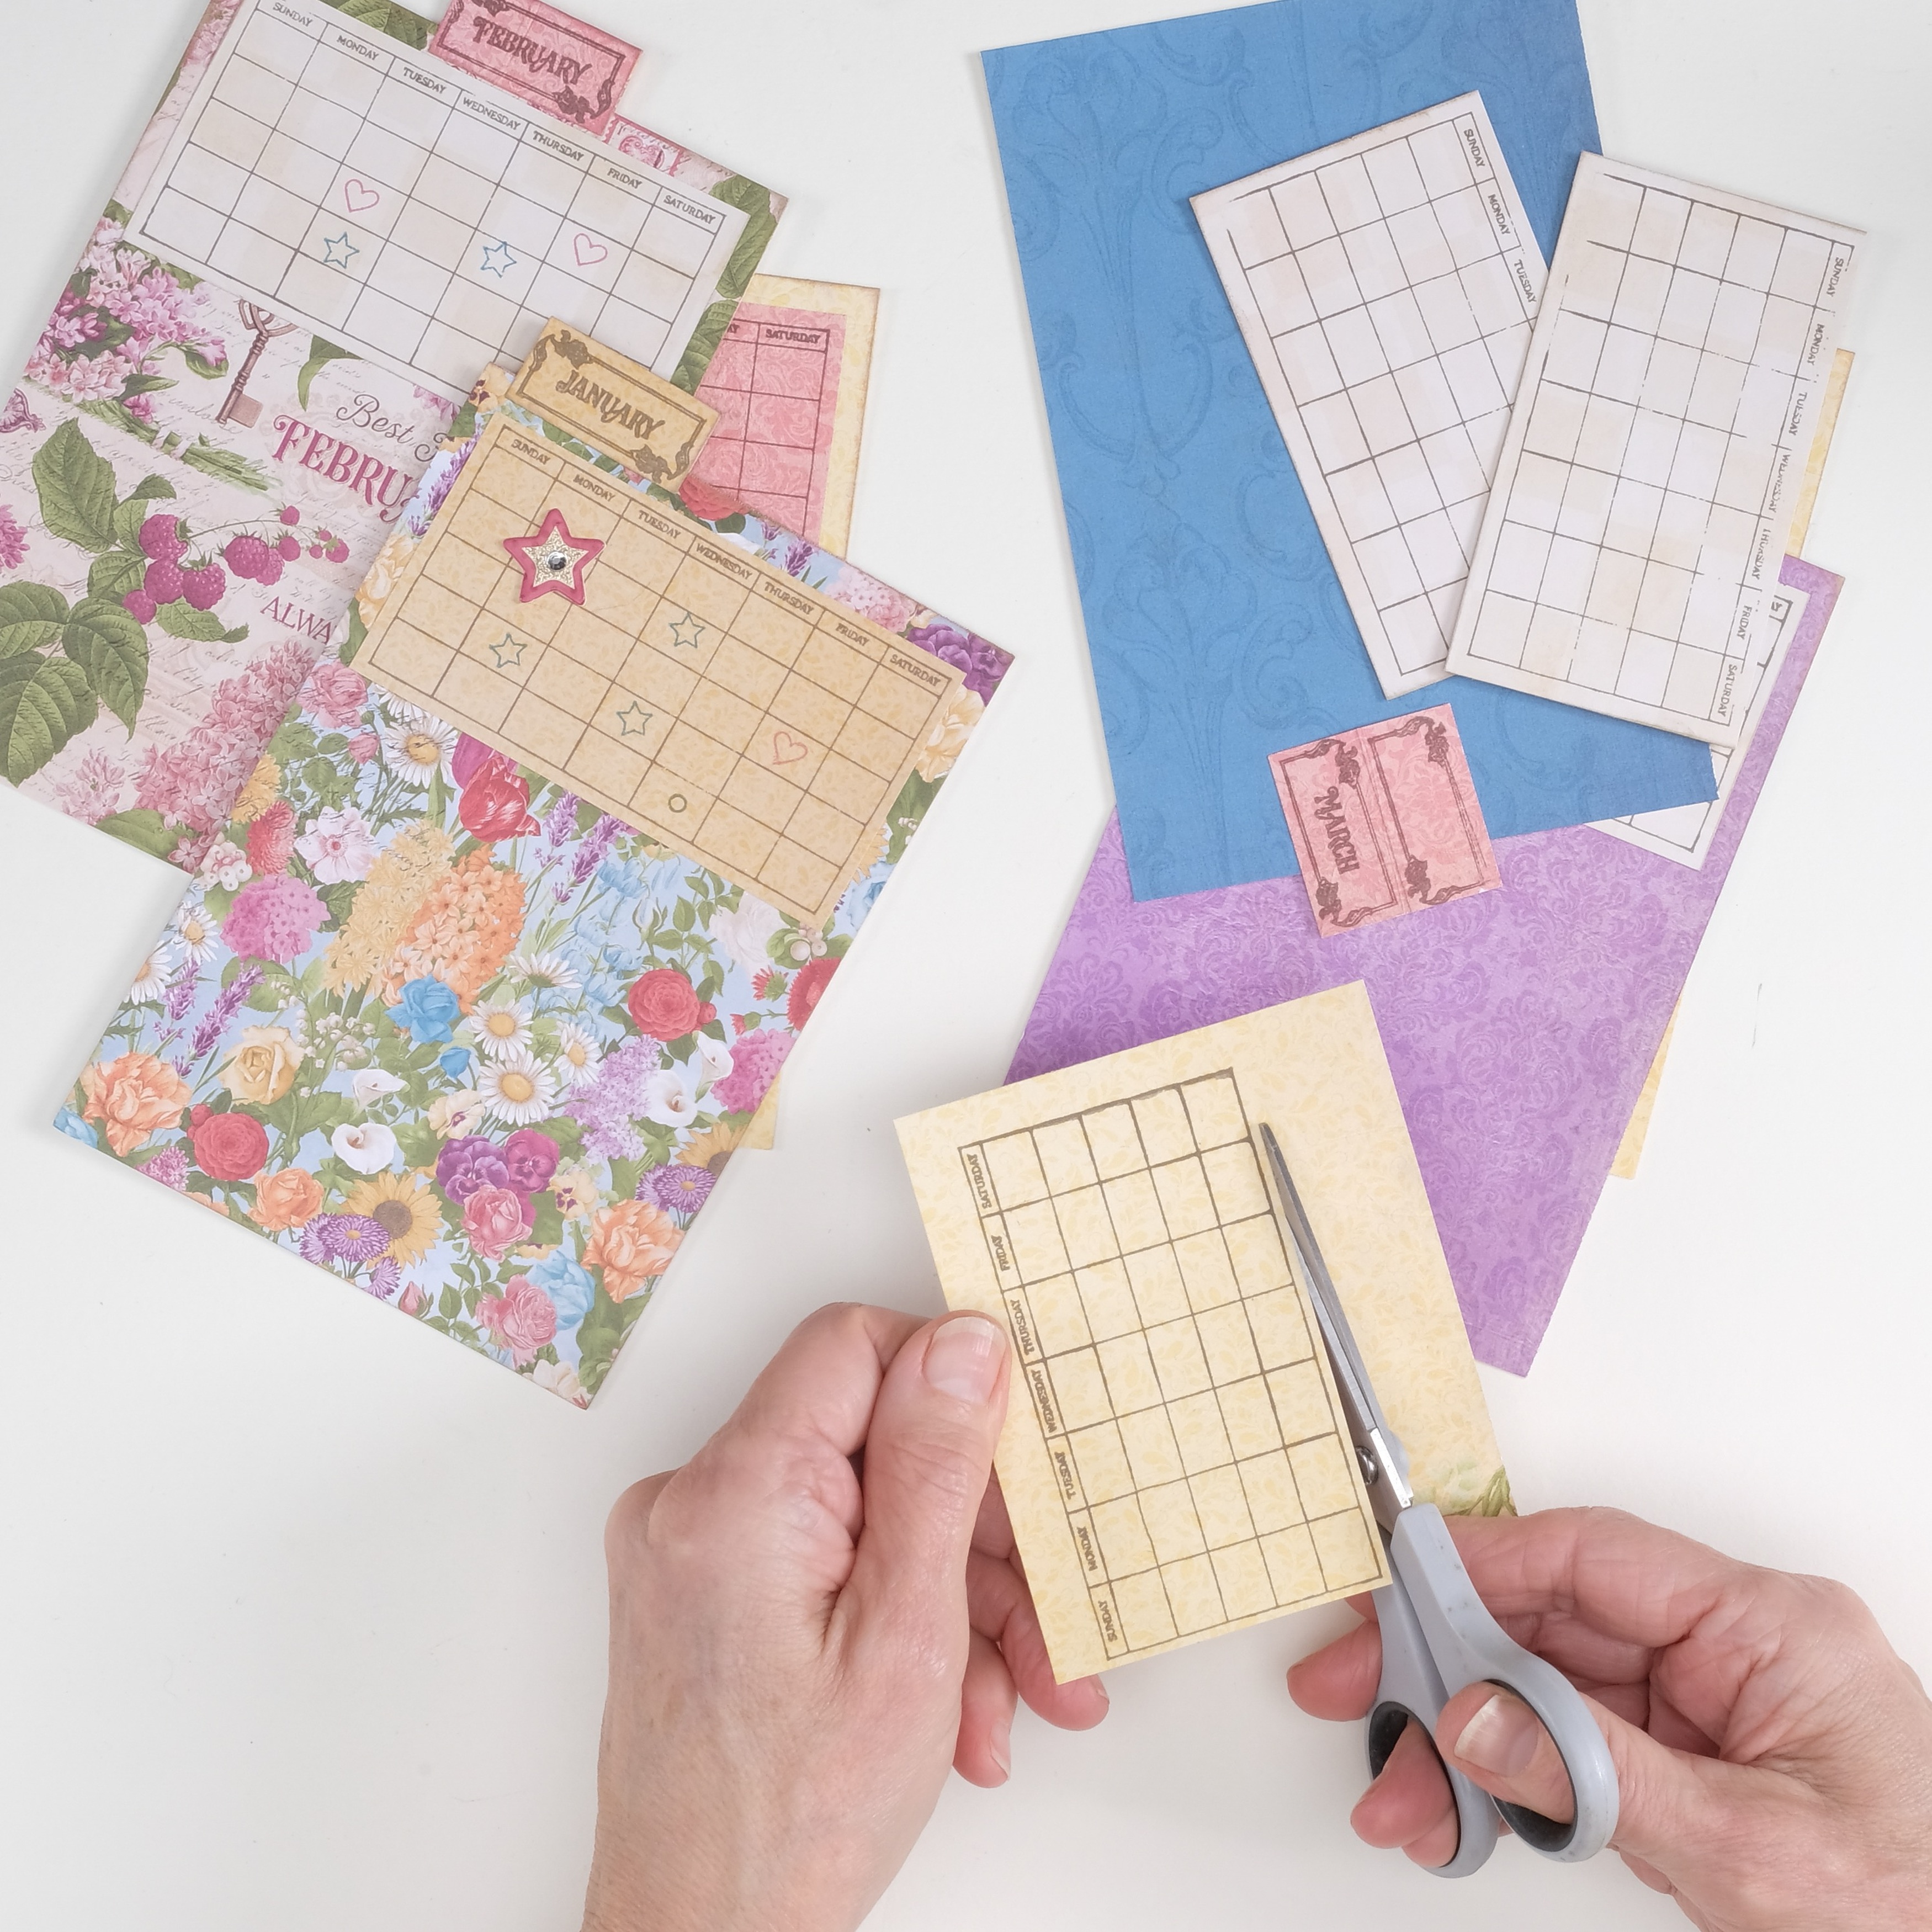
To create your dividers, cut 12 pieces of card to measure 110 x 160mm. Add a tab and a calendar to each of the sheets to create dividers. To create a uniform look on your dividers, use a square punch or die to make the label tabs for each of the monthly dividers.

Pop into the organiser, arranged by month, to finish.

DIY card organiser – step 8

DIY card organiser