How to make stickers

Learn how to make stickers and create your own miniature works of art with our free bullet journal printables!

Try our magazines – get 6 issues from just £9.99!

Published: June 9, 2021 at 5:29 am

Stickers are great. They can be used to personalise stationery, phone cases, laptops, and water bottles - the list is endless. If you're a small craft business owner, including a sticker with someone's order can make their day (and get you some free promotion, too) - and limited edition runs can even become somewhat of a collector's item (looking at you, Scrawlr Box!).

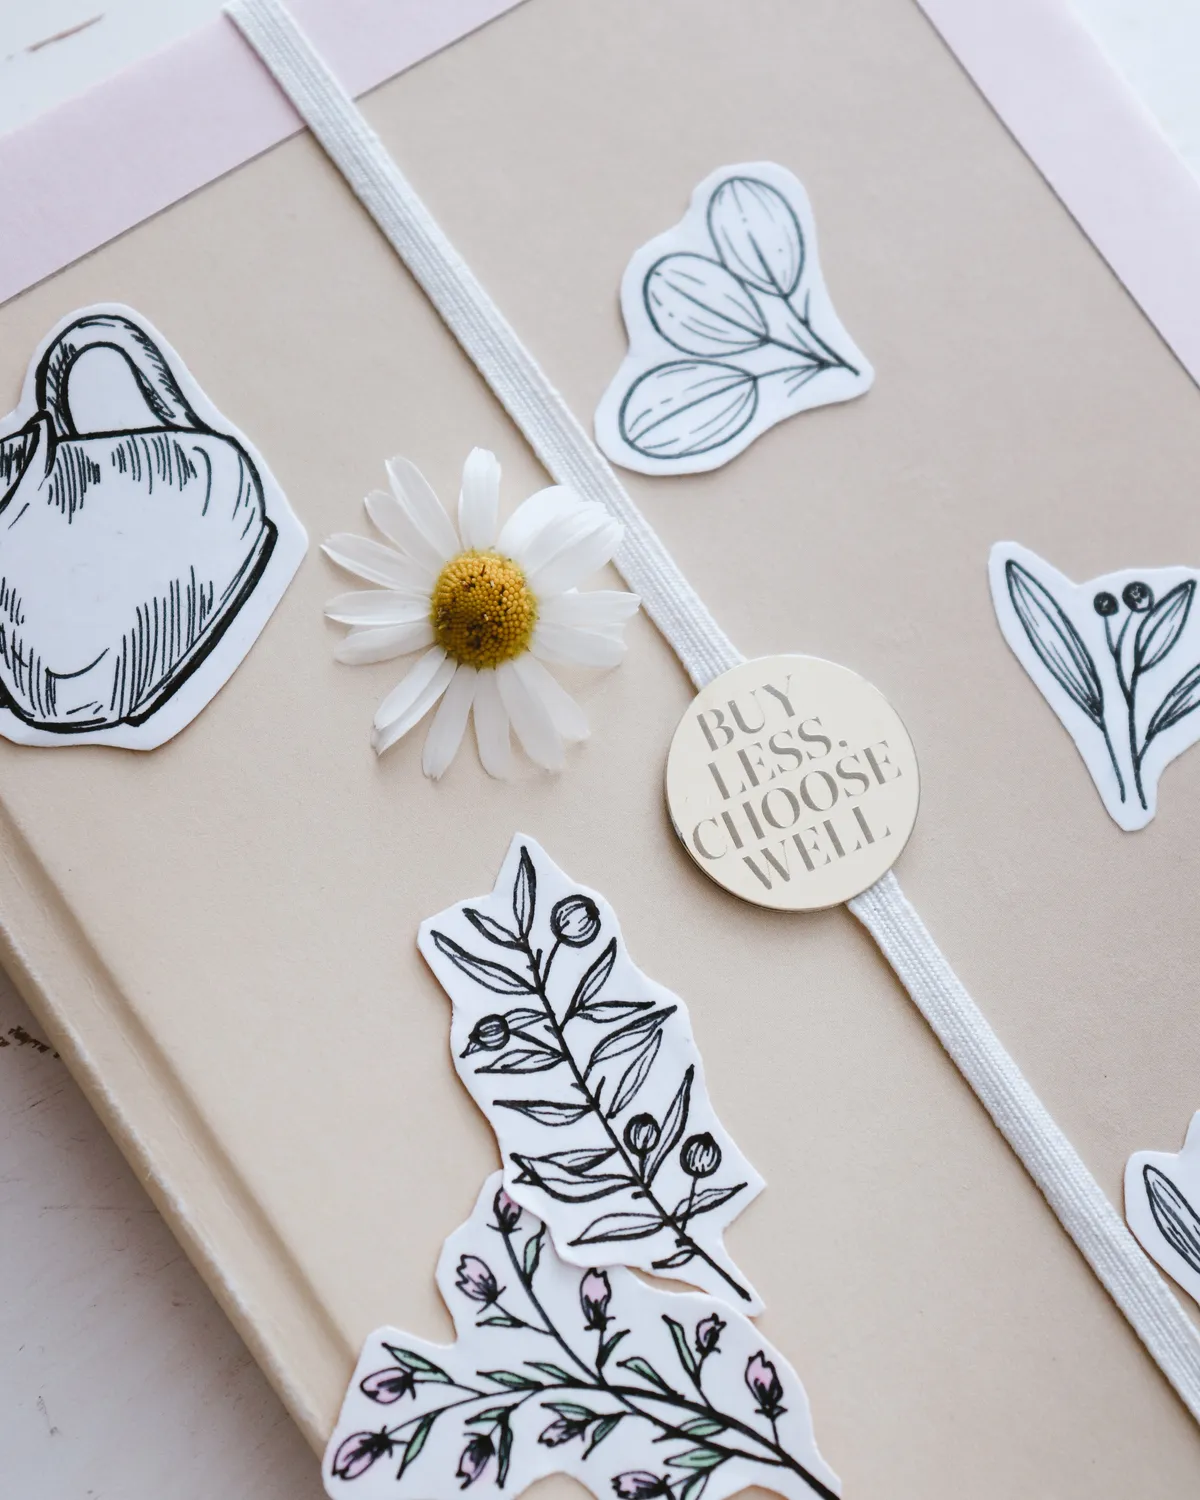
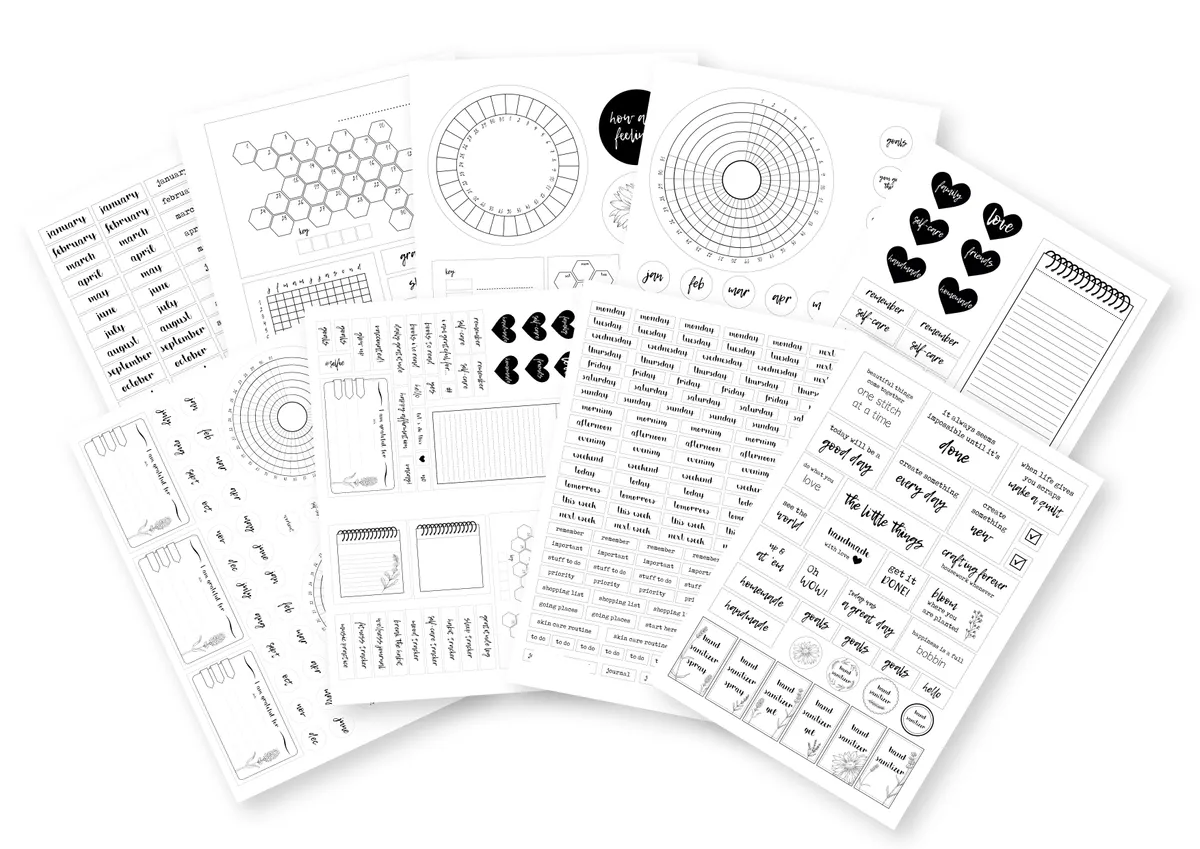
If you like bullet journaling, being able to use your bullet journal printables as stickers is an easy and fun way to create beautiful spreads, even if you are new to the hobby. Download our free bullet journal printables today to get started! Check out our beginner's guide on how to bullet journal for some helpful tips and pointers, or browse through our recommendations for the best notebooks to buy to get you started. And if you're thinking about buying a new craft printer, check out our round-up of the best printers for card making.

Image credit Estee Janssens

There are lots of different ways to make stickers, and in this article, we take you through two of the most popular: how to make stickers using printable sticker sheets, and how to make stickers using envelope glue. Which method do you like best? Let us know in the comments below!

Want some free patterned paper to make stickers from? Take a look at our ever-growing collection of free patterned papers, there are lots to choose from and there are lots of different themes suitable for making your own stickers. Look for collections that have lots of standalone images (toppers) - these make the best stickers – we love these carnival printables or these cactus printables. And if you like this project, why not have a look at some of our other ScanNCut projects? We’ve also got how to make stencils, this realistic paper rose, a gorgeous daffodil wreath, an easy paper lantern or these flowers in a jam jar!

We love seeing what you make, so don’t forget to share your craft projects with us on Instagram, Facebook, or Twitter, too!

Watch our video tutorial!

How to make stickers using sticker sheets

Using sticker sheets is an incredibly easy, and quick way to make your own stickers. Sticker sheets are no-mess and no-fuss, so you can focus on the creative side of things - deciding what designs do you want to turn into your own DIY stickers.

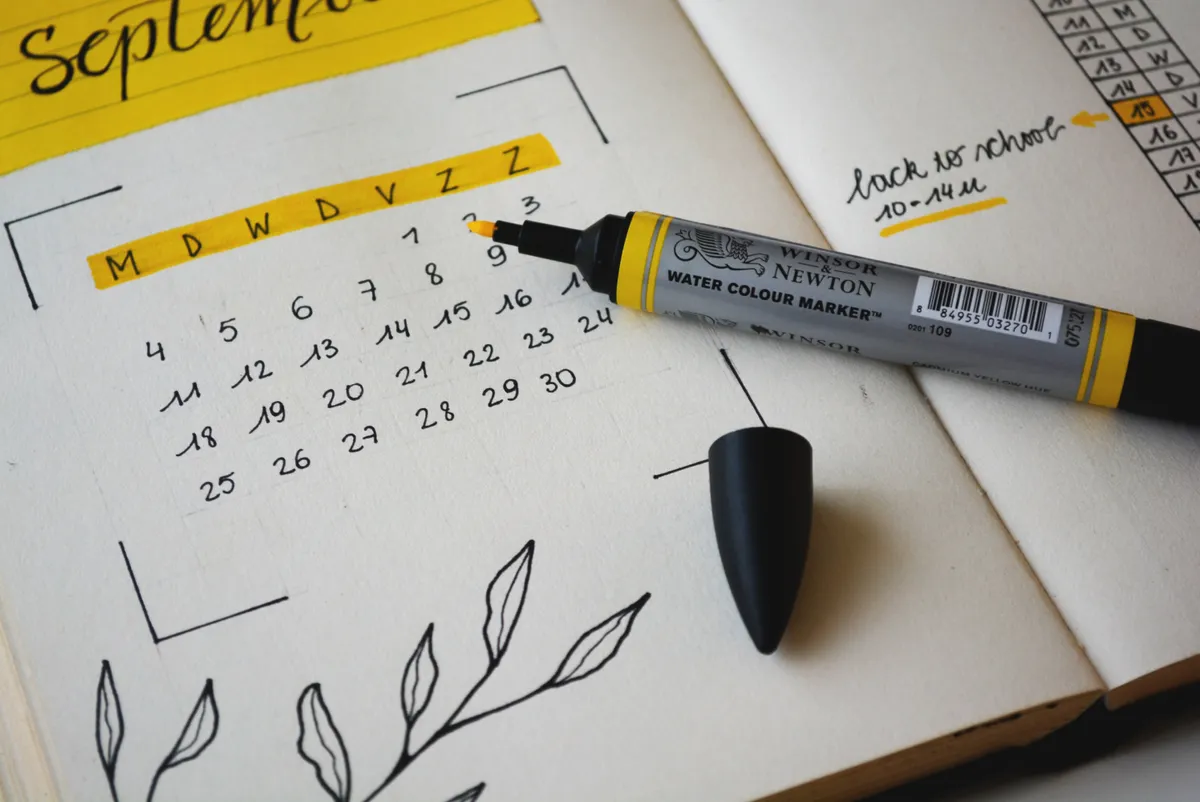
You can print, draw, paint or stamp directly onto sticker sheets, then cut them out using scissors. Or, if you're lucky enough to own a Brother ScanNCut - you can scan and, er, cut, your DIY stickers! Using a ScanNCut is a real time-saver, and it enables you to experiment with more intricate designs. It also makes batch-making your own DIY stickers a snip (snip - geddit).

What is a kiss cut sticker?

Kiss cut stickers are where the outline of your sticker design has been cut out, but the sticker remains attached to the backing paper. Think of a sheet of stickers, where multiple stickers are attached and ready to peel off - these are kiss cut stickers.

Creating kiss-cut stickers is easy using the ScanNCut, but if you prefer, you can also cut all the way through (ideal if you're looking to sell your own sticker designs or include sticker freebies in customer orders). If you don't have a ScanNCut - just use scissors!

You will need

  • Brother ScanNCut sticker sheets
    • You can use any printable sticker sheets - but these ones from Brother are really high quality, waterproof and come with sticky back plastic to laminate your stickers
  • Brother ScanNCut (or scissors if a ScanNCut is still on your wishlist)
  • Brother adhesive mat (standard tack or low tack)

Then either:

Or:

  • Stamp set
  • Ink

Or:

  • Art materials
    • To create original, one-of-a-kind stickers, directly onto the stickers

Step 1

How to make stickers – step 1

First, print, draw, stamp, or paint your sticker designs onto the sticker sheets. We’re using the Brother ScanNCut sticker sheets – but, like all the Brother kits, you don’t need a ScanNCut to use them! We just like the quality of these particular sticker sheets. They also come with sheets of sticky back plastic so you can laminate your stickers before cutting them – ideal if you’re printing labels, but for bullet journaling, we’re going to save the sticky back plastic sheets for another project.

If you’ve used your own designs, it’s useful to add an outline around each of your sticker designs at this stage – this will be the cutting line. Offset your cutting line from the main sticker design by 2-3mm. If you’re using digital art, you can do this digitally.

If you don’t want an offset border – that’s totally fine! The ScanNCut will pick up the outline when you scan your design into your machine and you can instruct it to give an exact cut. Alternatively – once you have scanned your stickers into the ScanNCut you can set the width of the border around your stickers via the touch screen.

Don’t know what to use for stickers? Why not download our exclusive bullet journal printables:

Download your free bullet journal printables PDF

Don’t have a ScanNCut? Cut out your stickers from the sticker sheet using scissors and skip ahead to designing your bullet journal!

Step 2

How to make stickers

If you have a ScanNCut, grab your Brother adhesive mat (either the standard tack or low tack mat), and burnish your sticker sheet with the printed designs onto the mat. We’re using the Brother 4" brayer as you can apply lots of pressure without scuffing your artwork.

Step 3

How to make stickers

Load your mat into your ScanNCut, press ‘Scan’ then ‘Direct Cut’ then choose the machine image. A short how-to will appear on the screen, so press ‘Start’ at the bottom. The machine will run the bullet journal printables (or whatever you are turning into stickers) under the scanner and once it’s done, an image of your scan will appear on the screen.

Press ‘OK’.

The machine will have picked up all the scratches and cuts on the adhesive mat, so adjust the crop around the image to remove unwanted areas by dragging the arrows around the A4 page.

Press ‘Preview’.

When you’re happy with the boundary, press ‘OK’.

The borders are already drawn, so we don’t need to make any further adjustments at this stage, so press ‘OK’ again.

Under ‘Please select’ you will have the option to ‘Draw’ or to ‘Cut.

Select ‘Cut’.

Step 4

How to make stickers

If you want to kiss cut your stickers – this step is important. (If you want to cut all the way through – skip this step!)

Tap on the spanner icon, tap the down arrow to scroll down and bring ‘Half Cut’ into view.

Tap ‘ON’ to turn Half Cut on, then press ‘OK’.

If you want to do a test cut at this stage (a good idea if you’re using a different type of sticker paper, or if this is the first time you are making kiss-cut stickers), tap ‘Test’. Drag the triangle that appears on the screen, to an inconspicuous part of your border and tap ‘Start’. The machine will do a quick test cut of the triangle so you know if you need to adjust the pressure settings for the half cut. See if you can peel the triangle sticker away easily and cleanly. If you need to adjust the pressure settings, go back to the spanner icon and change the ‘Cut Pressure’ from automatic to manual. But for this project, the automatic setting works well, so we don’t need to adjust anything.

Step 5

How to make stickers

Press ‘Start’, and the machine will measure the paper thickness, divide it in half (this is the half-cut) and kiss-cut your stickers.

Step 6

How to make stickers

Peel your stickers off the adhesive mat to reveal perfectly cut, professional, kiss-cut stickers.

If there are areas on your stickers that you want to draw attention to – why not add some dimensional adhesive to your stickers? Stickles, glitter glue, and pearl drops (or similar) are ideal for this. If any air bubbles form, use a needle to pop them before the gloss dries. Leave to dry thoroughly overnight.

Step 7

How to make stickers

Now that you have made your own stickers – what will you use them for? Add sticky back plastic over the stickers (that you don’t intend to write on or colour in) before you cut them, for a shiny finish. You can use regular sticky back plastic for this, or there are kits where A4 laminating sheets are included, like this sticker kit from Brother.

Laminated stickers are great for labels or anything liable to get spills or dribbles – like this DIY hand sanitizer.

Step 8

How to make stickers

I’ve created a page for bullet journalling, so if you would like to do the same, layer up some handmade paper with your bullet journal printables, and embellish with washi tape and a pressed flower. I’m using an A5-sized journal, which is an ideal size for bullet journaling – but use whatever you have to hand. Repeat for the other pages and you’ll soon have an entire bullet journal that you can use for organising your life and maximizing productivity (or – just for fun, no one will tell you off).

Want more inspiration for bullet journaling? Check out our guide on how to bullet journal or the most beautiful notebooks you can buy in 2021.

Step 9

How to make stickers

I didn’t like the cover on this journal – it was boring and there was a mark where the price had been – so I decorated the front, too!

Have you used these bullet journal printables for anything? Doesn’t have to be bullet journaling – let us know in the comments below!

How to make stickers – image credit Pure Julia on Unsplash 2

How to make stickers using envelope glue

The other type of stickers are the ones that you moisten to “activate" their stick (like on envelopes or stamps). You can use pre-made envelope glue (like this envelope glue from Hunkydory) or you can mix your own – chances are you already have all the ingredients needed to make your own stickers in the kitchen. What’s great about using envelope glue to make your own stickers – is you can turn almost anything into a sticker! We love the idea of recycling old magazines, photos and leaflets to make your own stickers.

Craft desk – image credit Elena Kloppenburg

Stickers made with envelope glue are great for scrapbooking, journaling, and other paper crafts – but if you’re planning to use this type of stickers for anything other than sticking to paper, we recommend the first method above – how to make stickers using sticker sheets. But feel free to experiment – if you come across any tips or tricks, let us know in the comments below!

You will need

  • Bullet journal printables, or an image you want to turn into a sticker
  • Gelatin
  • Water (boiling)
  • Sugar
  • Flavouring (optional!)
  • Airtight Tupperware
  • Non-stick surface (baking sheet or foil)
  • Brush with stiff bristles

Step 1

In a bowl, add 1 tablespoon (1 packet) of gelatin, 4 tablespoons of boiling water, 1 teaspoon of sugar, and three drops of flavouring. You can also get flavoured gelatin – we’re using unflavoured – so keep this in mind as you won’t need to add more flavouring on top of this.

Step 2

Mix until fully combined and the gelatin has completely dissolved. If you want to use the glue straight away – skip ahead to step 6.

Step 3

If you want to keep your glue for another day – pop the mixture in some airtight Tupperware, and leave it overnight. Your mixture will turn into a gel. If you live somewhere warm – or are having an unseasonably warm day here in the UK – it’s best to keep your homemade glue in the fridge. Although it’s best used fresh (isn’t everything?), we kept ours for two weeks before using it all up, and it was fine. So don’t worry if life gets busy.

Step 4

When you’re ready to use your DIY envelope glue, put the Tupperware in some hot water (fill up a bowl and plop the Tupperware in) and leave for 10-30 minutes.

Step 5

Cut out the images or artwork that you want to turn into stickers. Use the ScanNCut to make light work of it – or use a pair of scissors if a ScanNCut is still on your wishlist.

Step 6

Cover your work area with some non-stick protection (wax paper, baking paper, foil etc) and lay out the illustrations you want to make into stickers.

Step 7

Grab a stiff-bristled brush (decoupage brushes work well) and paint a thin layer of homemade glue onto the reverse of your stickers, then leave to dry. It only needs to be a thin layer – and don’t worry if your stickers start to curl up. Once they are stuck down, they will flatten back out.

Step 8

Once dry, your homemade stickers can be kept until you’re ready to use them! Keep them somewhere dry to avoid premature stickiness from damp or humid conditions. A zip-lock bag or that trusty Tupperware is ideal for keeping your stickers neat and tidy!


Photography by Holly Spanner

Additional images by Pure Julia, Elena Kloppenburg and Estee Janssens