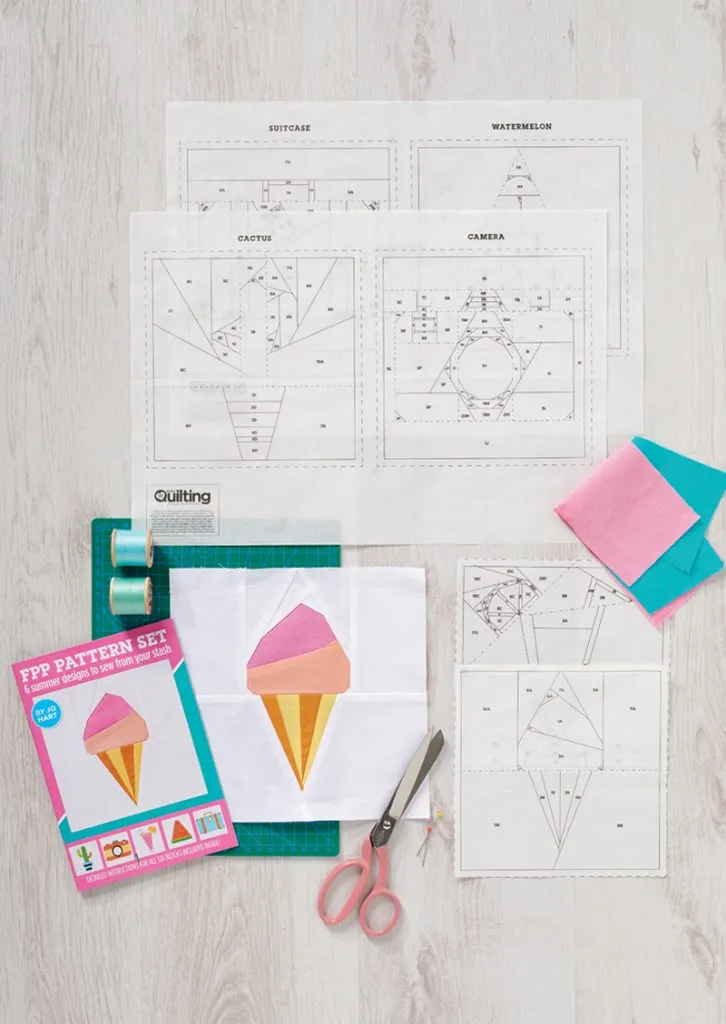
To complete the sunniest set of foundation paper piecing ever (it's official – have you seen our 6 free Summer FPP templates?), we're giving you this bonus pattern to stitch while you daydream of far flung beaches and summer breezes. Stitch the set and turn them into a super-cute mini or cushion!
These paper piecing designs by Jo Hart were first featured in issue 74 of Love Patchwork & Quilting magazine. If you love a spot of paper piecing, you might also like our free hexagon templates for patchwork.
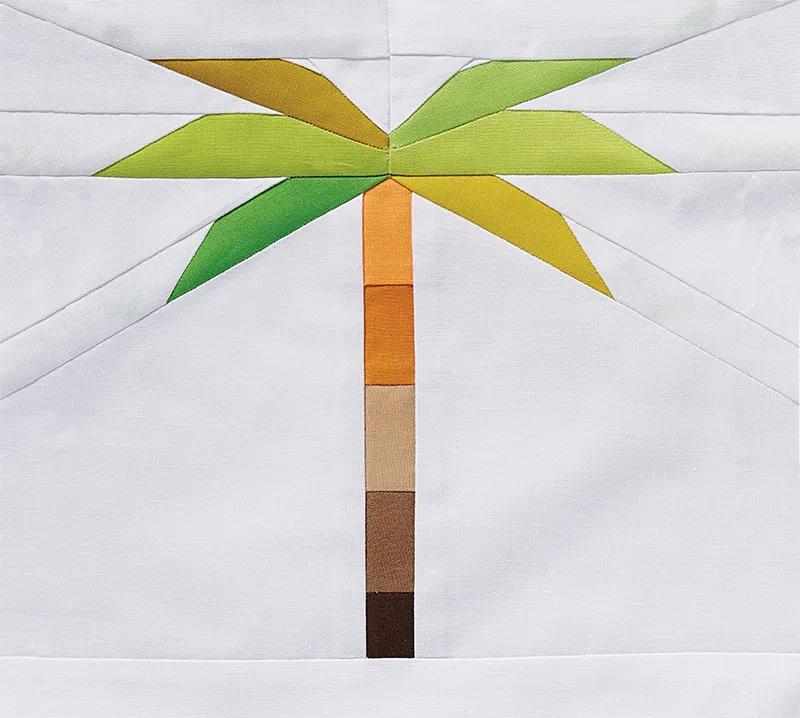
Palm Tree Foundation Paper Piecing Pattern
How to piece your palm tree quilt block
You will need
Makes one palm tree block
- Trunk: five (5) 1½ in squares
- Palm fronds: six (6) 1½in x 4in
- Background: 10in square
Piecing the palm tree quilt block
Step one: Cut the template apart along the inner dashed lines to make sections A, B, C, D, E, F and G. Using the template as a guide, cut the fabric pieces for each section, making sure the pieces will be at least ¼in larger than the section they will cover, all the way around.
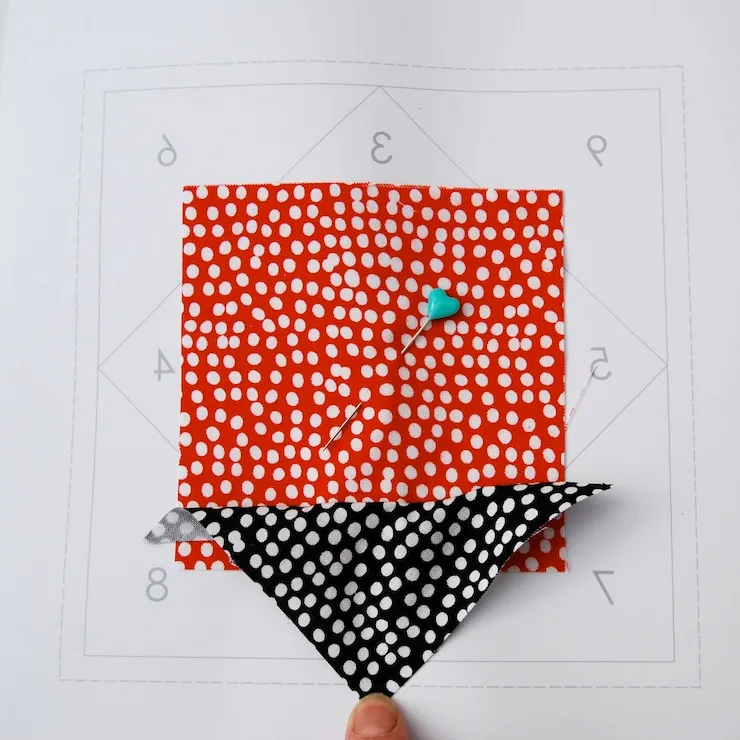
Step two: Foundation Paper Piece Sections A and B. If you're new to Foundation Paper Piecing, or need a refresher, here's how it's done.
New to FPP?
If you've never tried Foundation Paper Piecing before, check out our beginner's guide for a step-by-step introduction. While it may seem fiddly at first you'll be hooked in no time when you see the crisp, intricate patchwork shapes you can create!
How to do Foundation Paper Piecing
Step three: Once both sections are complete, align the template Sections A and B along the raw edges and sew together. Press seams open. Remove the paper templates, tearing along the seam lines.
Step three: Join sections B and C to the top corners of section A. Remove paper from the seam allowance only and press seams open.
Step four: Join sections D and E and sections F and G along their diagonals. Press seams open, then join section DE to FG at the centre. Press seam open.
Step five: Join section ABC to the bottom of section DEFG. Press seam open. Remove the paper templates, tearing along the seam lines. Trim to 8½in square to finish.