Cutting out
Step 1
From print 1 fussy-cut four (4) honeycombs. We chose a detail that would create an outwards blooming effect.
Step 2
From print 2 fussy-cut one (1) square for the centre.
Step 3
From a contrasting solid fabric cut four (4) 2½in squares.
Making the patchwork
Step 1
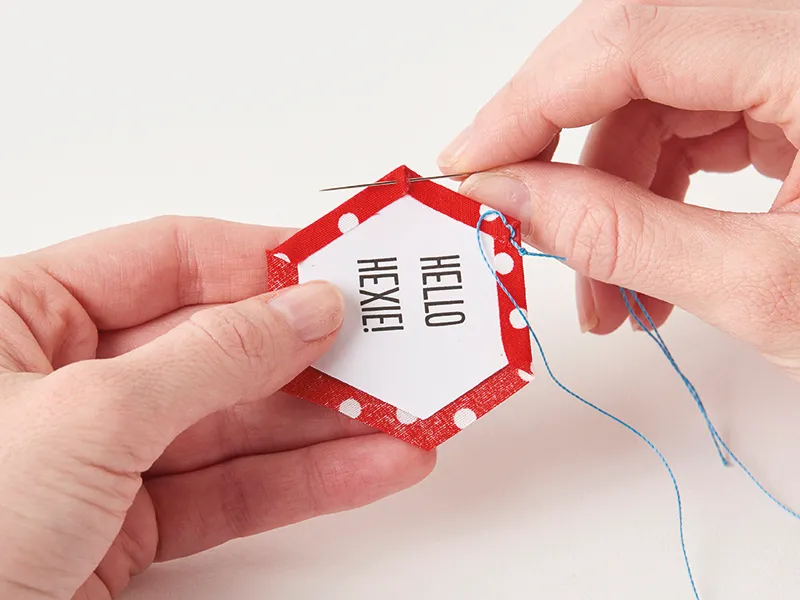
Prepare the paper pieces with fabric using your preferred basting method.
Step 2
Stitch the print 1 honeycomb pieces together into pairs. (Fig 1)

Step 3
Add the two honeycomb pairs to the sides of the square as shown in Fig 2. Remove the papers and press well.
Step 4
Mark a diagonal line corner to corner on the back of each contrast 21⁄2in square (Fig 3A). Place on a corner of the background square aligning the raw edges. Stitch on the line. Trim the excess to a 1⁄4in seam (Fig 3B). Flip open the corner and press (Fig 3C). Repeat in all four corners.

Step 5
Appliqué the EPP onto the centre of the background square (Fig 4). It can help to fold the background in half twice to mark a centre guide.
Assembling the pincushion
Step 1
Place the front and the backing right sides together. Stitch a 1⁄4in seam all around the edges leaving a gap for turning (Fig 5).

Boxing the corners
Step 1
Mark a 1in square in each corner of your pincushion, on both the front and back of the square (Fig 6).
Step 2
Gently pull apart the two sides and refold in the opposite direction so that the markings form a straight line across the corner. Make sure the seams are matched by gently rolling them between your fingers and thumbs. Pin well and stitch along the marked line, back and forth a couple of times to secure (Fig 7A). Trim excess to a 1⁄4in seam allowance. Repeat in all four corners (Fig 7B).

Step 3
Turn the pincushion right-sides out. Stuff well with the filling of your choice and ladder stitch the gap closed by hand.