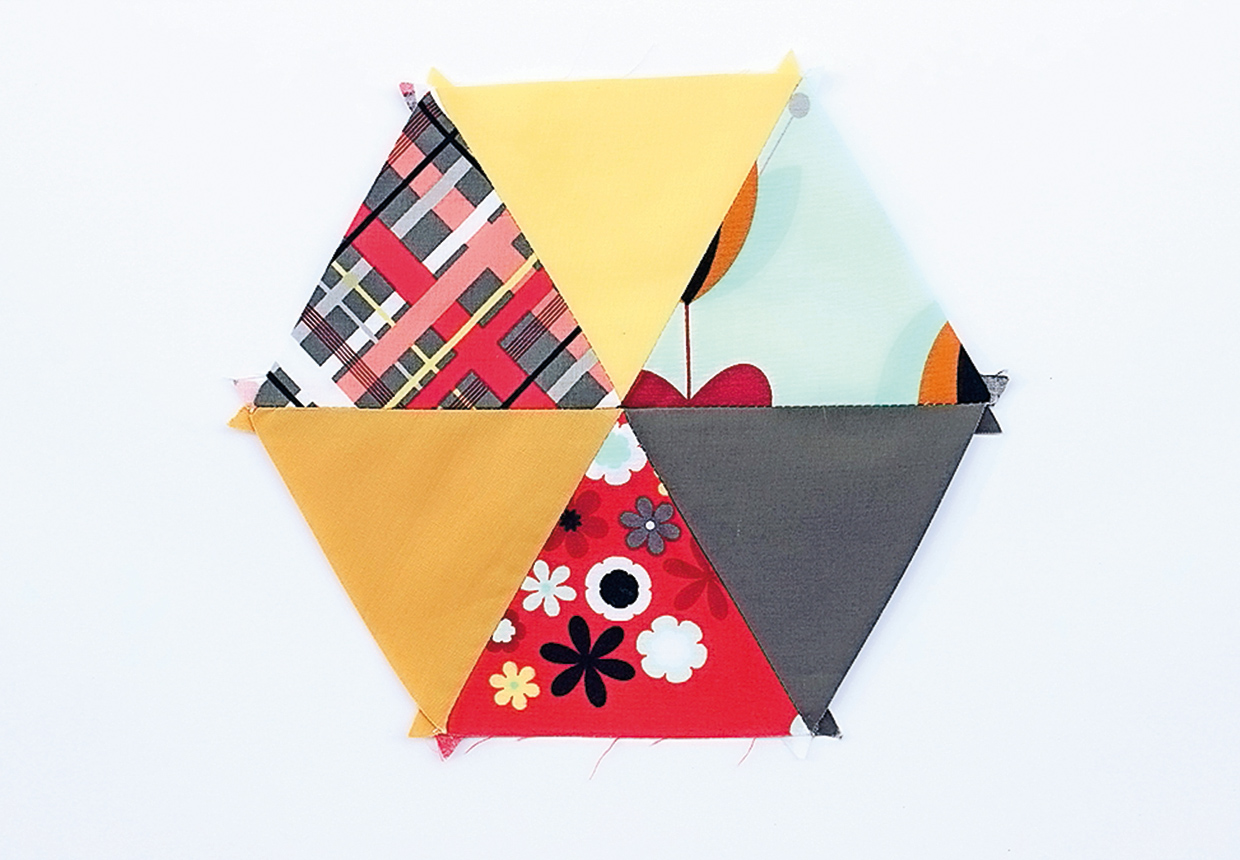
An equilateral triangle is one with three sides of equal lengths and three angles (corners) all 60-degrees. It’s really simple to cut and sew rows of equilateral triangles together quickly (and accurately) on your sewing machine. Jeni Baker shows us how in her foolproof guide...
This tutorial was first featured in issue 1 of Love Patchwork and Quilting magazine. If you like fun quilting tutorials involving triangles, you might also like our complete guide to Flying Geese Quilts.
Top tip: combine six triangles to make a hexagon. Paired with plain hexies, it’s a clever twist on a classic patchwork.
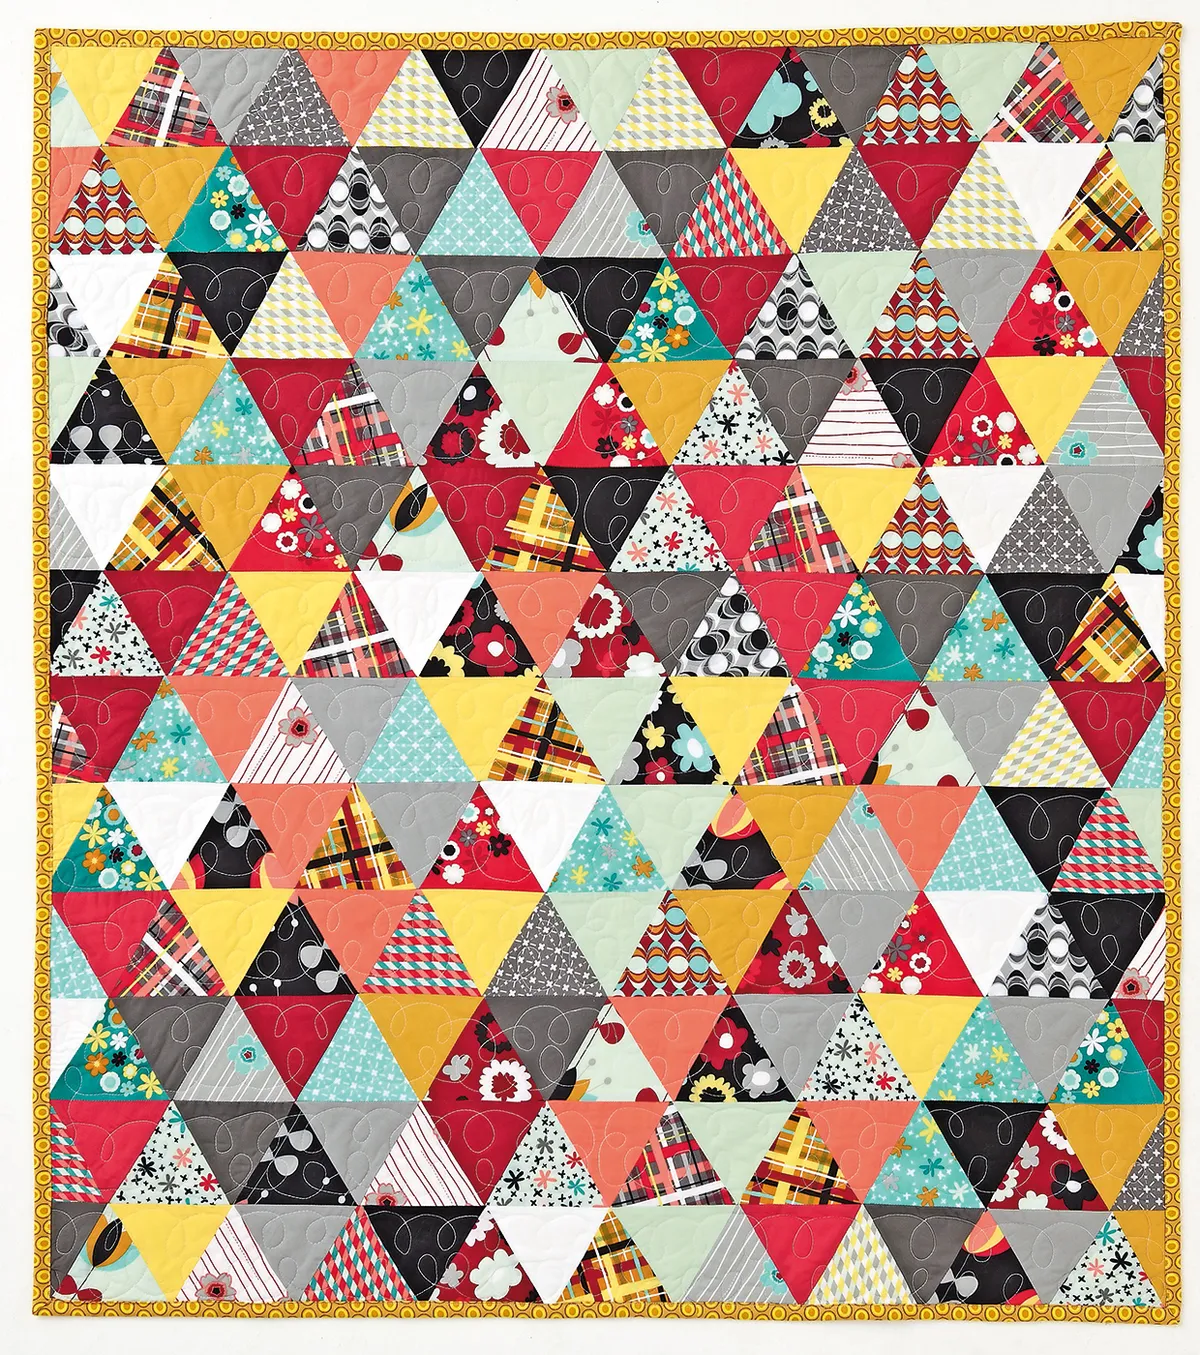
How to cut 60 degree triangles
You can measure and cut triangles quickly and easily with a quilting ruler.
Step 1
Cut a strip of fabric the width of the height of your triangles. For the Trios Lap Quilt this is 3½in.
Step 2
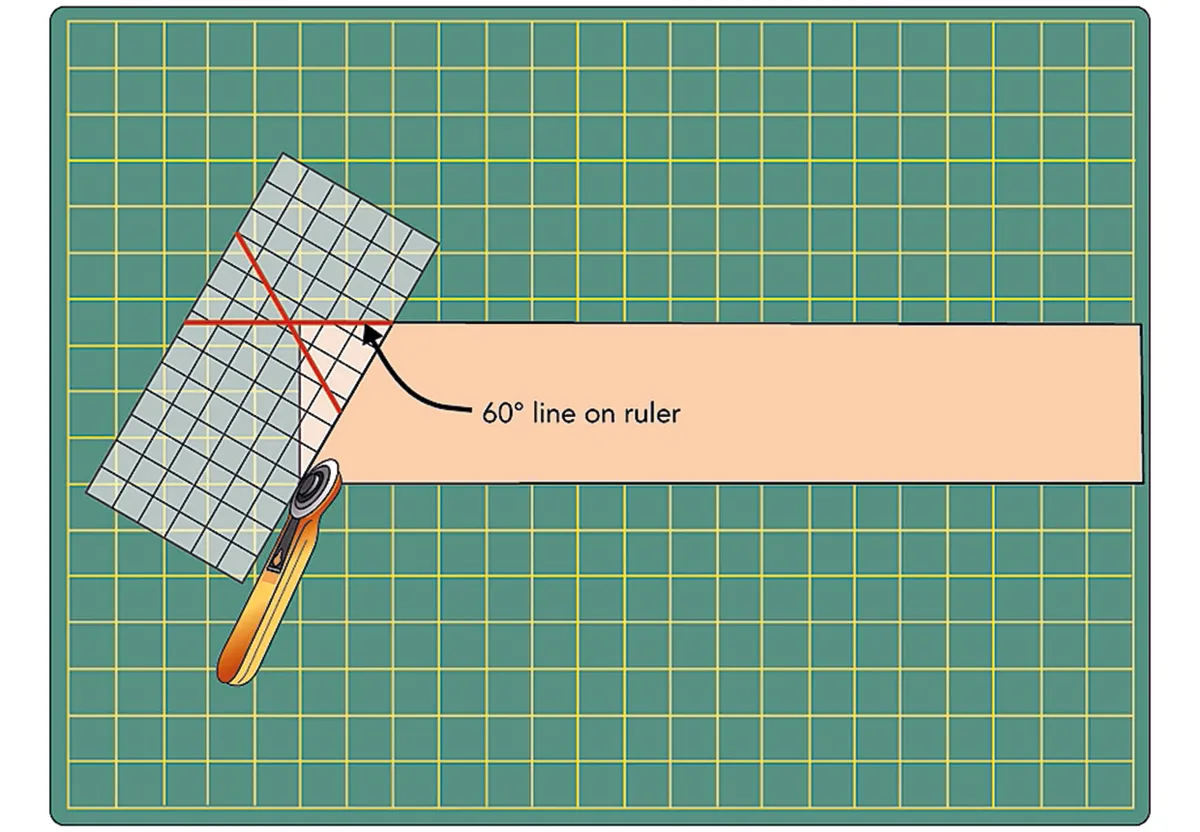
Place your ruler on the fabric strip with the 60-degree line along the top edge of the fabric strip. The cutting edge of the ruler will be at a 60-degree angle.
Step 3
Cut along this line. Discard the end piece of fabric.
Step 4
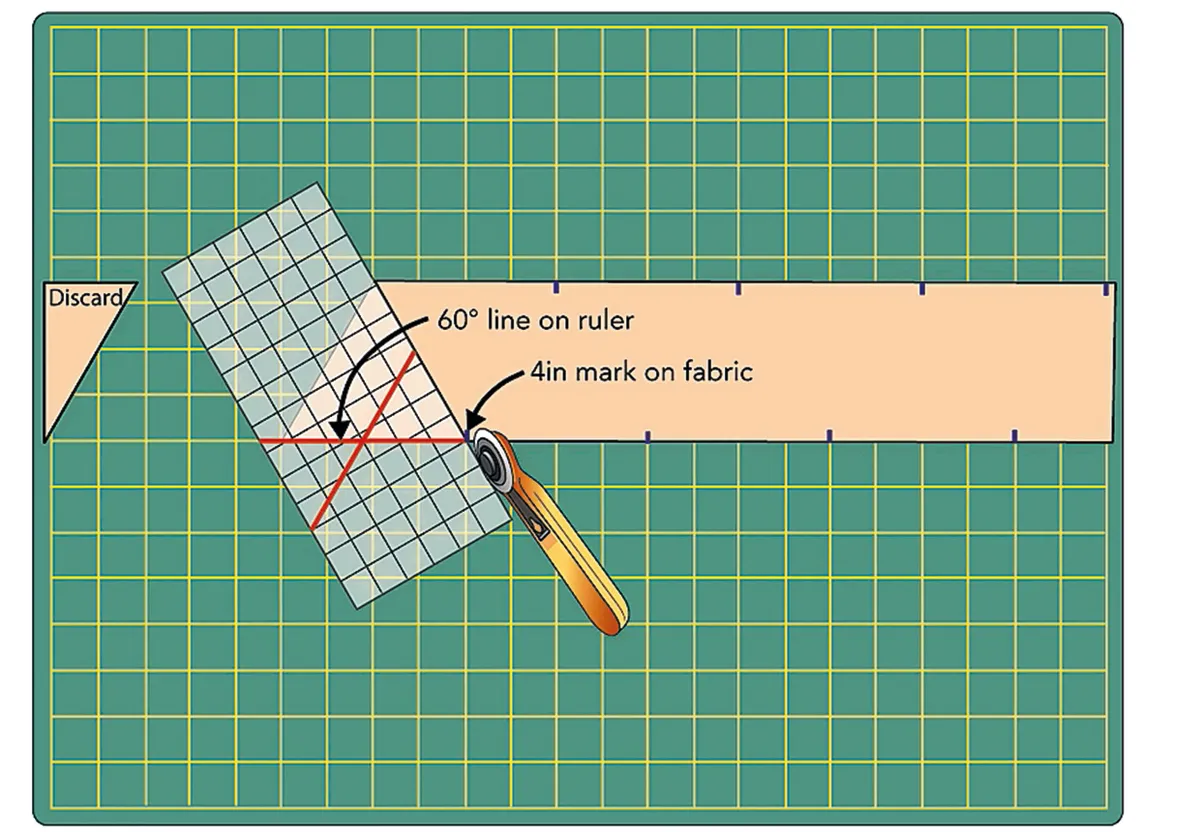
Mark your fabric strip at intervals to mark the width of the triangle – for the Trios Lap Quilt this is 4in. Move the ruler so that the other 60-degree line is along the bottom edge of the fabric strip and line it up with the 4in mark on the bottom of the strip. If measured correctly, the ruler will intersect your previous cut to form an equilateral triangle.
Step 5
Make the cut – this is your first triangle.
Step 6
Move the ruler again so that 60-degree line is along the top edge of the fabric strip again, this time lining it up with the 4in mark on the top of the strip. Make the cut – this is your second equilateral triangle. Continue like this all the way along the strip, alternating the ruler position with each cut to make as many triangles as the fabric will allow.
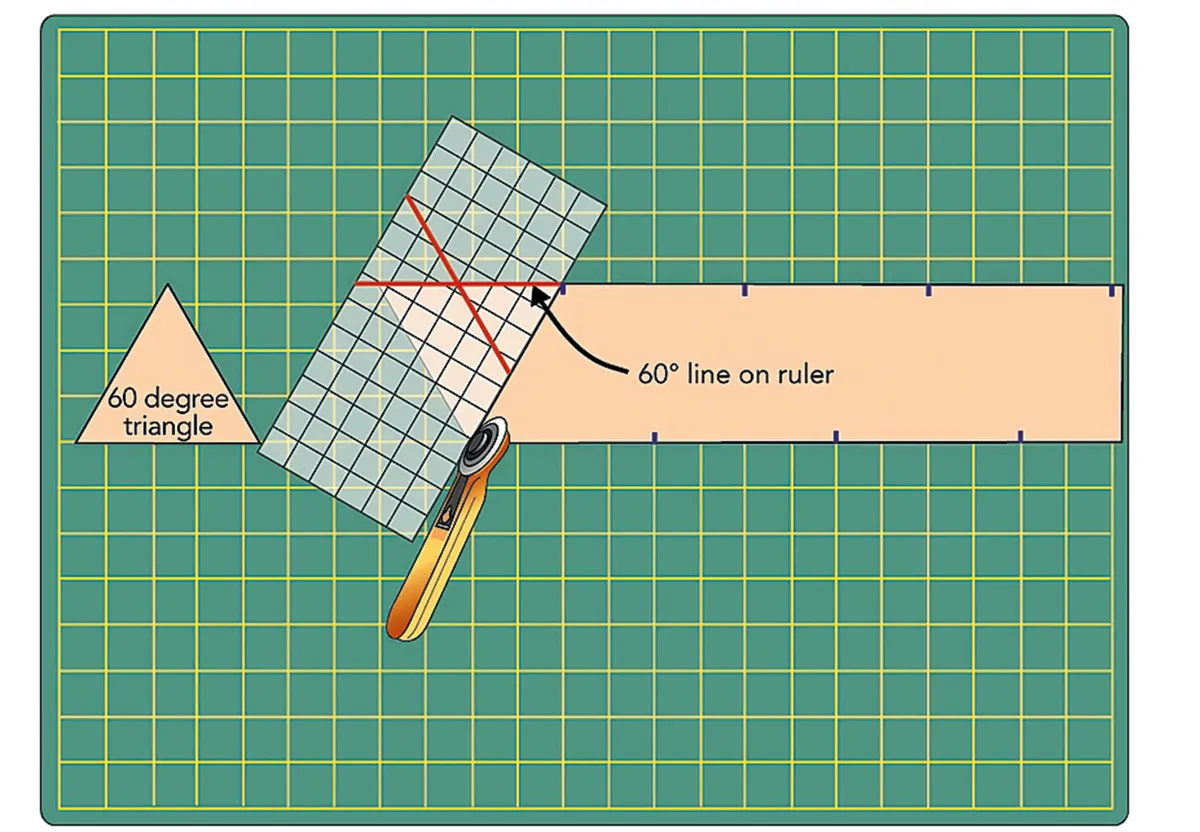
How to sew triangles
Now you've cut a batch of triangles from your fabric, it's time to sew them together. Here's how...
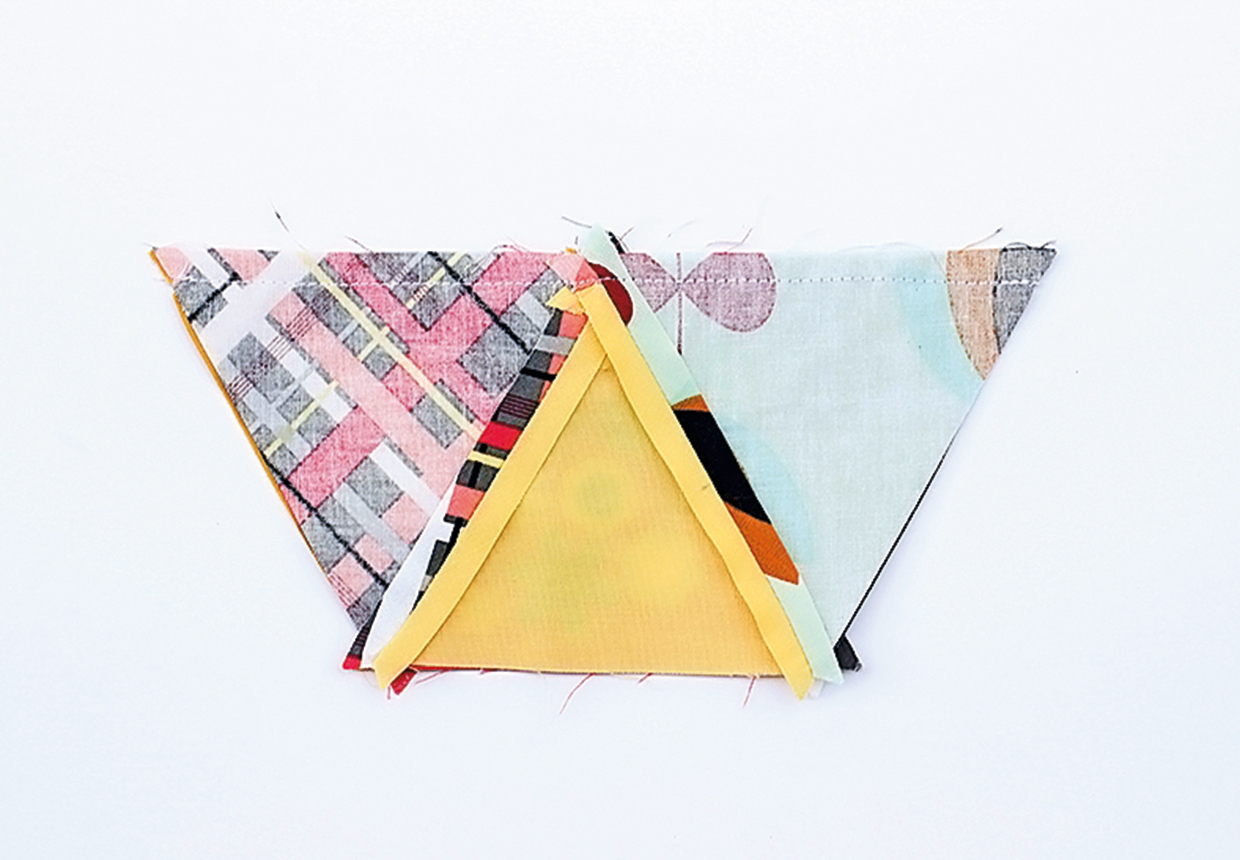
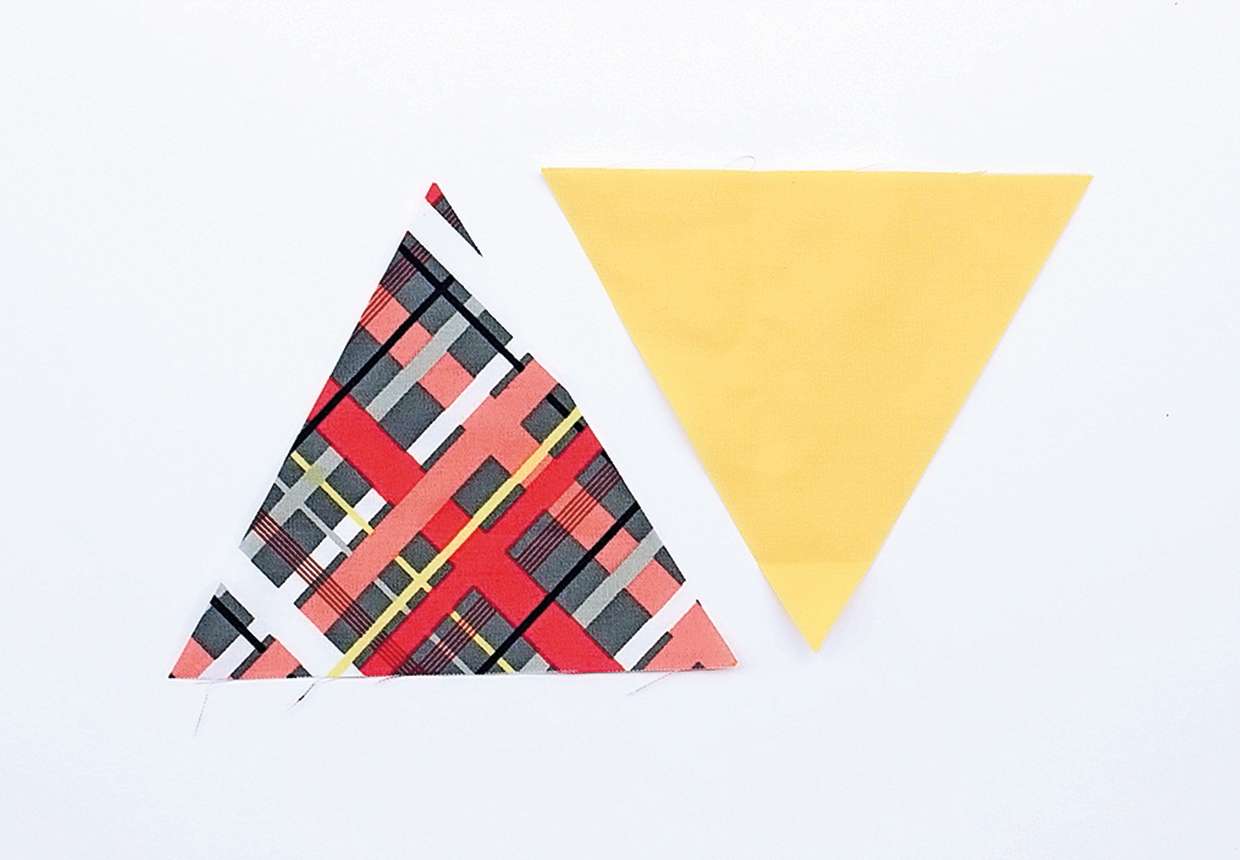 Place the solid triangle onto the print triangle, right sides together, with all edges aligned.
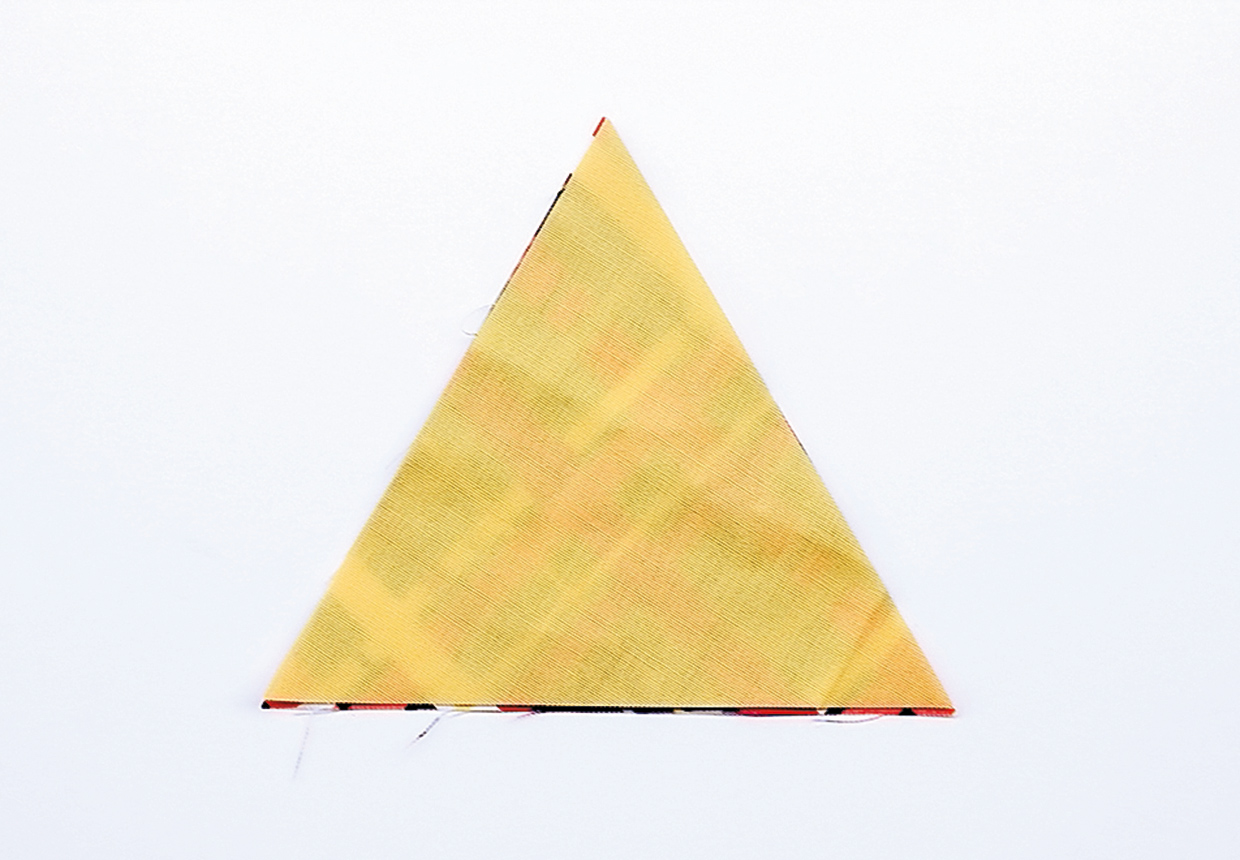
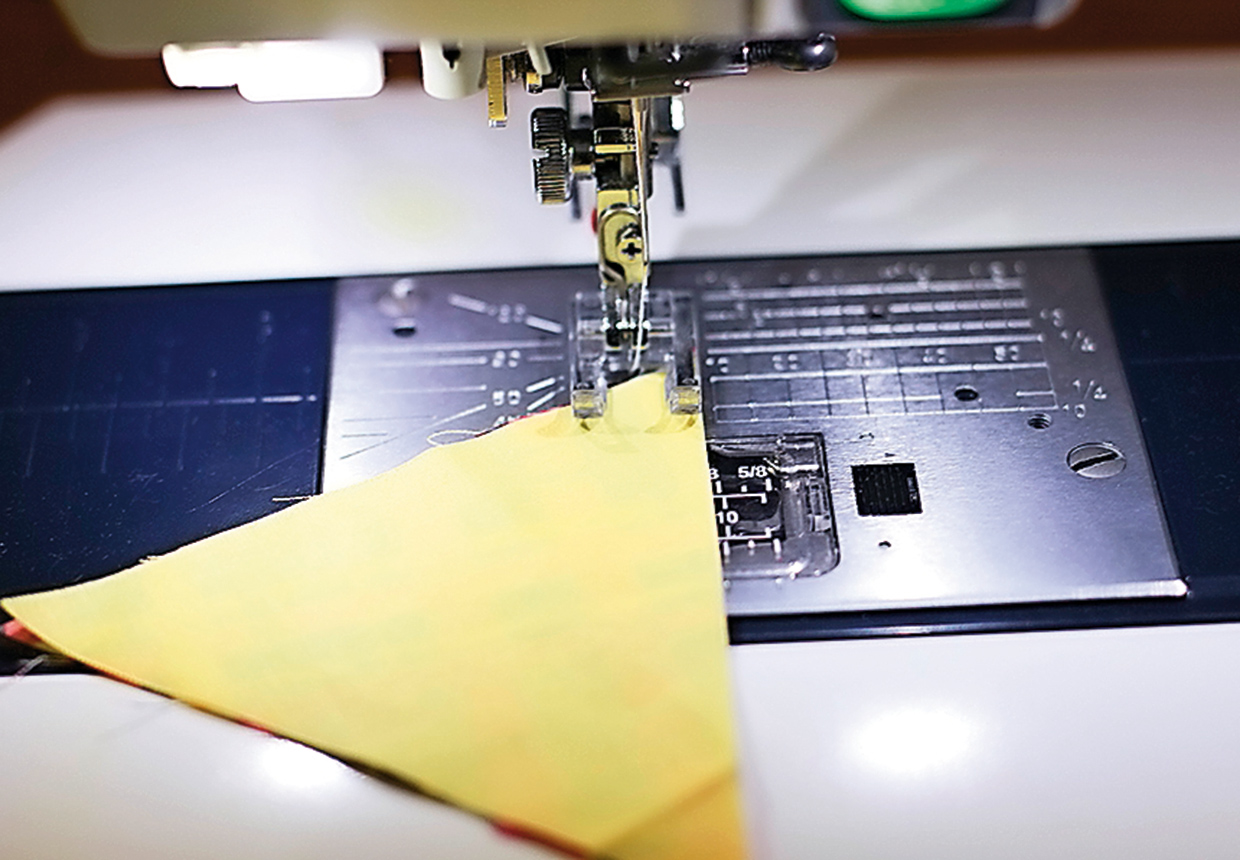
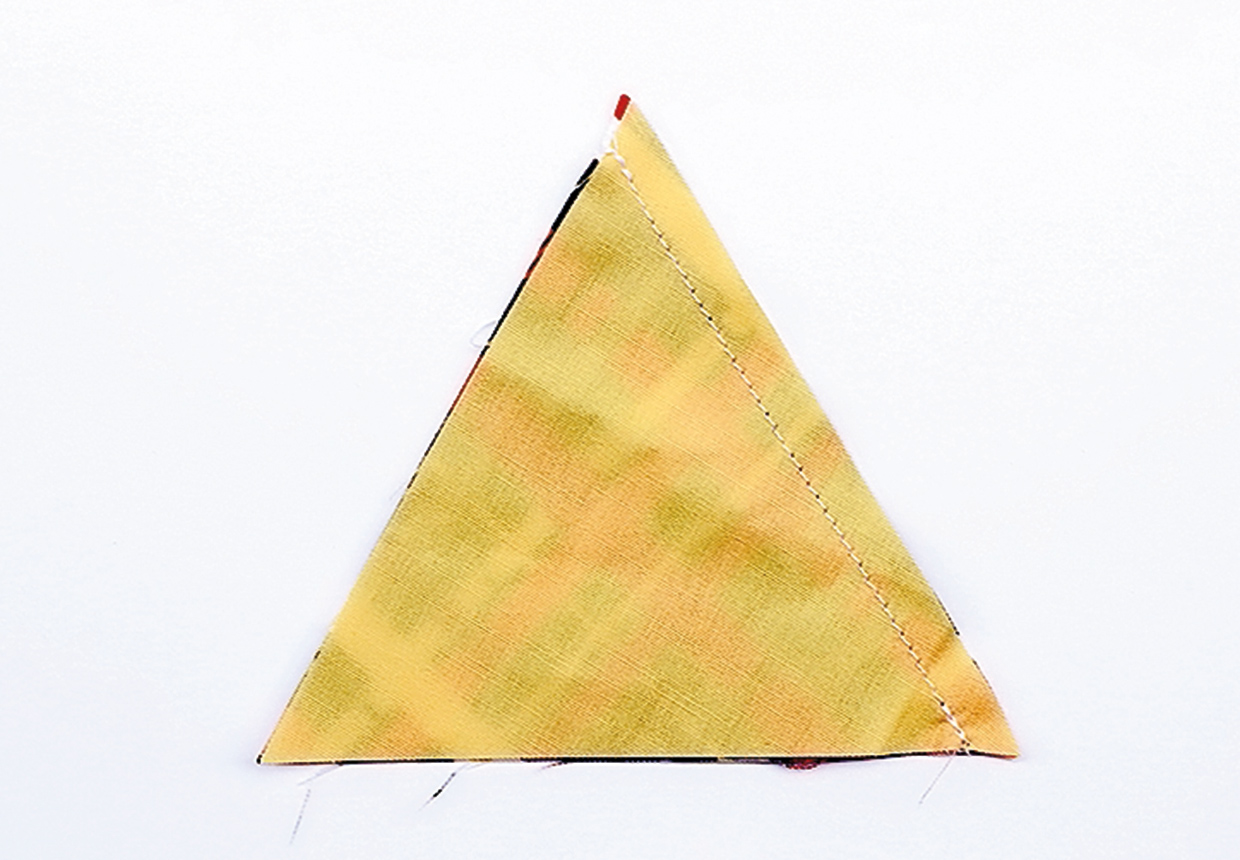 Open the piece and press the seam open.
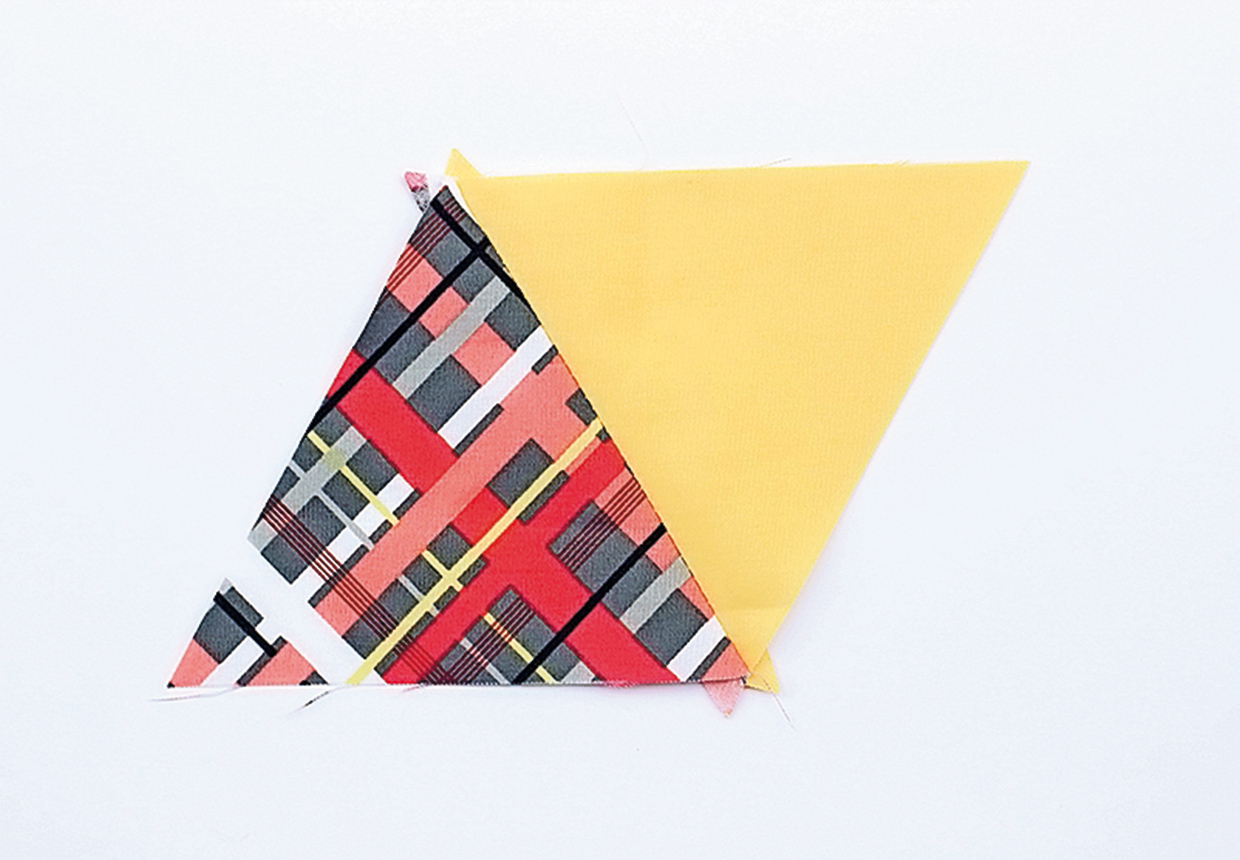
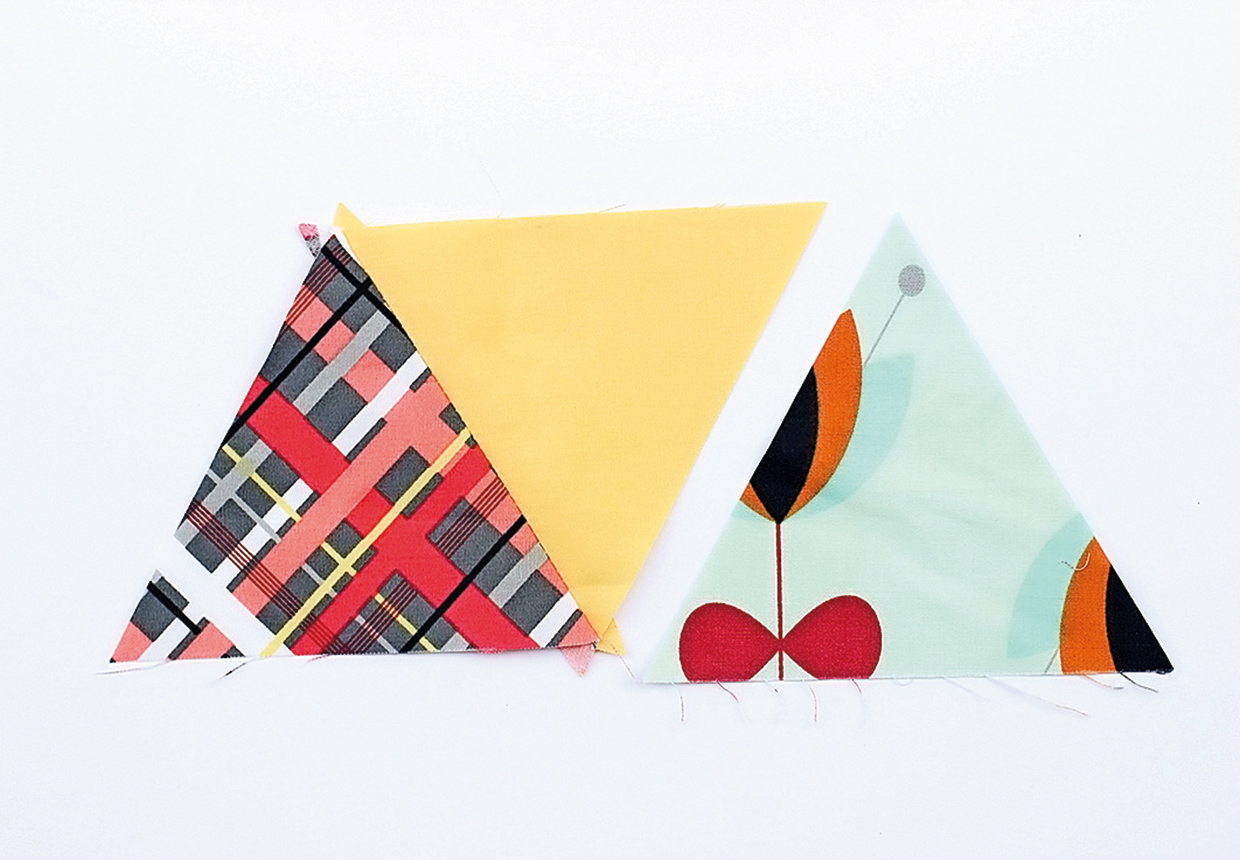
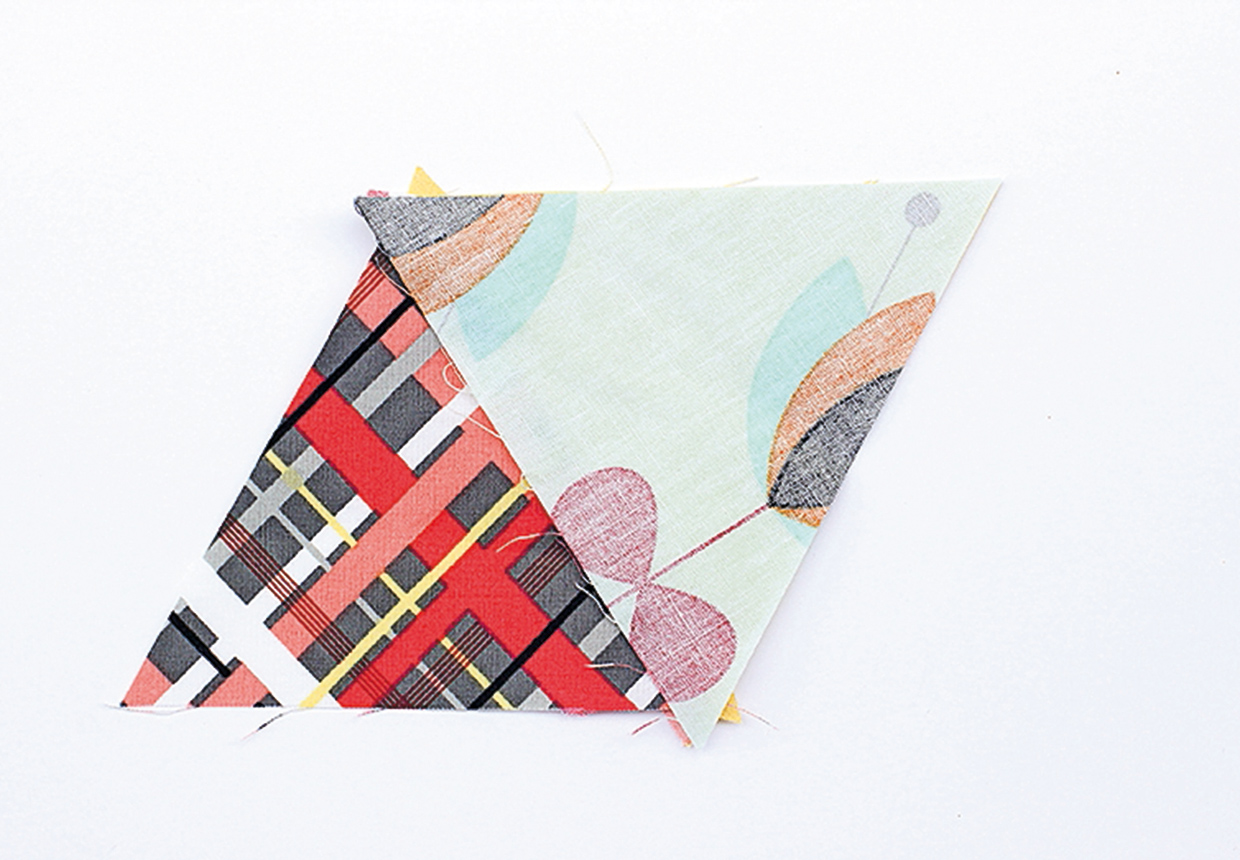
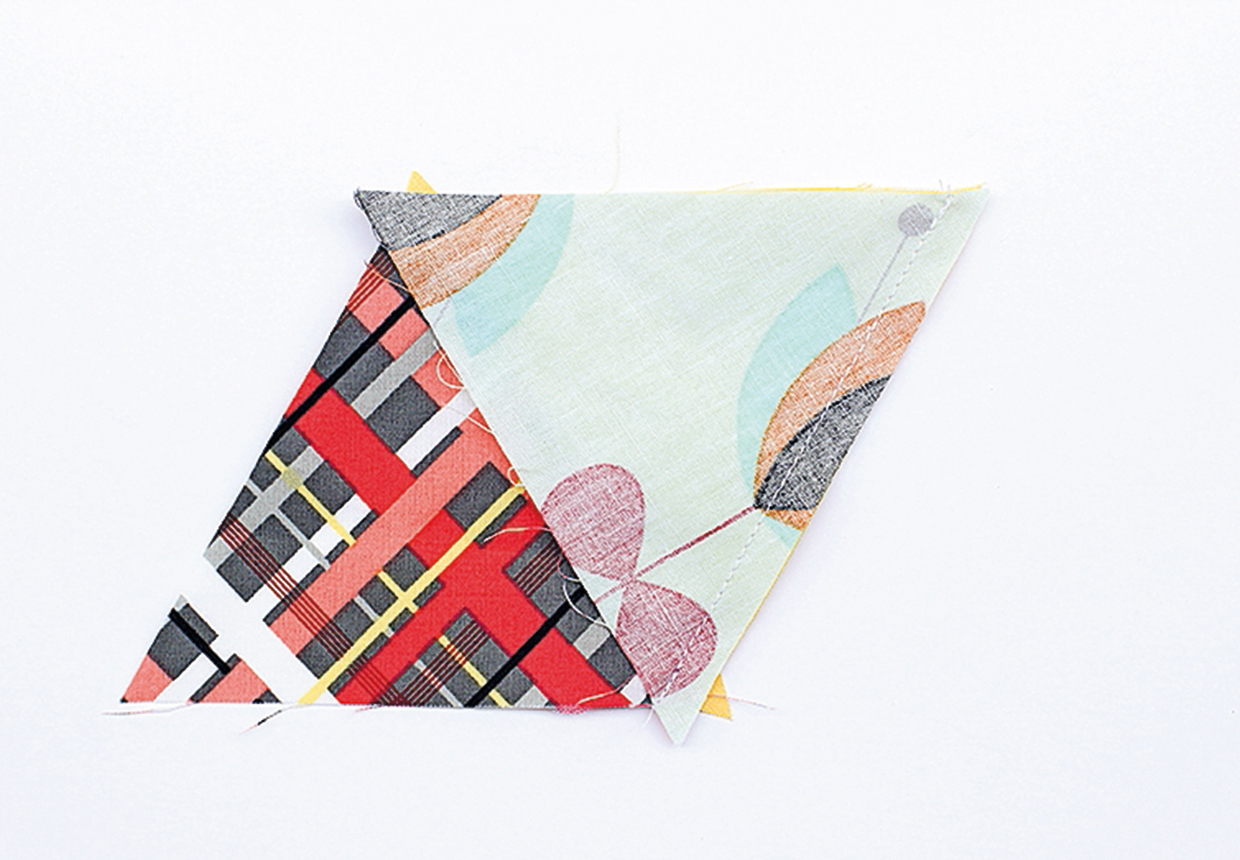
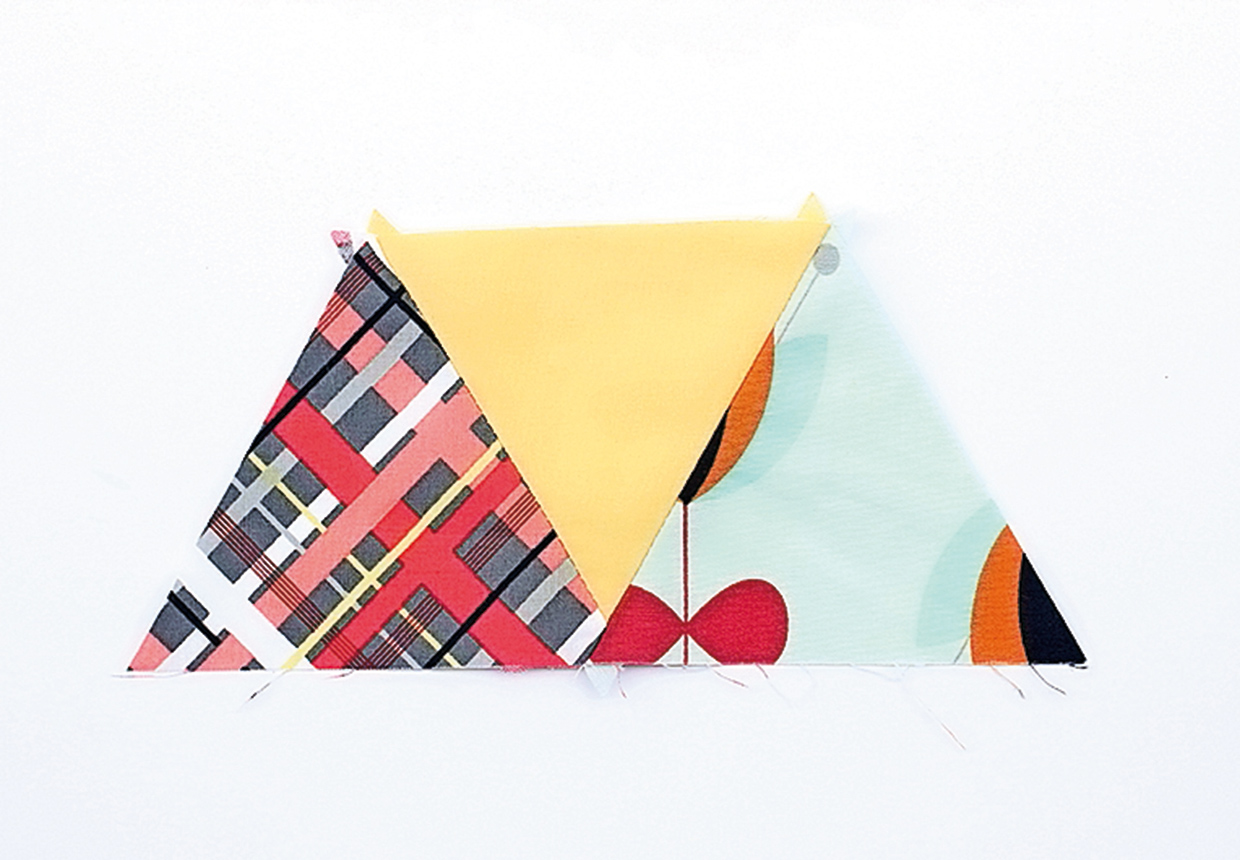 Add the next triangle in the same way, but align it at the unstitched edge at the bottom. Continue in this way to join an entire row.
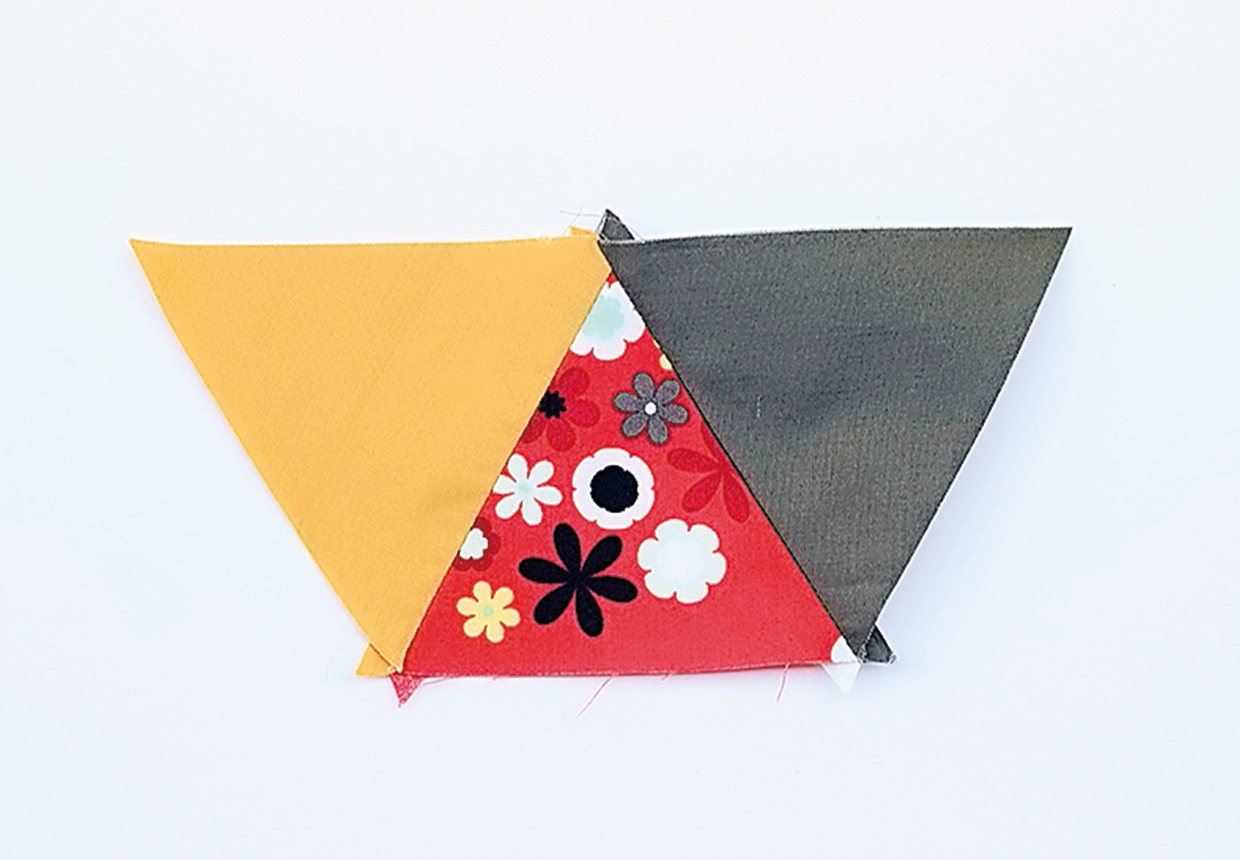
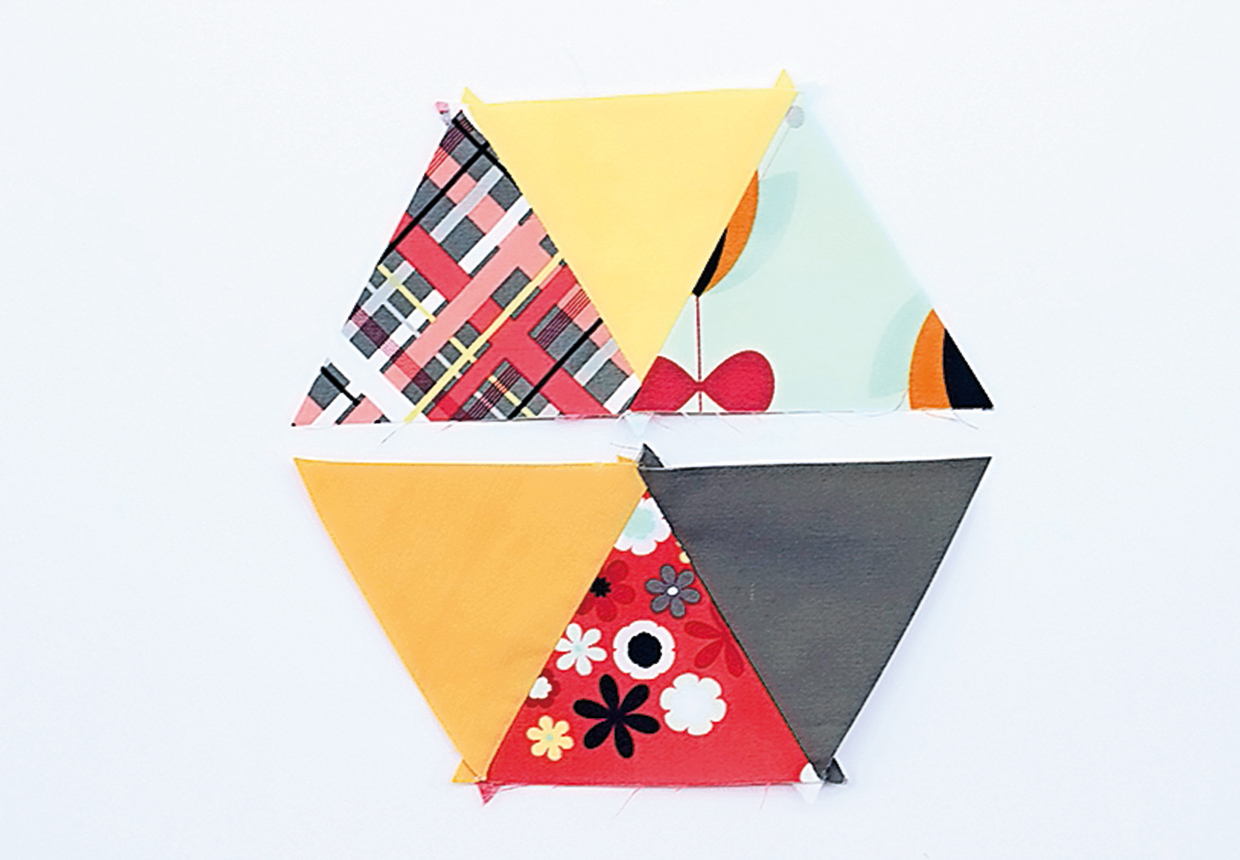
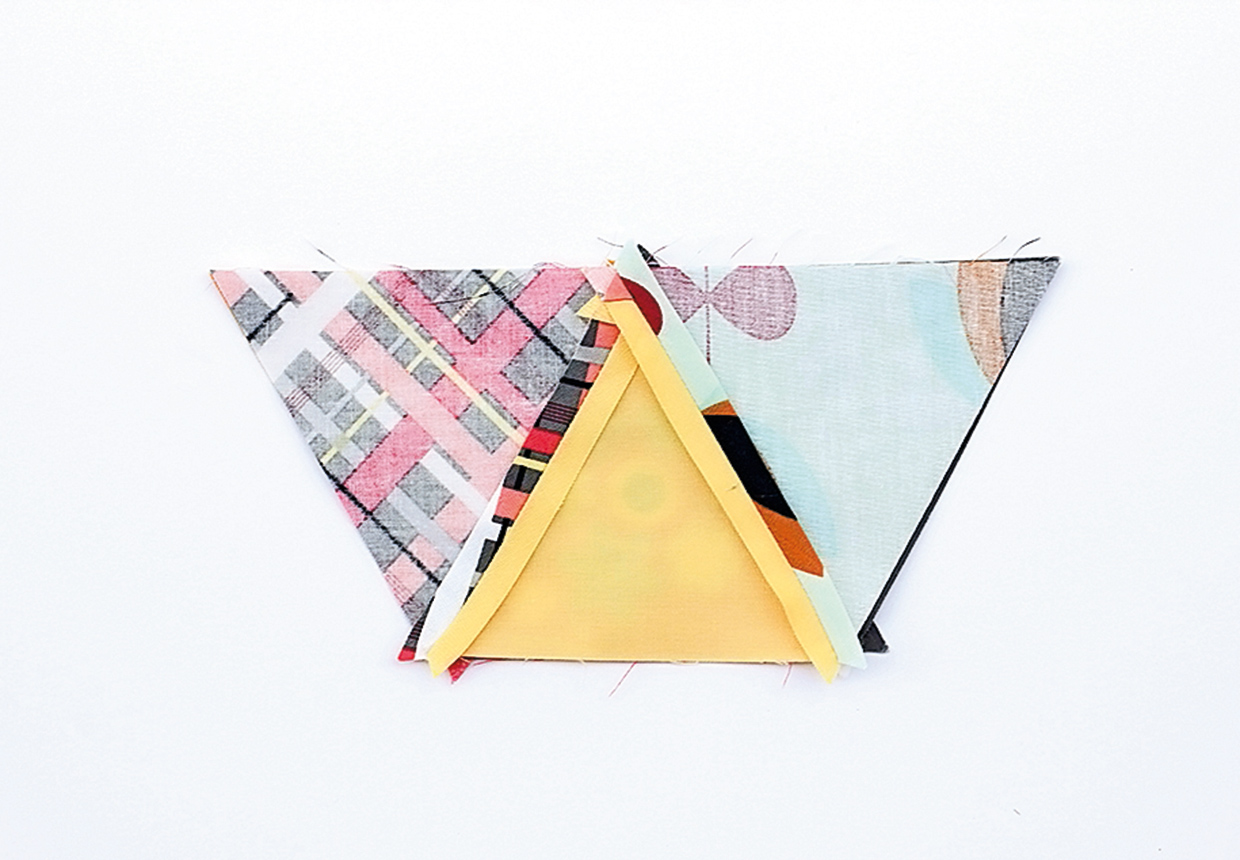
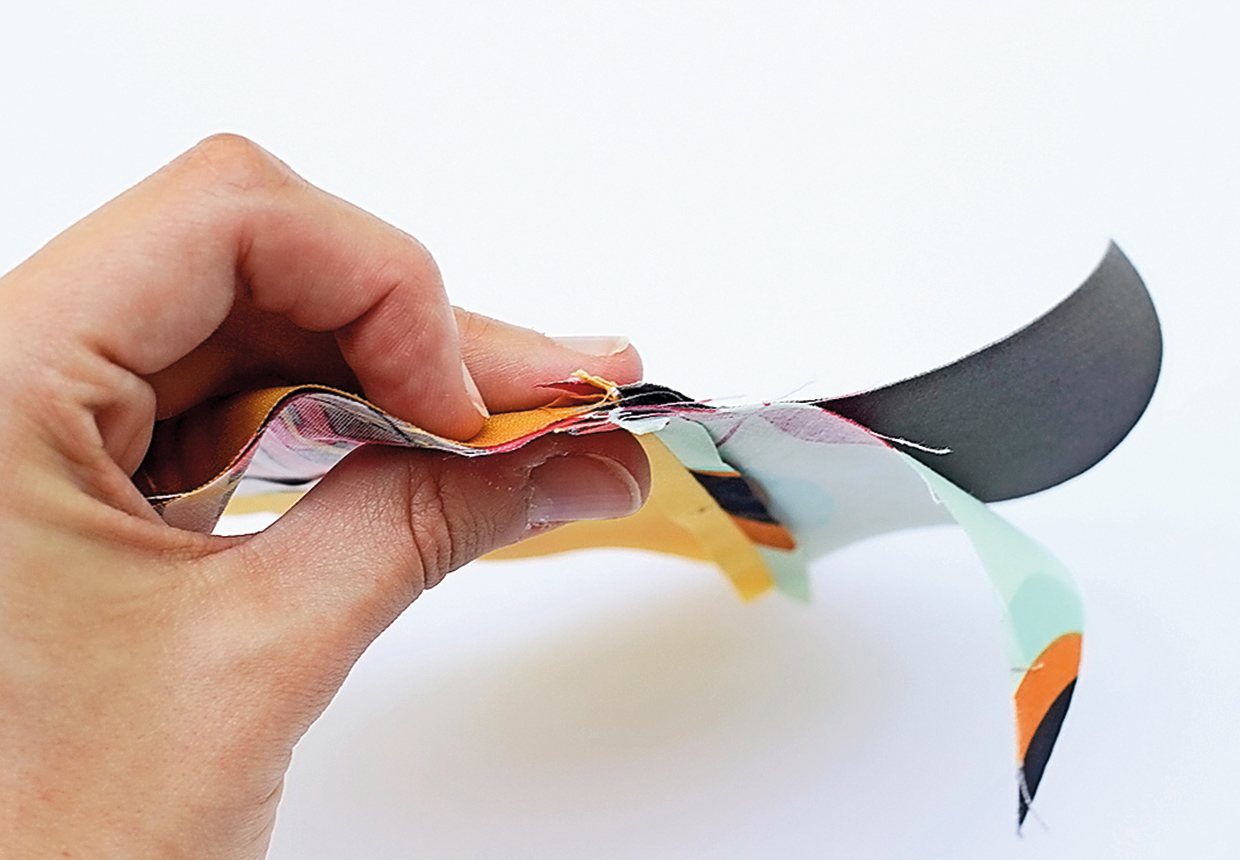
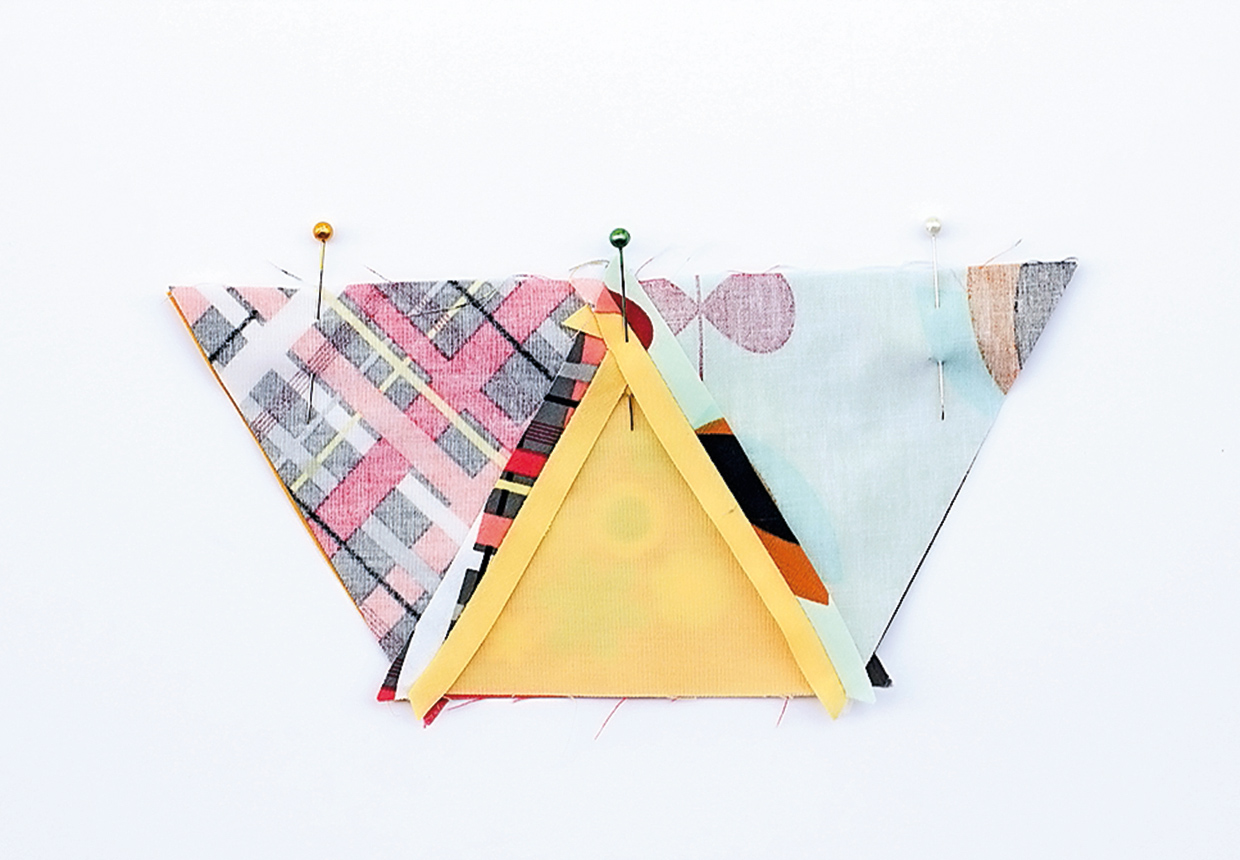 Pin in place.
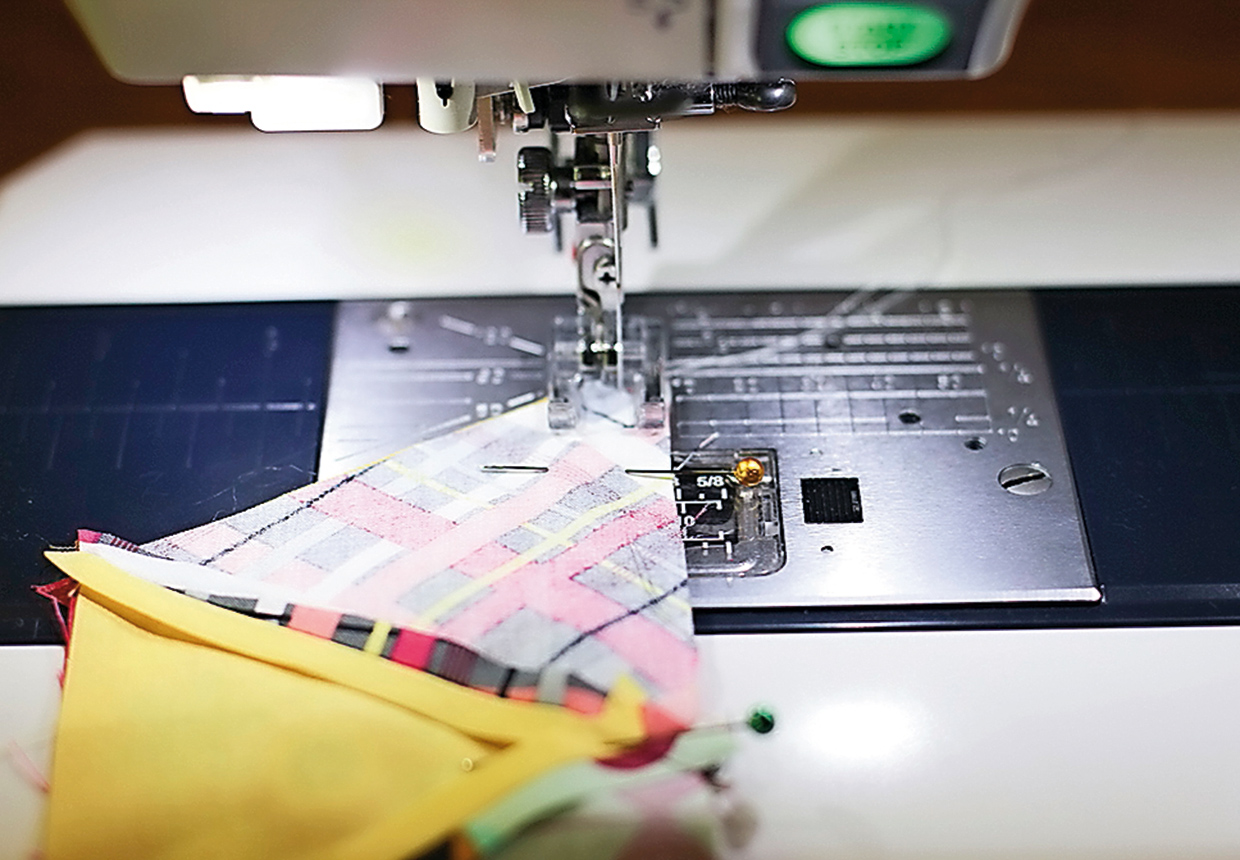 Press the seam open.
 Lightly press all over to complete.