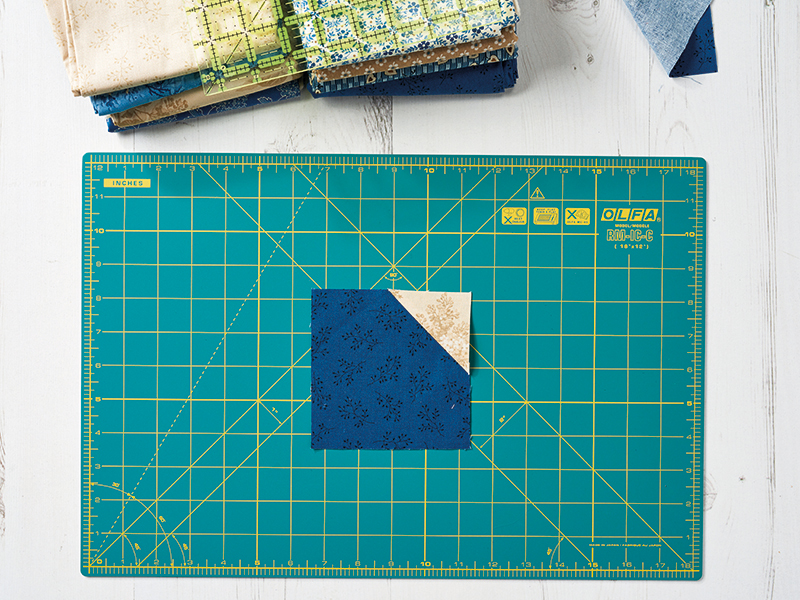
How to use quilting rulers: 45 degree corner tool
Add corners to your quilt blocks with no marking, no dog-ears and no trimming, just cut and sew! Here we show you how to use a patchwork corner tool.

Published:
So many of our favourite quilt blocks include units with 45-degree angles. Most of us are familiar with the technique of drawing a diagonal line, stitching along it and trimming away the excess fabric and dog-ears, but this can be tedious when we have numerous blocks to make.
This clever tool was a give with issue 33 of Today’s Quilter magazine, but you can also buy similar quilting rulers online:
It trims away the excess while adding the ¼in seam allowance, which reduces the steps and cutting mat to-and-fro, for streamlined production. Try it when making Snowball blocks, Square-in-a-Square blocks, Flying Geese, Half-square Triangles, Cornered rectangles and more. Get your tool with issue 33 in our online store and find out how to use it with these simple steps below. We’ve created a video tutorial here or scroll down for our full step-by-step picture walkthrough too.
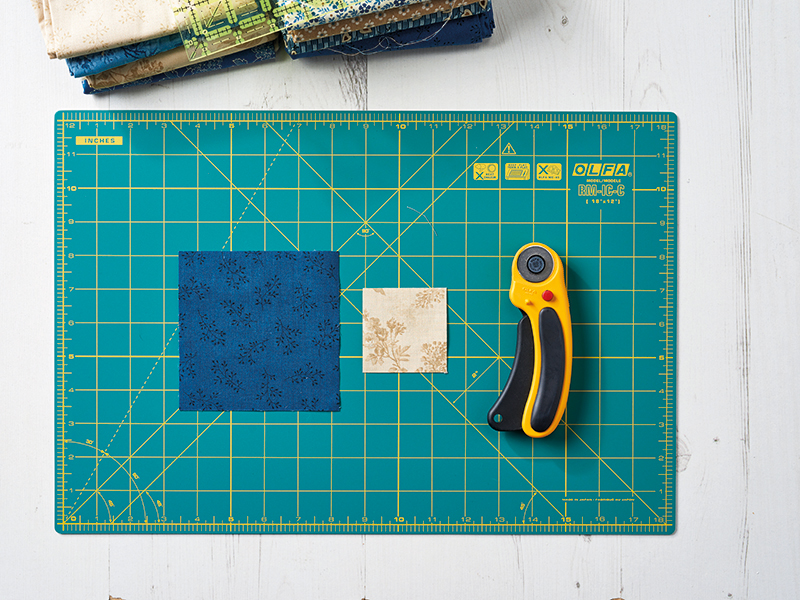
How to piece speedy blocks with your corner tool
Step 1
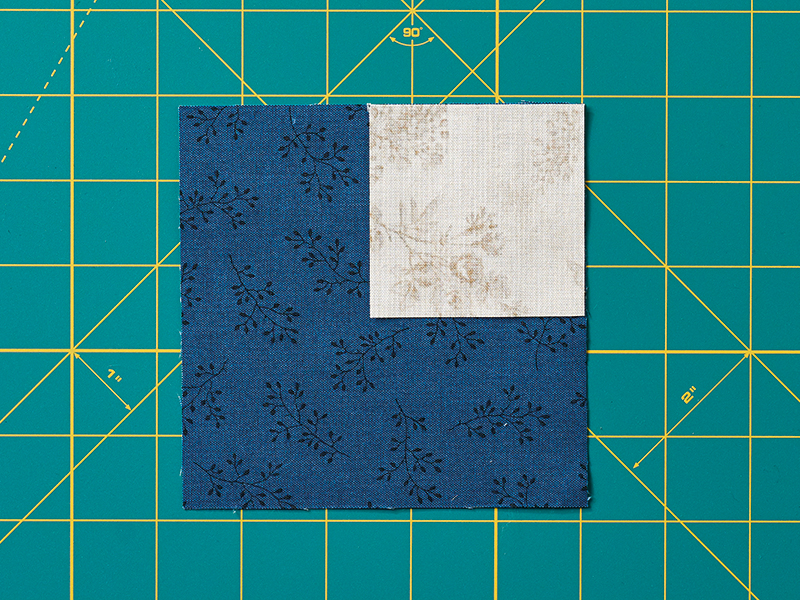
Cut out the rectangles and squares required for the block as described in the pattern you’re working from.

Step 2
Place the corner square on top of the larger piece, right sides together and with raw edges aligned.

Step 3
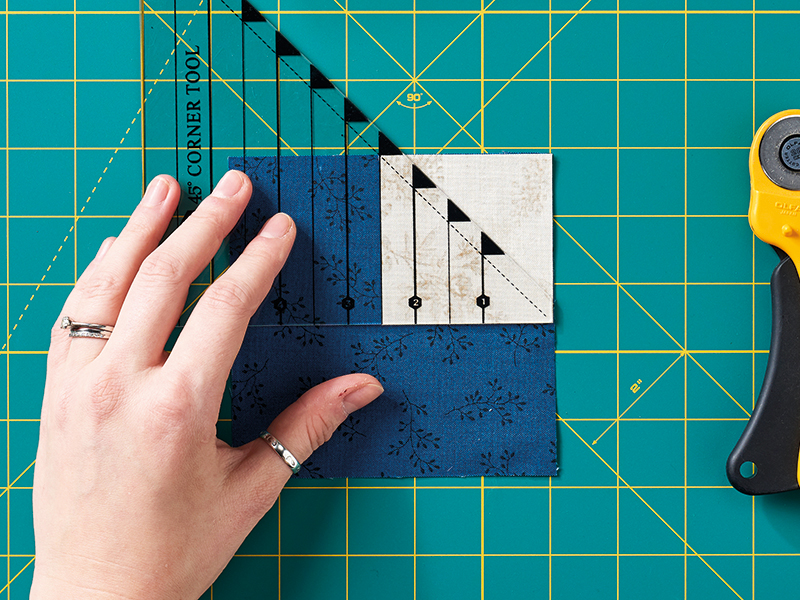
Position the bottom edge of the tool aligned with the bottom of the corner square, and the size marking with the left edge.

Step 4
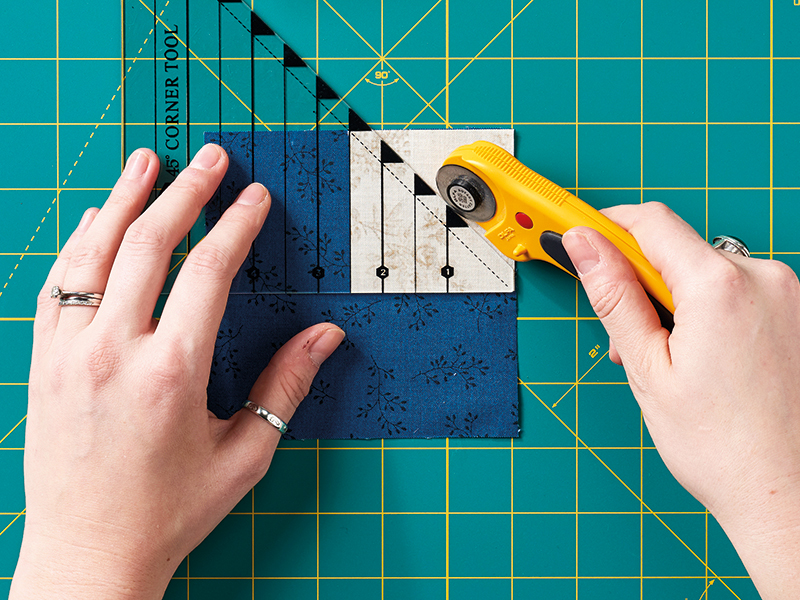
The blunt tips of the ruler will be aligned with the top and right sides of the square. Check the angle slant is in the correct direction, then make the cut.

Step 5
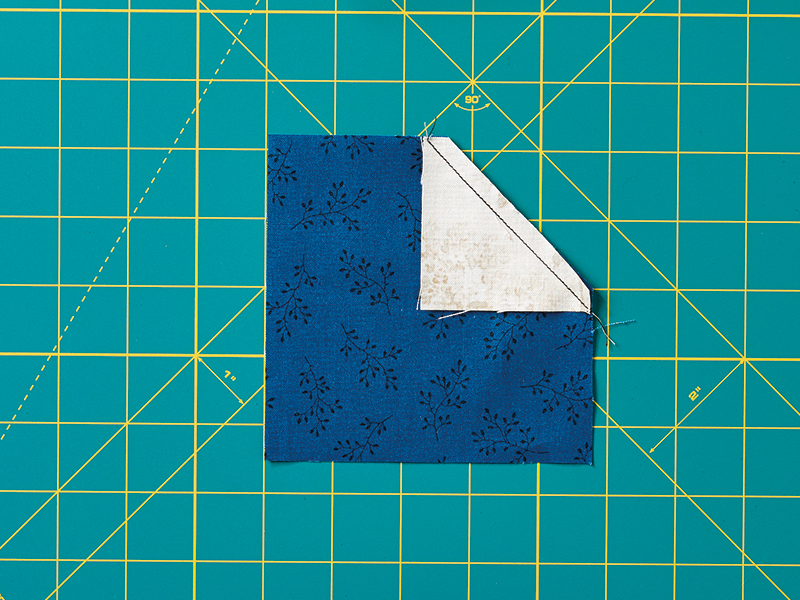
Keeping the pieces together, use a pin to secure if you like, stitch a ¼in seam following the 45-degree angled edge as a guide.

Step 6
Flip the corner open and press with your iron. Repeat in every corner required for the block. You’ll be finished in no time!