Quilting stencils are a brilliant tool when it comes to creating unique, detailed quilts. They help you stitch designs onto your fabric which would be incredibly tricky to make by hand or through free-motion quilting. They're ideal for beginners too as they made the process of adding patterns much less intimidating! Even as seasoned quilters we still love using quilting stencils.
To help you master quilting stencils, we've created a mini guide. We're going to cover where you can buy quilting stencils, and some of the best quilting stencils to buy so you can pick up your own set of templates. We're also going to cover how to use your quilting stencils and some top tips for machine quilting. It really is a comprehensive guide to quilting stencils!
Make sure you've got your sewing machine handy, after reading this guide you're going to want to start quilting immediately!
Where to buy quilting stencils
There are plenty of places you can buy quilting stencils from. All the big retailers, both online and in-store, sell quilting stencils in a range of designs, sizes, and styles.
Make sure you check your local craft stores to see if they sell quilting stencils but if not you can find them online! You can find quilting stencils from the following online retailers.
- Amazon has some affordable and beginner-friendly quilting stencils
- Etsy has lots of unique stencils from independent sellers
- Joann's sells some brilliant quilting stencils
- Quilters' favourites Creative Grids offer a huge selection of stencils
- Crafter's Companion offer a Threaders range of Quilting Stencils
- The Cotton Patch stock an impressive range
If you're not sure where to start with all these quilting stencils then we've rounded up our top five for some inspiration!
5 of the best quilting stencils
1. DRERIO's three-pack of quilting stencils
DRERIO sells some fantastic quilting stencils at a really affordable price. This three-pack of quilting stencils includes multiple motifs that are perfect for adding to quilt projects of all sizes.
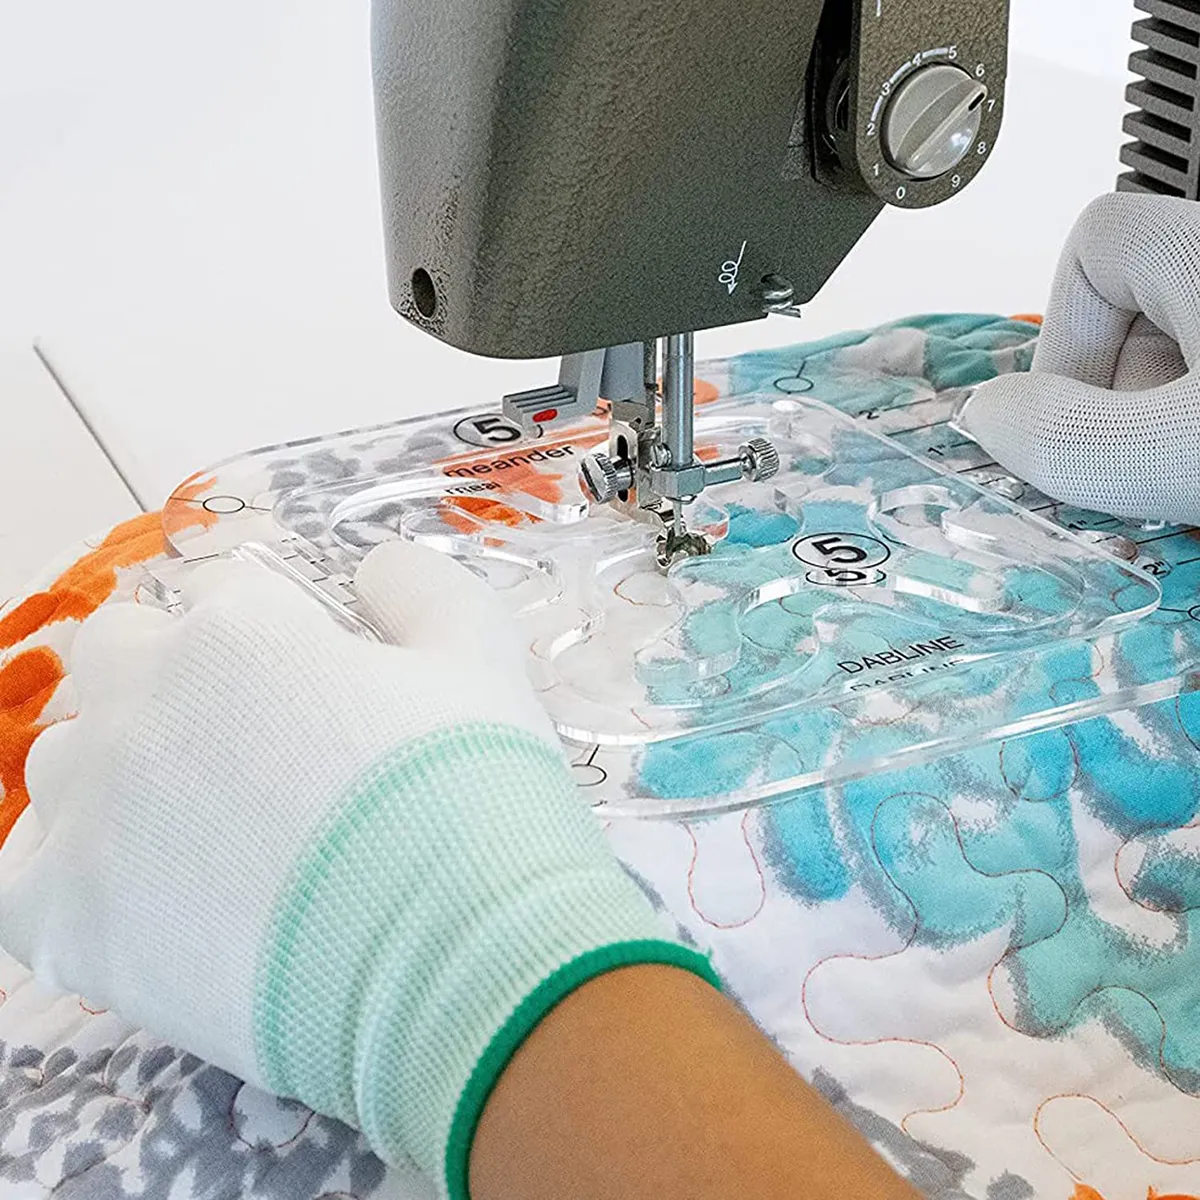
We love that they're made from transparent acrylic, meaning they're sturdier, less likely to slip and you can see what you're working on underneath. Each stencil has a gap of 1-1.5 cm, making them suitable for most quilting machines.
It's important to check the width of your presser foot before you pick a quilting stencil. You might find some are too narrow to fit your needle smoothly. This will make it awkward and clunky to sew.
2. Crafter's Companion's geometric quilting stencils
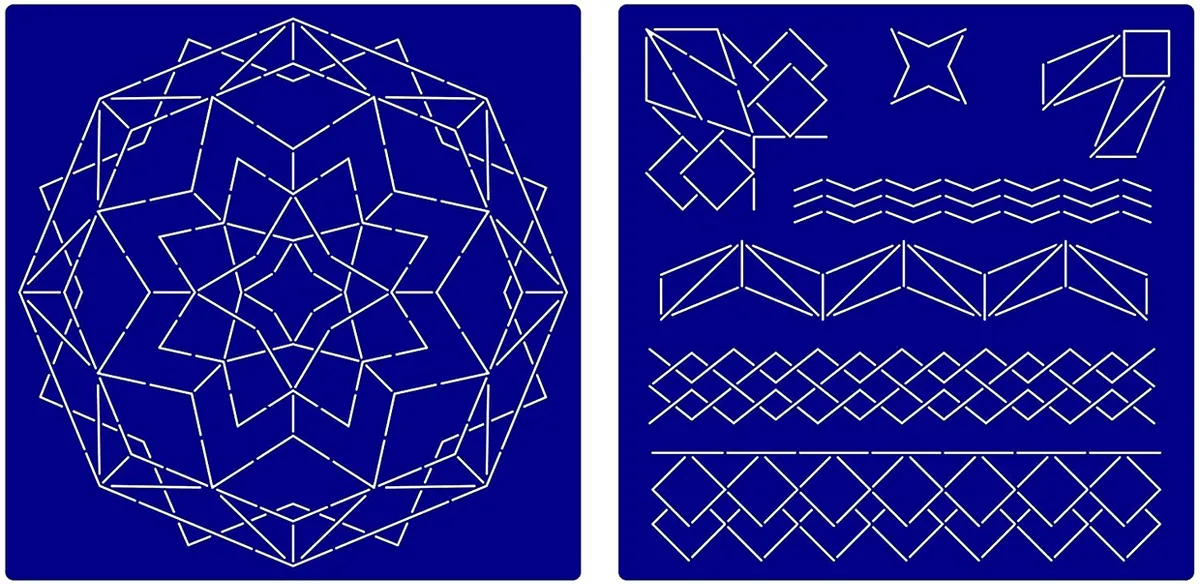
Crafter's Companion sells a variety of quilting stencils in lots of different styles. This modern geometric two-pack includes one main design and a series of other border and corner patterns.
These stencils can be reused for multiple projects and work brilliantly on 12 x 12 blocks. They're ideal for stitching onto a quilt block which you then turn into a quilt!
3. ZHONGLEFA's floral four-pack of quilting stencils
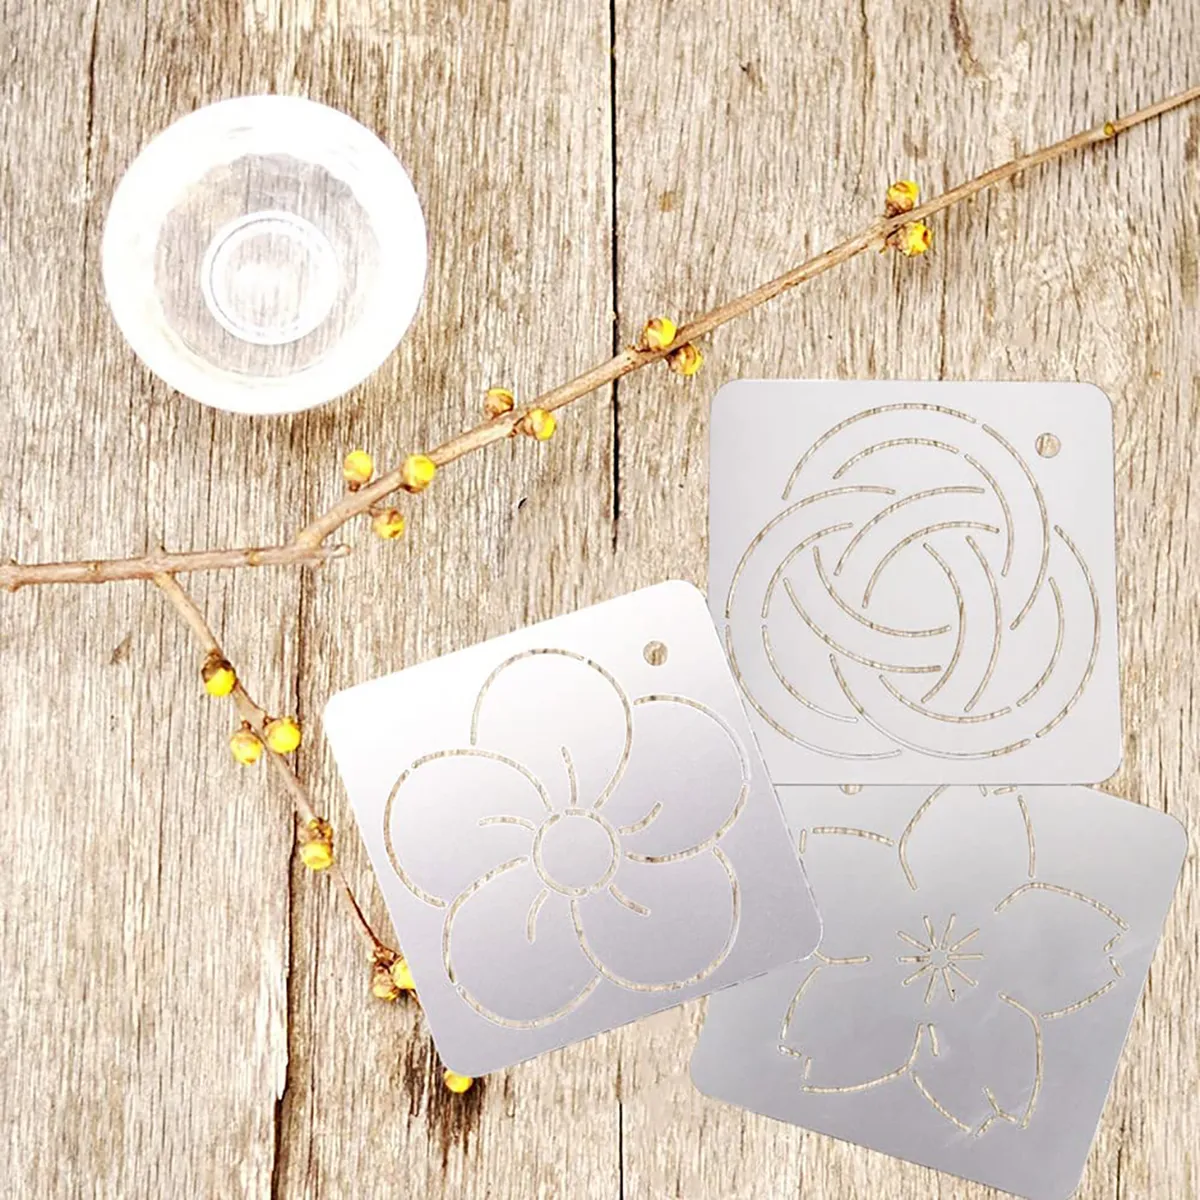
For all the nature lovers out there, ZHONGLEFA's quilting stencil pack is for you. This pretty pack includes two floral designs, one leaf design, and a Celtic stencil.
Measuring 12cm x 12cm, each stencil is quite dainty with just a small gap for stitching. This makes them ideal if you want to add more precise designs to your projects or if you're looking into machine embroidery.
4. Sitrda's three-pack of quilting border stencils
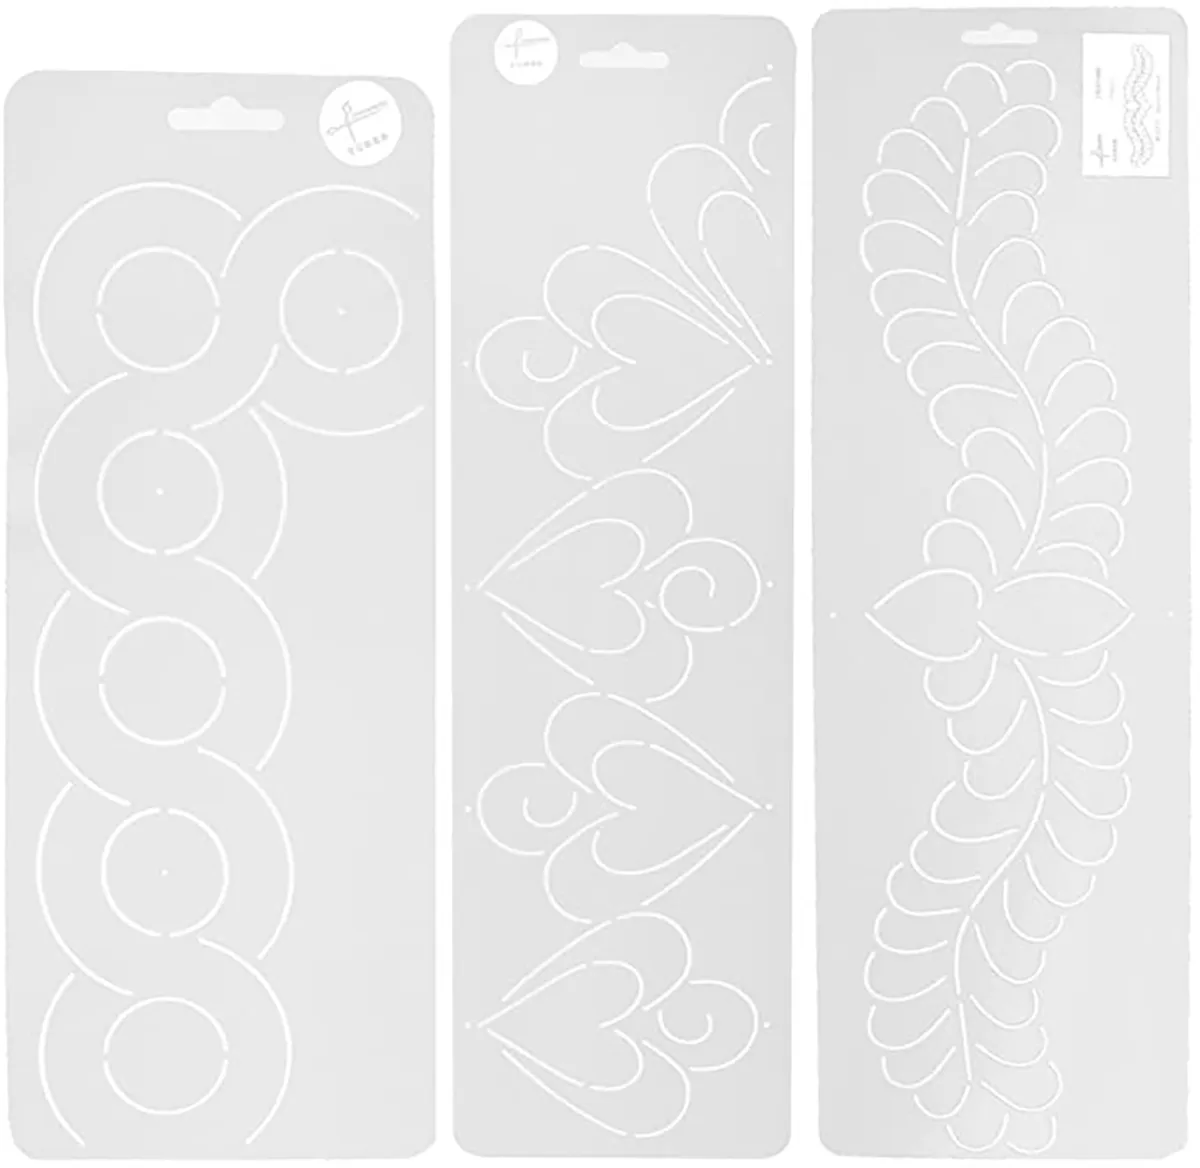
These quilting stencils are designed for stitchers who are focusing on borders. This lovely three-pack will add some extra flair and detail to your quilt borders. Made from plastic, you can reuse them over and over again, making the cost per use very affordable!
The rectangular shape of the stencil is handy too as you can line it up with the edge of your quilt to ensure your stitch the pattern on straight. If you're on the hunt for some thread to use with these quilting stencils then we recommend heading over to our collection of the best quilting threads.
5. THEALESE's Sashiko quilting stencils
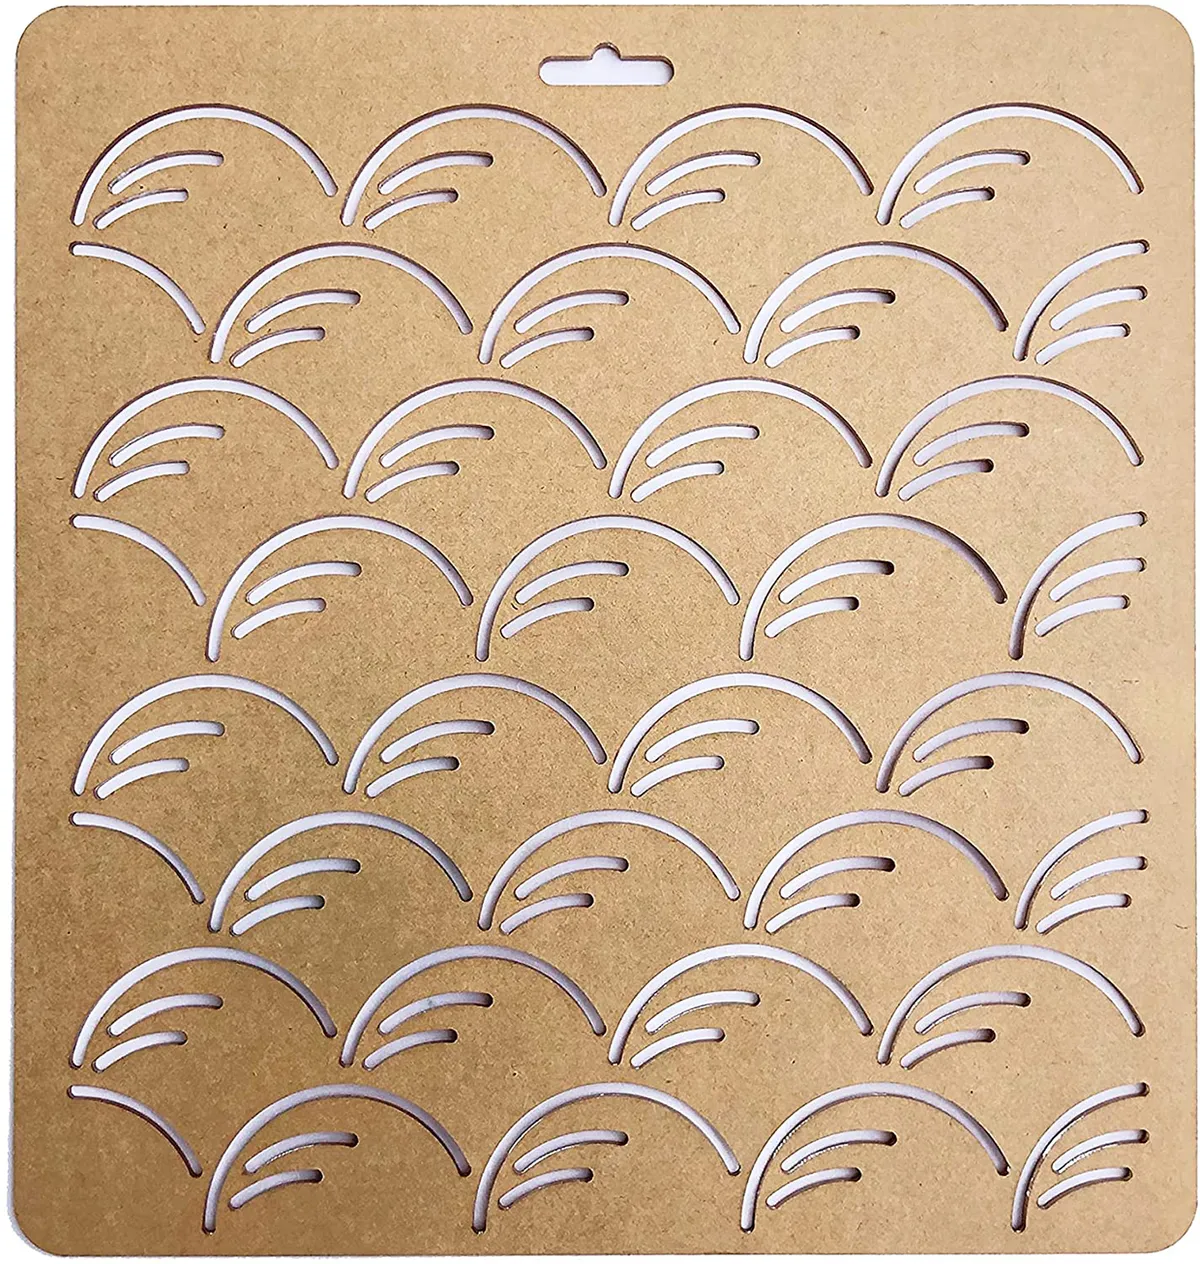
Finally, we found the perfect quilting stencil for sashiko embroidery obsessives! Complete with the classic scalloped sashiko design, this quilting stencil will help you achieve smooth curves every time.
Looking for more useful quilting tools?
A good ruler is another tool all quilters should keep in their kit. Head over to our collection of the best quilting rulers to find yours.
How to use quilting stencils
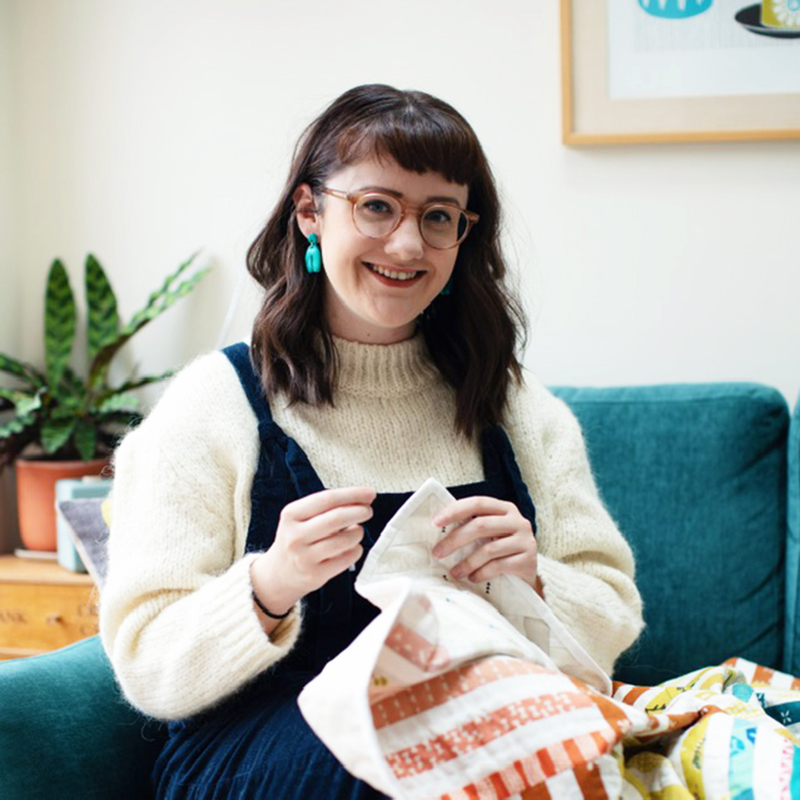
Karlee Porter has been working as a full-time professional in the quilting industry since 2015. She has a best-selling book, Graffiti Quilting: A Simple Guide to Complex Designs, as well as over 1,000 of her digital quilting designs, on her website.
Karlee's extensive knowledge made her the perfect person to create a step-by-step quilting stencils guide for us. Karlee has not only created the instructions below but she's also made a video tutorial.
This quick video guide is here to help you get to grips with using quilting stencils. Watch Karlee's video below and you'll be a pro at using quilting stencils in no time.
For written instructions, read on and learn how to use your quilting stencils…