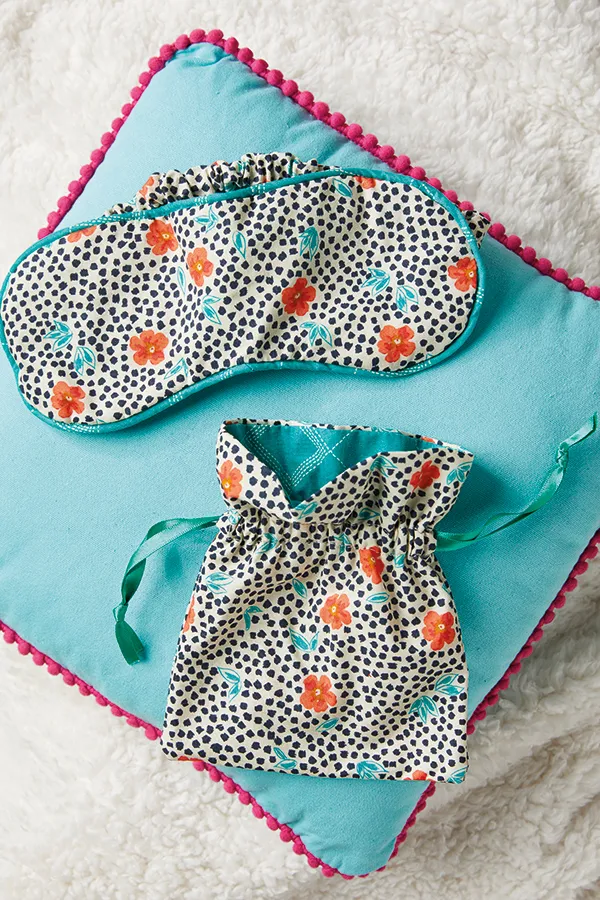
Make Jennie Jones’ quick-sew piped sleep mask and bag in an afternoon (and still have time for a nap). We'll show you how...
You will need
- Main fabric: one fat quarter
- Contrast fabric: one fat quarter
- 2oz wadding: 25x15cm (10x6in)
- Narrow piping cord: 45cm (18in)
- Elastic: 1cm (3⁄8in) width x 25cm (10in) length
- Ribbon: 5mm (1⁄4in) width x 80cm (32in) length
- Matching thread
- Basic sewing kit
- Template: download our Simply Sewing Patterns issue 38 here.
Notes
Use a 1cm (3⁄8in) seam allowance. Download the template from www.simplysewingmag.com/downloads
Cutting out
Step one: Download the template and cut it out.
Step two: From the main fabric cut:
- Eye mask: cut one piece using the template.
- Elastic casing: 5x50cm.
- Bag: two pieces 18x16cm (71⁄8x63⁄8in).
Step three: From the contrast fabric cut:
- Eye mask lining: cut one using the template.
- Piping strip: 3x45cm (11⁄4x18in).
- Bag lining: two pieces 8x16cm (31⁄8x63⁄8in).
Making the sleep mask
Step one: Fold the piping strip in half lengthways with wrong sides (WS) together and place the piping cord inside. Stitch together down the length 1cm (3⁄8in) from the edge.
Step two: Pin the covered piping around the edge of the main fabric mask shape with right sides (RS) together and matching raw edges.
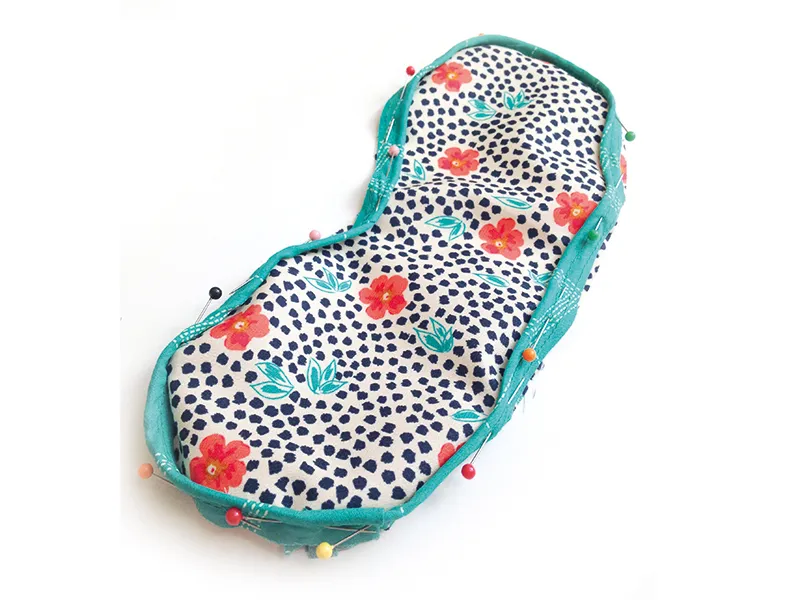
Step three: To join the short ends, trim down the cord so it meets the other end. Fold over one fabric short end and tuck the other inside it.
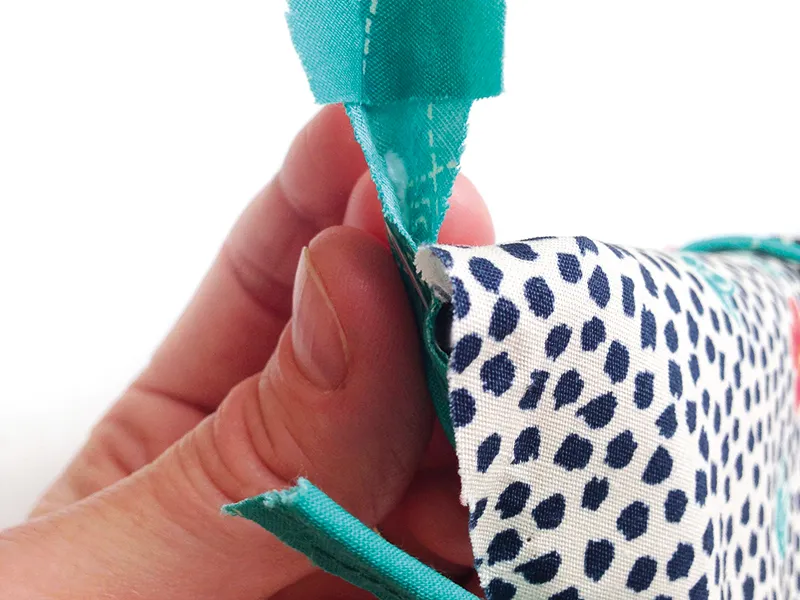
Step four: Sew the covered piping into place.
Step five: Fold the elastic casing fabric strip in half lengthways with RS facing then sew together down the length and turn RS out.
Step six: Thread the elastic though the casing and stitch across both ends to hold the elastic.
Step seven: Pin the elastic casing centrally across the sides of the mask.
Step eight: Pin the mask lining RS together on top and stitch together close to the piping cord, leaving a turning gap on one side.
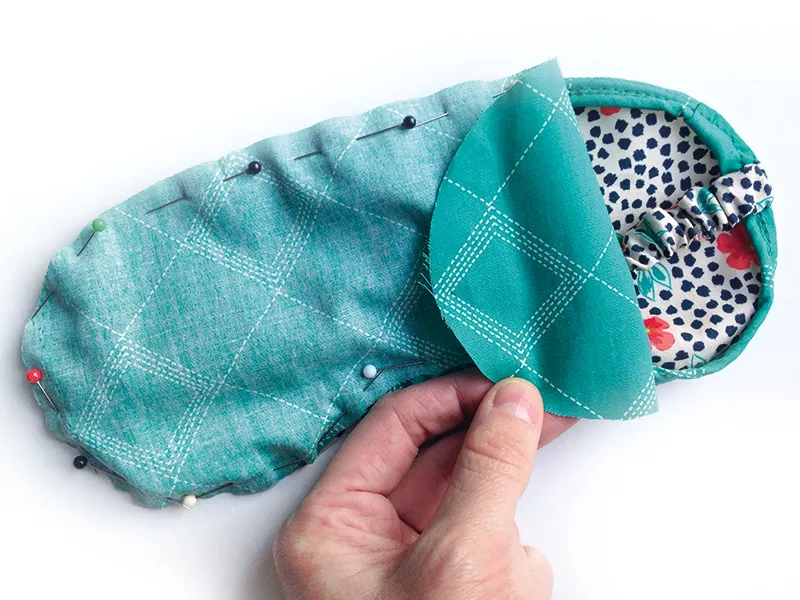
Step nine: Turn RS out, slip stitch the gap closed.
Making the bag
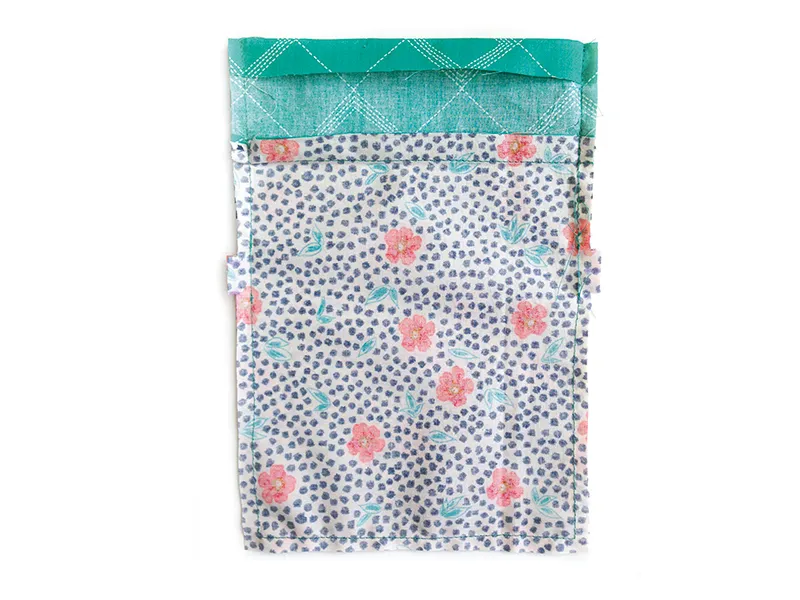
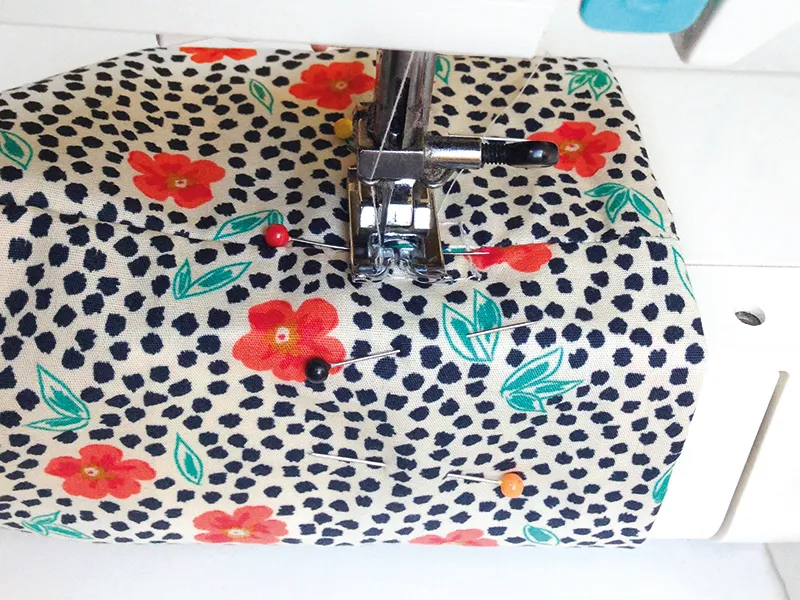
Step one: Place the long edge of one lining strip RS together across the top short edge of the main bag, matching the top short raw edges.
Step two: Stitch together across the top then turn under the other raw long edge of the lining piece by 1.5cm (5⁄8in).
Step three: Repeat this with the other main bag and lining strip.
Step four: Place the joined pieces RS facing and stitch together down the sides, leaving a 1cm (15⁄8in) gap on each side positioned 4cm (2in) down from the seam.
Step five: Press the side seams open then stitch a box around the gaps.
Step six: Turn the bag RS out, tuck the lining strip into the bag and pin into place.
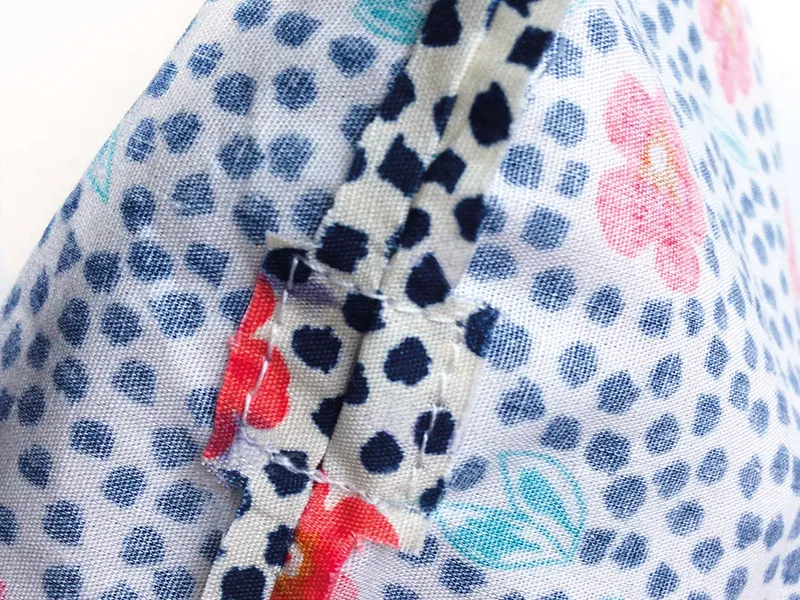
Step seven: Sew two lines all the way around to make the casing channel, positioning them at the top and bottom of the boxes.
Step eight: Cut the ribbon in half and thread one length though the casing, then knot the ends.
Step nine: Thread the other length through but starting and finishing at the opposite side.
Step ten: Fold your mask in half, pop it into the bag and pull the ribbons to close.
Looking for more ways to use up leftover fabric? Learn how to make pattern weights, turn fabric scraps into Christmas baubles, or sew your own scissor keeps.