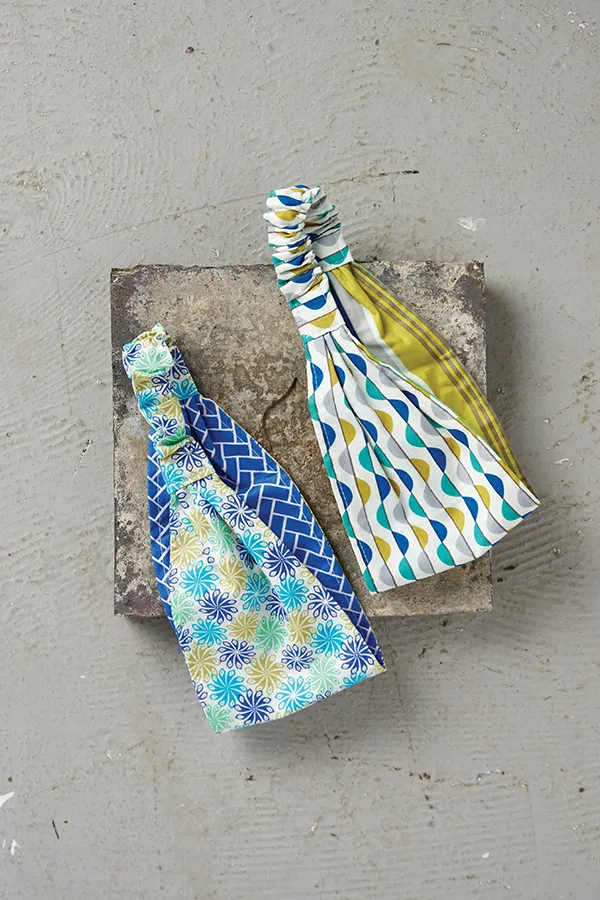
These quick-sew headscarves, designed by Jennie Jones, use just one or two fat quarters of fabric and are a great first sewing project if you're new to making your own clothes and accessories. Sew that stash and pick a couple of your favourite prints to make these pretty and practical headscarves! Scroll down to find a step-by-step guide to transforming a T-shirt in to a stylish headband, too.
For more free projects and inspiration sign up to our newsletter!
Quick-sew headscarf
You will need
- Fabric, light to medium weight cotton, two fat quarters
- Elastic, 1.2cm wide, 12cm long
- Basic sewing kit
Notes
Seam allowances are 1.5cm, unless otherwise noted.
Easy headbands DIY
Step one
For the top, cut two pieces of fabric to 43x12cm each, using two different prints. For the back, cut one piece of fabric to 28x7cm, using either of the prints already chosen.
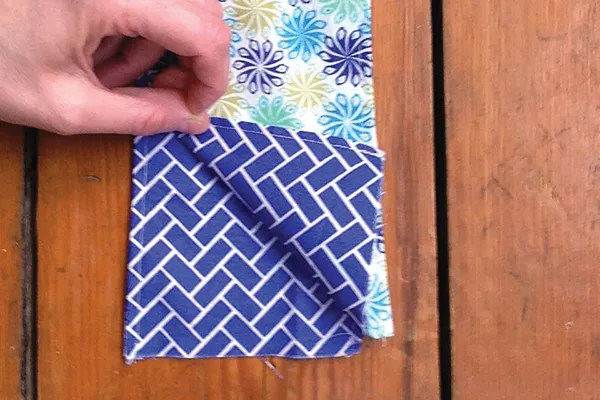
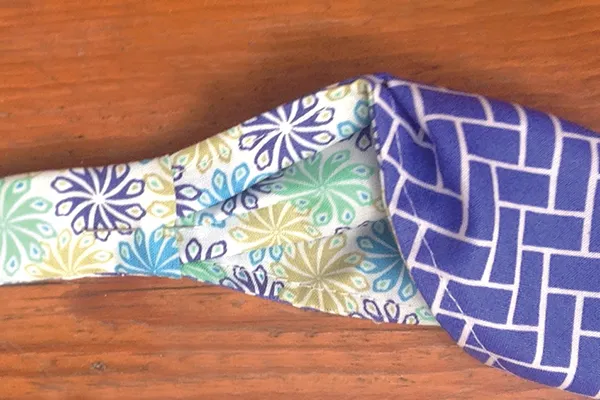
Step two
Place the top pieces right sides together and pin. Sew along both long side edges. Turn right side out and topstitch down the long edges, approx 0.5cm from the edge. Leave the raw short ends open. Image shows the piece folded in half so the two short ends meet.
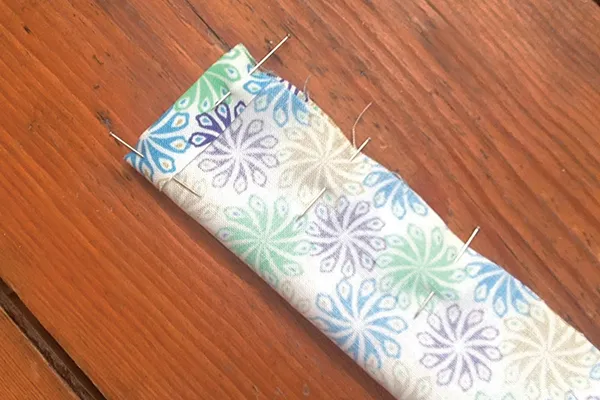
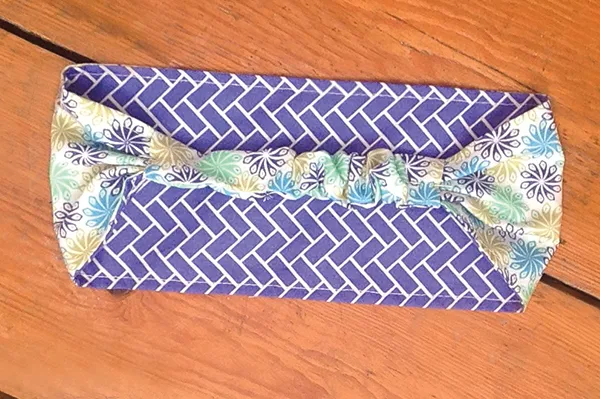
Step three
Gather up one short raw edge, folding the fabric neatly so it measures approx 3cm. Pin in place and repeat on the other short edge. Make sure the gathers are placed in the same way. Baste stitch along each of the gathered sides.
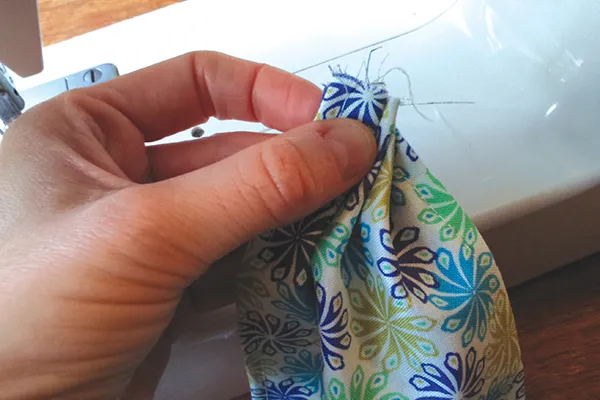
Step four
Pin your elastic to one of the short ends, as shown. Sew in place, making a few reverse stitches. Do not repeat on the other side.

Step five
Take the back piece and fold the short ends to the wrong side by 0.5cm and pin. Fold the piece in half lengthways, right sides together, and pin. Stitch across the long raw edge, catching down the sides of the short ends. Turn right side out.
Step six
Attach a safety pin to the loose end of the elastic and insert it into one open end of the tube. Feed them through the tube. Locate where the elastic is attached to the top panel and insert this inside the tube to hide the raw edges. Pin.
Step seven
Make sure the elastic is not twisted inside the tube. Remove the safety pin and pin the elastic to the short end of the top piece, as in step four. Sew in place. Insert this gathered end inside the tube as well, to hide the raw edges. Pin.
Step eight
Topstitch over the pinned seams. Don’t sew through the elastic itself. Pull the elastic taut as you sew for a nice straight seam.

Transform a T-shirt in to a headband
Designer Jennie Jones says: “These easy T-shirt transformations are quick solutions to bad hair days and great for festivals or the beach. I’ve opted for a big floral print that’s on trend for this summer.”
You will need
- 2 XL men’s T-shirts
- Basic sewing kit
Turban Headband
Step one
Take an XL men’s T-shirt and cut a horizontal tube – mine is 15cm (6in).
Step two
Take the tube and, holding both ends, twist them twice to make a figure of eight shape.
Once you've learnt how to make a headband why not get started on your next sewing project? Learn how to make a face mask: 3 ways to sew your own and how to refashion a shirt into a cami top. Plus we have a round up of the best sewing patterns for beginners so you can start making your own clothes.
Step three
Bring the ends together and you’ll have your finished headband.
Sailor’s Knot Headband
Step one
Cut four vertical strips approx 5cm (2in) wide through the front and back of the T-shirt. Trim off the top and bottom seams so that you now have eight strips.
Step two
Pull the strips so they roll up, then section into two lots of four. Create a loop with one lot of strips and a U-shape with the other. Overlay the U-shape on top of the loop.
Step three
Create a Carrick Knot by threading first the U-shape ends then the loop ends under and over each other. Look closely at the photo to see in which order this is done.
Step four
Making sure you keep the whole knot flat, hold all four ends and slowly and carefully pull them gently – this will create the knot.
Step five
Try your headband on and cut the strips so there is a gap of around 5cm (2in) at the back when on - this will close once the headband is tied. Leave two strips 15cm (6in) longer than the others from each bunch. These will be the ties which you’ll use for tying your headband on when you’ve finished.
Step six
Cut a binding piece of fabric, 6x8cm (23⁄8x31⁄8in) and turn the long edges under by 1cm (3⁄8in) to the wrong side. Place the short strips flat inside, tucking them under one turned over edge.
Step seven
Fold the binding piece round the short strips, turning the short ends under, then pin and sew into place to secure the strips. Repeat with the strips at the other end of your headband.
Step eight
Tie the long tie ends together and your headband is now ready to wear.
For more sewing inspiration read our guide to The Great British Sewing Bee to find everything you need to know about the next series. Oh and if you're looking for your next sewing project then here's some suggestions…
Find out how to make a halter dress and get into making your own clothes. Feeling summery? Try our camisole sewing pattern. If you'd like to have a go and making your own toys, check out our guide and discover how to make owl softies.