Collars are an important finishing touch for many garments and are often the focal point your eye will be drawn to, so it’s important they are neat, precise and lie well. You can add a collar to a garment which doesn’t have one already, or even change an existing collar to give a different style and look.
In this guide, we'll explain how to sew a collar and show you how to update a collar on an old shirt.
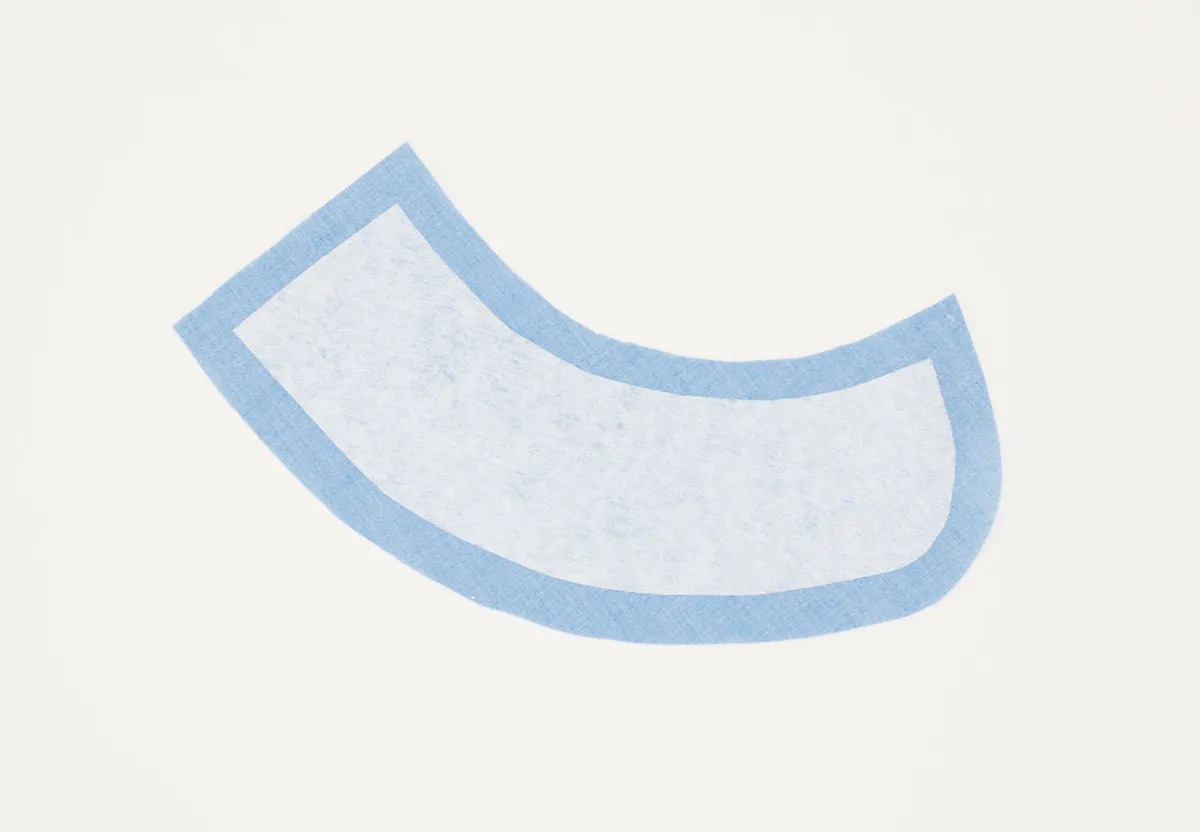
Cutting out
When you cut out the fabric for your new collar, make sure the grainline faces in the correct direction. This will be shown on your pattern piece, but, if not, then it will usually go straight down the centre back of the collar. It’s important that you cut out the collar accurately, especially at the points and curves. Collars have two sections, one for the outer and one for the under, which lines the collar.
After you’ve cut out all the pieces, trim the outer edge of the under collar by just 2mm (1⁄8in) and taper it to the edges. This will help the seam lines roll to the underside of the collar so they won’t be as visible. Making this tiny adjustment at this stage will give you a neater finished collar.
Adding the interfacing
Collars nearly always need a little stiffening to make them stand and lie well. Interfacing is the ideal choice for this and it's worth trying out a few different weights on some spare fabric so you achieve exactly the effect you want.
Iron-on interfacing is best for most fabrics as it is quick and easy to use and will stiffen the whole fabric. This is normally applied to the wrong side (WS) of the under collar piece. However, if you’re using a particularly lightweight fabric then the interfacing may cause it to pucker so a non iron-on is best. This is tacked into place on the WS of the fabric before you assemble the collar.
To reduce the bulk in the seams on fine fabrics and get a neater collar, trim off the seam allowance from the interfacing before you iron or tack it into place.
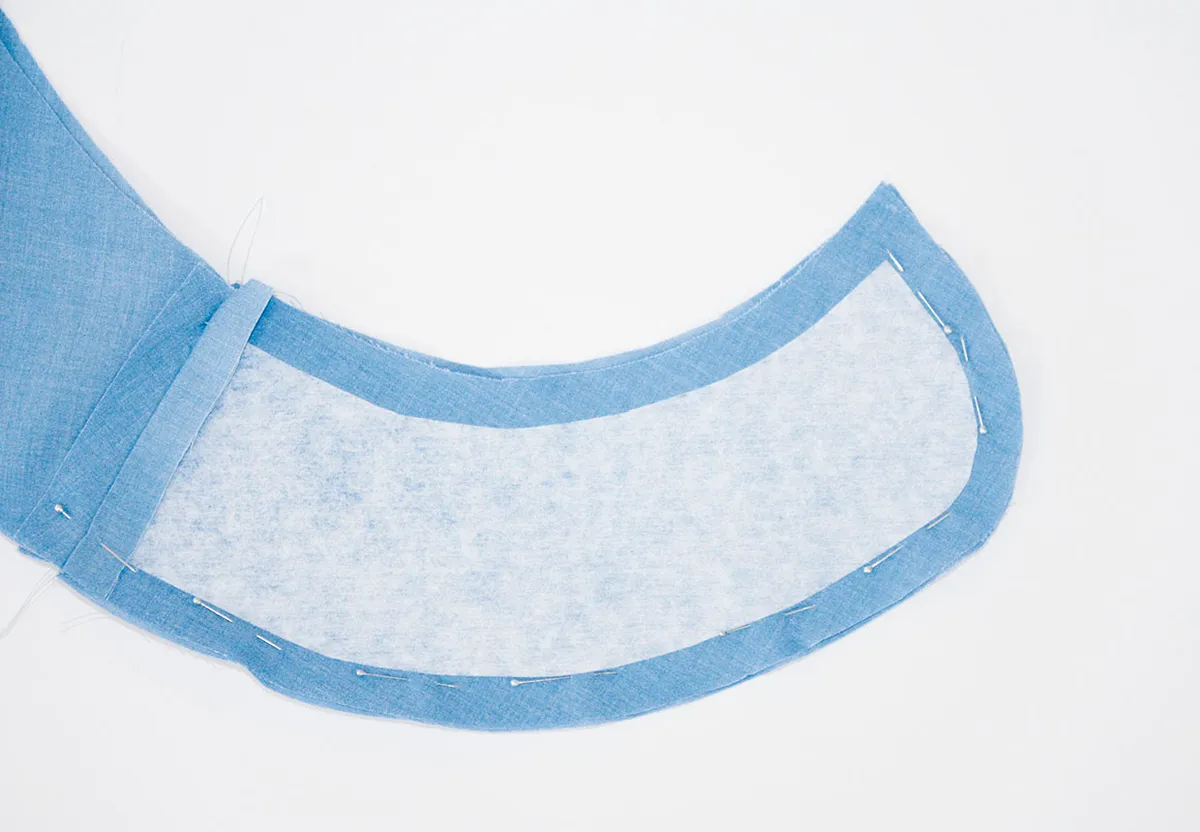
Pinning the collar
If your collar has small or intricate curves then you may find it easier to draw the stitching lines on first around the outer collar only to get a neater finish. Mark these using a pencil or chalk which won’t be seen from the right side (RS) when you’ve finished. If your collar has separate front and back pieces then join these together for both the outer and under collar.
Next, pin the outer collar to the under collar, RS together. If you’ve trimmed the under collar then you’ll need to stretch this a little to fit the outer collar, but make sure you do this evenly.
Stitching the collar
Stitch the collar pieces together around the outer edge only, either along your drawn stitching lines or to the seam allowance set by your pattern. It's best to stitch on the side with the interfacing as it will run through your machine better. Always pivot at corners or tight curves by keeping the needle down in the fabric then raising the sewing machine foot and turning the fabric.
When you’re stitching very tight curves, shorten the stitch length a little for a smoother line.
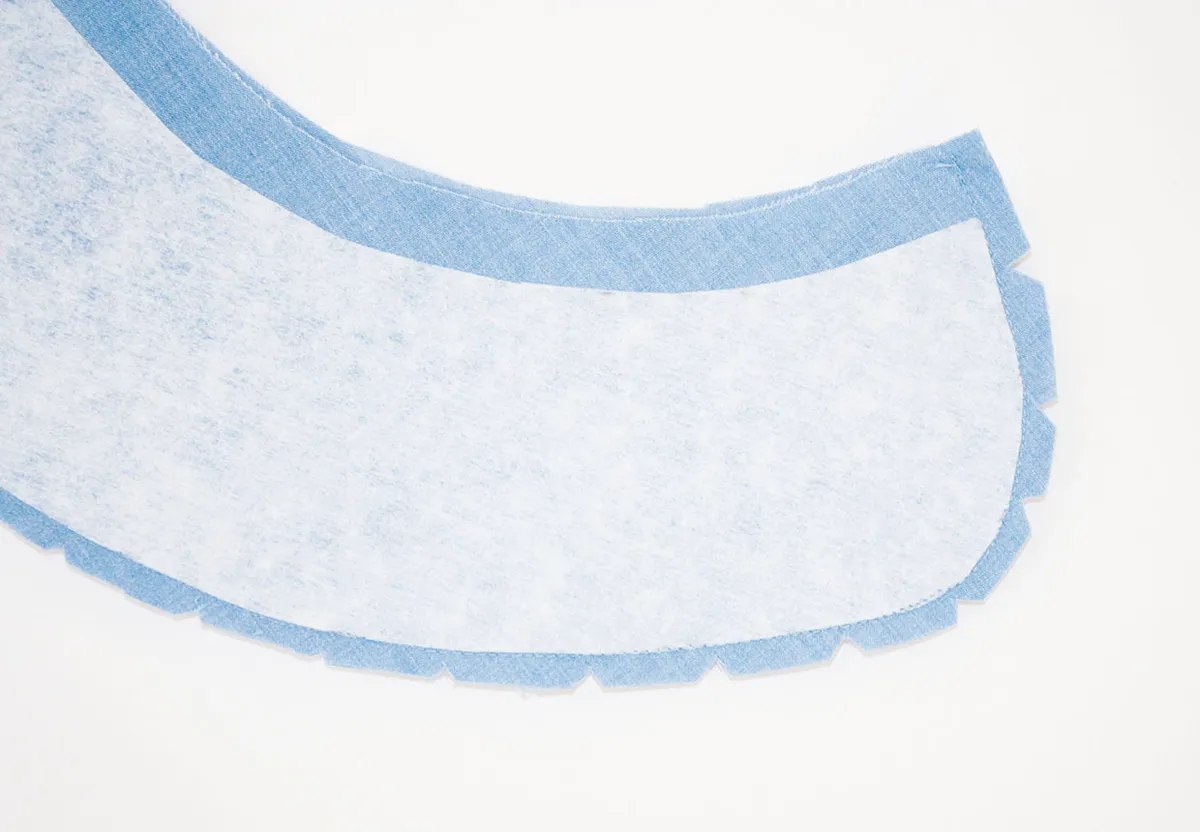
Trimming and pressing
Once you’ve stitched the collar, trim the seam allowances down to about 5mm (¼in) as this will reduce the bulk in the collar. On outer curves, snip small notches out of the seam allowance and clip across corners. Take care not to cut through the stitching but cut just up to it.
You can now turn your collar RS out and use a point turner to push out the curves and points. Don’t use a pair of scissors to do this or you may poke through the fabric or your seam. Press the collar well so the curves and points lie neatly, using steam if that’s suitable for your fabric type. If you’ve trimmed the under collar then the seam line will naturally roll to the underside.
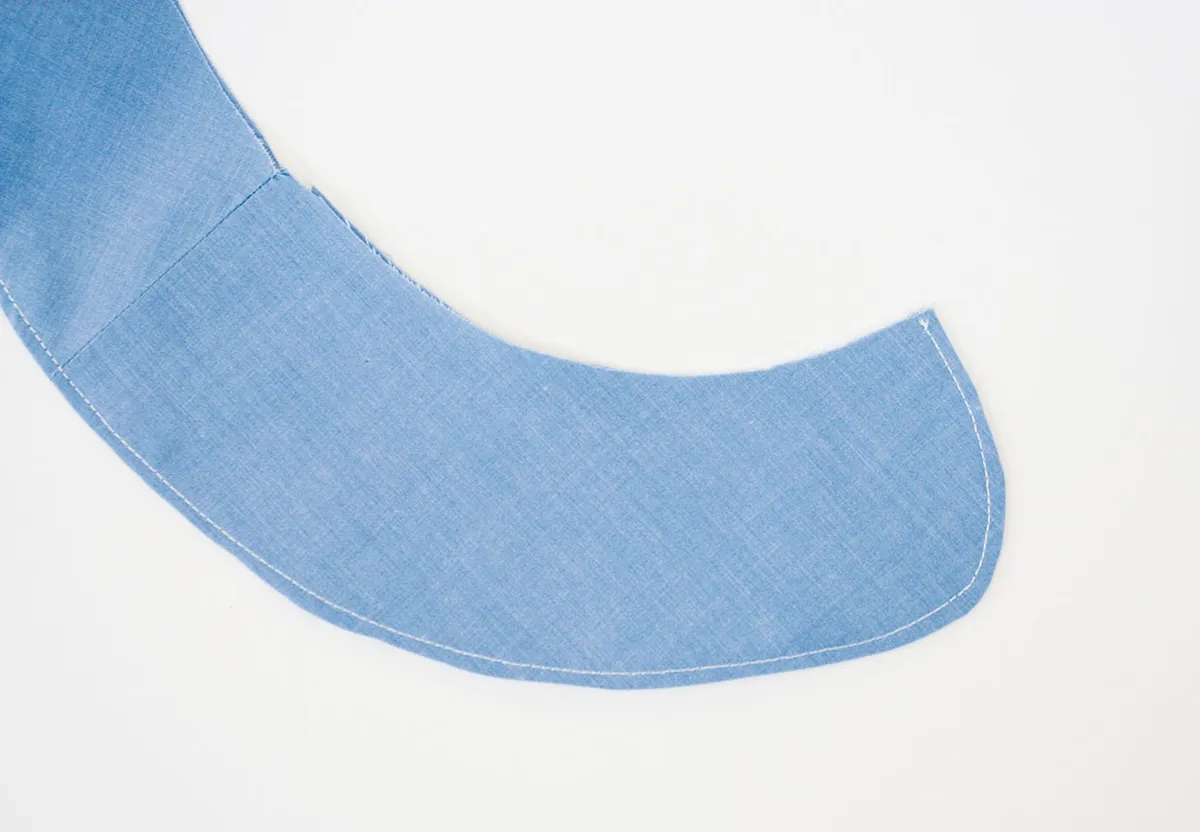
Finishing touches
You can leave your collar pressed as it is or topstitch around the edge if you prefer. The advantage of doing this is it keeps the outer and under collar lying flat and it also adds a nice decorative touch. Use a thread to match your fabric so that the topstitching blends in or, alternatively, you can use a contrast thread to make a feature of it.
Stitch around the edge of the collar about 3mm (1⁄8in) in from the seamed edge, making sure you keep this accurate all the way along for neat, precise finish.
Give your collar a final press and your perfectly made collar is now ready to attach to your garment following the pattern for instructions.
Now it's time to put your new skills into practice with a garment update! Read on to learn how to sew a collar on a shirt.
If you're new to sewing and want to improve your skills, take a look at our helpful guides. Check out our sewing for beginners, best sewing machines for beginners, sewing kits for beginners and how to use a sewing machine guides.