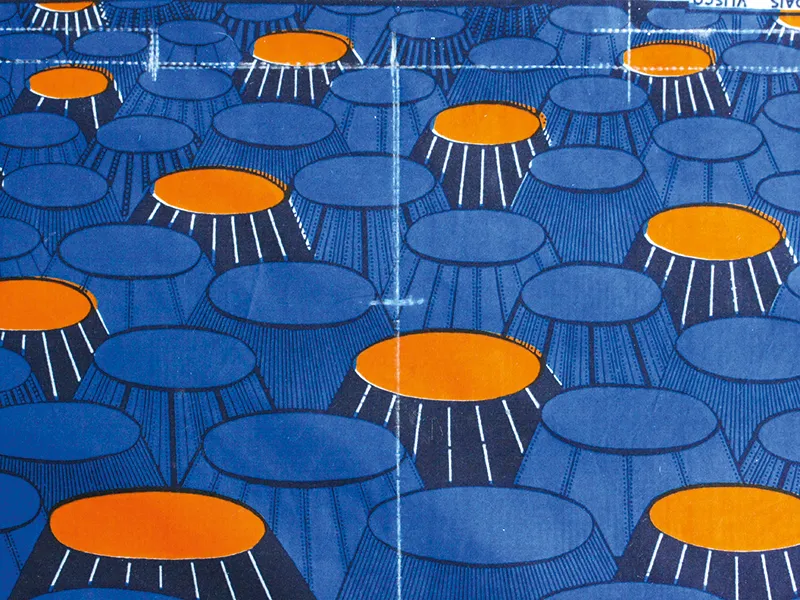
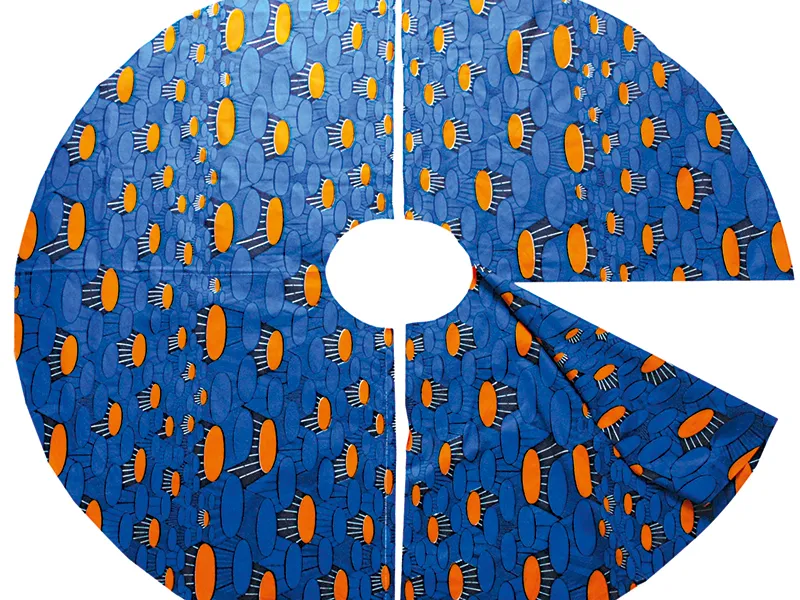
You don't need to follow a circle skirt pattern as it's made to your exact measurements for a perfect fit. This patternless skirt is a great first project if you're new to making your own clothes and a great excuse to play with pattern-popping wax print fabrics. Pop a net petticoat underneath and twirl away!
Circle skirt tutorial: you will need
- Printed cotton fabric: 110cm (43in) width x 4m (41⁄2yds) or 150cm (60in) width x 2.5m (23⁄4yds)
- Iron-on interfacing to suit the weight of your fabric: see instructions below for details
- Invisible zip: 25cm (10in)
- Bias binding: see instructions for details
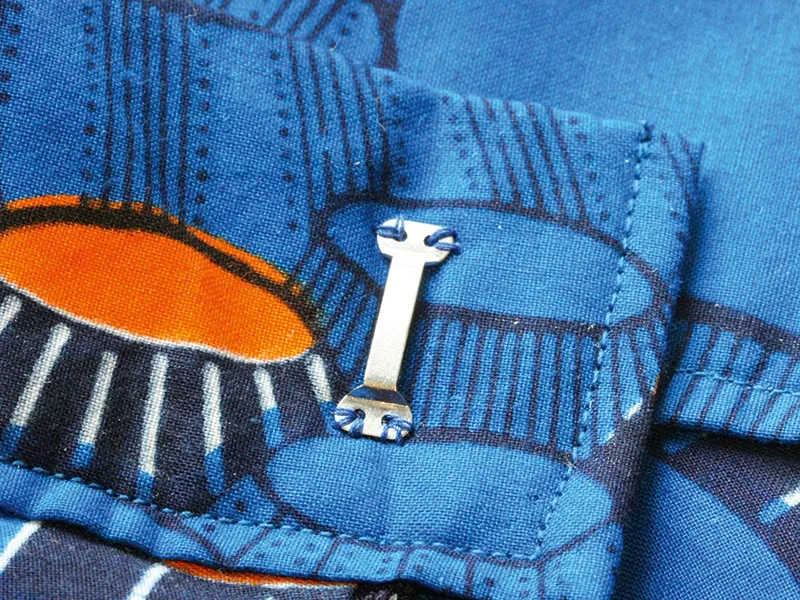
- Hook and bar closure or button
- Embroidery thread or yarn
- Fabric pencil or chalk
- Matching thread
- Invisible zip foot
- Basic sewing kit
Notes
- Download our free pocket pattern here
- Use a 1.5cm (5⁄8in) seam allowance unless otherwise stated.
How to sew a circle skirt
Measuring up
Step one: Decide how long you would like your skirt to be, from your waist to the lower hem. Take this measurement and add 1.5cm (5⁄8in) for the seam allowance. This measurement is called Skirt Length.
Step two: Measure your waist circumference and take off 10cm (4in). This measurement is called Adjusted Circumference. It accounts for the fact that the fabric around your waist will be cut on the bias and stretch quite a bit. You need to add 3cm (1¼in) seam allowance per piece to the Adjusted Circumference. Our circle has three pieces, so we have added 9cm (35⁄8in) to give us our Waist Circumference.
Step three: Divide your Waist Circumference by 3.14. This will give you the Waist Diameter measurement. Divide your Waist Diameter by 2. This measurement is called Waist Radius.
Drawing the length and waist
The circle skirt pattern is made from six pieces – a half circle for the front of the skirt, two quarter circles for the back of the skirt, a waistband, and two pockets.
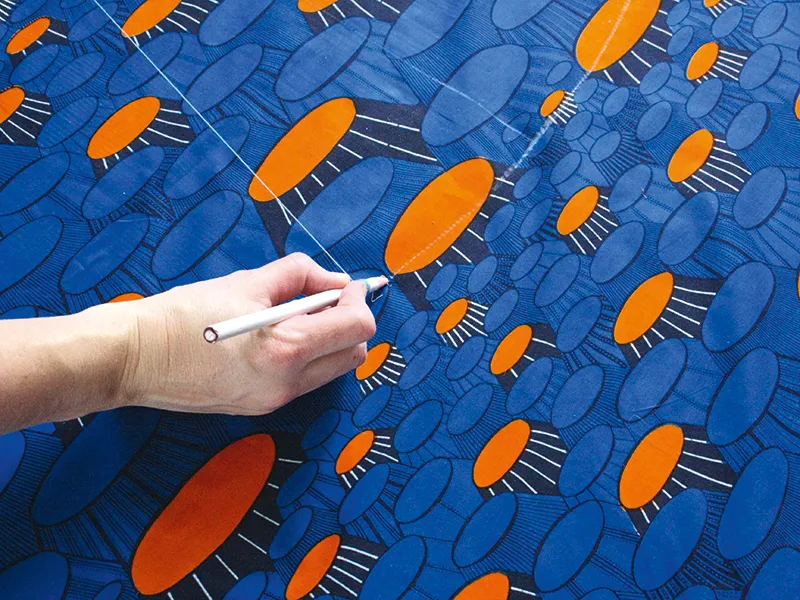
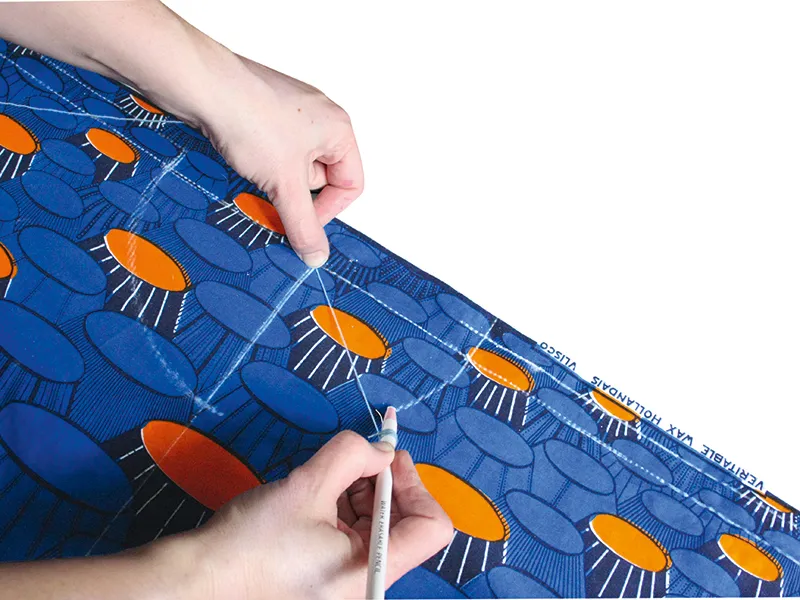
Step one: Mark out the half circle piece as follows, starting from the bottom edge of your length of fabric:
- Mark out your Skirt Length 1cm (3⁄8in) down from the selvedge using a contrasting fabric pencil or chalk.
- Mark another line 1.5cm (5⁄8in) parallel and below this. This is shown by points A to B on the diagram below, and the section marked Seam Allowance.
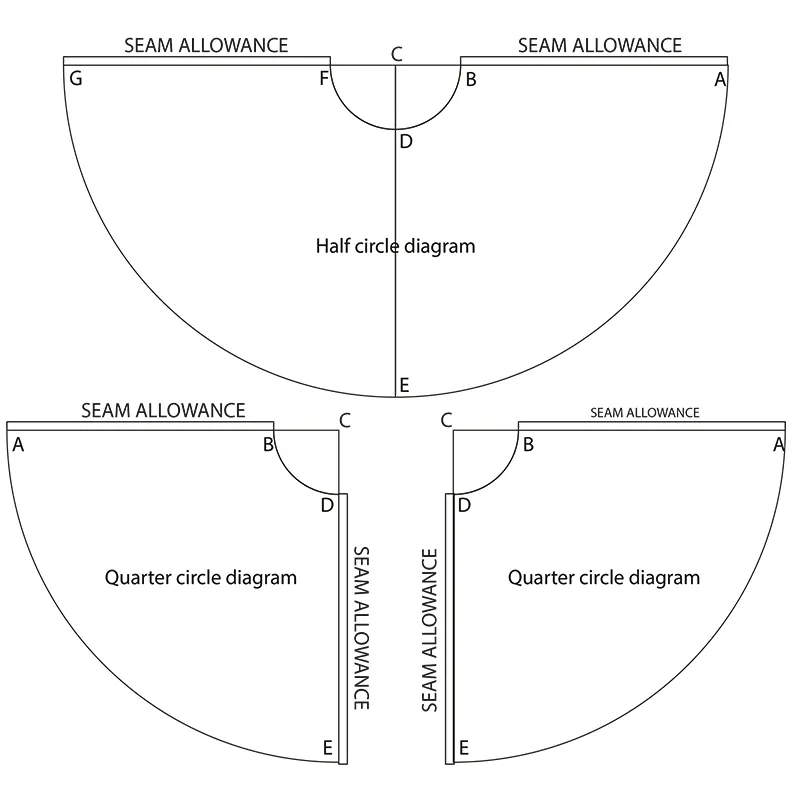
Step two: Mark out your Waist Radius along the top edge but in line with the lower second drawn line as you don’t need to add a seam allowance to this section. This is shown by points C to B on the diagram.
Step three: Working from the upper of the two parallel lines, mark your Skirt Length and Waist Radius at right angles to the first measurements. This is shown by points C to D and D to E on the diagram.
Step four: Working 1cm (3⁄8in) down from the top edge again, mark your Waist Radius along the top edge, then the Skirt Length, and the parallel seam allowance. This is shown by points C to F and F to G on the diagram.
Drawing the circle edge
Step one: To draw out the half circle, tie a pencil or chalk to a piece of embroidery thread or yarn and measure out from the centre of the pencil a length as long as your Waist Radius plus the Skirt Length.
Step two: Hold the thread or yarn firmly at the centre point (marked C on the diagram).
Step three: Working across the upper of the two parallel lines, draw a half circle from the far left mark for the Skirt Length (G on the diagram), to the far right mark for the Skirt Length (A on the diagram). The halfway point you marked at right angles (E on the diagram) will help to keep you accurate.
Step four: Making the length of thread shorter, so that it is the same length as your Waist Radius, and working across the upper of the two parallel lines, draw a half circle from the far left mark for the Waist Radius (seam allowance line above F on the diagram) to the far right mark for the Waist Radius (seam allowance line above B on the diagram). The halfway point you marked at right angles (D on the diagram) will help to keep you accurate.
Step five: Repeat this process to mark two quarter circles on your fabric, this time adding a parallel line 1.5cm (5⁄8in) to the right of the lines you drew at the right angle as well. The quarter circle diagrams show you how to mark them out.
Cutting out your circle skirt
Step one: Cut along all your outer drawn lines to make one half circle piece and two quarter circle pieces.
Step two: Trace the pocket template to make a pattern. Using scraps left over from cutting out the skirt pieces, cut out four pockets, making sure that you cut them in pairs so that they are mirror images.
Inserting the invisible zip
Step one: Work a machine zigzag stitch along all the straight raw edges on the quarter and half circle pieces to neaten them.
Step two: Press the seam allowance under by 1.5cm (5⁄8in) to the wrong side (WS) on the left of one quarter circle piece and on the right side of the other quarter circle piece and press (marked D to E on the diagram).
Step three: Open the zip all the way and press the zip tape flat on the WS, unrolling the coils as you go, but take care not to press the coils as this may melt them.
Step four: Place the quarter circle that has the right edge pressed, right side (RS) up. Unfold the pressed under fabric edge. With RS together, pin the left side of the zip tape to the unfolded fabric edge. The zip coils need to lie along the pressed seam line. The top stop of the zip should be positioned 1.5cm (5⁄8in) below the top of the fabric.
Step five: Tack the zip in place and remove the pins. Attach an invisible zip foot to your sewing machine.
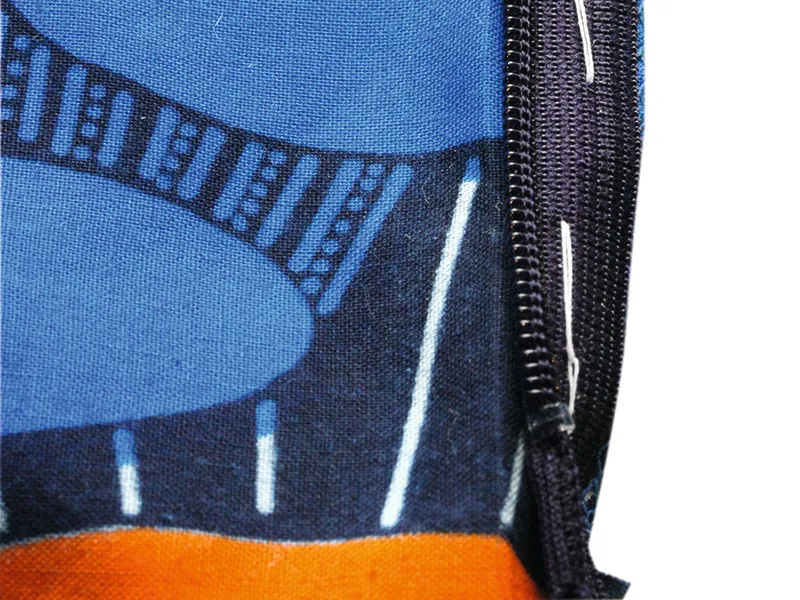
Step six: Position the zip foot at the top of the zip with the left groove of the foot over the coil. Stitch along the zip tape, stopping 3cm (1¼in) from the bottom and reverse stitching.
Step seven: Pin and then tack the other half of the zip tape to the RS of the other quarter circle piece in the same way, making sure the top edges of the skirt match up evenly. Position the zip foot at the top of the zip, with the right groove of the foot over the coil. Stitch along the zip tape all the way down to the same point that you finished on the other side of the skirt.
Stitching on the back seam
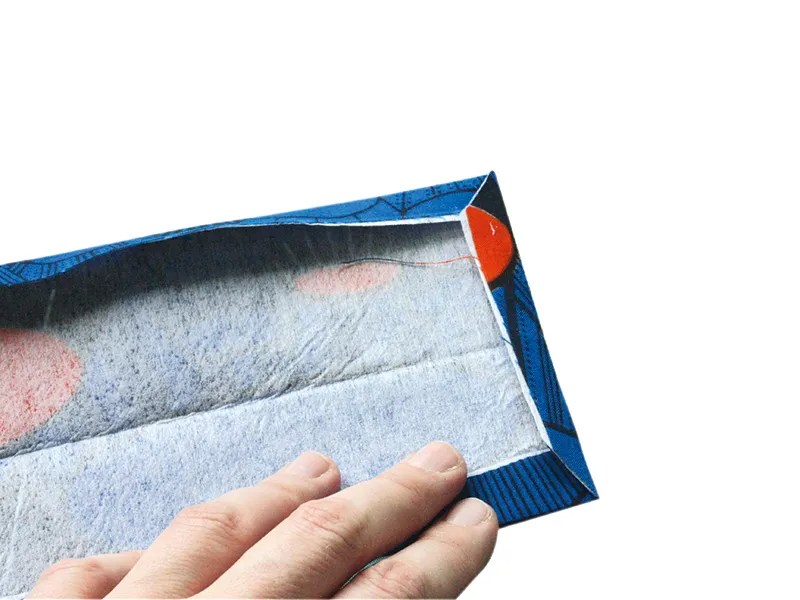
Step one: Close the zip all the way up to the top then pull the free unstitched ends of the zip tape away from the seam allowance. Pin the two quarter circle pieces RS together from the bottom of the zip to the hem.
Step two: Change your sewing machine foot to an ordinary zip foot. Stitch the seam starting about 1.5cm (5/8in) above the zip stitching line. You won’t be able to stitch exactly on top of the zip stitching as the zip coils are in the way so just stitch as close as you possibly can. Stitch down to the hem.
Step three: With WS facing up, press the seam open below the zip.
Adding the pockets
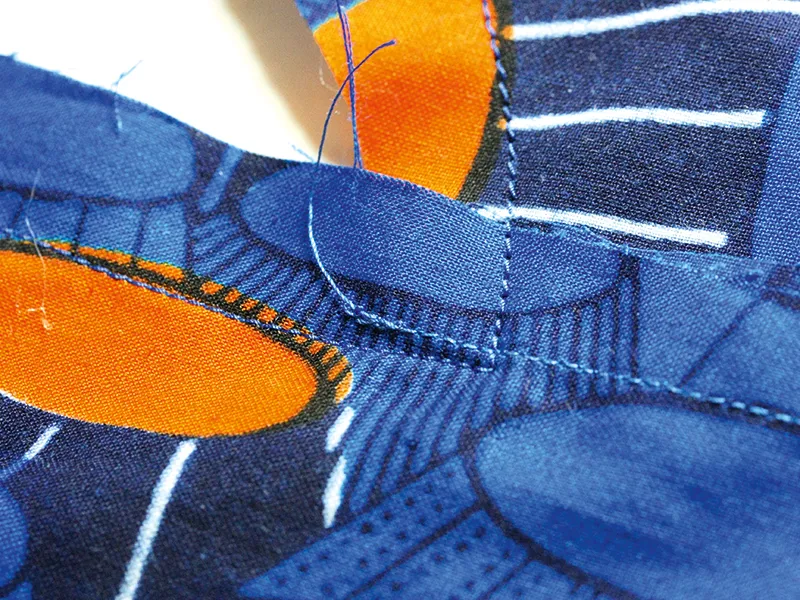
Step one: Measure 15cm (6in) down from the top waist edge of each side of the half and quarter circle pieces. Pin the top of each of the four pockets at these marks RS together.
Step two: Stitch along the straight edge to attach the pocket to the skirt pieces using a 1.25cm (½in) seam allowance. Using less than the seam allowance means the pockets are slightly recessed from the side seam.
Step three: Fold each of the pockets out and press the seam.
Step four: Pin the half and quarter circle together then pin the pairs of pocket pieces RS together around the outer edges.
Step five: Using a 1.5cm (5/8in) seam allowance, stitch the side seam, pivoting at the pocket and sewing around it. When moving from the side seam to sew around the pocket, stop sewing with your needle down, lift the presser foot, turn your fabric, put the presser foot back down and carry on sewing.
Step six: Clip the seam allowances where the pocket and side seams meet.Press the side seams open.
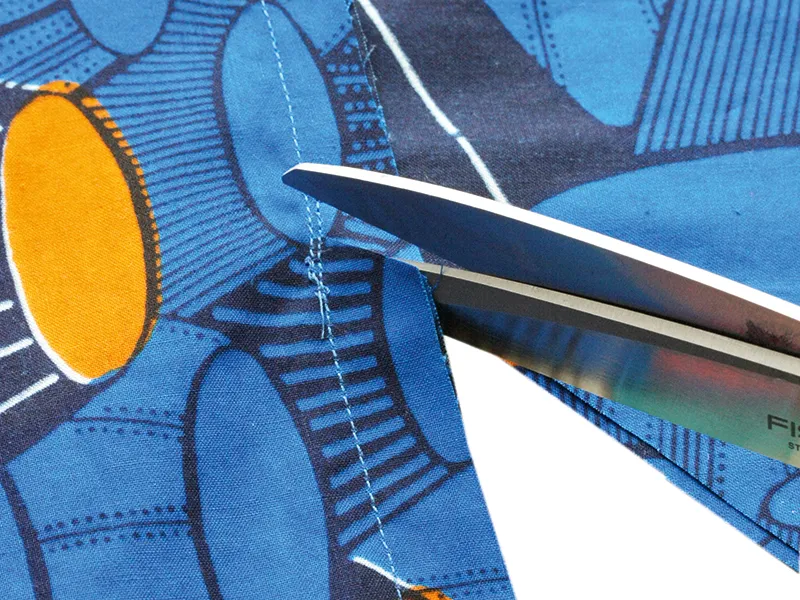
Step seven: Trim and clip the pocket seam allowance then work a machine zigzag around the edges of the pockets.
Adjusting the skirt to fit
Step one: Try on your skirt and see how it fits. If it’s too small you can trim a little from the top edge all the way around to make the waist circumference bigger, making sure that you curve up towards the top edge before you get to the zip. If it’s too big, you can narrow the waist by taking it in at the side seams, above the pockets. Tack first to make sure you have not over-adjusted.
Adding the waistband
It’s better to wait until this point to cut out the waistband as you can measure it against your finished waist circumference after you’ve made any adjustments.
Step one: Put your skirt on, and measure around the finished top circumference. This measurement is called Finished Top Edge.
Step two: Measure and cut out a long thin rectangle for the waistband of your skirt, across the grain. It needs to be twice as deep as you want your finished waistband to be, plus 2cm (3⁄4in), and as long as Finished Top Edge plus 5cm (2in).
Step three: Cut out a piece of interfacing slightly longer and deeper and use a warm iron to fuse it to the WS of the waistband fabric. Trim back the excess interfacing so that it’s exactly the same size as the fabric.
Step four: Fold the waistband in half lengthwise with WS together and press.
Step five: Open out the folded piece, fold under all the edges by 1cm (3⁄8in) to the WS and press. Trim the inside corners diagonally to reduce the bulk of the folded fabric.
Step six: Fold the waistband back in half lengthways with WS together and press.
Step seven: Starting at the centre of the waistband and skirt and working outwards, pin the waistband in place along the top edge of the skirt, sandwiching the skirt between the two lower edges of the waistband by 1.5cm (5⁄8in).
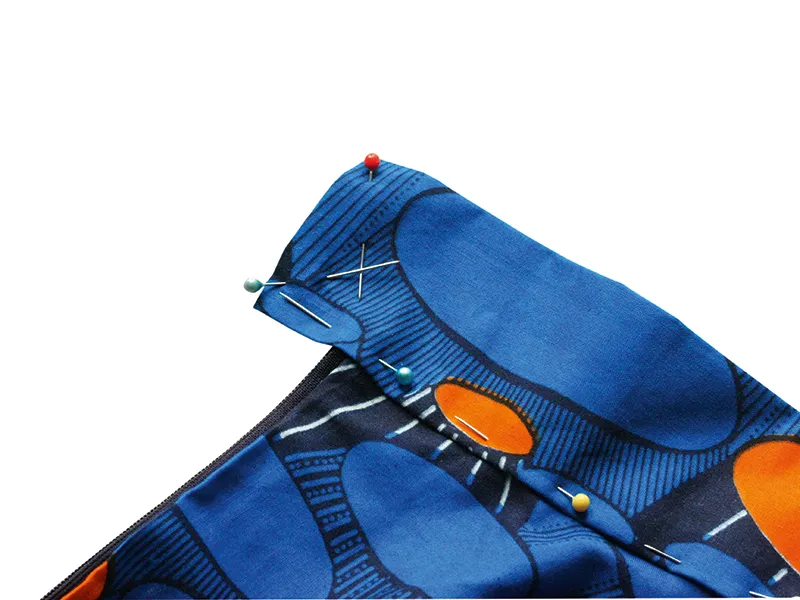
Your waistband is designed to overlap to allow you to add a fastening, so make sure you leave an equal amount of overlap at either end of the waistband.
Step eight: Topstitch the waistband in place, 5mm (¼ in) from the turned-under edge seam along the long pinned edge and the short edges.
Adding a fastening
Step one: Add a buttonhole and button or hook and bar fastening using your preferred method, making sure they line up correctly once overlapped.
Hemming the skirt
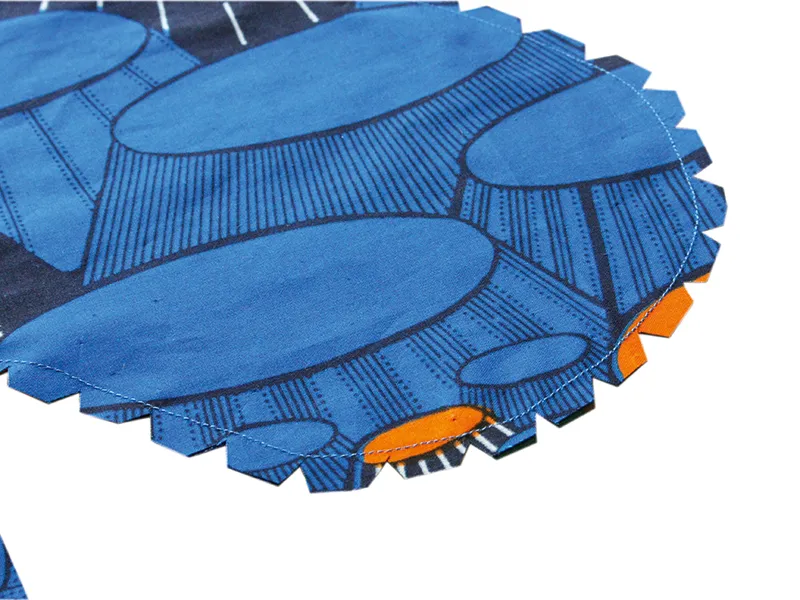
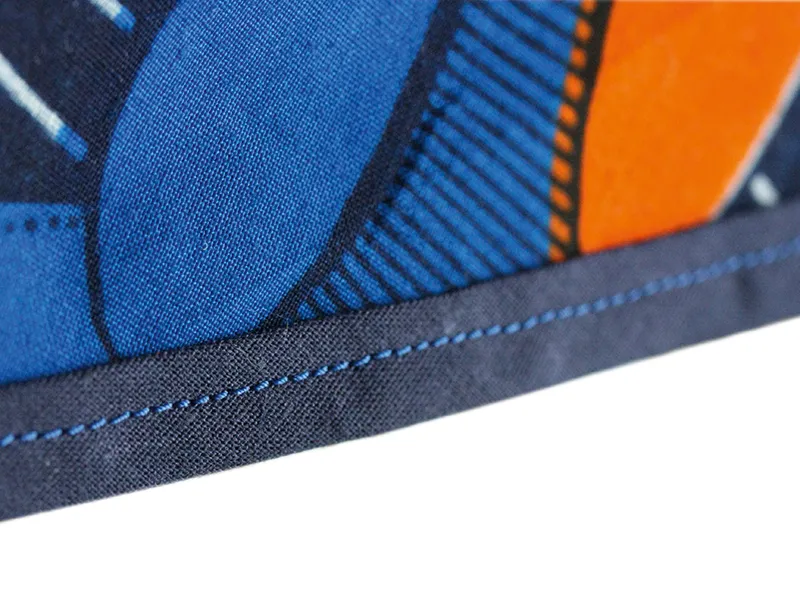
Step one: Use bias binding to hem the lower edge for a neater finish. Measure around the bottom of your skirt and buy a length of bias binding to this measurement plus 5cm (2in) for ease and turnings.
Step two: Fold the bias binding in half lengthwise, aligning the two folded edges, and press.
Step three: Pin the binding in place around the lower edge of the skirt and stitch, overlapping and turning under the two short ends. Stitch in place close to the edge.
Your skirt is complete – give us a twirl! You've got the circle skirt pattern now so you can whip up a whole bunch in different colours and fabrics.
Want to make more summer peices? Check out our free harem pants pattern, summer dress patterns and our DIY wrap dress pattern.