How to sew a zipper in 8 easy steps!

Create fitted and professional garments with our how to sew in a zipper tutorial.

6 issues of Simply Sewing magazine for £14.99|Save 78%!

Published: June 9, 2023 at 8:15 am

Though it may seem a daunting task, learning how to sew a zipper can take your projects to a whole new level.

Once you can neatly insert a zip, you can make a range of garments, homewares and accessories. We’re going to show you how to sew a zipper step by step and explain how to choose the right zipper for your projects.

It takes practice, but grab a zipper and some scrap strips of fabric and learn how to sew in a zipper!

If you’re new to sewing then make sure you read our Sewing for Beginners guide first. This will show you how to use a sewing machine and other basic techniques that are needed for this tutorial.

Choosing the right zipper for your pattern

How to insert an invisible zipper

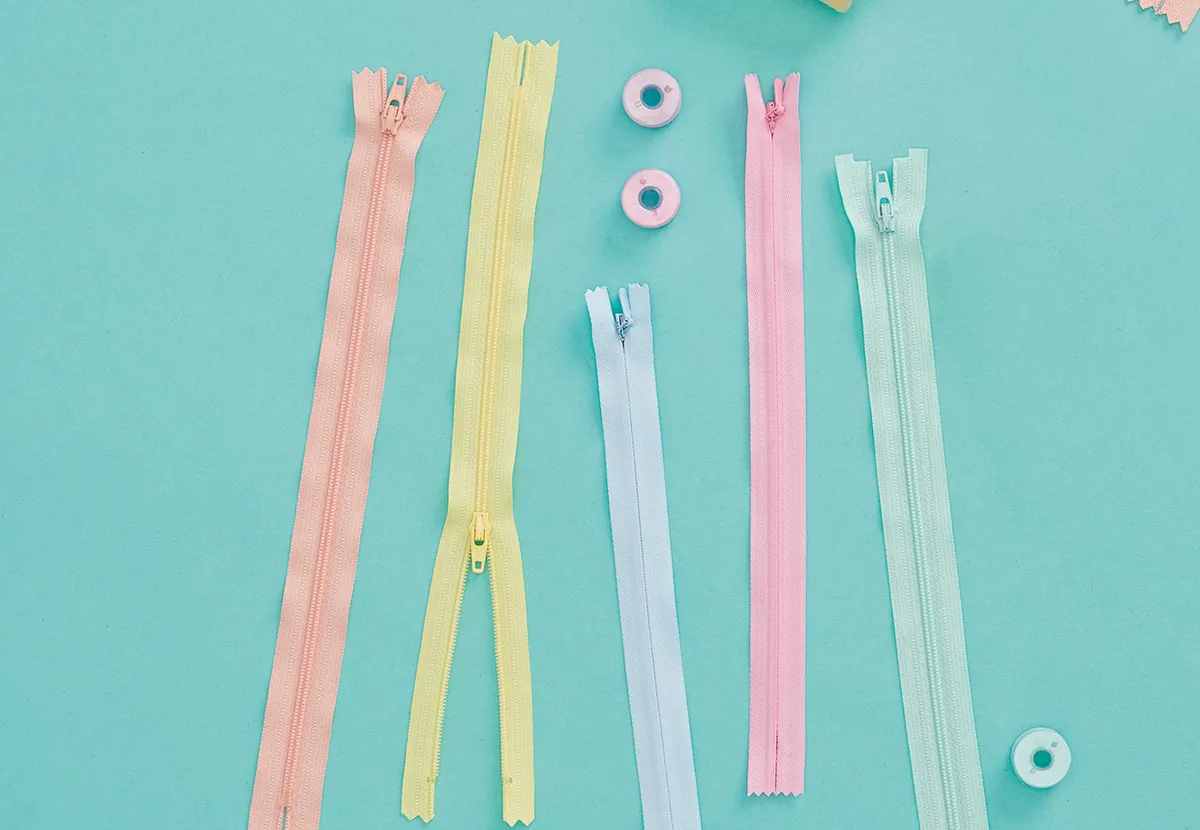
Zips come in many forms, from invisible zips for dresses to open-ended metal zips for heavyweight jackets.

The type of zip you need will depend on your project – check the pattern envelope to see what type of zip is recommended.

Zips also come in a variety of colours to match your project and different lengths to accommodate the size of the opening in your garment.

As a general rule, the zip needs to reach the widest point of a garment (such as your hips) in order for the garment to be put on and taken off easily.

How to sew a zipper

You will need:

  • Fabric (or the garment you're working on)
  • Sewing machine
  • A zipper

Step 1

Inserting a standard zip: preparing the seam

Finish the raw edges of the fabric pieces where the zip will be inserted.

Step 2

Stitch the seam from the hem up to the point where the zip will end.

Backstitch at the beginning and end to secure the stitches.

Step 3

Machine tack the rest of the seam closed with the longest stitch length on your machine.

Don’t backstitch at either end of the tacking as these stitches are temporary.

Step 4

Press the length of the seam open.

Step 5

Inserting a standard zip: stitching the zip in place

With the wrong side (WS) of the seam facing up, place the closed zip right side (RS)
down with the teeth on the seam.

Pin the zip tape to both the seam allowance and the outer fabric along both sides.

Want to learn more essential sewing techniques?

Head over to our how to sew section which is full of useful tutorials and handy tips.

Step 6

How to sew a zipper step 6

Tack the zip in place by hand to secure and check the positioning.

Step 7

How to sew a zipper step 7

Topstitch the zip in place from the RS of the fabric. 

To avoid puckering, start stitching at the bottom of the zip, working from the seam outwards and then up to the top edge on each side.

Step 8

Remove the tacking then press using a pressing cloth and a low-heat iron to avoid melting the zip teeth. 

Be careful not to press over the slider as this can scratch your iron.

If you don’t have a sewing iron, head over to our collection of the best irons for sewing and quilting

Making invisible zippers

Invisible zipper foot

If you feel confident following our how to sew a zipper tutorial then it’s time for you to take the next step.

Invisible zips have hidden seams and are found in most professional pieces of clothing. It’s a technique often used on The Great British Sewing Bee!

Head over to our complete guide to invisible zippers to learn all about this brilliant technique.

Create a beautiful silhouette with zippers!

Zippers are essential for giving garments their desired fit and shape. They help create form and will take your clothing from simplistic to skilled in a matter of moments!

It can be tricky to learn how to sew in a zipper but don’t worry. All you need is a little time and patience!

Practice your new zipper skills with these projects

Now you’ve mastered how to sew a zipper you need a project to work on!

Head over to our collection of free sewing patterns for endless project inspiration.

Japanese knot bag pattern