Your guide to sewing elastic: How to sew with elastic step by step
Elastic is super-comfy to wear, making it ideal for making children's clothes, underwear, loungewear and pyjamas. By learning how to use sewing elastic, you'll be able to add decorative details to garments, such as gathering and shirring.
Sewing with elastic is a versatile technique to add to your stitching repertoire. It can be done using a standard sewing machine, so no fancy tools required! This free workshop has all you need to know about the different sewing elastics. Plus, step-by-step guides on how to use them.
Let's start with the basics: what types of elastic are there?
There are several different types of sewing elastic, and they come in various widths and thicknesses. Flat elastic is most commonly used in sewing, and elastic cord is often used for pull cords or accessories.
Elastic is made by binding threads around an inner rubber core. Latex rubber is most commonly used, but latex-free is often used in knitted elastics. Polyester, cotton or nylon threads are used to bind and hold the elastic together. The fibres used for this and the construction of the elastic determine the use, stretch and how long it will last.
Polyester elastic is the most versatile as it can be machine-washed or dry-cleaned. Whereas cotton elastic is likely to shrink a bit and cannot be dry-cleaned. Nylon elastic is best for swimwear and lingerie.
3 types of flat sewing elastics
Woven elastic, also called elastic tape, has threads bound by weaving and is the strongest and thickest type of elastic. It doesn’t narrow when stretched. It’s good for sewing directly onto clothes as it retains its stretch, so it is ideal for waistbands. If you’re using heavy-weight fabrics, then this is the best type to use, particularly in casings.
Braided elastic has the threads bound by braiding and is the cheapest type of elastic. It’s ideal for casings where only lightweight elastic is needed, such as around sleeve edges. However, it loses its stretch when it is sewn straight onto fabric, and it becomes narrower when stretched.
Knitted elastic is softer than both woven and braided elastic. It’s also known as soft elastic tape and is versatile to use as it doesn't lose its stretch. This means you can use it for sewing directly onto fabric and for casings. It works well on lightweight fabrics.
Calling all dressmakers!
If you're looking to buy your first sewing machine or treat yourself to an upgrade, our handy guide to the best sewing machines for beginners is here to help.
Shirring elastic
Shirring elastic is also known as elastic thread and can be bought in a variety of colours and quantities. The elastic is wound onto the sewing machine bobbin, and ordinary thread is used in the needle. Although the elastic will be on the back of your fabric, it still needs to blend in. Choose a colour to match your fabric.
Sewing with elastic is called ‘gathering’ if you only stitch one row, and ‘shirring’ if you stitch more than one. Before you begin sewing with elastic, take time to read your sewing machine manual. Some sewing machines may require you to change the tension of your bobbin.
Which needle should you use to sew with elastic?
Use a stretch needle for sewing elastic. Stretch needles have a rounded point that penetrates between the fabric threads rather than piercing them. The point is slightly less rounded than a ballpoint needle. This makes it better for stitching on elastic, as ballpoint needles can skip stitches.
How to make a casing for sewing elastic
Step one
Add 5mm (1⁄4in) to the elastic width for ease. Turn the fabric over 1.5cm (5⁄8in), then over again to the measurement you calculated.
Step two
Stitch the hem down close to the folded-over edge, leaving a gap to thread the elastic through.
Step three
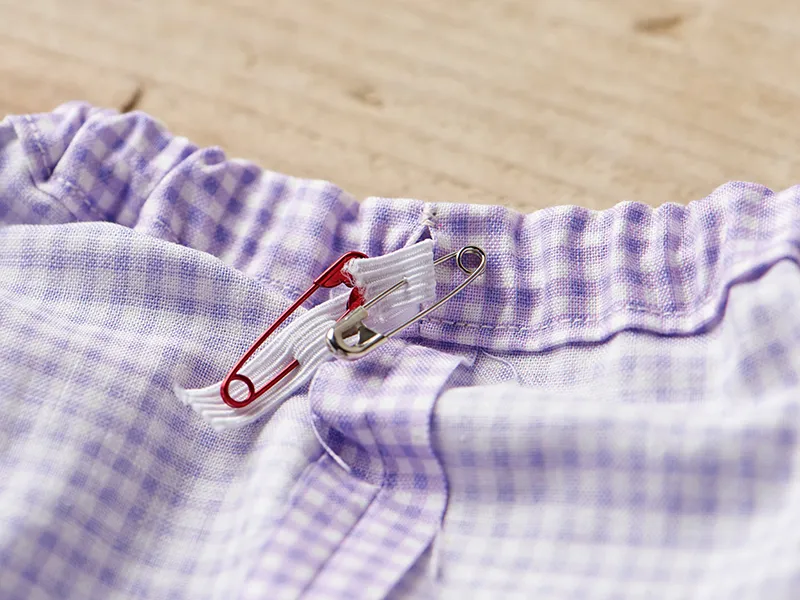
Attach one end of the elastic to a safety pin and thread this through the casing. Attach the other end to your fabric with another safety pin to stop it from pulling all the way through.
Elastic threaders, or bodkins, are perfect for this job. They keep the elastic taut while you thread it through, as well as stopping it from twisting.
How to sew elastic to fabric
You can stitch sewing elastic straight onto your piece of fabric using a straight or zigzag stitch. When you're making a waistband, join the elastic together first to the correct length. Here's how...
Step one
Measure and pin to divide your fabric into quarter sections. Mark your elastic into quarters in the same way.
Step two
Pin the end of your elastic to the end of your fabric and stitch to secure. Pull the elastic tightly and pin the next section of elastic to the next pin on the fabric.
Hold the elastic taught enough to fill this fabric space exactly, then stitch into place. Repeat for the rest of the elastic.
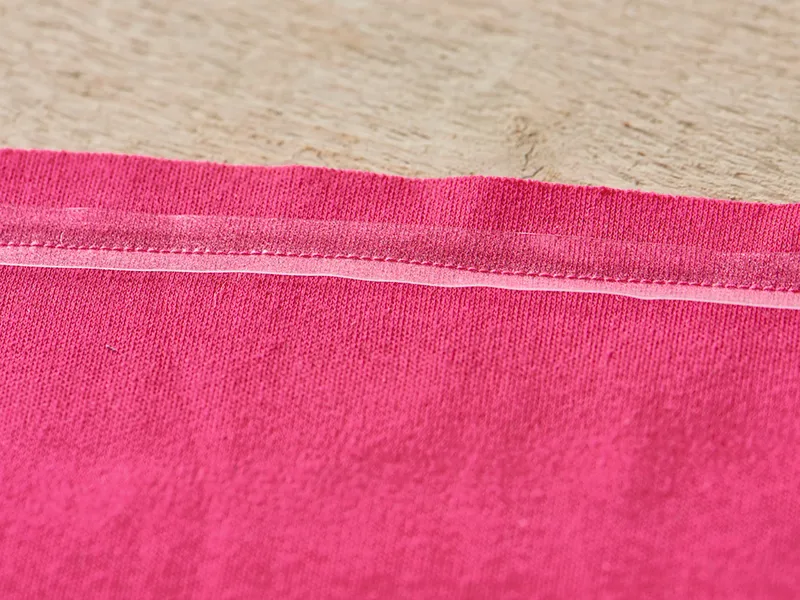
Working with shirring elastic
Step one
Mark a line on your fabric where you want to elastic to be sewn. Use tailor’s chalk or an erasable pen so the line won’t show afterwards.
Step two
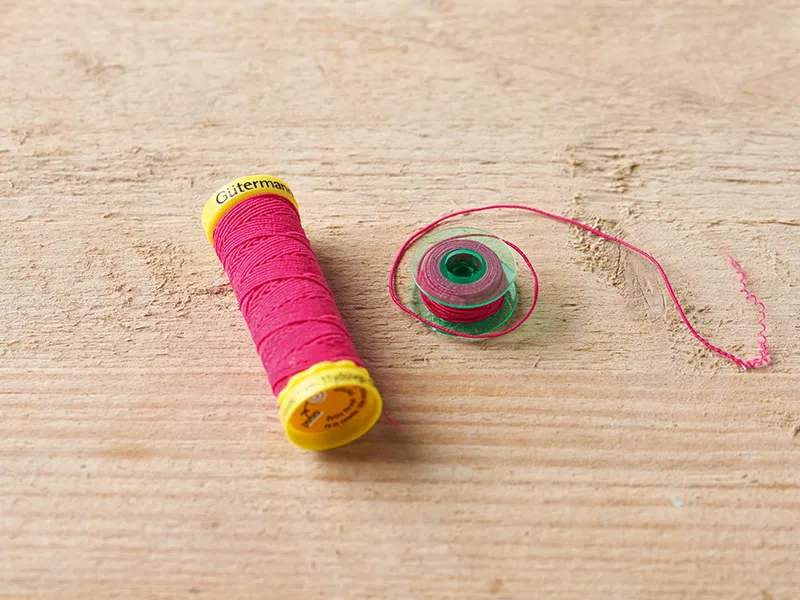
Use ordinary sewing thread for the top thread in your sewing machine, but wind shirring elastic onto the bobbin. This must be done by hand to make sure it is the correct tension.
Pull the sewing elastic slightly so it doesn’t lie loosely around the bobbin, but don’t pull it too much or it will be overstretched.
This is fairly quick once you get into a rhythm of pulling it to just the right tension so it winds neatly around the bobbin.
Step three
Set your sewing machine to its longest stitch length, to allow a longer length of elastic for each stitch, giving the fabric more stretch and pull when it’s finished.
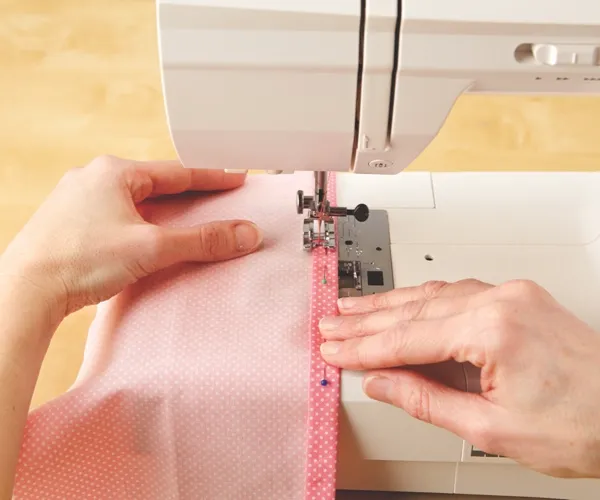
Step four
Stitch along the marked line as you would normally, keeping the fabric flat as you are stitching. Reverse stitch at the beginning and end to secure the thread and elastic.
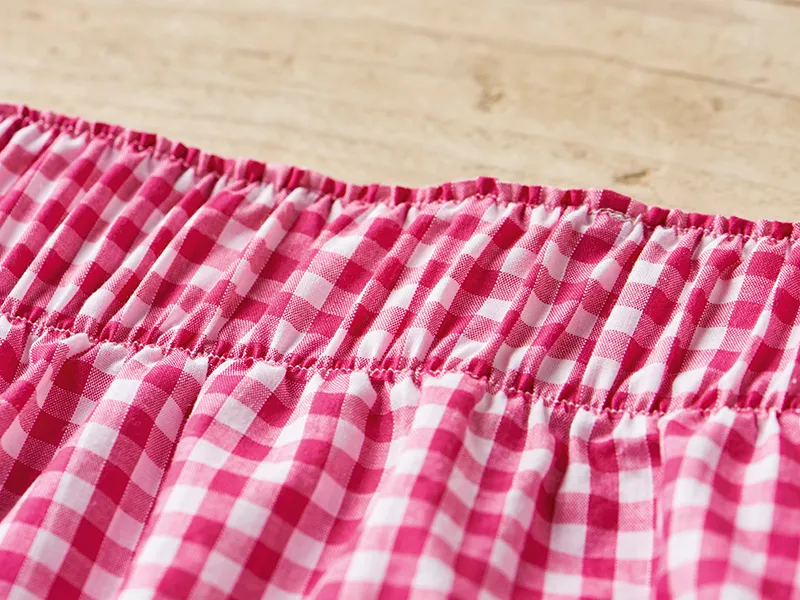
Step five
If you are stitching more than one row, then the fabric will already be gathered after stitching the first one. Hold the fabric in front and behind the needle to keep it flat, taking care not to overstretch it.
Sewing with clear elastic
Clear elastic (CE) is clear and rubbery. Often, the necklines, armholes and shoulder seams on stretch or knit fabrics can stretch out of place. CE will stabilise these areas, helping them to keep their form.
- Stretch the elastic a few times to loosen it a little before cutting it. This will ensure it isn’t too long when you sew it.
- Cut the CE to the same length as your actual stitching line. Remember, you are stabilising rather than gathering the seam.
- Using a Teflon foot on your sewing machine prevents the CE from sticking to the foot.
- Place the CE on the wrong side of the fabric on the stitching line. Sew it into place whilst stitching the seam so it’s joined into it.
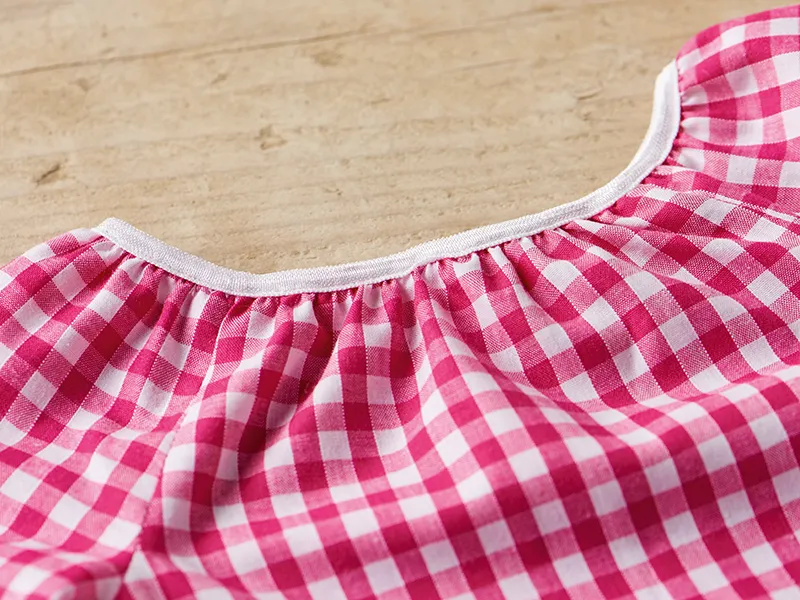
Fold-over sewing elastic
Fold-over elastic (FOE) is like bias binding. Simply fold it over the raw edge of fabric and topstitch it into place. It’s ideal for finishing stretch fabrics and garments. It can also be used for gathering non-stretch fabrics. For example, FOE can be used for the neckline and sleeves of a light cotton blouse or dress
FOE has an indentation down the middle to help you evenly fold the elastic in half. Use this indentation when sewing it on as a binding. Stitch it in place using a zigzag stitch or longer straight stitch to allow it to stretch.
You can fold it over a raw edge and topstitch through all layers. Or sew it on in two stages, like you would with bias binding.

Unsure what bias binding is?
Head over to our how to sew bias binding workshop to learn everything you need to know.
Create gorgeous garments with sewing elastic
Sewing elastic is a really useful sewing material for dressmaking, household and craft projects. It can be used to give fabric fullness. It can also be threaded through a hem or stitched directly onto the fabric itself.
Stitching with elastic in your sewing machine produces an attractive gathered effect, perfect for shirring.
Use your sewing elastic skills to stitch this beautiful dress!
Learn how to create a shirred dress with our free pattern and easy tutorial.