All products were chosen independently by our editorial team. This review contains affiliate links and we may receive a commission for purchases made. Please read our affiliates FAQ page to find out more.

How to thread a bobbin – essential guide for beginners

Learn how to wind a bobbin and thread your machine with our step-by-step guide.

6 issues of Simply Sewing magazine for £14.99|Save 78%!

Published: March 28, 2024 at 9:00 am

The humble bobbin, an essential part of your machine, but it's also one of the first hurdles many of us face when we first start sewing. When we think about sewing for beginners – this is one of the first steps you'll need to get to grips with.

The very first domestic sewing machines for consumers were introduced in the 1860s and since then the industry has boomed for the home sewist. Today the selection of machines on the market is the biggest it’s ever been with models available to suit every budget. Despite the high price tags on some models, the core of all sewing machines is the same.

When you use a sewing machine, the top thread and a bobbin thread entwine to form a strong stitch that connects two layers of fabric. Threading the machine is the first thing you will need to learn and winding and inserting the bobbin is the part that can slow a lot of beginner sewists down.

undefined

In this post we'll explain what a bobbin is, share our tips for how to shop for bobbin thread, and talk you through how to thread a bobbin – alongside how to change, wind and insert one.

By the time you're done with this article you'll be threading bobbins with your eyes closed!

If you're new to sewing, you might also like our guide to how to use a sewing machine. It has lots of useful tips to help you get started!


What is a bobbin?

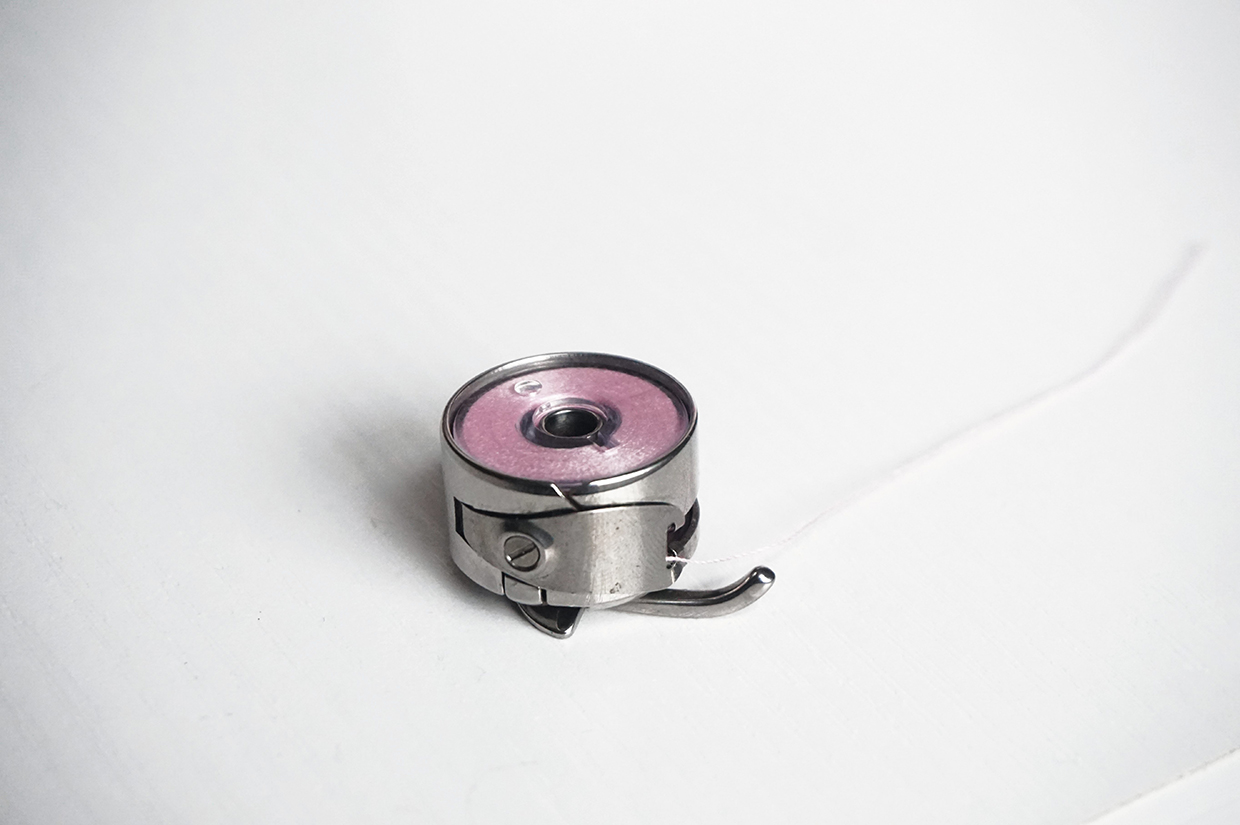
The "bobbin" is actually the thread holder that feeds the thread on your machine that appears on the underside of each stitch. Modern bobbins for domestic machines are circular with a cylindrical centre and are made from plastic or metal.

The bobbin is wound on a pin at the top of the machine (or sometimes the side) and is then inserted either directly into the machine (drop-in) or inserted into a metal case and then inserted into a compartment underneath the needle plate (front loading).

In this tutorial we’ll show you how to thread and insert a bobbin for both designs of machine. We'll also give you some handy tips for speeding up the sewing process.
You will need:

  • Sewing machine
  • Bobbin
  • Thread

How to wind a bobbin

Step 1

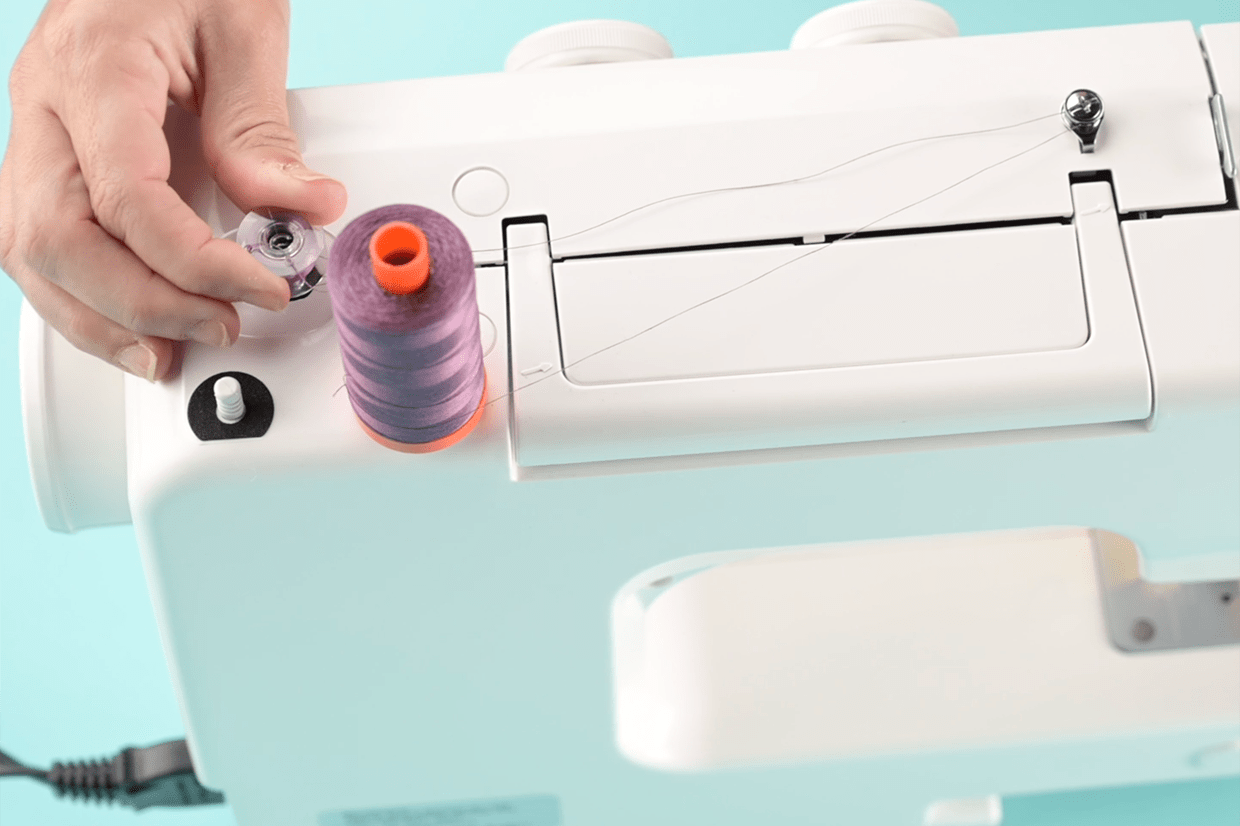
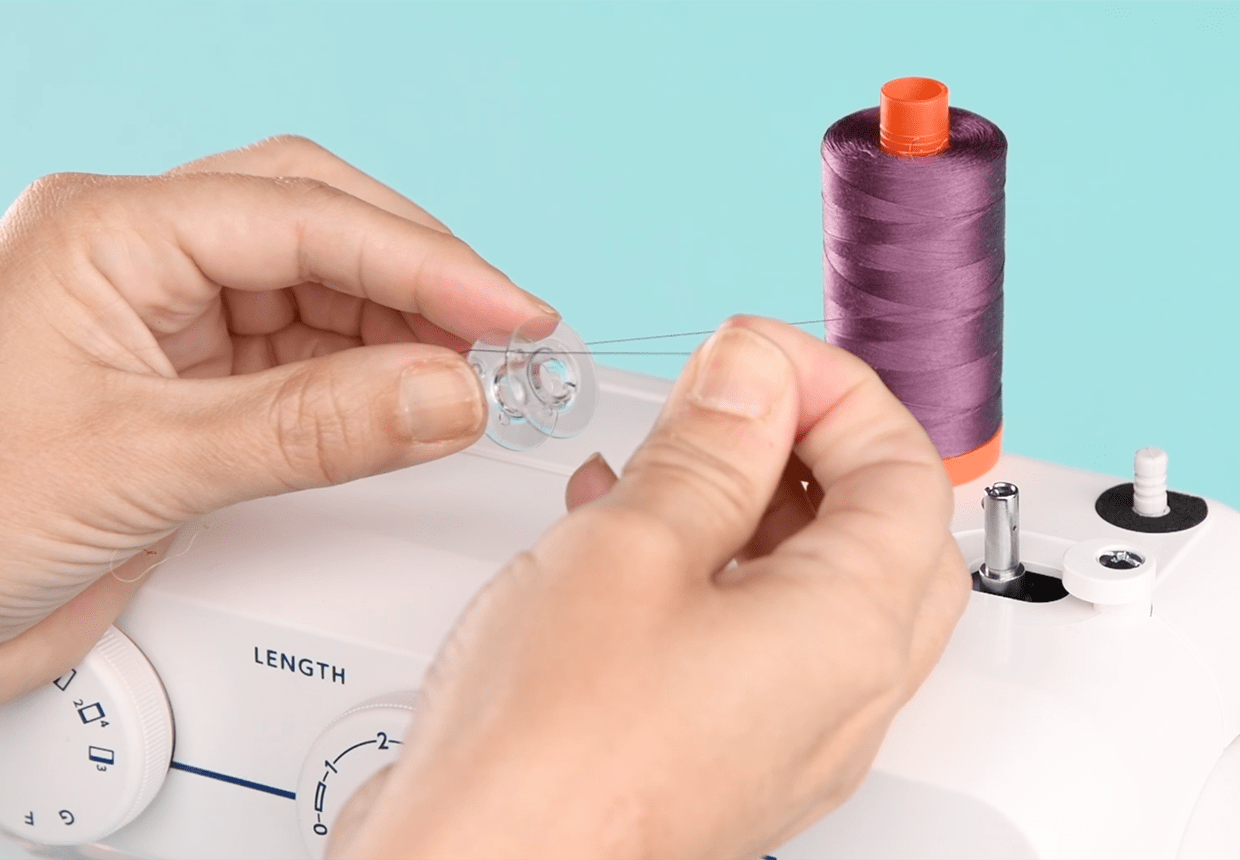
Get an empty bobbin ready to place on to your machine’s bobbin winder – refer to your manual if you can’t locate yours.


Step 2

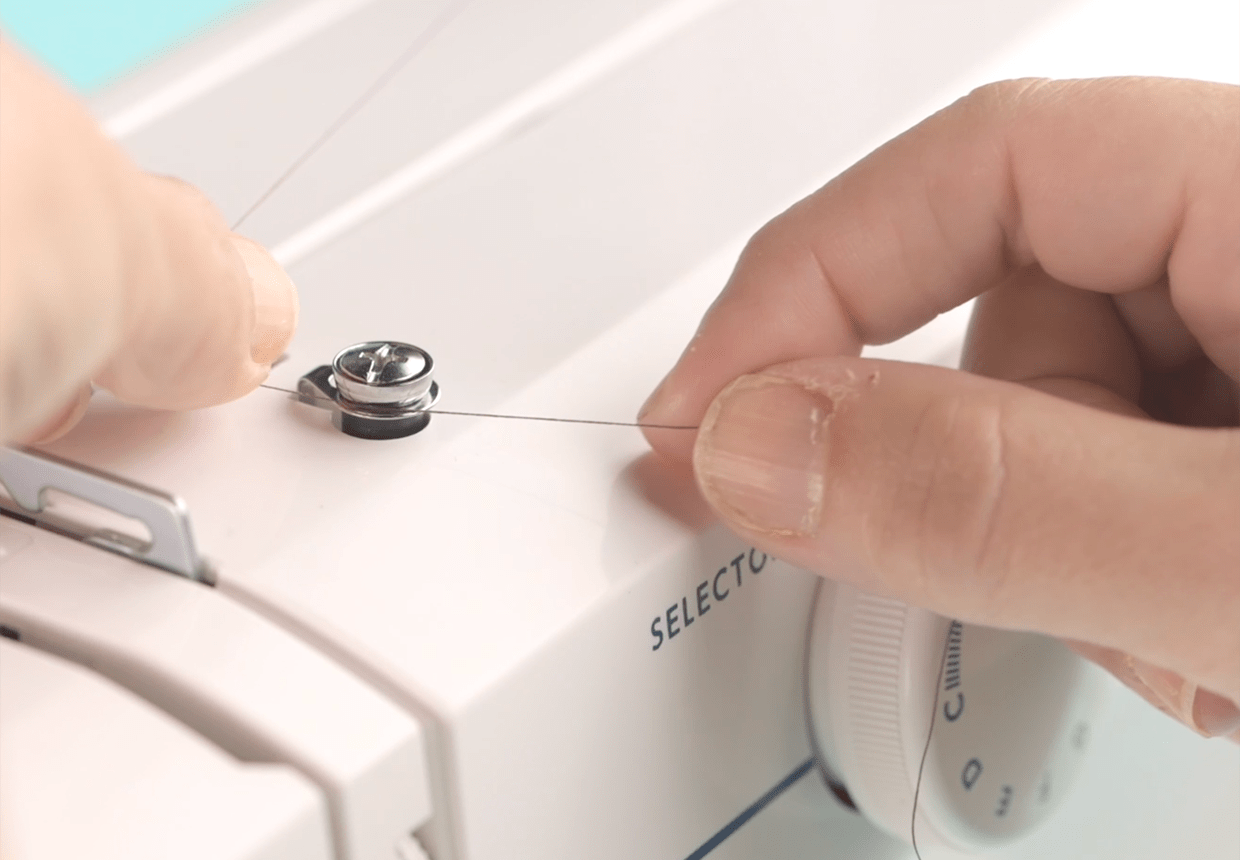
Place your chosen thread colour on the spool, pass it through the tension disc – there will usually be a diagram on your machine showing you the thread path for bobbin winding, if not refer to your manual.

How-to-thread-a-bobbin-step2


Step 3

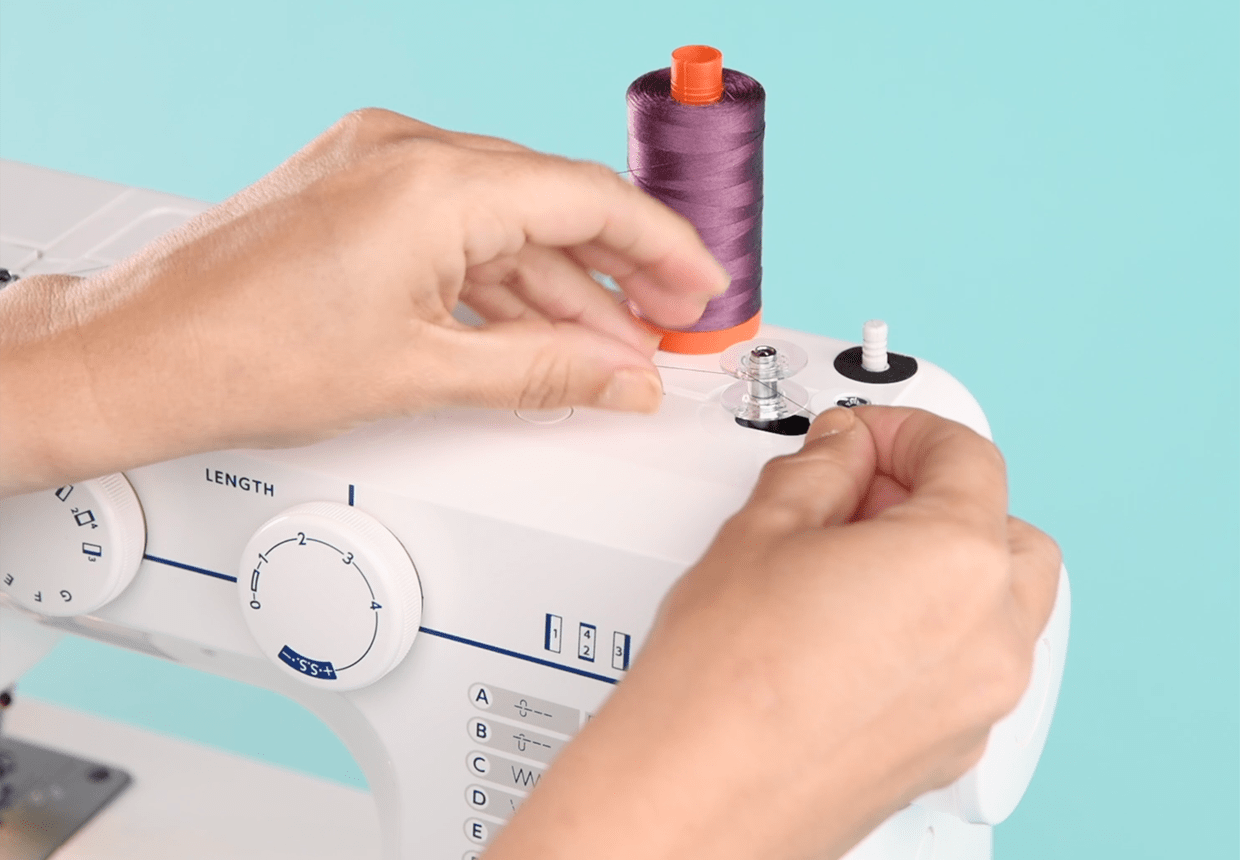
 Wind the thread around the bobbin a few times in a clockwise direction and then pass the thread tail up through the hole on top of the bobbin. You don’t want the thread tail to be very long or it will get caught when the bobbin is winding – trim off all but approximately 5mm (¼in) of thread.

How-to-thread-a-bobbin-step3


Step 4

Push the bobbin winder to the right.

How-to-thread-a-bobbin-step4


Step 5

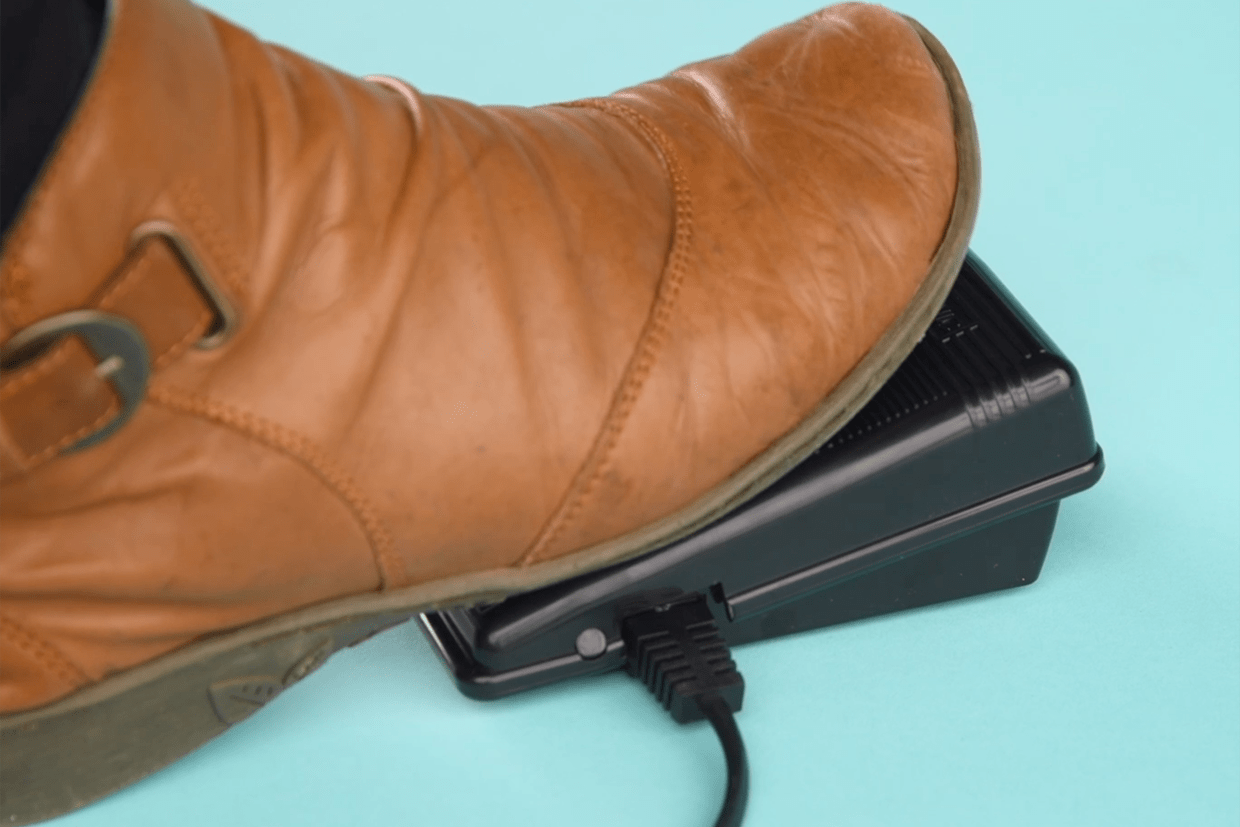
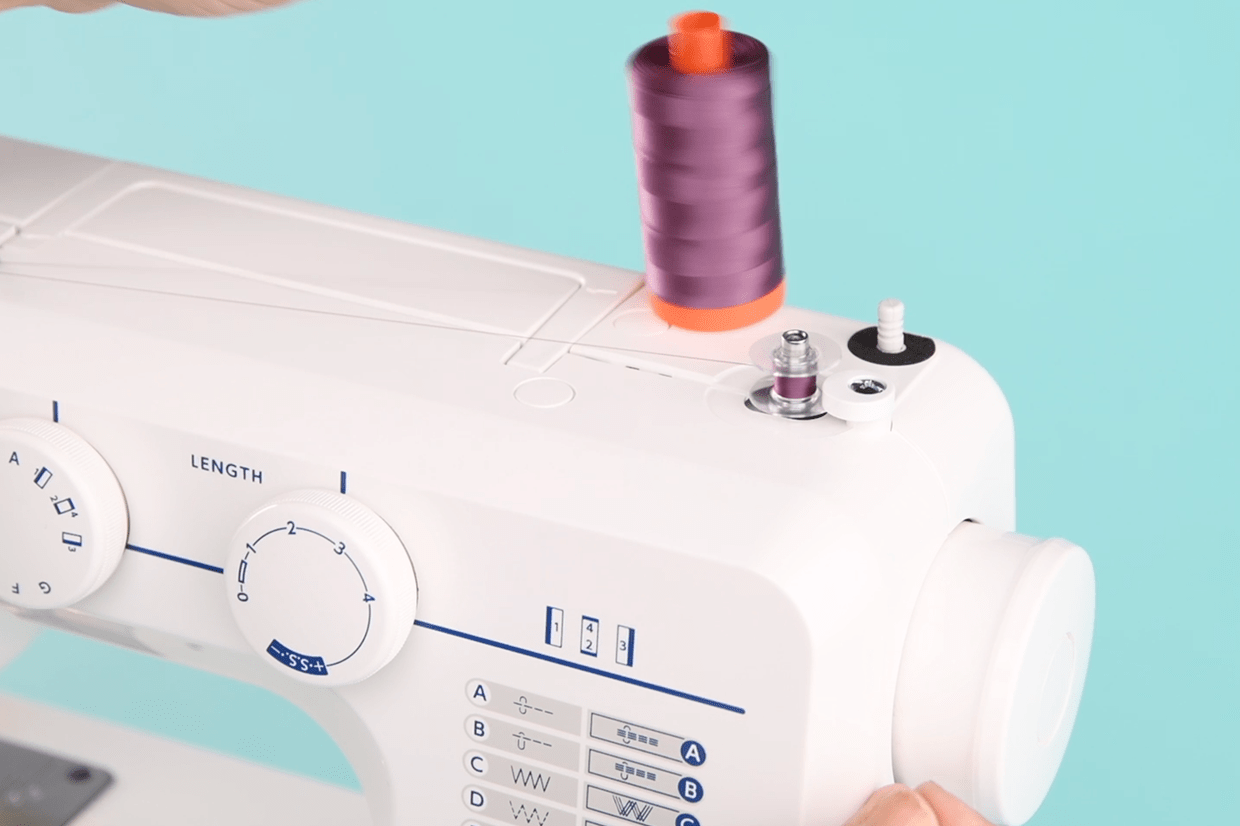
Put your foot down on the pedal and the bobbin will start to wind.

How-to-thread-a-bobbin-step5

If your bobbin doesn’t move it will be because it hasn’t been properly engaged. Push the bobbin winder to the right until it is securely in place.


Step 6

Once the bobbin is fully wound it will come to a stop. If you know that you only need a small amount of thread on the bobbin then you can half wind the bobbin to save thread.

How-to-thread-a-bobbin-step6


Step 7

Pull the bobbin winder back to its regular position on the left, then snip the thread and remove the bobbin.

How-to-thread-a-bobbin-step7


Step 8

Thread the top thread of the machine as usual, following the thread path. See our guide to How to use a sewing machine.


How to thread a bobbin – inserting drop-in bobbins

Step 1

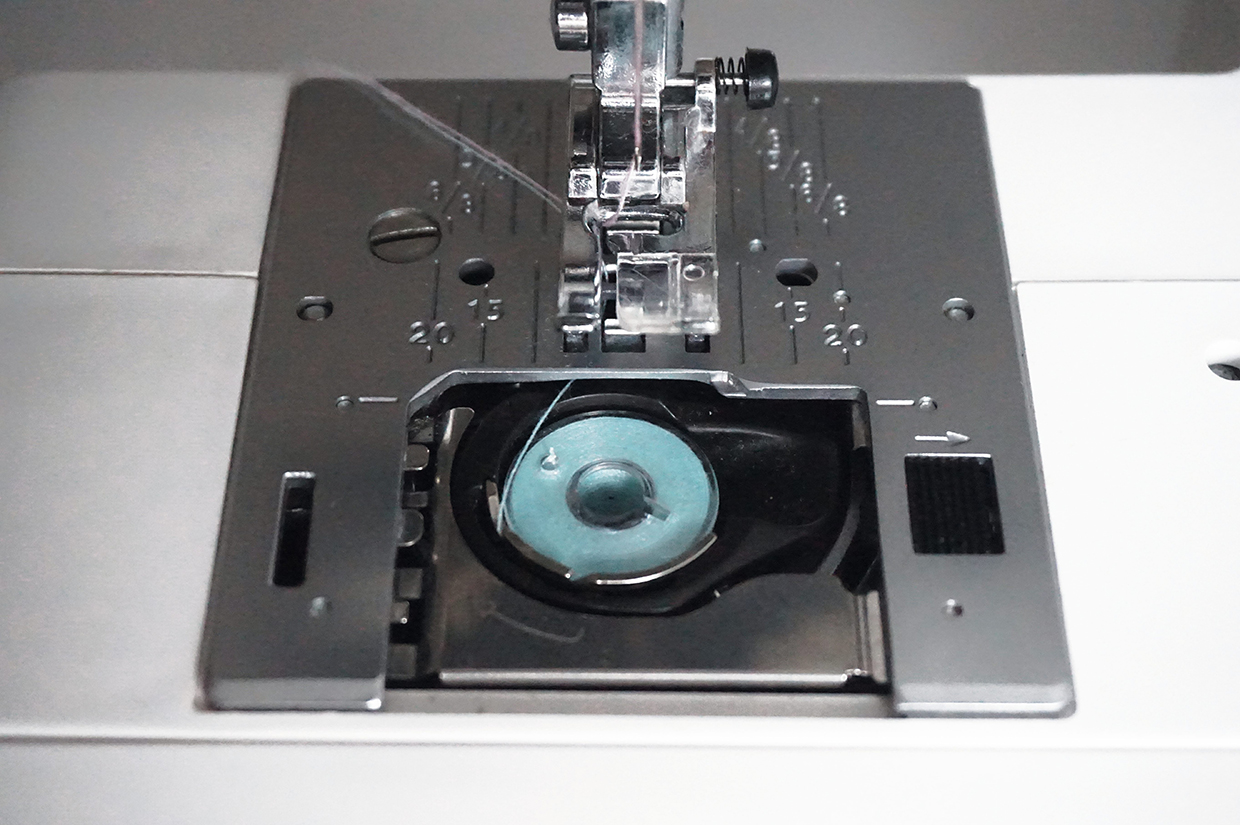
Once your bobbin is wound with thread, remove the plastic cover from the bobbin compartment.


Step 2

Place your wound bobbin in the bobbin compartment with the thread in an anti-clockwise position.


Step 3

Pull the thread tail through the guide in the casing to secure (this is often indicated by an arrow on the casing or on the plastic cover). Leave a thread tail of approximately 10cm (4in).


Step 4

By now you should have also threaded the top thread of the machine. If not then thread the needle following the thread path marked on your machine.


Step 5

Hold onto the tail end of the top thread and with your right hand turn the handwheel towards you to lower the needle, continue turning the wheel towards you to raise the needle back up again.

Lowering and raising the needle will cause the top thread to catch the lower bobbin thread and bring it up to the surface, it will often appear as a loop that you can then pull through with your fingers or a pair of tweezers.

How-to-thread-a-bobbin-step13


Step 6

Replace the plastic cover.


How to thread a bobbin – inserting front loading bobbins

Step 1

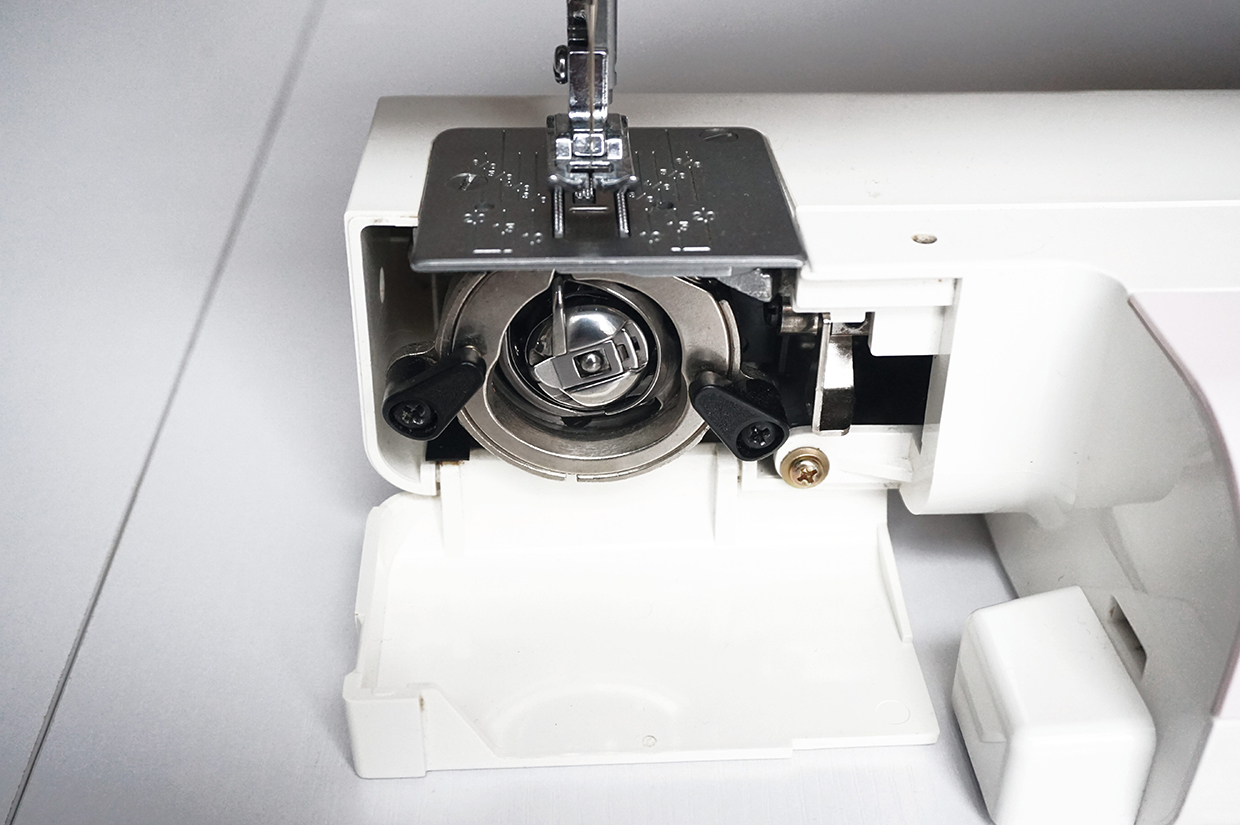
Open the bobbin compartment. Usually this is a drop down plastic or metal flap at the front of your machine. If you can’t locate the opening refer to your manual.

How-to-thread-a-bobbin-inserting bobbins step1


Step 2

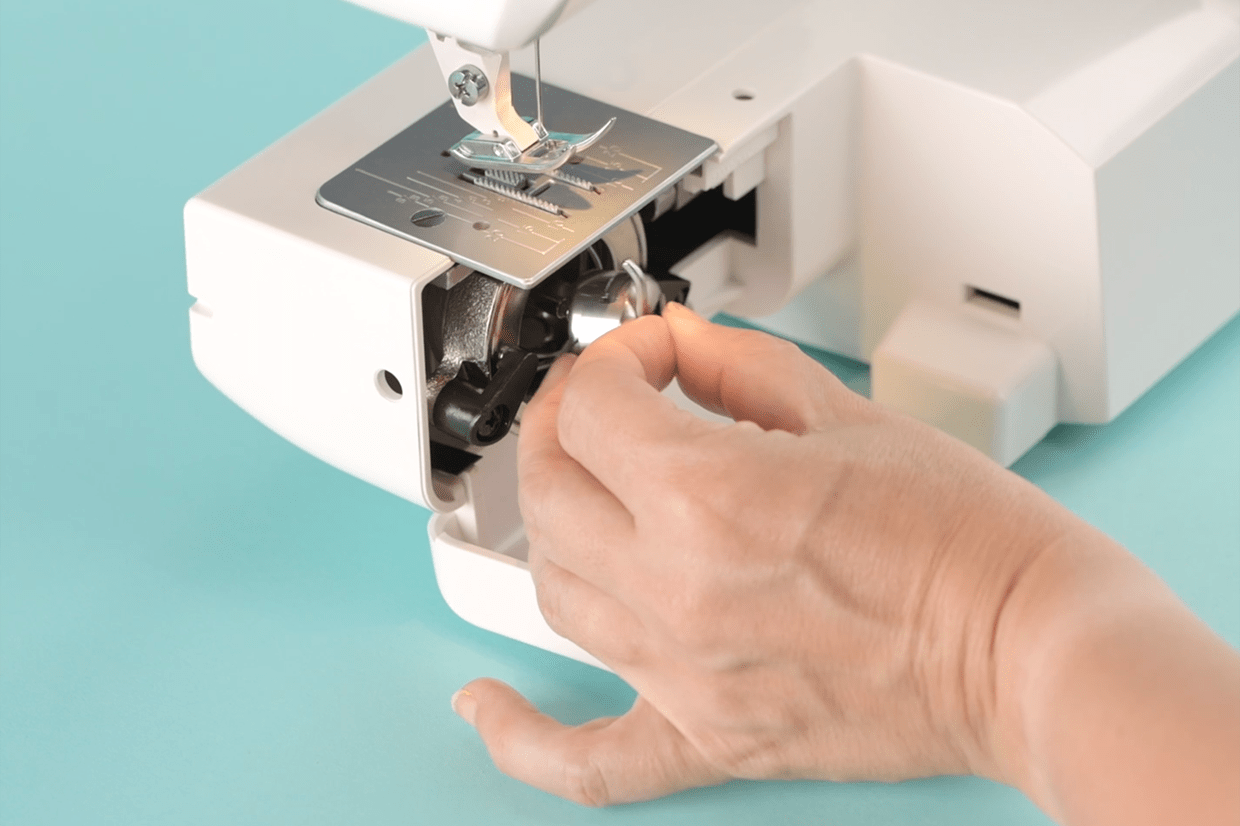
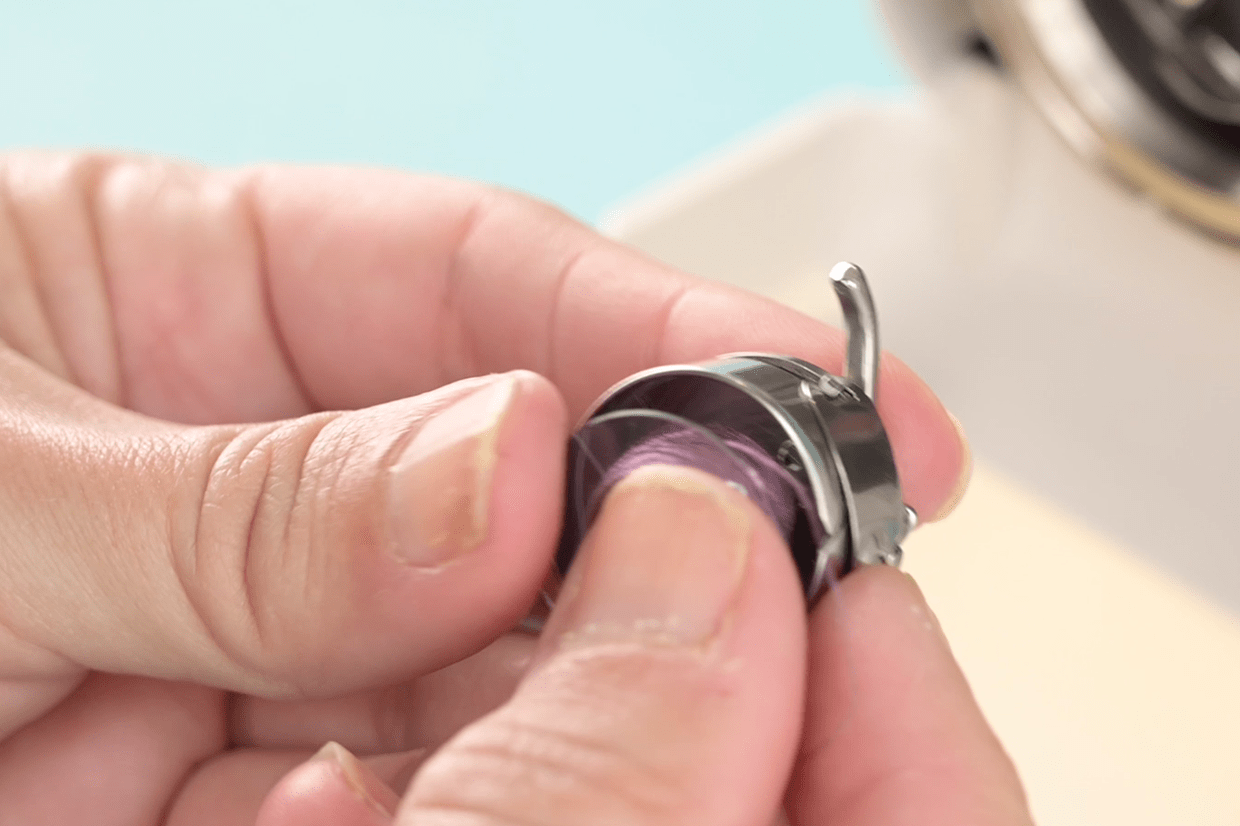
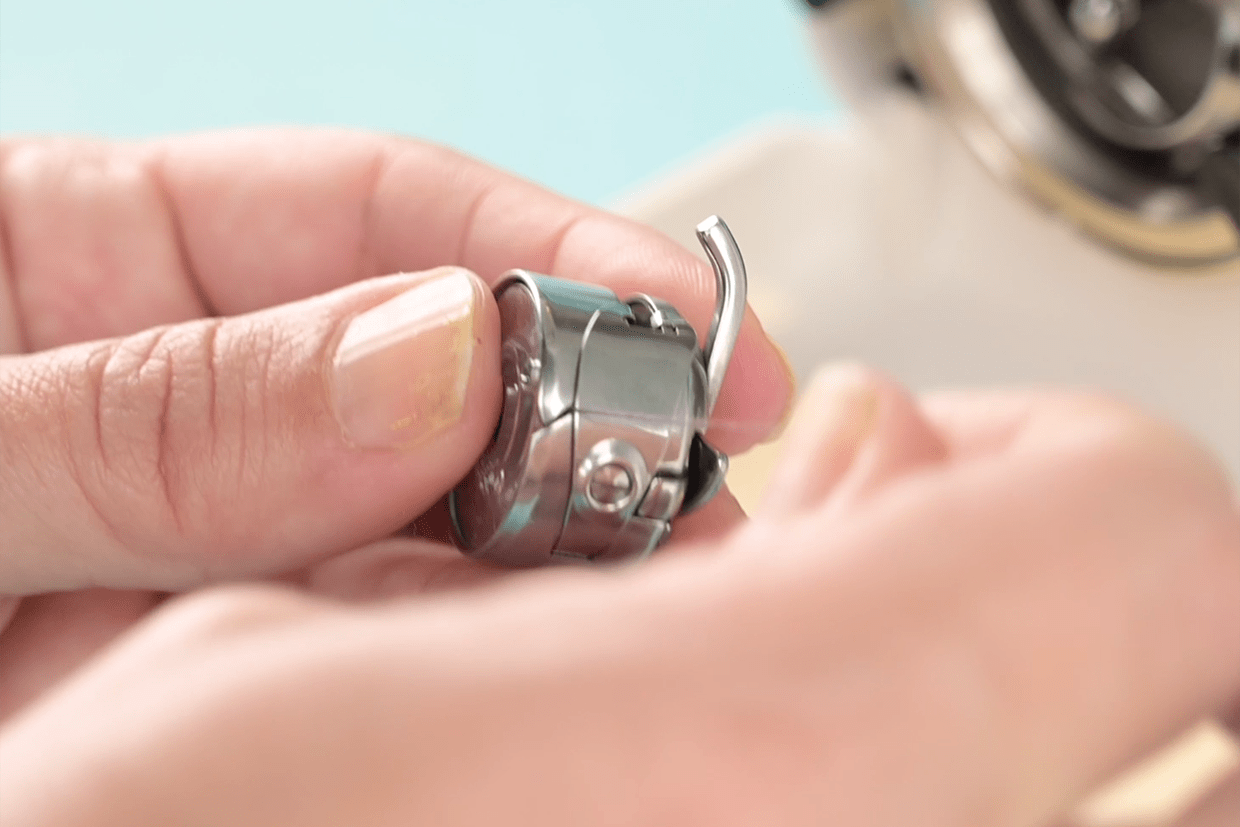
Remove the bobbin case from the machine by opening the metal latch on the front of the case.

How-to-thread-a-bobbin-inserting bobbins step2


Step 3

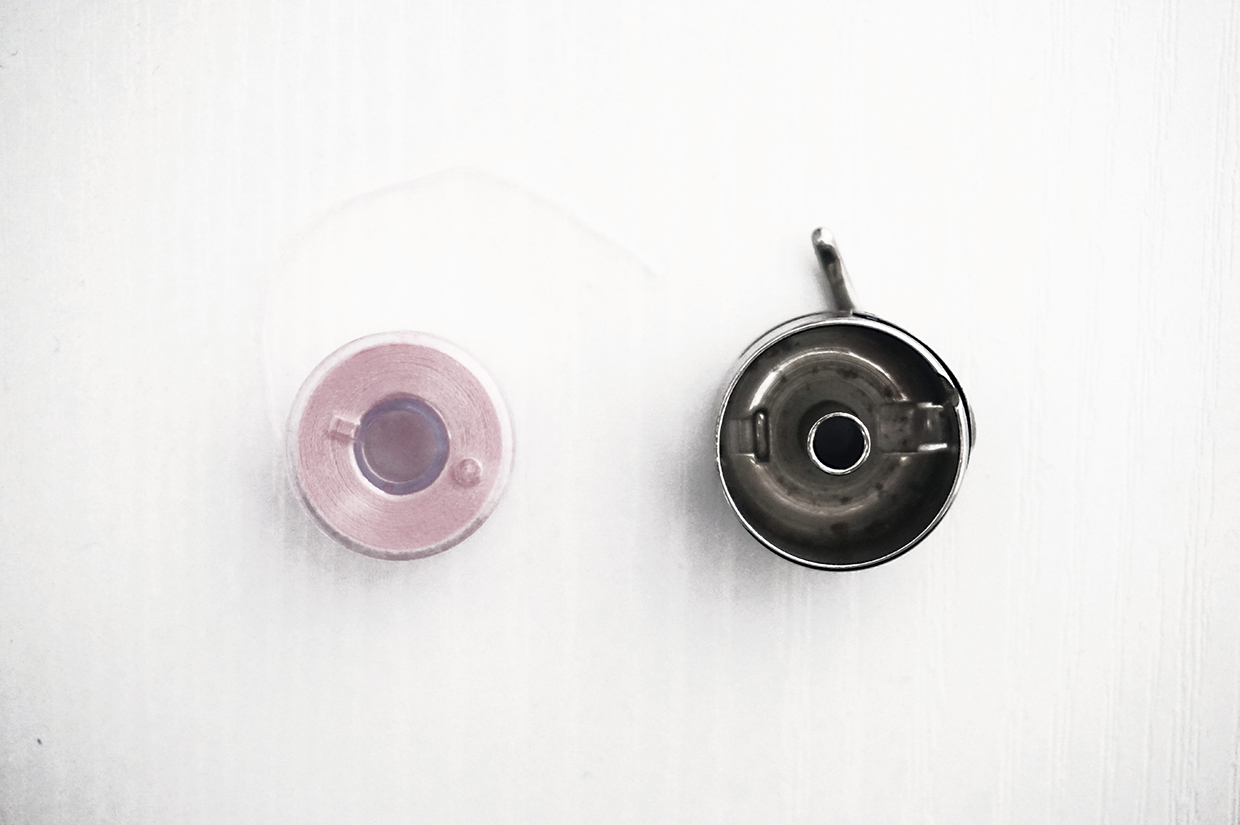
With the thread tail in a clockwise direction and the bobbin face down on your work surface, place the bobbin in the case.

How-to-thread-a-bobbin-inserting bobbins step3A
How-to-thread-a-bobbin-inserting bobbins step1B


Step 4

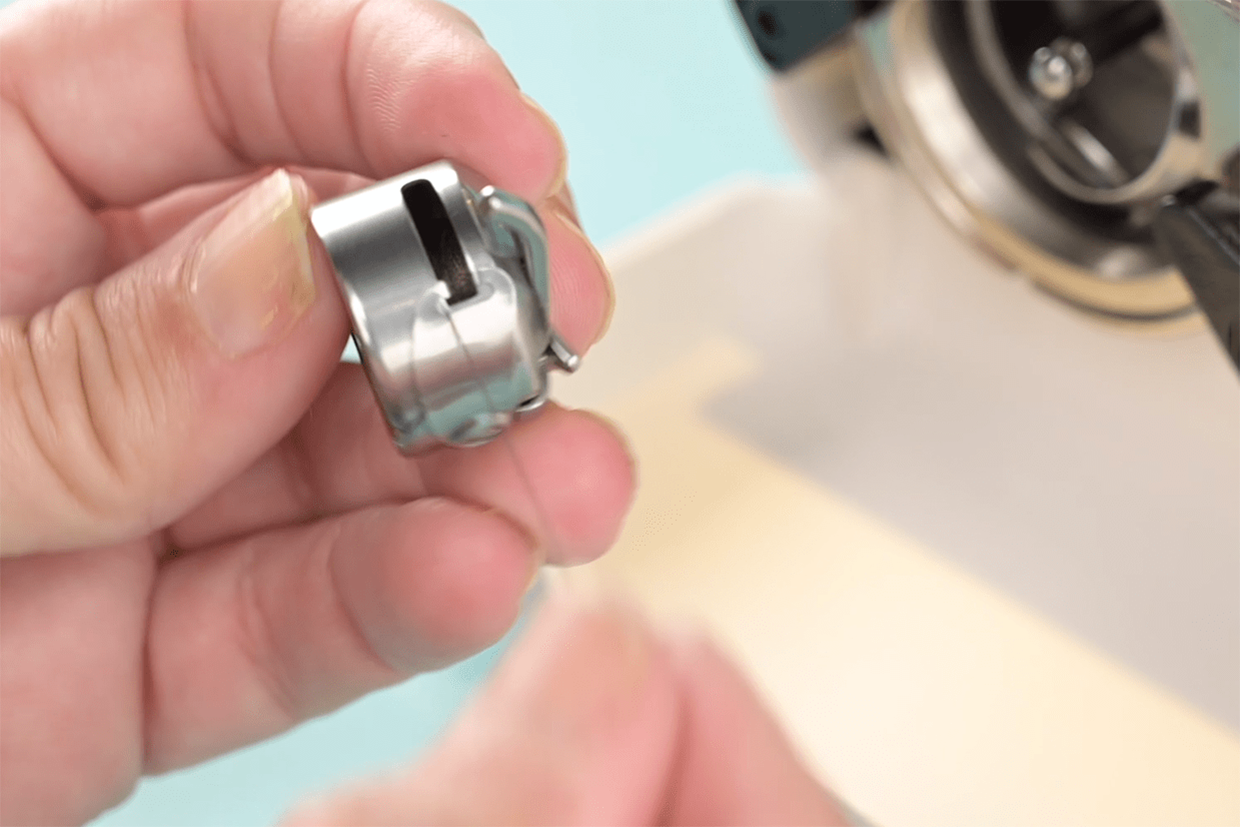
Pull the thread back on itself and through the slot in the top of the case. You should hear a faint click as the thread drops into the slit under the tension spring.

Gently pull on the thread to ensure there is tension being applied to it. If the thread unravels really easily it probably isn’t in the case properly.

How-to-thread-a-bobbin-inserting bobbins step4A

How-to-thread-a-bobbin-inserting bobbins step4B
How-to-thread-a-bobbin-inserting bobbins step4C
How-to-thread-a-bobbin-inserting bobbins step4D


Step 5

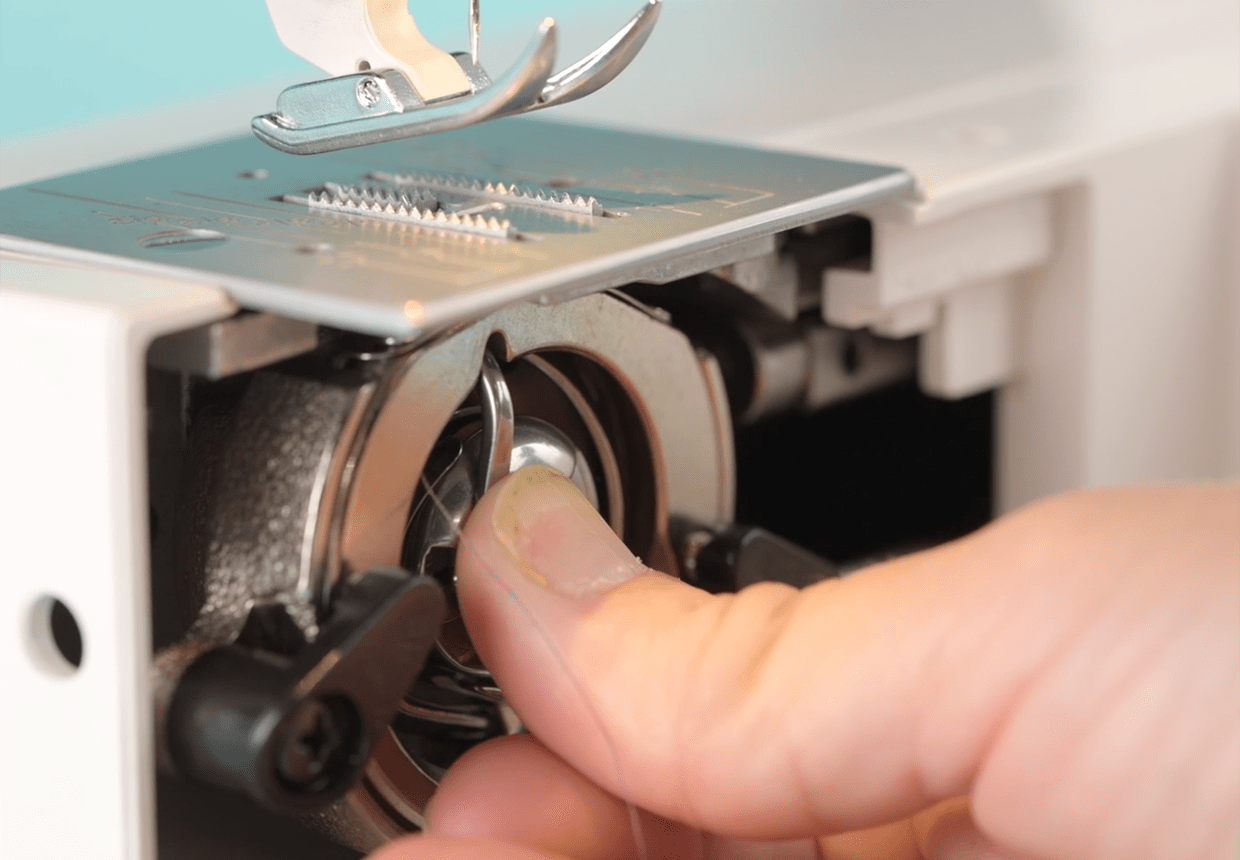
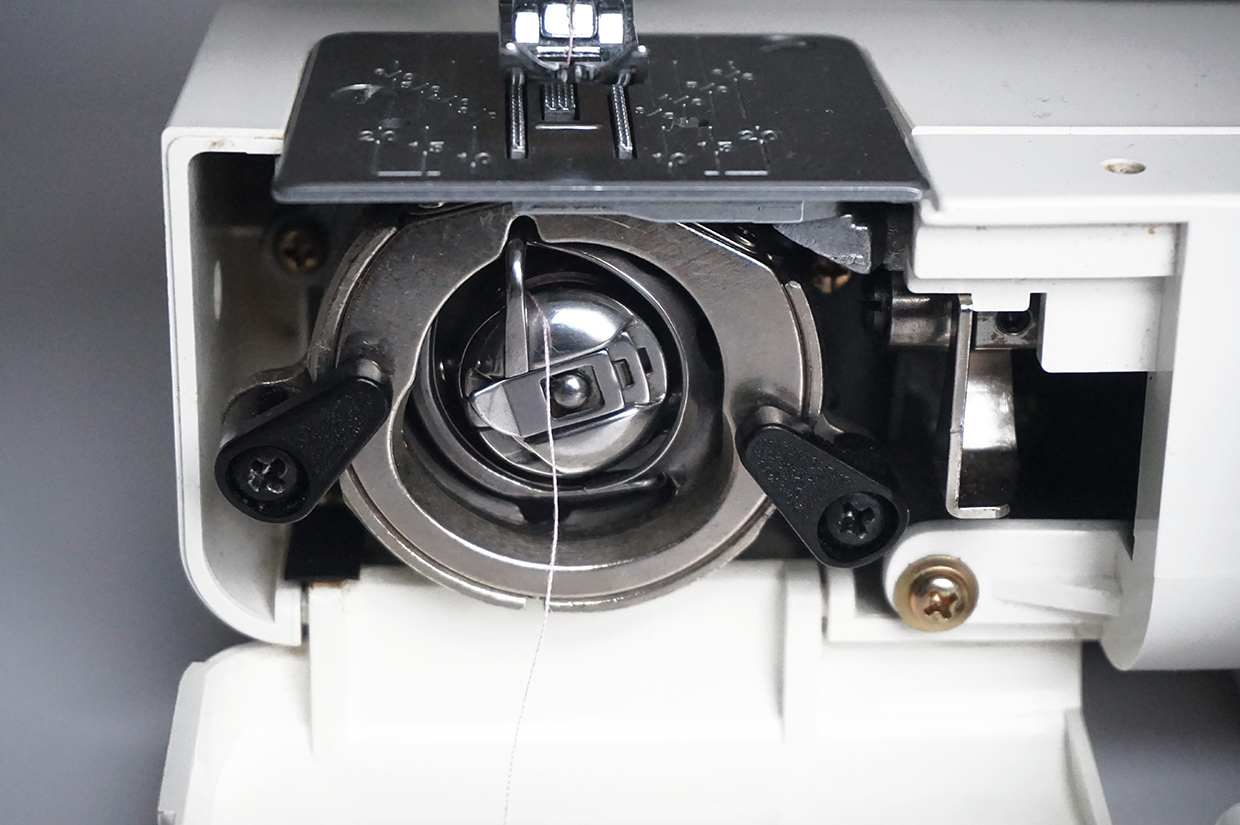
Pull out the latch then load the bobbin case into the machine, you will notice that when you pull the latch out the bobbin won’t fall out of the case.

The hole in the centre of the case sits on the pin in the machine, and the bobbin case ‘ear’ (the bit at the top that sticks out) also slots into a notch in the outer ring of the machine casing. Push until the bobbin clicks into place.

How-to-thread-a-bobbin-inserting bobbins step5
How-to-thread-a-bobbin-inserting bobbins step5B


Step 6

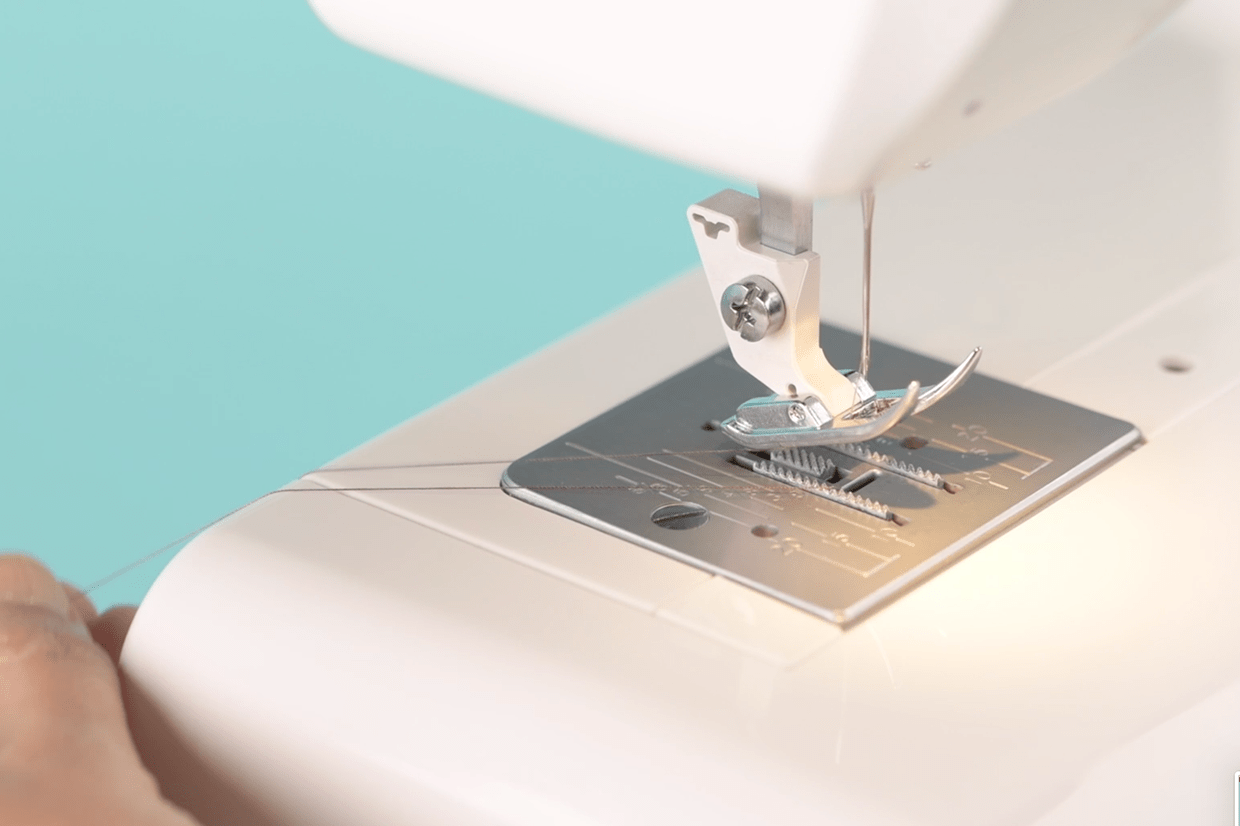
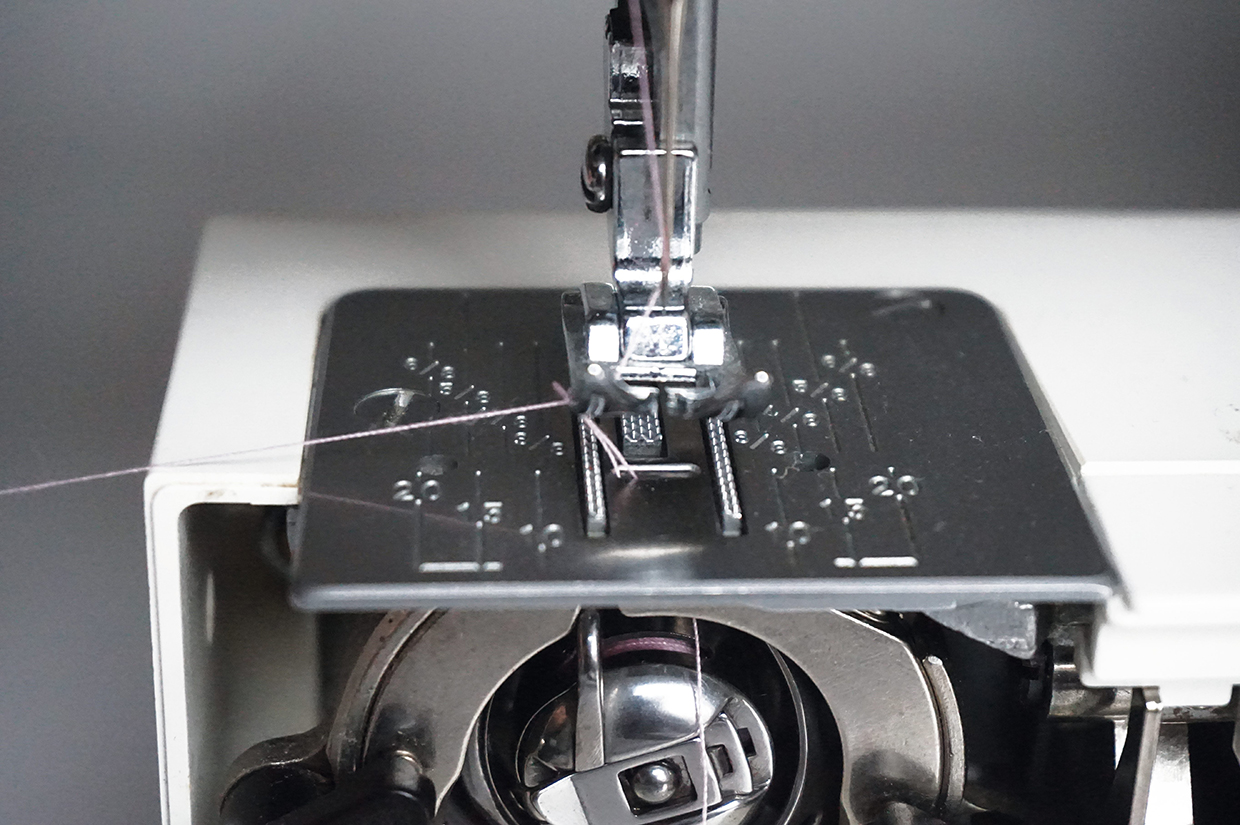
Hold onto the end of the top thread and with your right hand turn the handwheel towards you to lower and raise the needle.

This will cause the top thread to catch the bobbin thread and bring it up to the surface, it will often appear as a loop that you can then pull through with your fingers or tweezers.

How-to-thread-a-bobbin-inserting bobbins step6A
How-to-thread-a-bobbin-inserting bobbins step4C


How to choose your bobbin thread

One of the best tips a good friend of mine once told me was to make sure the weight of your bobbin thread matches the weight of the top thread. If you use two threads that mismatch then your sewing could suffer as a result.

Another good tip (learned from painful personal experience) is to consider if the reverse of your sewing will be visible when you finish your garment or project. Nobody wants to finish quilting a whole quilt, only to inspect the back of the quilt and discover all that white thread looks awful against a dark fabric backing. Matching your thread colours will also mean if you end up with any tension issues, and stitches of the bobbin thread do poke up to be slightly visible on top, this will be less noticeable as the thread shades match.

Basically if you opt for a good quality thread that suits the fabric you are sewing on, you should be ok. See our guide to guide to sewing machine threads to find out more.

You an also buy thread packs, and even pre-wound bobbins online. We’ve included a few links here to pre-wound bobbins and online threads for different budgets, but read our tips below before buying pre-wound bobbins as it’s best to check first that they will match your machine.


How to thread a bobbin: top tips

Time at our sewing machines is precious, so follow these simple steps to make your next project simple and stress-free.

🧵 Buy more bobbins than you think you need.  Pre-wind a selection of your most used colours in your most used thread type – you’ll thank yourself when you run out mid-project!

🧵 Use bobbins that are made for your machine. Metal and plastic bobbins aren’t interchangeable. Always check your manual as using the incorrect bobbin can damage to your machine.

🧵 Don’t double wind – practical yes, but the chance of things going wrong increase tenfold when you wind one colour on top of another .

🧵 Pre-wound bobbins can be a great time-saver but only if you can buy the specific bobbin type that your machine needs with a thread that is suitable for your project. If in doubt, take the time to wind your own bobbin to prevent thread nests, needles coming unthreaded, and a host of other annoying problems!


Knowing how to thread a bobbin is an essential sewing skill

Threading a bobbin often presents a challenge for new sewers, but it’s easy to do once you know how! Although every sewing machine is different, the same basic technique can be used for most machines.

Learning how to thread a sewing machine is one of the first techniques that beginners need to master. Understanding how the bobbin works can make the process much easier!

Choosing your first sewing machine

Are you ready to take the plunge and invest in your first sewing machine? With so many machines on the market, it can be difficult to know which one to pick.

Get started with Gathered’s guide to the best sewing machines.

Young woman with glasses setting up her sewing machine