Japanese knot bag pattern

Sew a sparkly accessory with Shikira Alleyne-Samuel’s embellished Japanese knot bag pattern

6 issues of Simply Sewing magazine for £14.99|Save 78%!

Published: January 23, 2023 at 7:00 am

This beautiful Japanese knot bag pattern can be used to carry your shopping or anything you fancy! It's a pretty yet practical pattern that you're bound to get a lot of use out of. Japanese knot bags fold away easily for storage, so they're always handy to carry around with you.

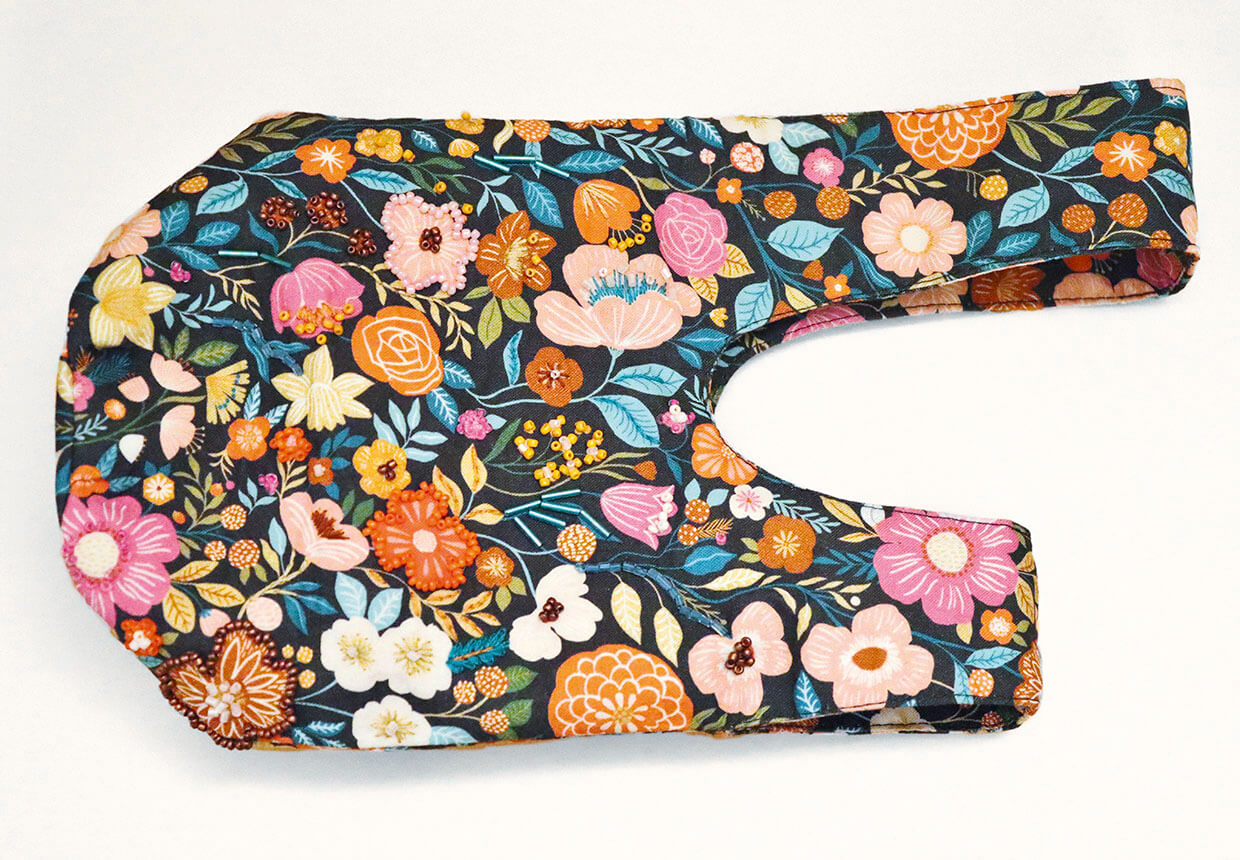
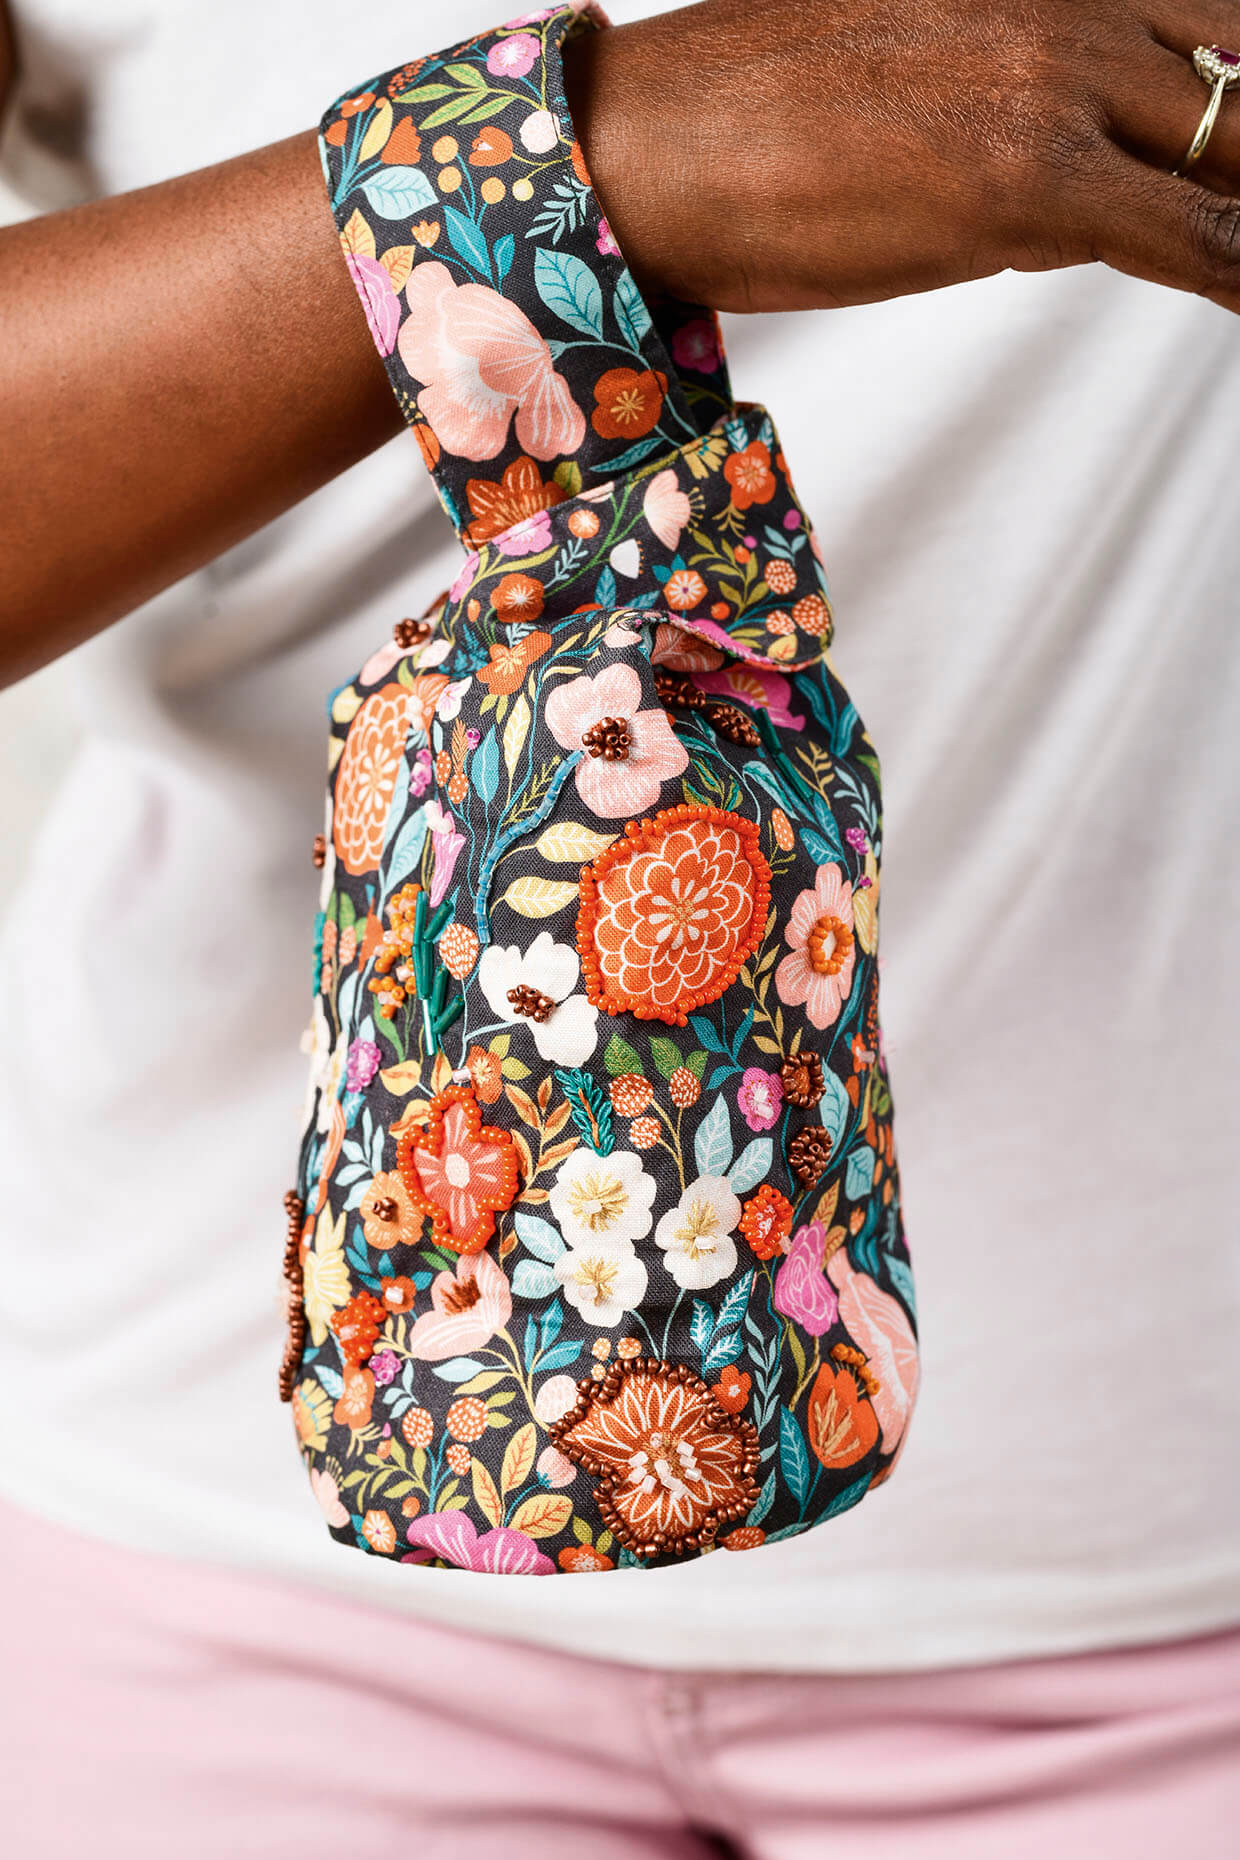
What is a Japanese knot bag? A Japanese knot bag is an open tote bag with one handle longer than the other. It's designed so that you can put the long handle through the short one to close the top of the bag. You can then hook the bag over your wrist so that you can carry it easily. It also stops the contents of the bag falling out – which can be very useful if you're on the go.

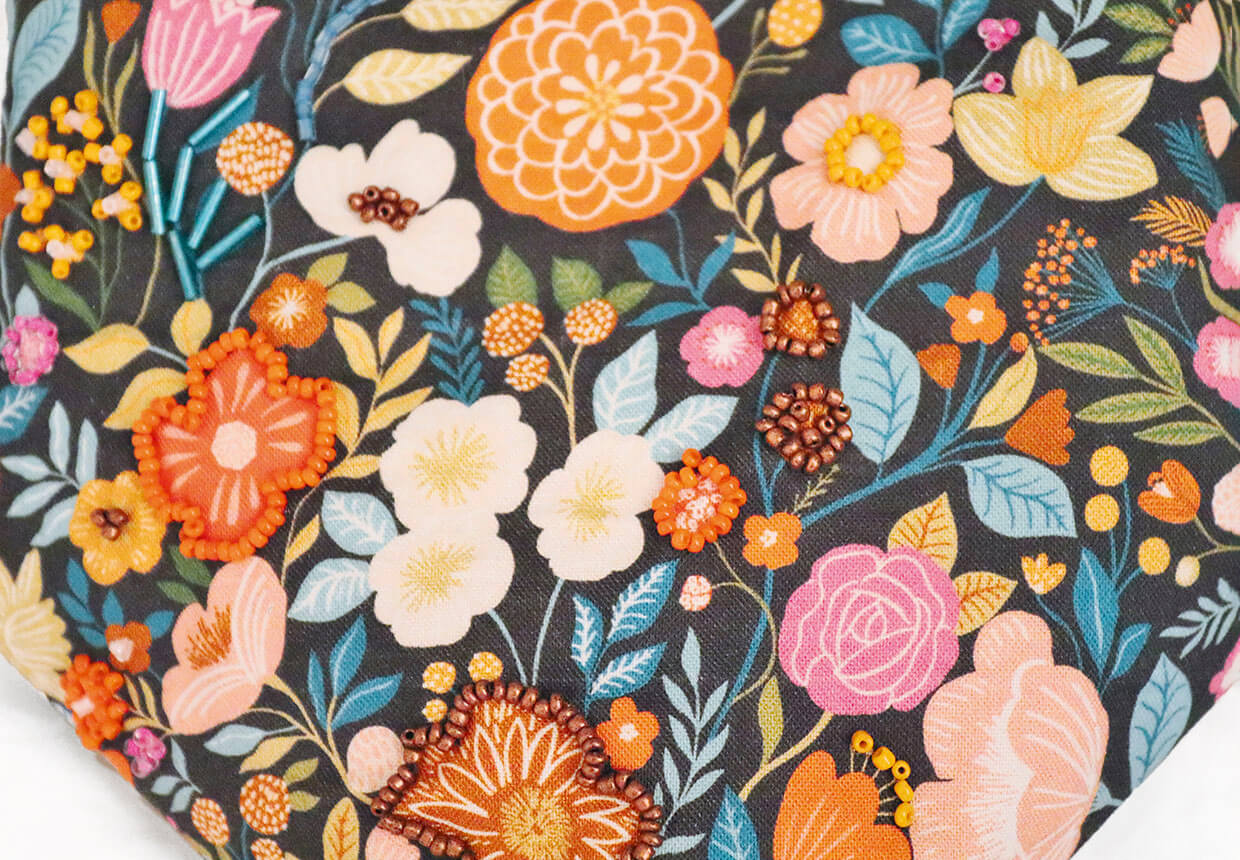
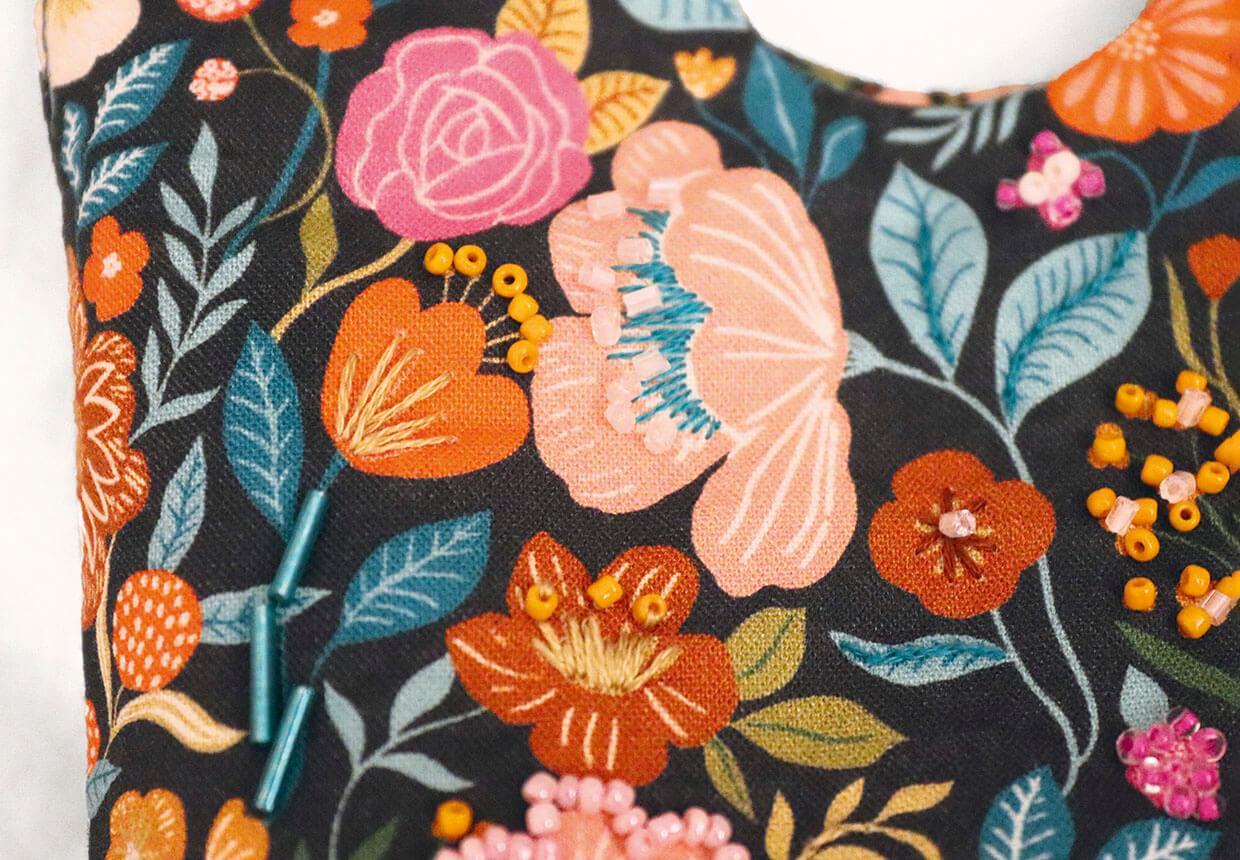
There's no need for buttons or zips, which makes this an easier project to sew. We've embellished this design with beaded flowers, but you could leave it plain if you prefer.

This Japanese knot bag pattern was first featured in Simply Sewing Magazine. Simply Sewing is a beautiful and practical magazine for those who sew or want to learn. It's full of fantastic patterns to sew, as well as expert workshops to help you improve your sewing skills.

If you're new to sewing, we'd recommend taking a look at some of our beginner's guides before getting started. Check out our sewing for beginners and how to use a sewing machine guides for lots of practical advice.

You can also stock up on sewing supplies with our sewing kits for beginners and best sewing machines for beginners guides.

Read on to learn how to make this Japanese knot bag pattern…

Notes

  • Seam allowance is 1cm.
  • We used DMC stranded cotton in colours 422, 3853, 3812 and 975.
  • Download the Japanese knot bag templates (named 'Beaded bag' in the PDF download)
You will need:

  • Main fabric (floral) (50x112cm)
  • Lining fabric (50x30cm)
  • Iron-on interfacing
  • Beading and embroidery needle
  • Seed beads and bugle beads (in various colours which match the main fabric)
  • DMC stranded cotton in coordinating colours
  • Matching thread
  • Basic sewing kit

Cutting out

Step 1

From the main fabric cut:

  • Outer Bag: two using template 1
  • Handle Lining: two using template 2
  • Outer Base: one using template 3

Step 2

From the interfacing cut:

  • Outer Bag Interfacing: two using template 1
  • Handle Interfacing: two using template 2
  • Base Interfacing: one using template 3

Step 3

From the lining fabric cut:

  • Base Lining: one using template 3
  • Main Bag Lining: two using template 4

Step 4

Press the interfacing to the backs of the Outer Bag and Base and Handle Lining.

Step 5

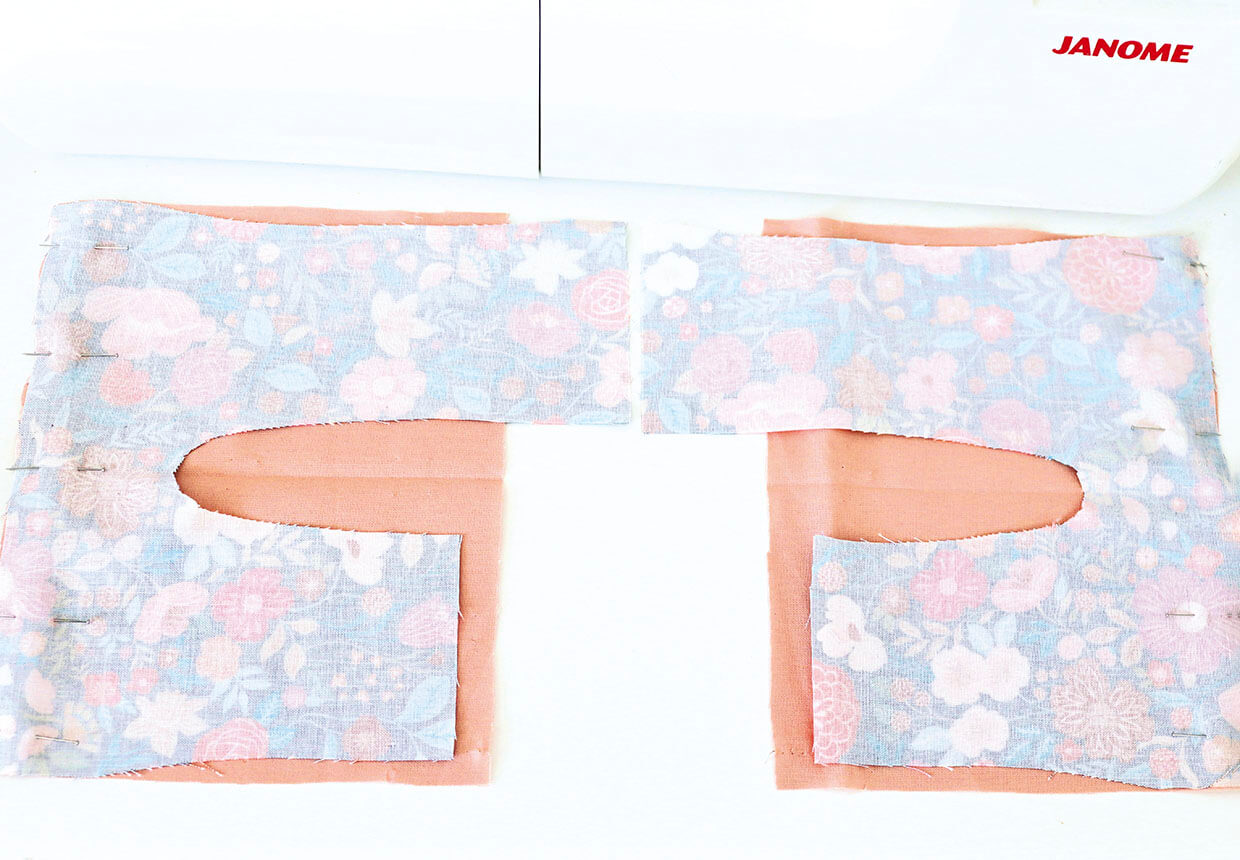
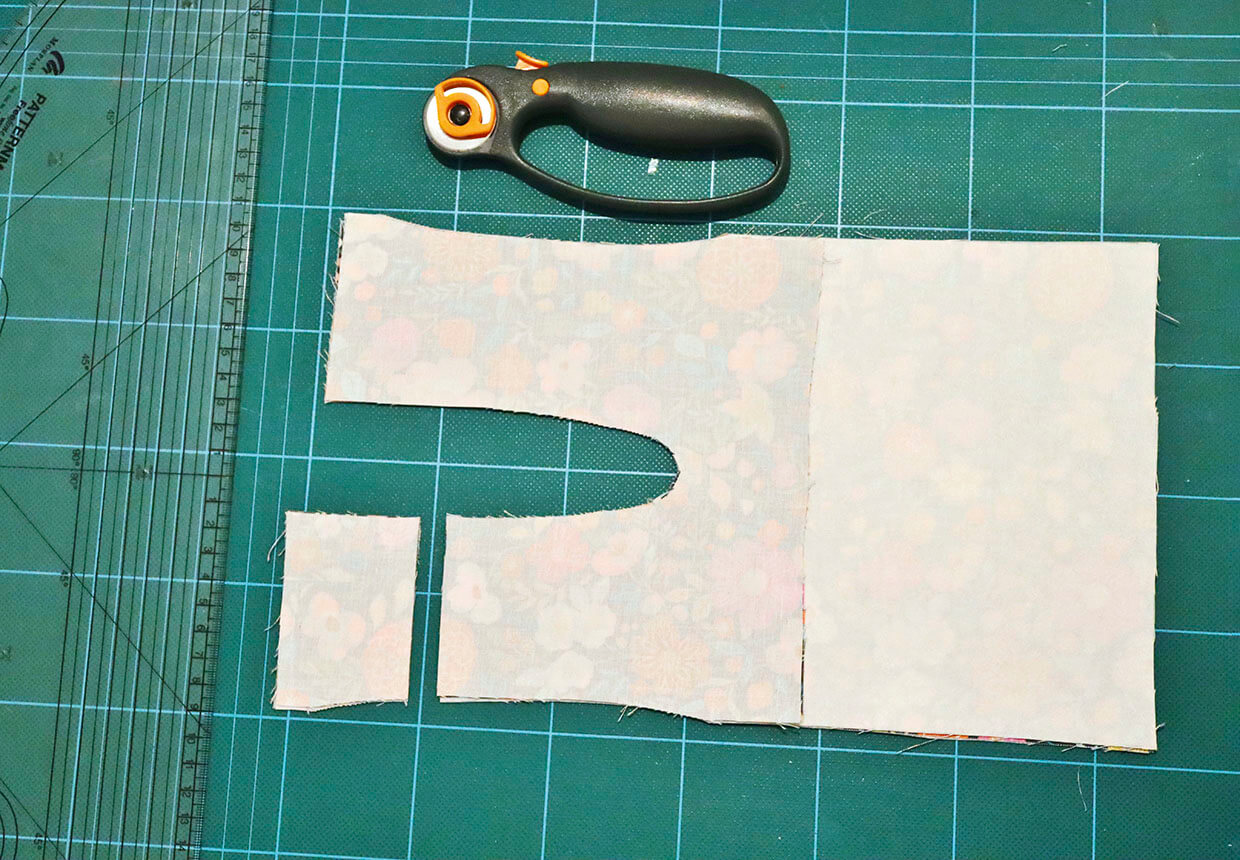
Place the Outer Bag and Handle Lining pieces right sides (RS) together. Measure 5cm from the top of one side of the handles and cut a piece away.

Measuring the handles and cutting them to the right size

Making the outer and the lining

Step 1

Pin the Handle Lining and the Main Bag Lining RS together to make a full bag piece. Stitch using matching thread. Repeat to sew the other Handle Lining and Main Bag Lining pieces together in the same way.

Sew the handle lining to the main bag lining

Step 2

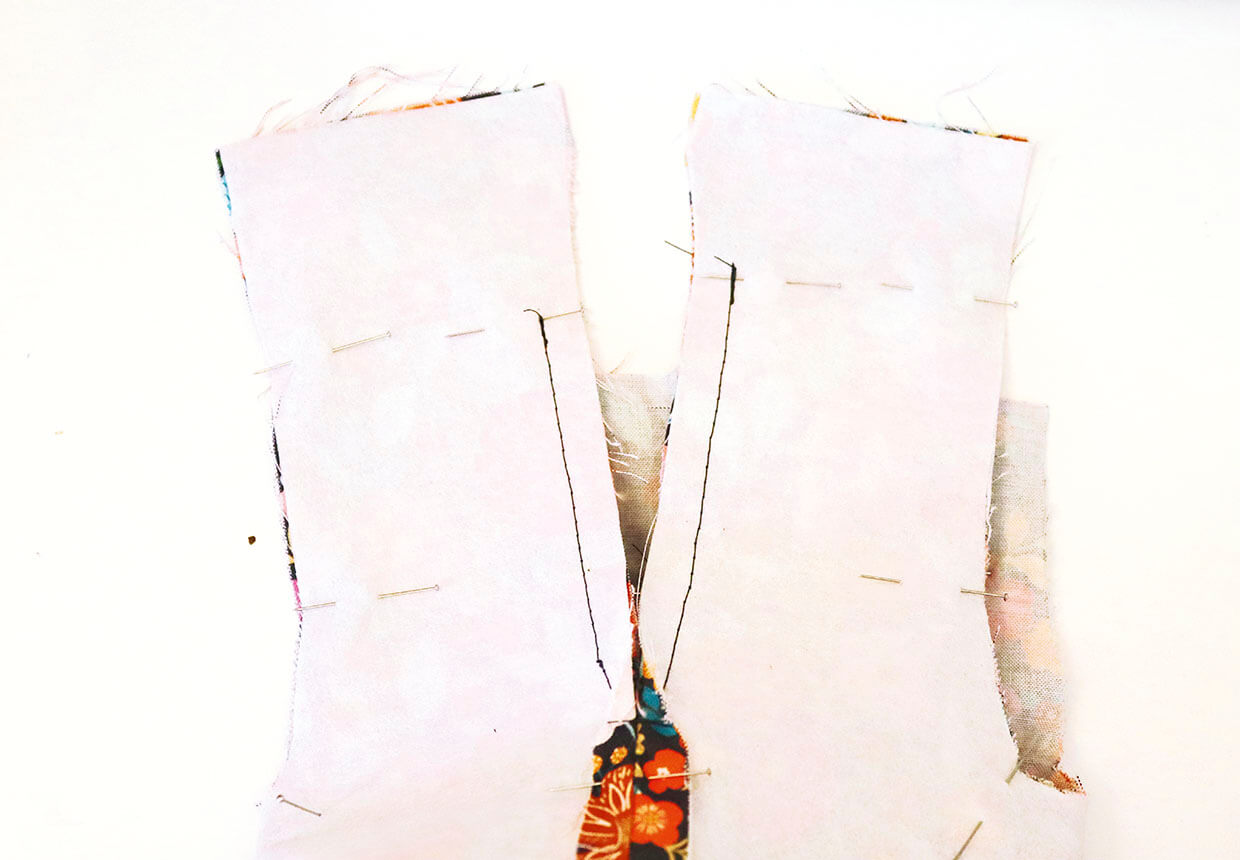
Pin the two assembled lining pieces RS together. Stitch from the bottom of the handle to the base on one side. Stitch the other side in the same way, leaving an 8cm gap. This will allow your hand to get through later when you are adding the beading.

Pin the two assembled lining pieces RS together

Step 3

Assemble the main fabric Outer Bag pieces in the same way but this time leave no openings. Press seams open.

Step 4

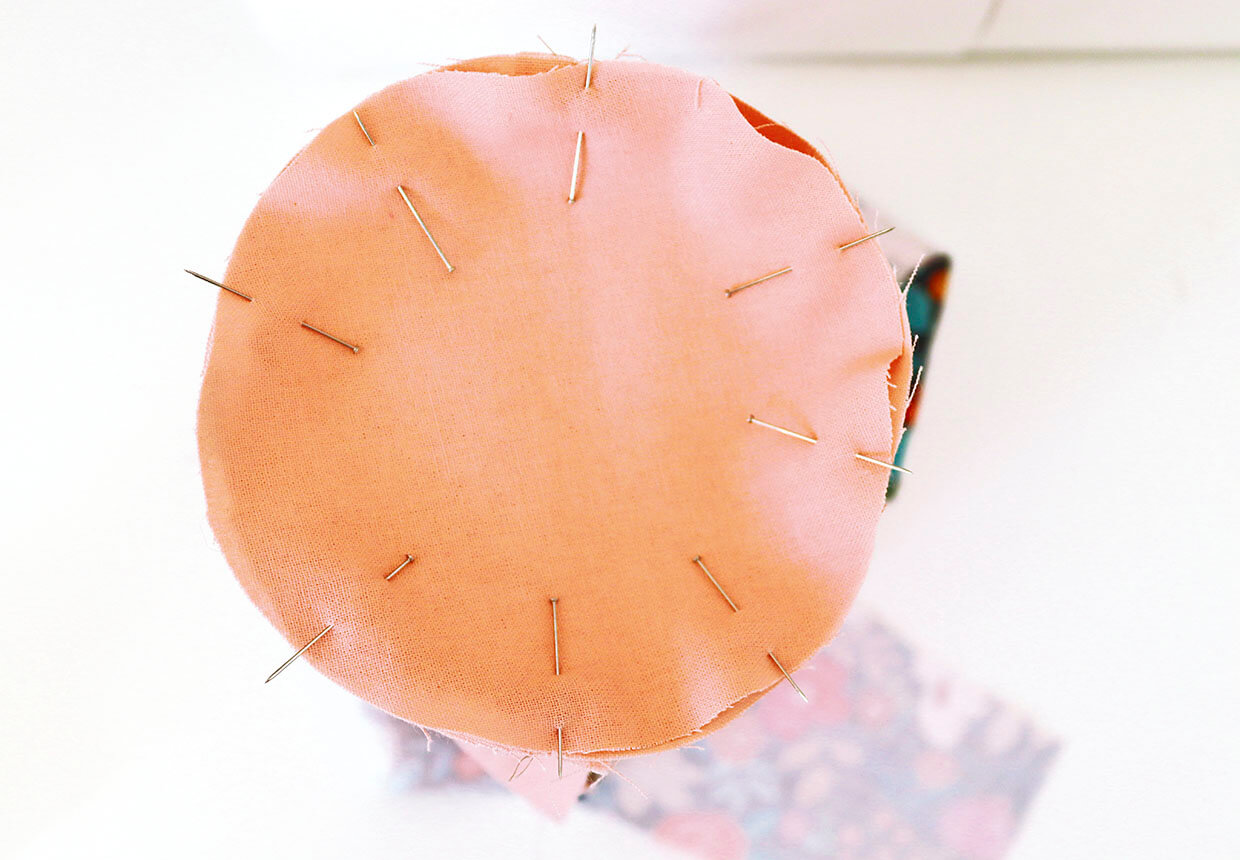
Pin then sew the circular Base Lining to the bottom of the Lining pieces. Repeat to sew the Outer Base to the Outer Bag.

Pin then sew the circular Base Lining to the bottom of the Lining pieces

Step 5

Turn both the Lining and Outer wrong sides (WS) out and place the Lining inside the Outer. The RS of the fabric should be facing. Stitch from the bottom of the handle to the top, leaving a 5cm gap at the top.

Turn both the Lining and Outer wrong sides (WS) out and place the Lining inside the Outer

Step 6

Repeat inside the handle, stitching around the centre and back up to the handle on the other side.

Repeat inside the handle, stitching around the centre and back up to the handle on the other side

Step 7

Turn your bag RS out to check everything. Turn the handles RS out through the top opening and the rest can be turned out through the opening which was left on the side of the lining. Make any necessary amendments then turn WS out again.

Step 8

Snip into the seam allowance around the Base pieces and also around the curve at the centre of the handles. You can also trim some of the seam allowance away to make it less bulky.

Finishing the handles

Step 1

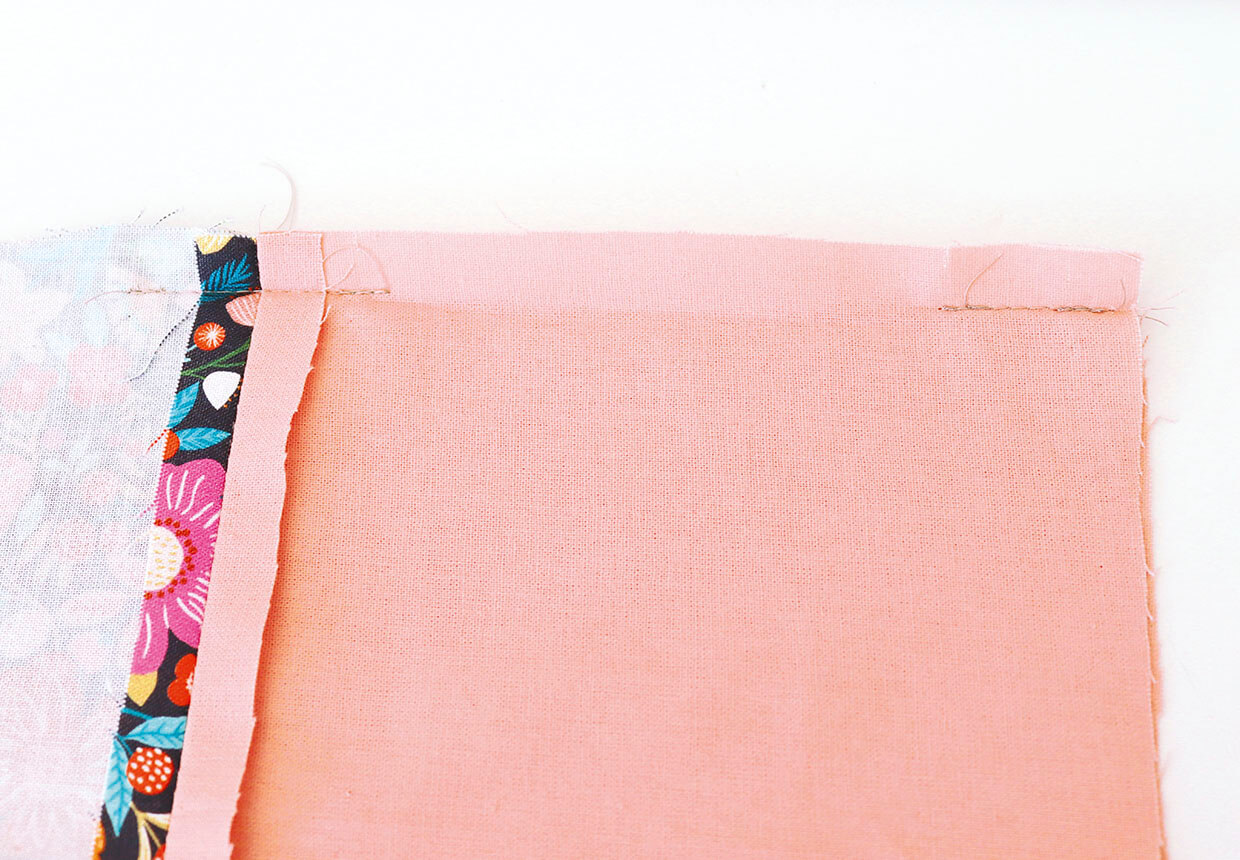
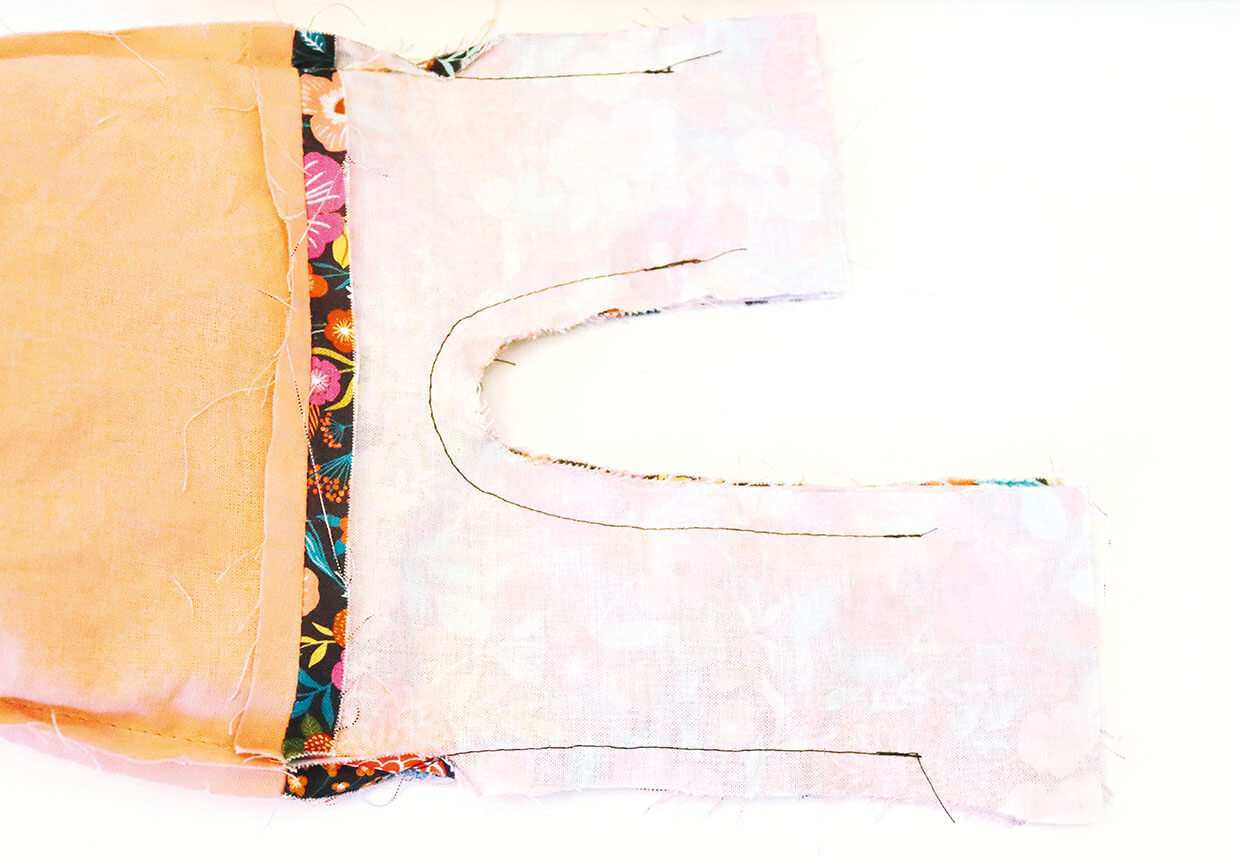
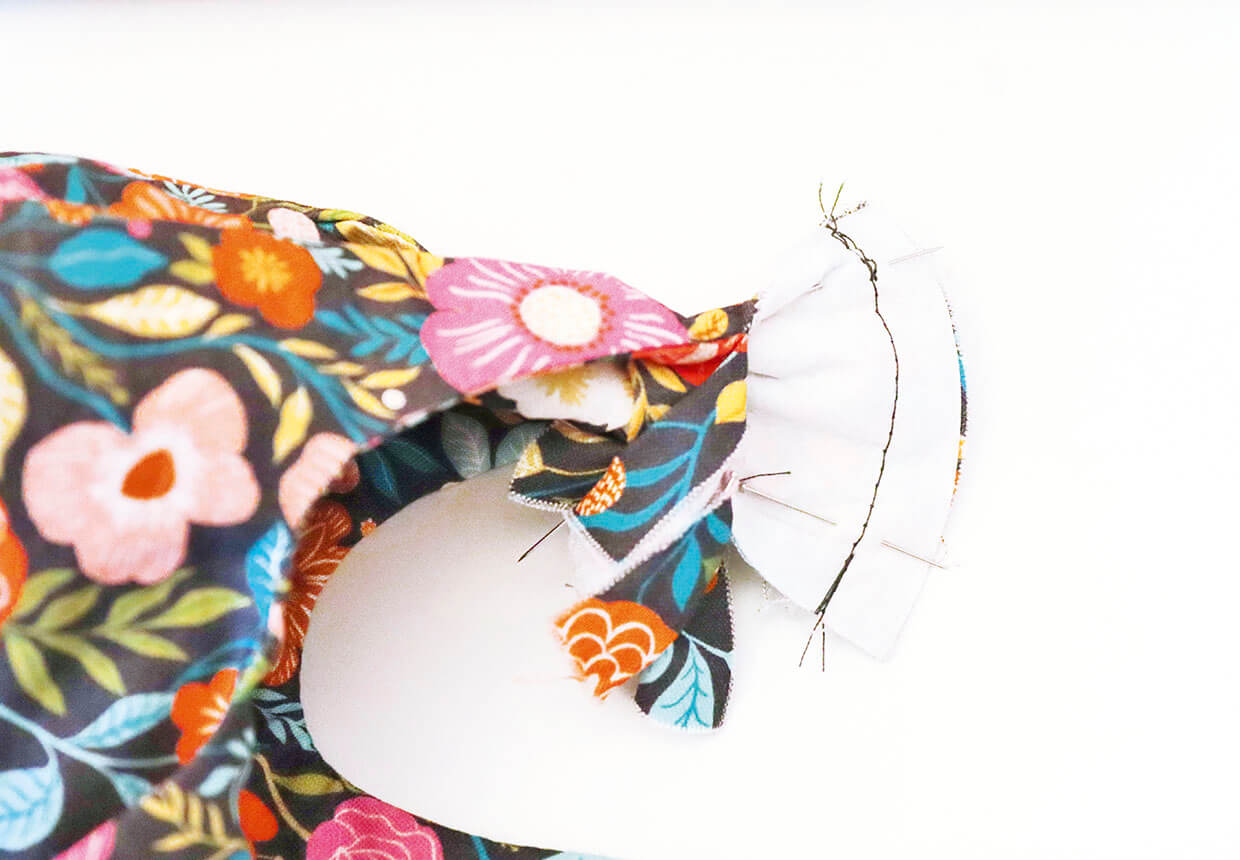
Turn your bag RS out. Align the tops of the Handle Lining pieces with RS together then stitch across the top.

Turn your bag RS out. Align the tops of the Handle Lining pieces with RS together then stitch across the top

Step 2

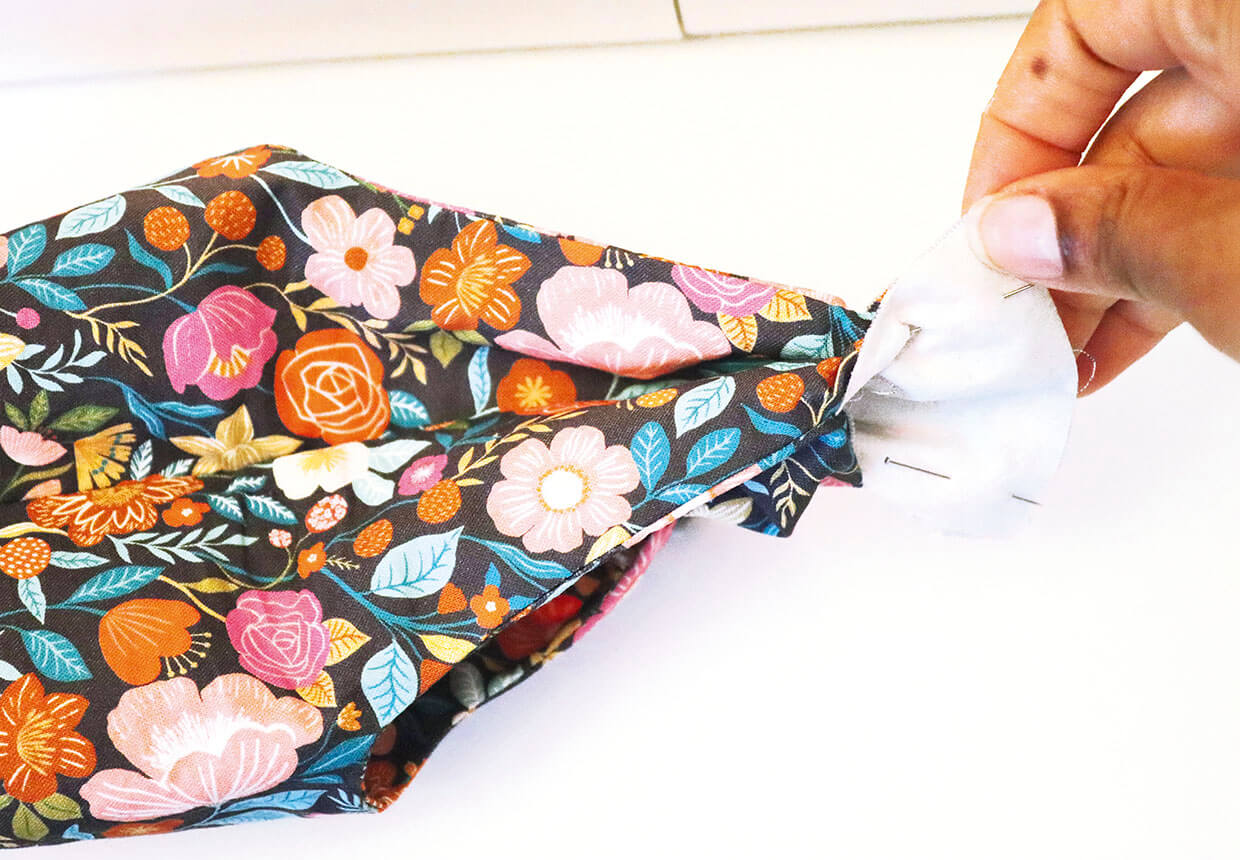
Repeat to join the Outer Bag handles with RS facing. This one is a little tricky because you will have to pull the fabric around to match them up.

Repeat to join the Outer Bag handles with RS facing

Step 3

Once all the handle tops are stitched, finger press the seams open. You’ll notice how these seams fall into place tucked inside the handle. This will allow you to press the seams all around the handles and pin ready for the topstitching.

Step 4

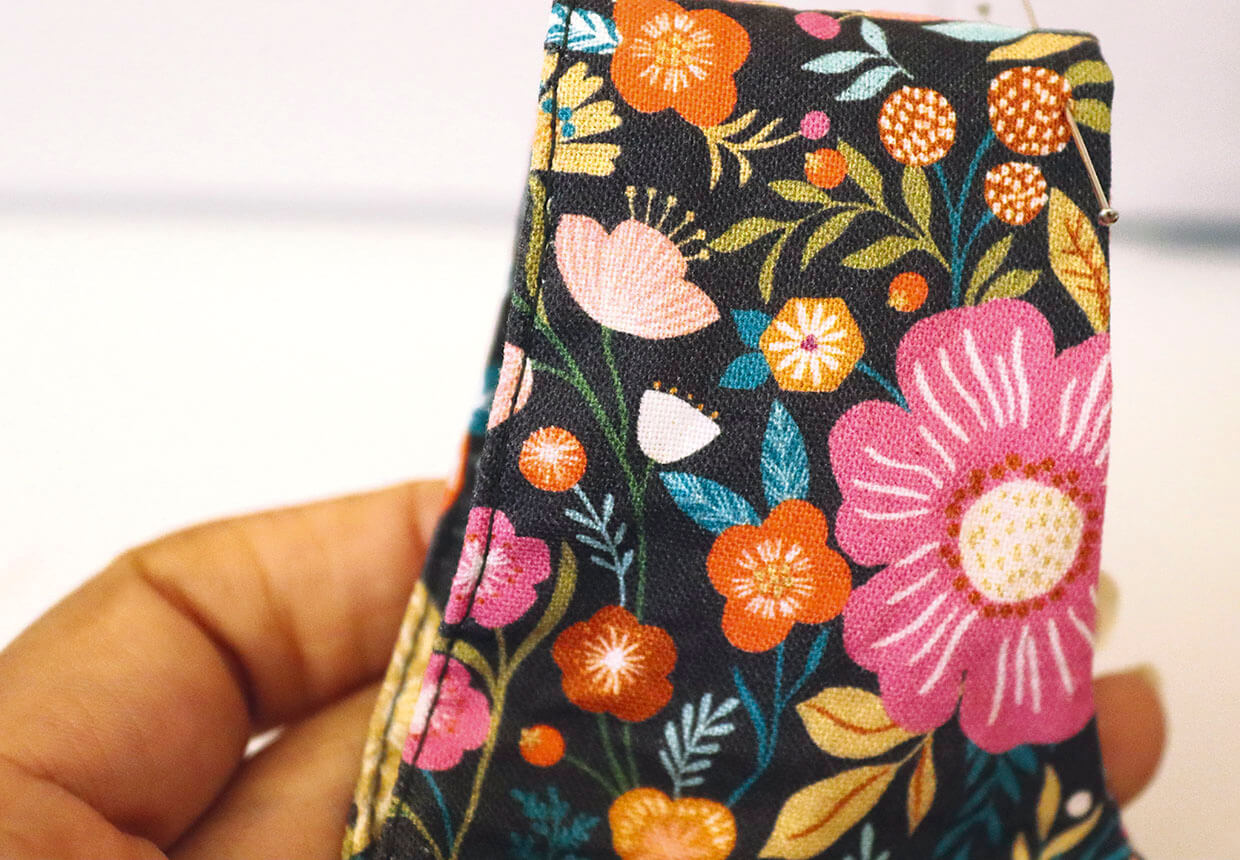
Topstitch 1–2mm from the edge of the handles (both the inside and outer edges) following the curve along to other side of the bag handle.

Topstitch 1–2mm from the edge of the handles (both the inside and outer edges) following the curve along to other side of the bag handle

Embellishing the bag

Step 1

Using the opening left in the lining you can gain access to easily bead the fabric. Use a range of seed beads and bugle beads to bead the flowers.

Using the opening left in the lining you can gain access to easily bead the fabric. Use a range of seed beads and bugle beads to bead the flowers

Step 2

Use embroidery stitches to enhance the flowers.

Use embroidery stitches to enhance the flowers

Step 3

Once the beading/embroidery is complete, neatly close up the opening in the lining using a matching thread.

Once the beading/embroidery is complete, neatly close up the opening in the lining using a matching thread

This Japanese knot bag pattern is both pretty and practical

Upgrade your tote bag with this gorgeous Japanese knot bag pattern by Shikira Alleyne-Samuel.

Japanese knot bags are designed with one handle longer than the other, so you can loop it over your wrist. This makes it easy to carry and stops all of your belongings from falling out! They also fold away, so they can be stashed away in your handbag or backpack when you’re on the go.

You can embellish your bag with beautiful embroidered designs or keep it plain if you prefer. It’s guaranteed to be your new go-to tote!

Japanese knot bag pattern

Update your accessories with a brand new bag

Feeling bored of toting around the same old backpack? Or is your satchel looking a little shabby? There’s no need to go to the shops to buy a new one – you can sew your own bag to suit your personal style!

Discover Gathered’s best bag patterns and stitch your new favourite accessory.