All products were chosen independently by our editorial team. This review contains affiliate links and we may receive a commission for purchases made. Please read our affiliates FAQ page to find out more.

Easy watercolor flowers: how to paint watercolor flowers step by step

Have you been admiring beautiful watercolor flowers on Instagram or Pinterest? We'll show you how with our easy watercolor flowers guide – it's a lot easier than you might think!

Try our magazines – get 6 issues from just £9.99!

Published: January 14, 2022 at 2:51 pm

Watercolor flowers are one of the best projects to to try if you want to get into watercolor painting. You'll be able to master the basics very quickly and you'll soon be making your own beautiful paintings.

Watercolor flowers are easy and immensely satisfying to paint. There are so many different kinds of flowers that you could potentially paint, from roses and poppies to primroses and geraniums. When you first start painting, you may find it useful to have some flowers to work from in front of you – or you might find it easier to work from photos.

You can paint realistic flowers (although that takes a bit of practice) or looser watercolor flowers which are quicker and look more like illustrations in appearance. Experiment and see what works for you! You'll begin to develop your own painting style and learn what works for you.

You can use your easy watercolor flower paintings to decorate your journals, to create cards for friends or as artwork to display on your wall. The whole process is deeply relaxing and it's a lovely way to spend an evening or an afternoon.

Looking for more watercolor inspiration? Check out our watercolor painting ideas for beginners, learn how to paint a watercolor galaxy or our how to use watercolor pencils guide.

In this easy watercolor flowers guide, we'll look at the basic techniques you'll need to master before you begin and what materials you'll need to get started. We'll be breaking everything down into clear steps for you to follow, so you'll be able to paint beautiful watercolor flowers even if you've never used these paints before. Feel free to adapt this watercolor tutorial and create your own designs!

You will need

Watercolor paints

For this easy watercolor flowers tutorial, I'll be using a set of Winsor and Newton Professional watercolor paints. I really love them because the quality and colors of the paints are so beautiful, and they're lightfast so they won't fade over time. The professional range is more expensive, but I've also used Winsor and Newton's Cotman range and they're great value for money.

Here are a couple of watercolor paint sets you could use for this:

You can find more recommendations on our best watercolor paints guide.

Watercolor paper

One of the biggest mistakes beginners make is using the wrong kind of paper for their watercolor paintings. If you try to use paper that's too thin, it won't absorb the water and will warp – which doesn't look great. Using watercolor paper will help reduce the chances of this happening and keep your paintings looking neat!

Here are some recommendations for watercolor paper pads for you to try:

Watercolor paint brushes

Choosing the right brush can also make a big difference to the look of your finished painting. It's worth having at least one fine paintbrush in case you want to add some small details or slender stems to your flowers. These are also handy for painting tiny blooms and foliage.

If you're painting loose watercolor flowers, opt for a rounded brush – it'll help you to create the shapes of the petals more easily and prevent your painting from looking too precise. You want it to look relaxed and perhaps even a little untidy!

Here are a couple of brushes that I would recommend:

If you're looking for more paint brushes to buy, check out our best paint brushes for artists guide.

How to paint loose watercolor flowers

You will need:

  • Watercolor paints
  • Watercolor paper
  • Paint brushes
  • Photos of flowers to work from ((optional))

Loose watercolor roses

Step 1

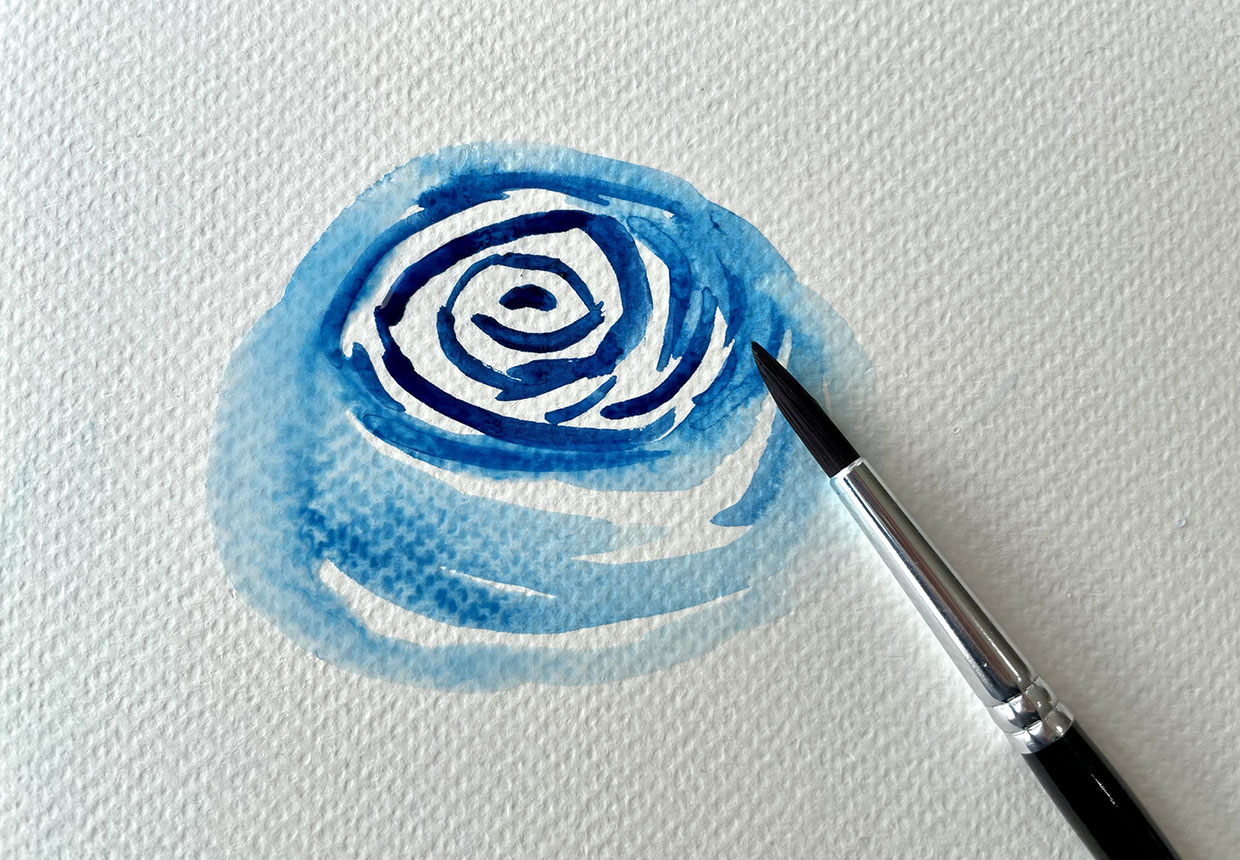
For this project, I’ve chosen to use a beautiful shade of cerulean blue. I’m sticking to one colour for this so you don’t need to worry about different colours bleeding into each other and you can concentrate on your brushwork. It will make it a lot easier!

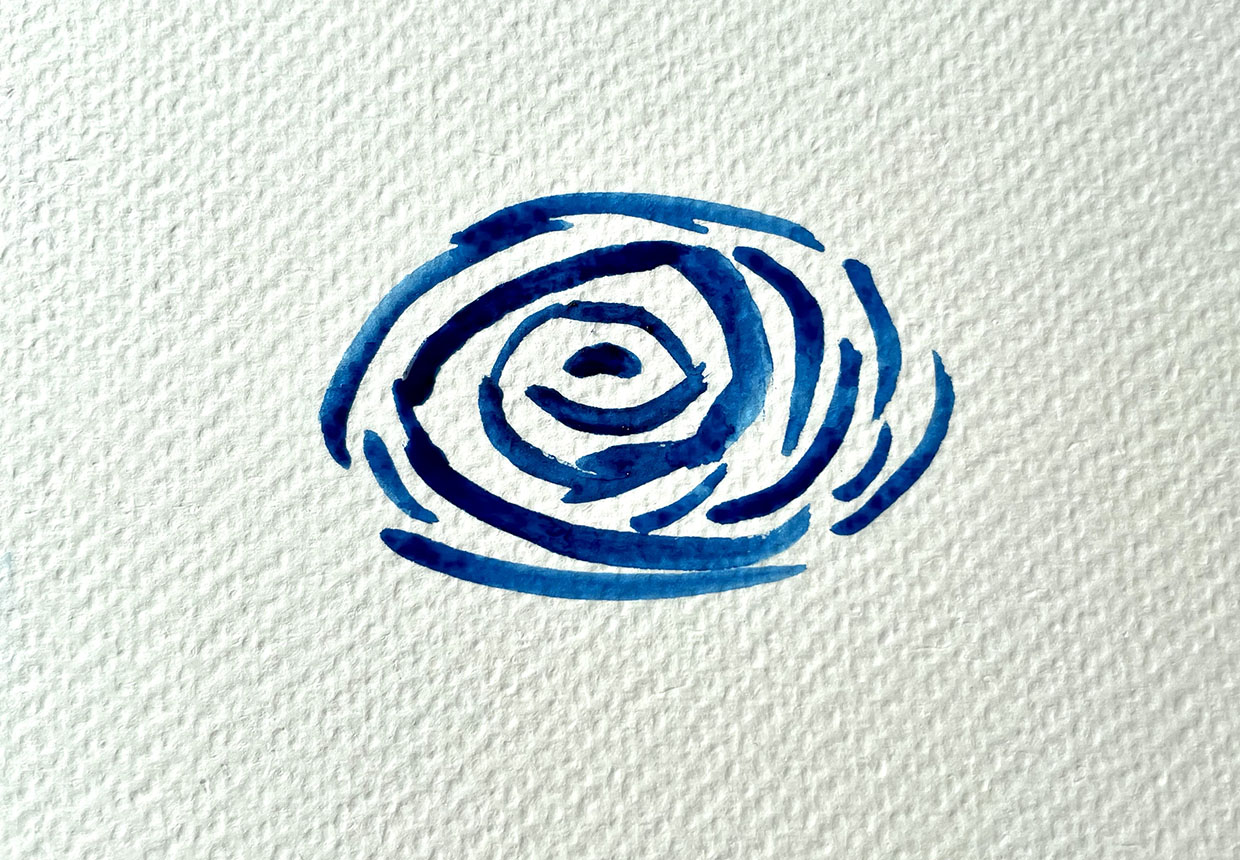
Start by creating the centre of your flower. Take a rounded brush and paint a couple of curving lines to make the middle of the rose. Hold the brush upright, so only the pointed tip is on the paper.

Painting the rose centre

Step 2

Next, wet your brush and continue to build up overlapping curved marks around the centre of your flower. Keep holding your brush upright and paint using the pointed tip.

You can water down your paints to make the colour paler, or you can wet the brush and dip it into the centre or previous layer. This should ensure that your flower is darker at the centre and paler towards the outside. Leave white gaps between the petals to keep it looking light and loose. It’s okay if the petals bleed into one another.

Building up the petals

Step 3

Dip your rounded brush in your pot of water, then sweep it around the edges of the petals you’ve already painted to make wider and fuller petals. You can now use the side of your brush rather than the tip to pull the paints outwards.

Blending the petals with a wet paint brush

Step 4

Now we’re going to paint the leaves. If you’re using more than one colour, I’d recommend waiting for the flower (or flowers) to dry before carrying on with this step.

When two colours bleed into each other it can look very effective if you’ve chosen your colours well, but if you’re not careful your painting can end up looking muddy. It’s a good idea to have some kitchen towel on hand to soak up any excess water if this happens. If you’re using one colour, you don’t need to worry about about bleeding and so you can carry on with the leaves immediately if you like.

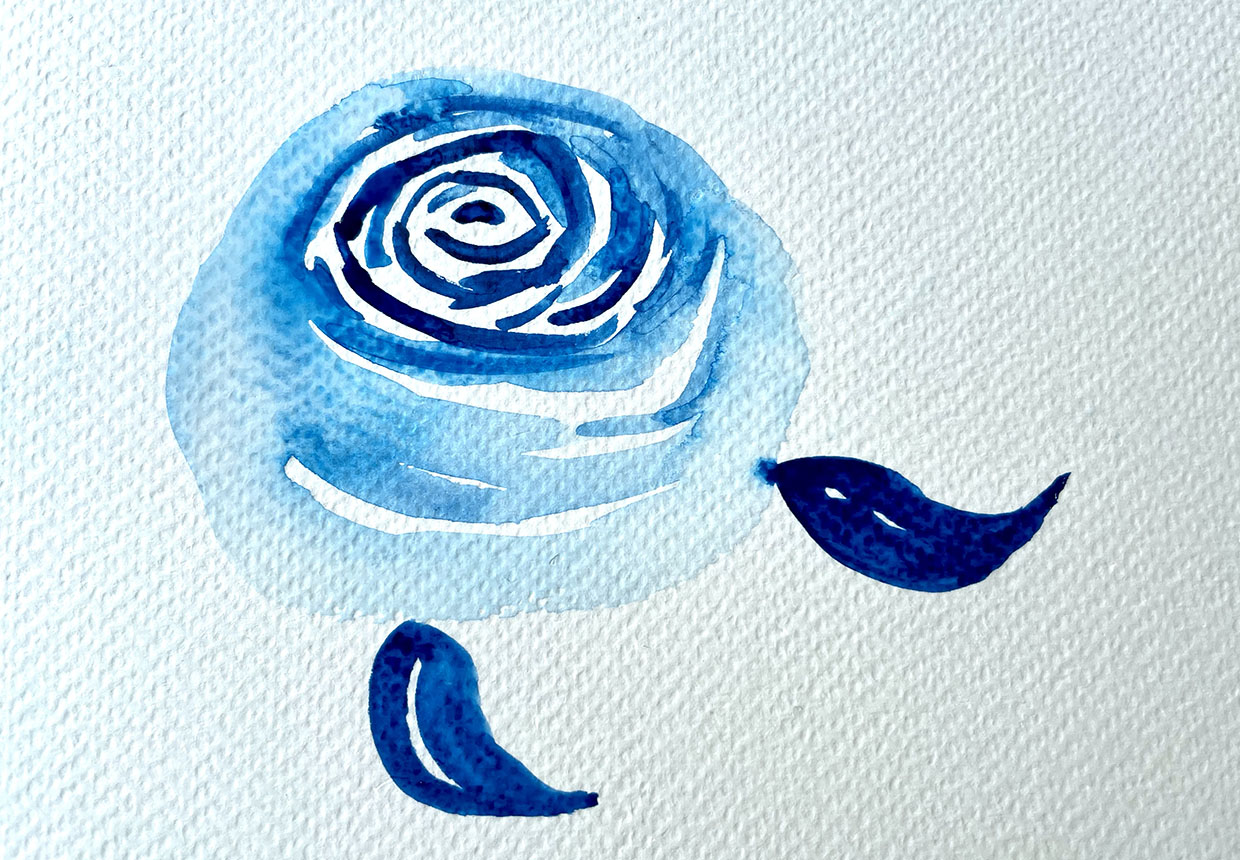
Take a rounded brush and make two curving lines to create the shape of the leaf. You can go over it a couple of times to get the shape that you want. Try to vary the shape of your leaves so they look more natural. You could use a different shade of blue for the leaves to add some interest if you like.

Adding the leaves

Step 5

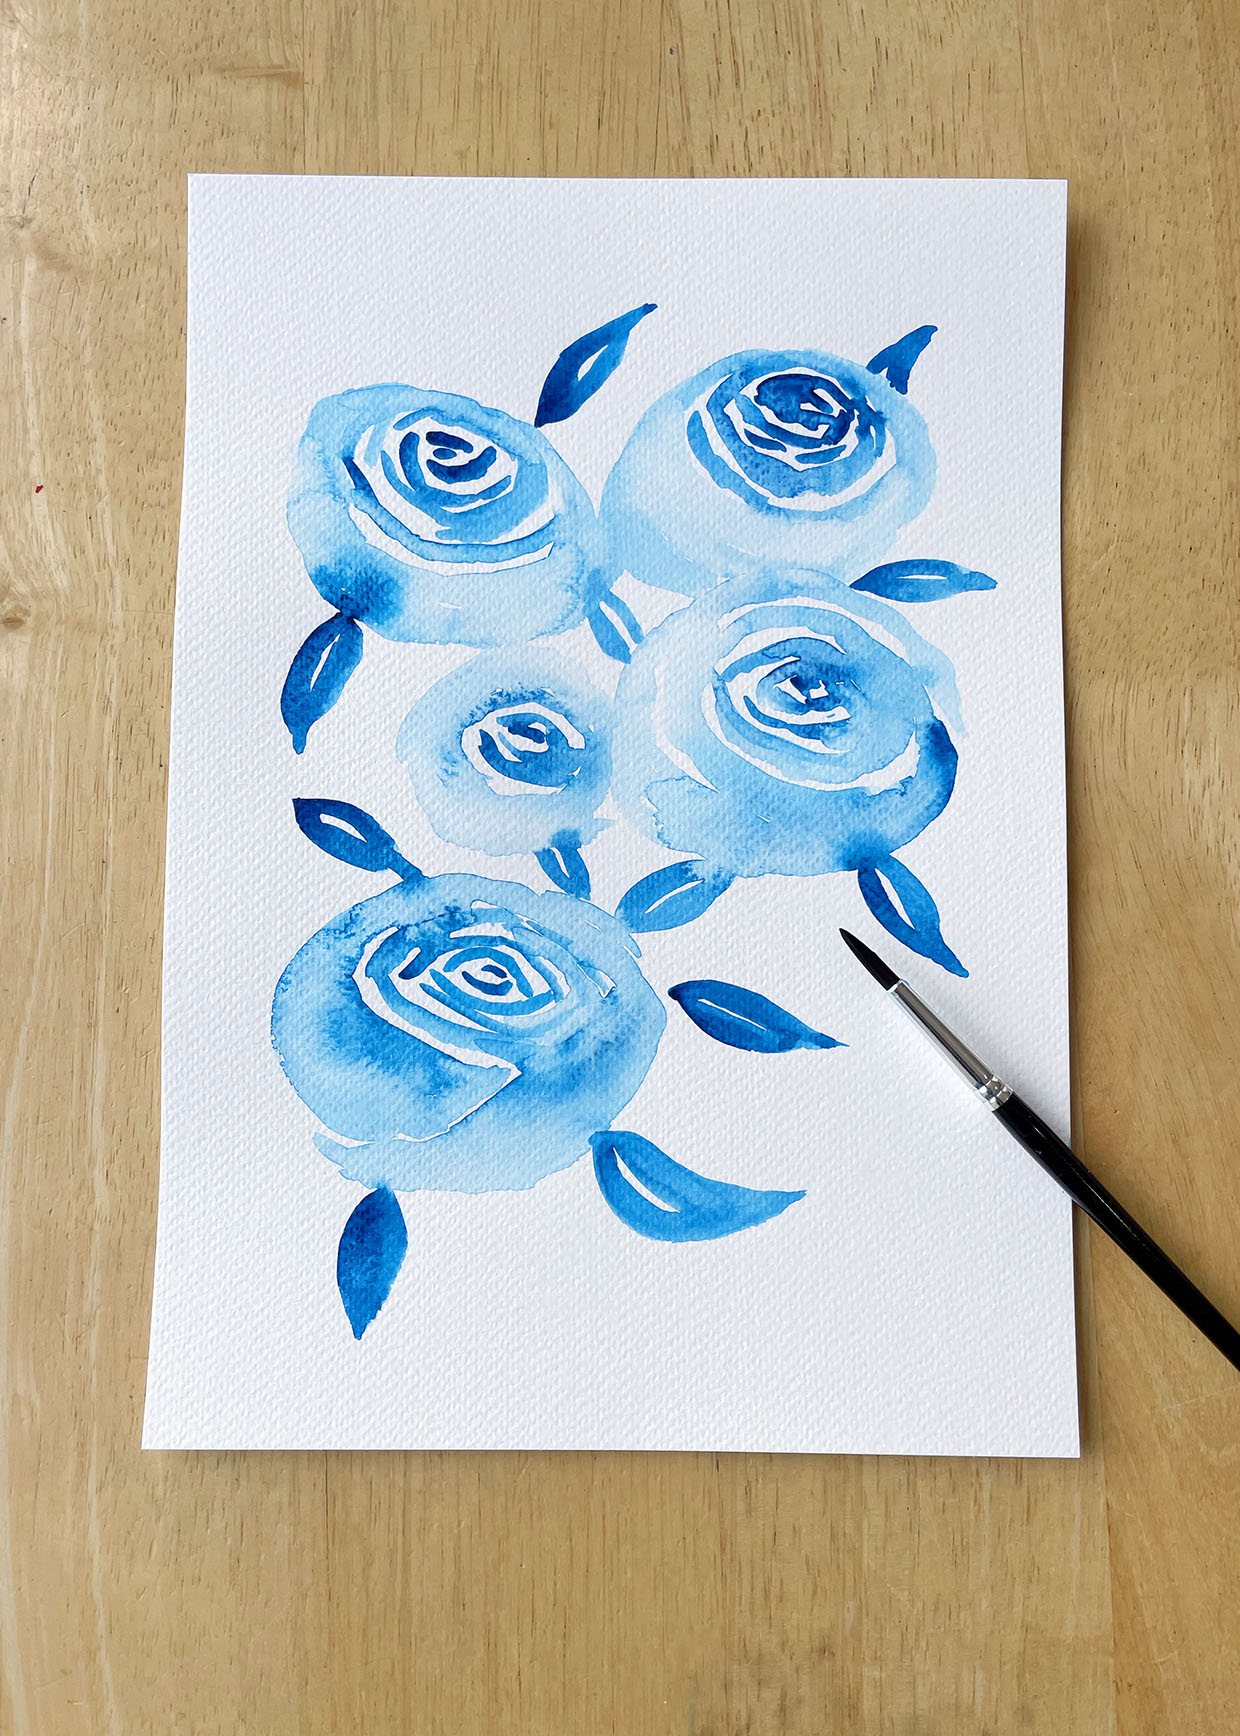
If you like, you can add more roses to complete your painting. Odd numbers of flowers always look better than even numbers. Add more leaves between them so that the painting feels tied together – it’s fine if they bleed into the roses, as we’re going for a relaxed look here.

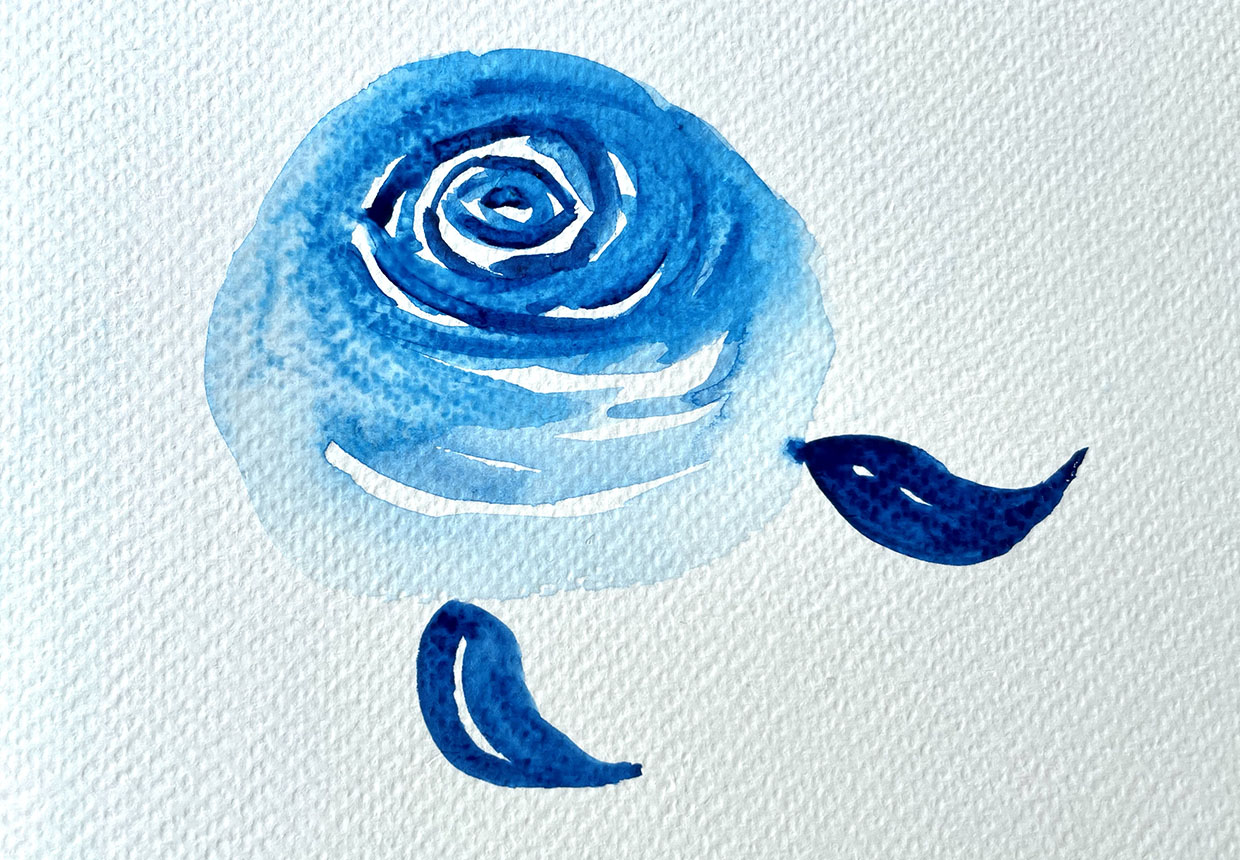
To soften the look of the roses, you can go over the centres again with a wet paintbrush. Even if the paint is dry, you should still be able to reactivate the paint and move it around with your paintbrush.

You can add some more detail to your painting at this stage or tidy it up a little, but I’d recommend not doing too much of this because this painting style is intentionally very flowing and natural. It’s fine if it looks a little rough around the edges – that’s part of the charm of this style of painting.

Softening the petals with a paint brush

Loose watercolor peonies

Step 1

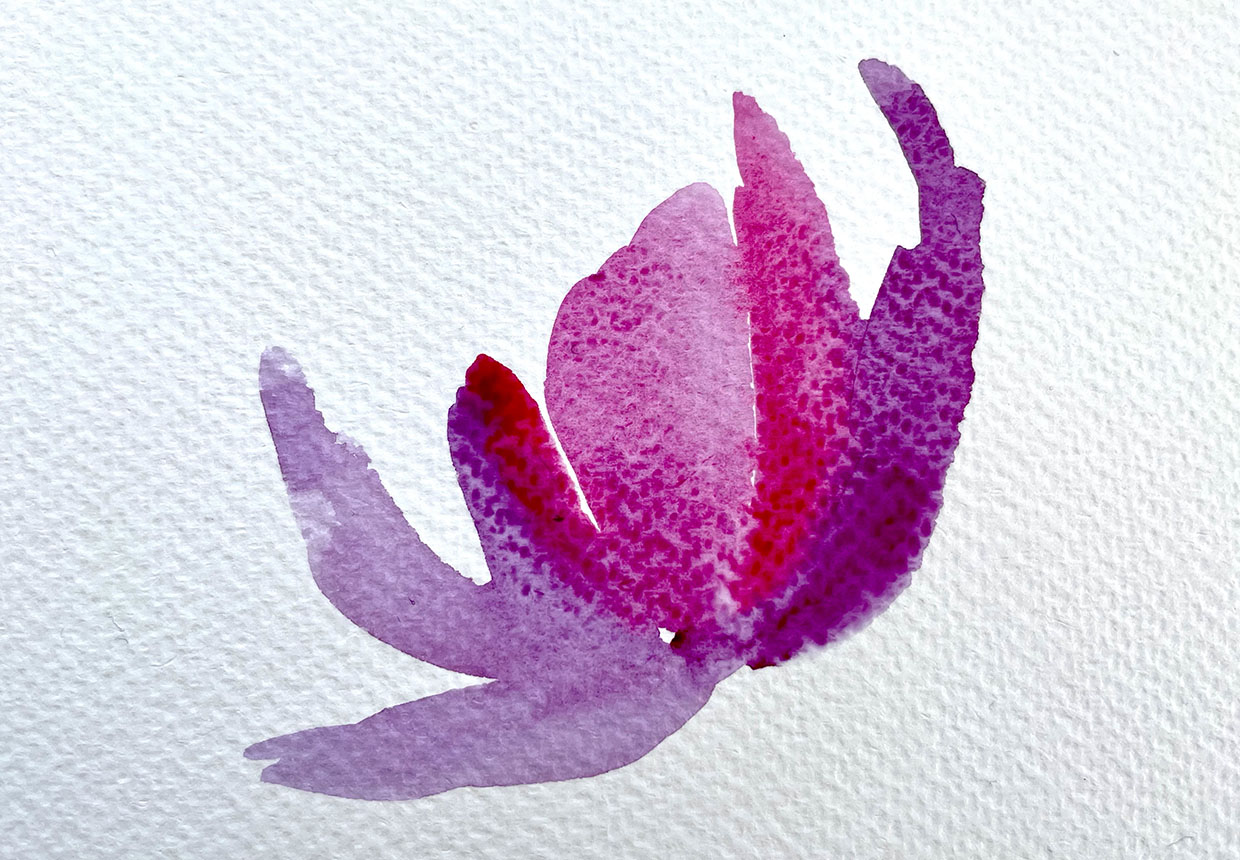
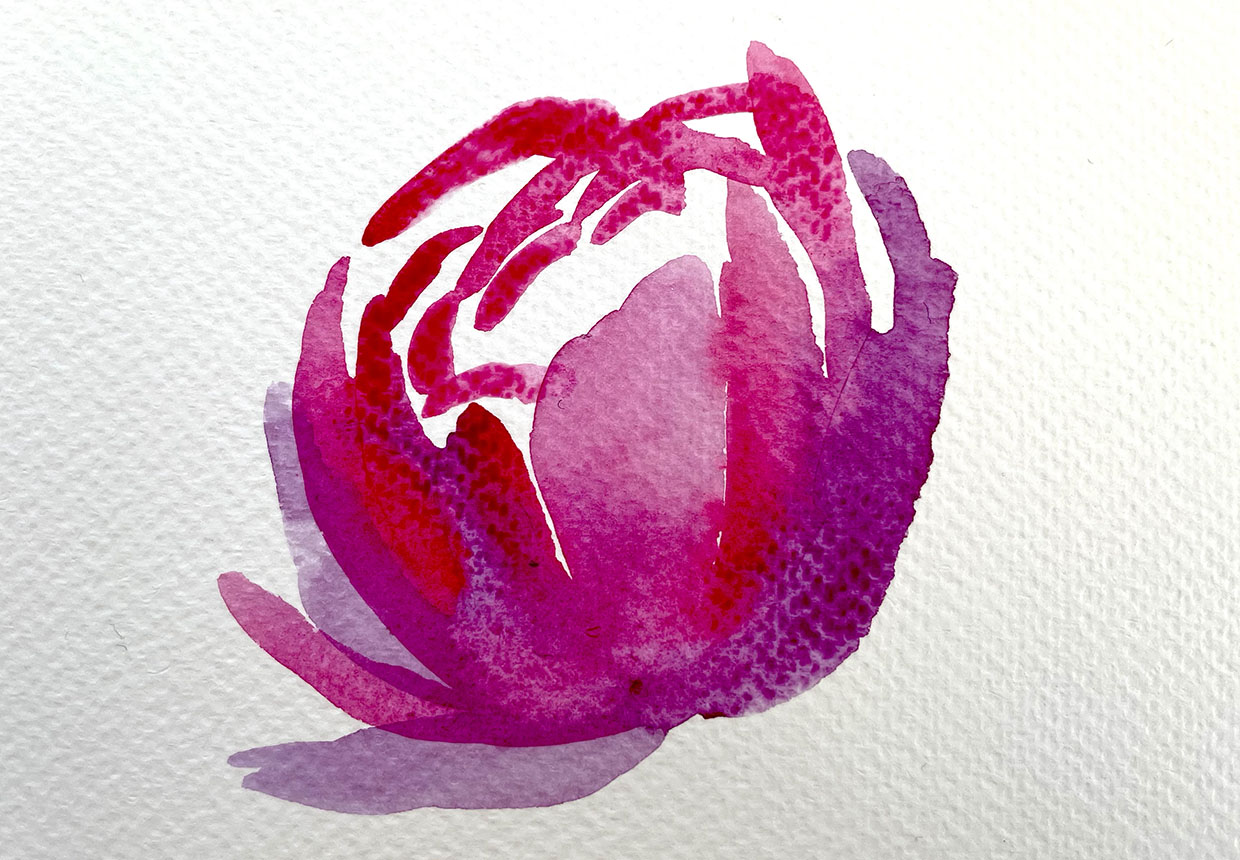
Start by creating the first layer of petals. I’ve used permanent magenta paint to paint the outer petals and switched to permanent rose for the inner petals. The front petals are wider and the petals on the edges need to be narrower and curve inwards.

Painting the first petals

Step 2

Next, add some smaller petals to the top of your flower using permanent rose paint.

Building up more petals

Step 3

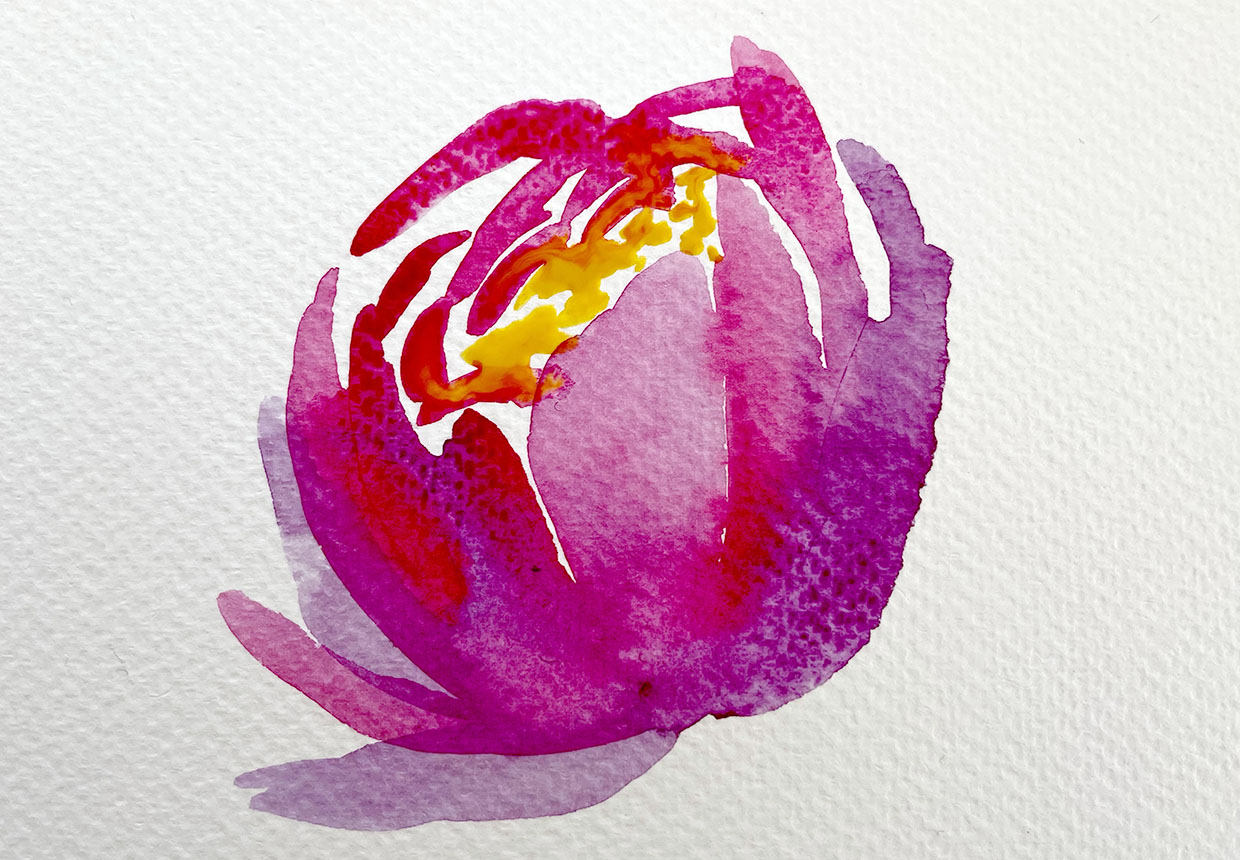
Finally, dab some cadmium yellow in the centre. You can do this when the petals are still wet so that the colours run together or wait until they’ve dried. Peonies come in all sorts of colours, so experiment to see what colours you like.

Finishing the peony

We hope you enjoyed learning how to paint loose watercolor flowers! Experiment with the examples we’ve given and have fun creating your own beautiful watercolor paintings.

The finished painting has five watercolor roses with leaves