Create a spooky scene with this haunted house drawing tutorial
The leaves are turning to autumn gold, the smell of pumpkin spice is in the air and we’re more than ready for a spooky art project!
In this easy haunted house drawing tutorial, we’ll show you how to draw your own haunted house and guide you through each step. We’ll begin by planning out the basic shape and proportions of the house, before adding detail to finish.
This fantasy house sits atop a spooky hill with a winding path leading to the front door. This ghost house drawing comes complete with (easy to draw) ghosts, a creaky tree and even the odd spider or two.
Younger kids may find it tricky to draw their own haunted house, but there’s no need for them to miss out on all the fun. We’ve created a free haunted house colouring sheet for them to colour in!
Top tips for your own haunted house drawing
- Take inspiration from real-life houses and churches: Look at some older Victorian properties as gothic architecture had a major revival at that time, culminating in the middle of the 19th century.
- Think about your angle: If you’re a beginner, draw your haunted house at eye-level (like you’re looking at the house straight-on). This technique eliminates the need for complicated perspectives and proportions.
- How to draw accurately: If you’re aiming for precision, hold the pencil near the tip as this will give you more control.
- Practise your haunted house drawing: Don’t be afraid to try out different compositions before you settle on the final design for your haunted house drawing. Draw without the worry that it will be seen by anyone else. Choose your favourite composition to develop into your final design.
- Less is more: When adding details like brickwork, keep it simple – you don’t need to draw every single brick (although you can if you want to). Adding the occasional brick here and there is enough to suggest overall brick construction without going overboard.
- Add spooky silhouettes: If you choose to draw a creature in front of the moon (we’ve gone for a bat), then you don’t need to add detail as they would be seen in silhouette.
- Experiment with different paper: For example, using white pencils (or chalk) onto coloured paper will give your haunted house a ghostly appearance!
Haunted house drawing materials
Before you start your haunted house drawing, you’ll need some art supplies! Here are some of our recommended materials to buy…
Black paper sketchbook

SQUIRREL_13081826
If you want to take your haunted house drawing to the next level, why not sketch it out using light-coloured pencil crayons (or gel pens) onto a dark background?
This helps create a ghostly look to your work, which is ideal when you’re drawing spooky ghosts or abandoned houses. Your drawing will really stand out on the page! You might even like to recreate your haunted house using chalks or pastels.
This black paper sketchbook is perfect for all of your spooky drawing ideas. Try creating your own pumpkin drawing, doodling spider webs or sketching a picture of a creepy witch.
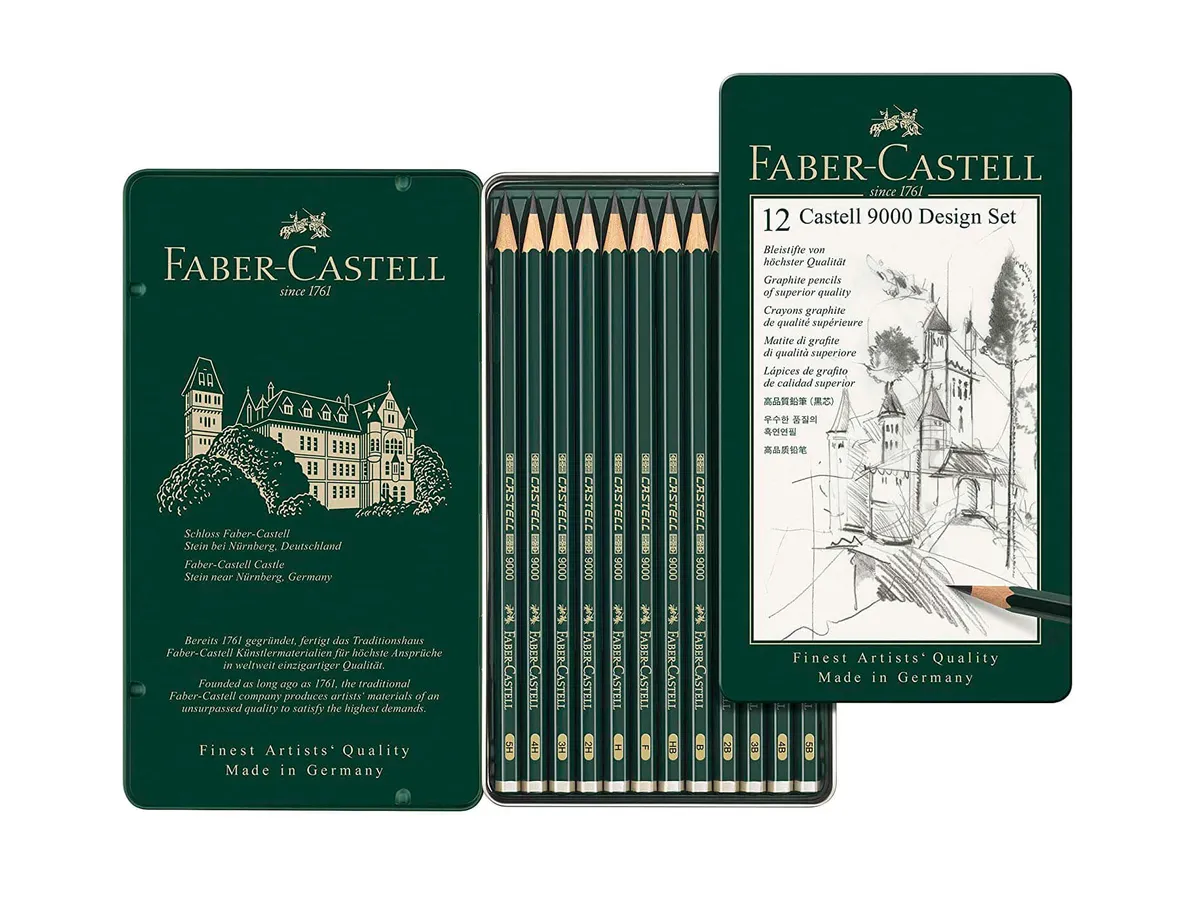
Sketching pencils
SQUIRREL_13081822
A good set of sketching pencils will last for years, so it’s worth getting a set that contains all the standard graphite hardness. A 5H pencil will draw a very fine, light line (the ‘H’ in the name denotes ‘hard) while a 5B pencil will draw a much darker, softer line (the ‘B’ in this case stands for ‘black’). An HB pencil is therefore in the middle; a ‘hard black’ pencil – or, in other words, ‘medium hard’.
The darkness of the line comes down to the amount of graphite in the pencil; in the H-pencils there is less graphite and more filler material, while in the B-pencils there is more graphite than filler material.
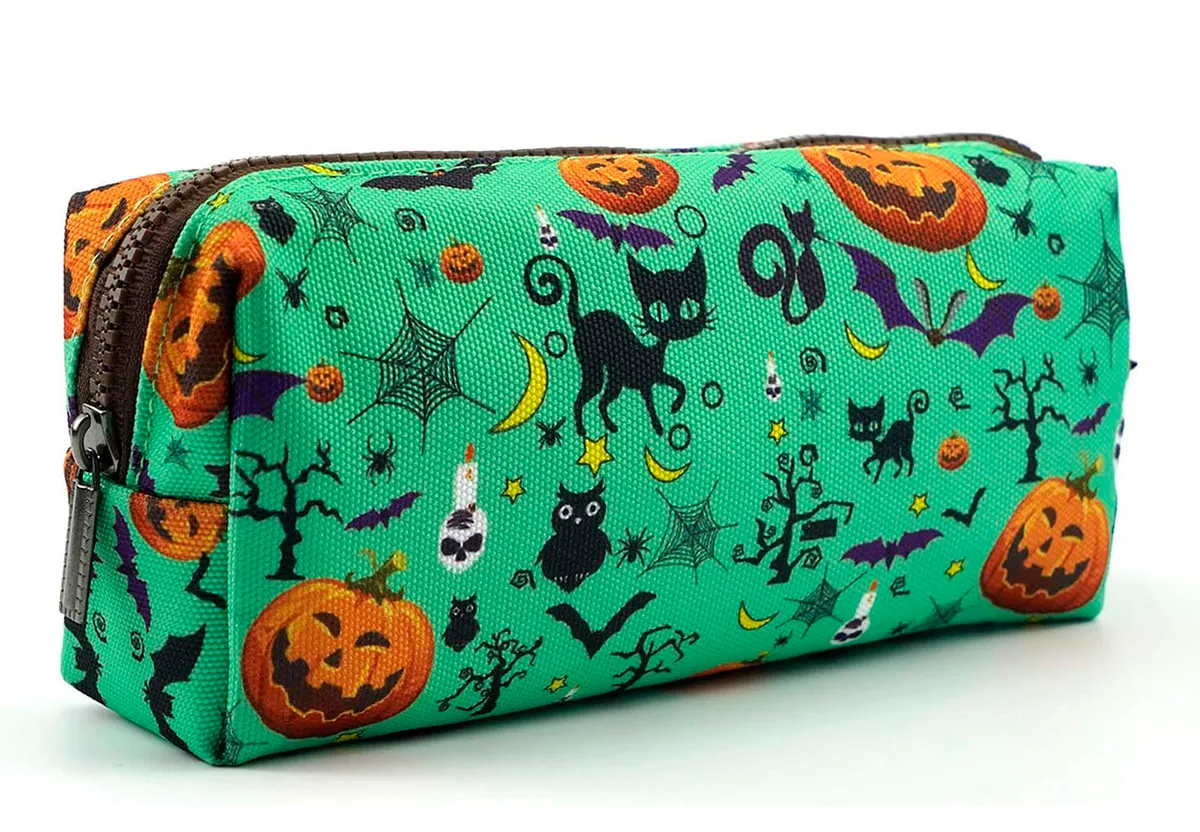
Halloween pencil case
SQUIRREL_13081825
Keep all your sketching materials organised in this cute Halloween pencil case. Adorned with pumpkins, black cats, cobwebs and bats, it’s made from high-quality canvas and has a smooth zipper for snag-free access.
This adorable pencil case has a large capacity and can hold a collection of around 80 pens and pencils. It opens wide at the top for easy access, and you can clearly see what you’ve got. Being made from canvas means that it’s hardwearing and durable, ideal if it's going to be tossed around in a school bag.
How to draw a haunted house
Ready to start our easy ghost house drawing lesson? Read on to find out how…