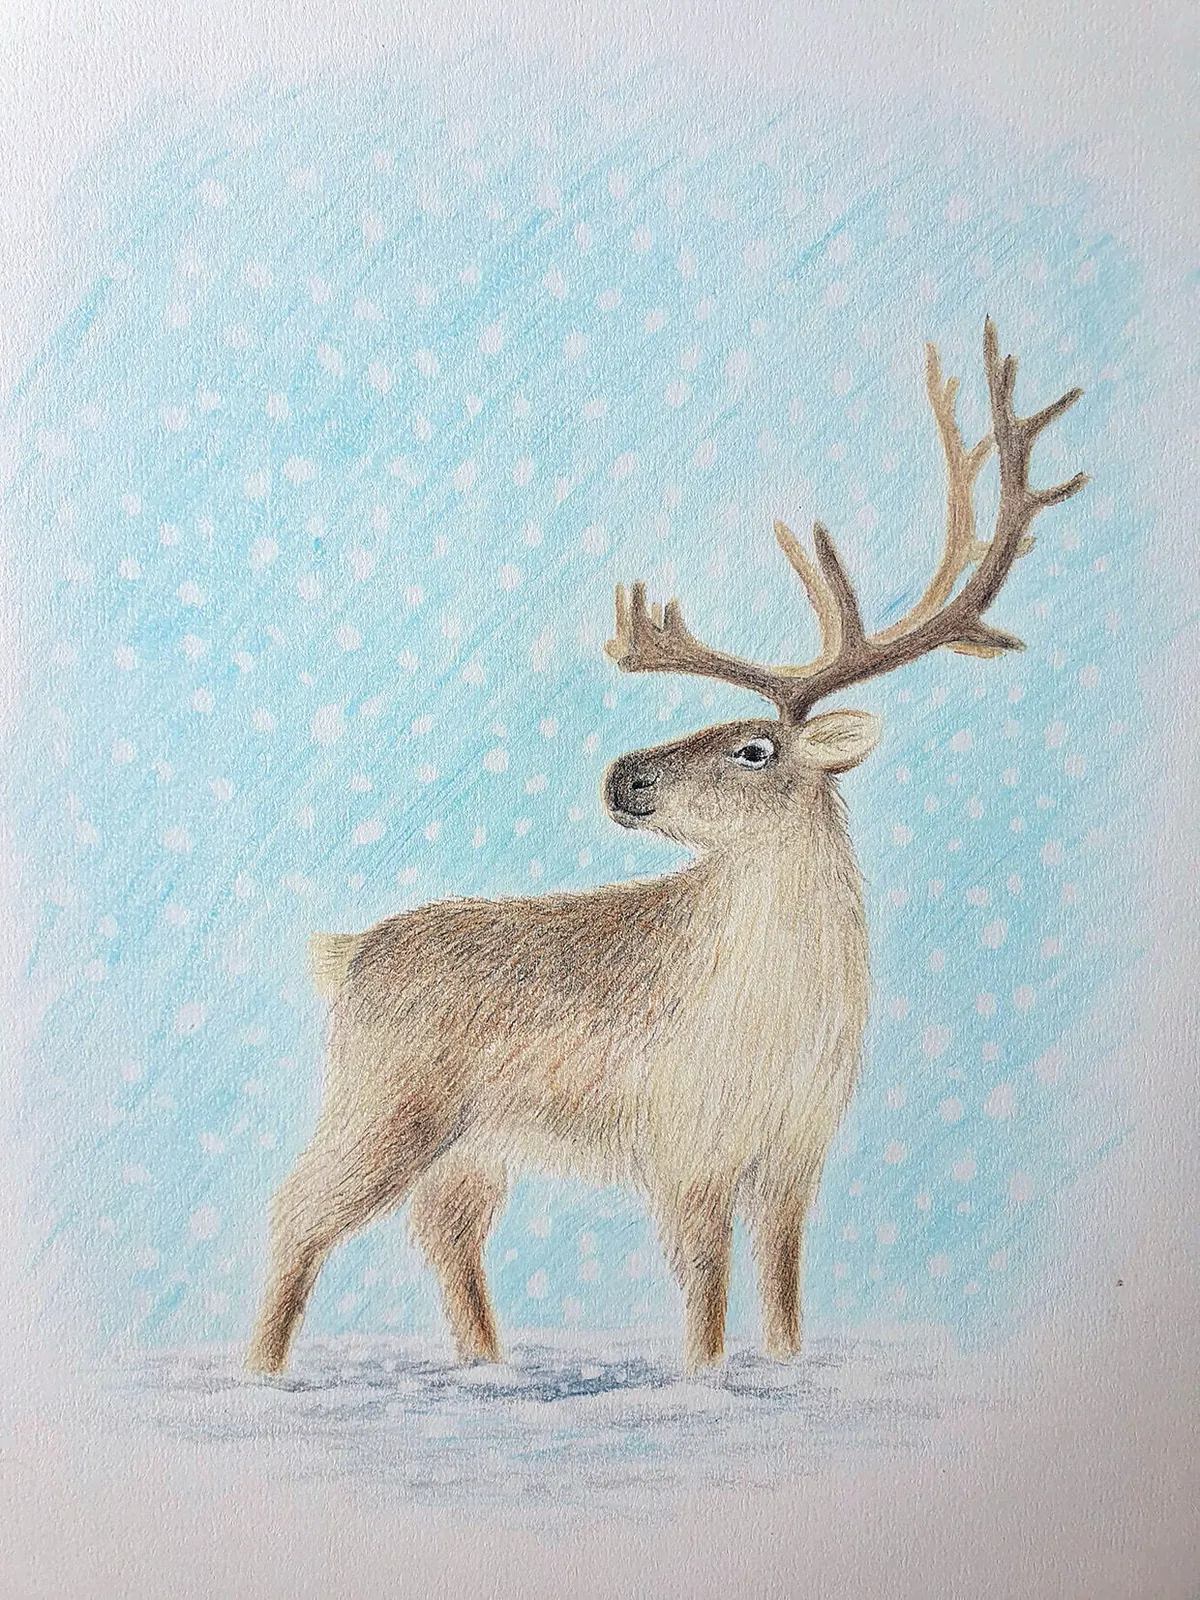
Explore your artistic side this Christmas and learn how to draw a reindeer!
Develop your drawing skills, and express your creativity with this fabulous reindeer drawing tutorial by Jesse Hodgson.
Display your finished festive artwork in your home or give it to a loved one as a special gift.
- Learn how to draw a gingerbread man with these step by step instructions
- 23 Christmas painting ideas to get you feeling festive
- Learn how to draw Santa
Why draw a Reindeer this Christmas?
Reindeer are the perfect festive animal to draw during the Christmas season with their cute faces and wintery fur coats.
This ‘how to draw a reindeer’ tutorial is especially useful if you're looking to learn new drawing skills and advance your colouring pencil techniques.
For this easy reindeer drawing, you will be taken through a step-by-step process starting with sketching the proportions. Then you will develop your sketch by adding colour, tone and texture with colouring pencils to bring your reindeer drawing to life.
Materials you’ll need for the Reindeer drawing
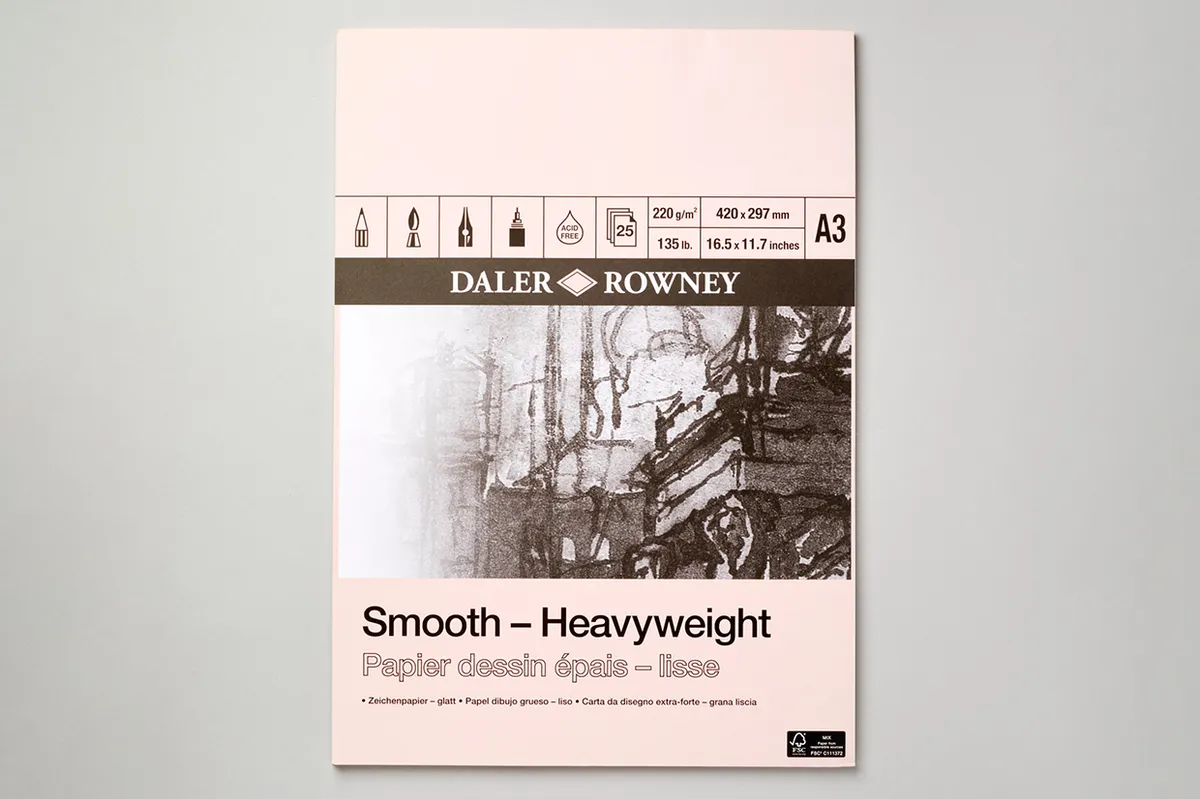
Paper
Use an A3 200 gsm cartridge paper, which you can get from any local art shop. Choose a cartridge paper with a smooth surface if possible.
Take a look at our guide to the best sketchbooks for drawing for even more choice.
SQUIRREL_13163162
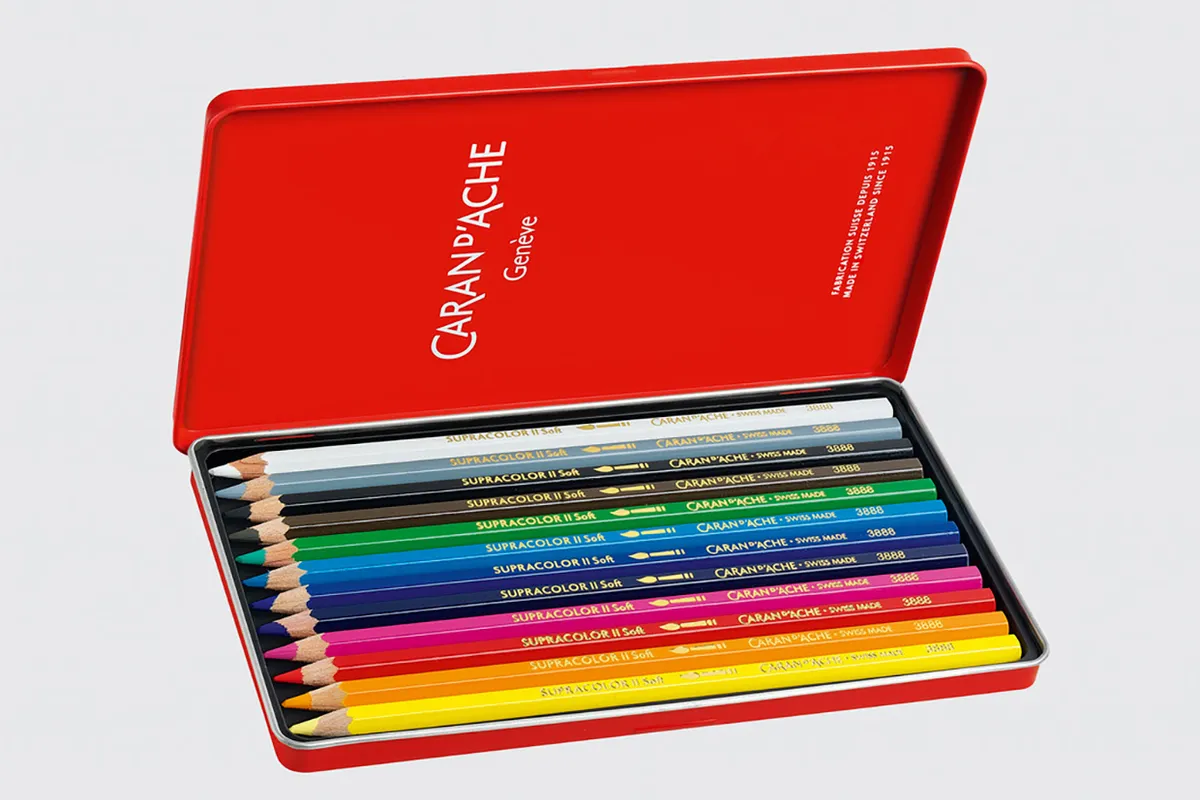
Colouring Pencils
I love Caran d'ache watercolour crayons, which are soft and blendable. The colours are also very vibrant and bright whilst still being natural.
I also love the Derwent ‘drawing’ range because they are so creamy and blendable, but these colours are much more muted. I use a combination of both sets to create my drawings.
For more options check out our list of the best watercolour pencils.
SQUIRREL_13101902
Rubber
I like to use a putty rubber that will lift colour off the page without smudging. I also use an electric rubber by Derwent to erase marks in small and intricate areas. An electric rubber will be needed to draw the snowy background of this reindeer drawing.
SQUIRREL_13077987
What species is the reindeer drawing?
Reindeer are found throughout the northern hemisphere in the tundra of Alaska, northern Canada, Greenland, northern Europe, and northern Asia.
There are many subspecies of reindeer which vary in size, colourings and antler appearance.
Clement Clarke Moore’s classic poem entitled "A Visit from Saint Nicholas" describes Santa's sleigh being pulled by eight tiny reindeer. This reindeer drawing is of a Svalbard reindeer, which are the smallest subspecies of reindeer. Compared to other reindeer, their fur is lighter in colour and thicker during winter. Along with shorter legs, this gives them a rather endearing stocky appearance.
Interestingly, reindeer are a unique species of deer, in that both male and females can both grow antlers. Male reindeer, however, shed their antlers each winter - suggesting that Santa’s reindeer would have been female!

Drawing techniques: pencil drawing for beginners
If you’re new to drawing, it can be overwhelming learning so many new pencil techniques. Mastering how to draw with pencil will form a solid foundation for your future artistic journey. Check out our guide on pencil drawing techniques for beginners.
How to draw a reindeer
Sketch the layout and proportions - drawing the body, head and legs
Step 1
Start by drawing an oval shape for the body. I like to think of this like a bean shape.

Step 2
Next, sketch two curved lines which will form the neck of the reindeer.

Step 3
From these lines, start to map out the shape of the head, nose and jaw.
Svalbard reindeer have broad noses – keep the face looking chunky!

Step 4
Now, you can mark in the nostril, mouth and eye.
Give the reindeer an oval shaped eye rather than a perfectly round one. Keep the corner of the line for the mouth softly upturned at the end, and this will give the impression of your reindeer being content.
I found my drawing looked a little bit like a sheep at this stage, because Svalbard reindeer have broad, rounded noses – don’t worry, it’ll get there!

Step 5
Keep the legs short and stumpy. If you’re used to looking at images of red deer stags then you might be tempted to give your reindeer long, elegant legs.
But these cute reindeer are a bit stockier and shorter than red deer and other species of reindeer, so keep the legs on the stumpy side. Suggest the knee joints by drawing a slight bulge half way down the legs.

Step 6
Hooves can be tricky to draw, so a little cheat is to avoid having to draw the hooves by hiding them underneath the snow.
Make the two legs that are furthest away slightly shorter. This will make your reindeer drawing look more 3D. Don’t forget to add a little tufty tail above the rear legs!

Drawing the antlers
Step 1
I like to think of the antlers like the branches of a tree. The antler starts growing just by the ear, and from there, let one shoot grow out to the left, and one to the right.

Step 2
Don’t forget to draw the second antler!
I like to imagine this like a shadow, or copy of the other antler, sitting just behind the first one. Copy the same structure as the first antler to keep your reindeer drawing simple and effective.

Refine Your sketch
Now is the time to tidy up your sketch before you progress to adding colour.
Rub the pencil markings out to give the illusion of the legs being forwards and back. Rub out the initial guide lines you drew for the body. Now you should have a good, strong reindeer! Amend any proportions if you need to.

Adding colour to your reindeer drawing
Step 1
Carefully observe the markings on the Svalbard deer: they have lighter fur on their body with brownish-grey flecks and darker legs. You will gradually build layers of colour to create rich tones of light grey and brown fur.
Start with the lightest colour first - cream - Lay down a base colour all over the reindeer, even though some areas will be darker later.
Keep in mind the direction you shade with your pencil and try to keep your marks going in the same direction as the contours of the body. Also, consider your pencil pressure (how hard you press).
Try to keep a light pencil pressure and gradually increase the intensity of the colour by going over the area several times.

Step 2
Now I like to erase as much of the sketching lines as possible. This is so that there is less risk of smudging, and also so that you can create a soft, fluffy edge to the reindeers coat, which will make your reindeer drawing look super cute.

Step 3
Next, colour over the top of the cream with the next layer of colour - pale grey. At this point, start to define the fur of the body by using a flicking motion with your pencil. This will create a fluffy fur-like texture and an edge that looks soft and hairy.

Step 4
Follow the same process to build the next layers of colour - warm greys, light greys, mid browns and greys - and gradually get darker into rich browns and deep greys.
Continue to use the flicking technique to create the fluffy fur texture, and carefully look at the markings on the reindeer’s coat. The top of the reindeer’s back is darker, and so are its legs, the brow of its nose and muzzle.

Adding Facial Details
Using a deep grey colouring pencil, simply draw over the top of the initial pencil marks you made earlier for the nostril, eye and mouth.
For the fur around the muzzle and nose, you can build soft layers of colour - dark greys and browns. You can blend these colours together and create a soft velvety texture by using small, smooth, circular motions with your pencil to apply the colour.
Leave two little white marks above and below the reindeer’s eye. You can use the tip on an electric rubber to achieve accuracy here.

Colouring the antlers
Step 1
In the same way as before, start by laying down a base layer of colour all over the surface of the first antler. Then, erase the initial pencil outline you drew as a guide. Leave the other antler for now.

Step 2
Start to build up layers of colour on the first antler, starting with the lightest first, to create depth and 3D form. Reindeer antlers are beautiful and velvety.
To create this texture in your reindeer drawing, apply the colour with a smooth, circular motion with your pencil.

Step 3
After you’ve coloured the first antler to a deep brown, then colour the second antler afterwards, keeping the colour lighter so the antlers don’t merge together into one.

Grounding your reindeer
Step 1
To give the effect that your reindeer drawing is firmly stood on the ground, draw the snow beneath it.
Use the edge of a light grey pencil to draw soft, snowy shadows, leaving areas of white paper uncoloured.

Step 2
Using a darker grey or blue pencil, soft shade in a darker area of shadow on the snow directly underneath the reindeer.

Drawing the Snowy Background - Optional
Step 1
You can choose to finish your reindeer drawing at this point. Or, you can choose to add a snowy sky background.
Drawing snow can be difficult because it’s white. The trick is to draw a blue sky and leave the contrasting white of the paper to suggest the falling snow. I use an electric rubber to lift spots of colour off the page and create a falling snow effect.
Softly shade several layers of light blue for the sky behind the reindeer. Keep your pencil shading smooth and even with the marks going in the same direction.

Step 2
Now use your electric rubber to lift off the layers of pencil and create a falling snow effect. Try to vary the sizes and scatter the spots randomly to make your drawing more convincing!


Seasonal sketches
Now that you know how to draw a reindeer, why not find more festive inspiration in our list of easy Christmas drawing ideas.
Use these drawing techniques for your future artworks
Now that you have finished your reindeer drawing, you will have learned many new pencil drawing techniques. Finishing a drawing requires a lot of patience and perseverance as you spend time sketching the outlines first and amending proportions.
Applying layers of colour gradually to achieve the soft, fur-like texture can take a little longer, but it is well worth the dedication for the realistic and effective results at the end!
You can use these techniques you’ve learnt for drawing fur as you go on to draw more cute animals in the future. This drawing process is a useful skill to learn and master going forward in your creative journey.
Now you’re ready to frame your artwork and decorate your home, or gift it to a loved one as a personal present this Christmas.
Develop your sketching skills by studying nature
If you are looking to learn new sketching skills and you enjoy studying natural forms, then this ‘how to draw a tree’ tutorial is a great artwork to try next.